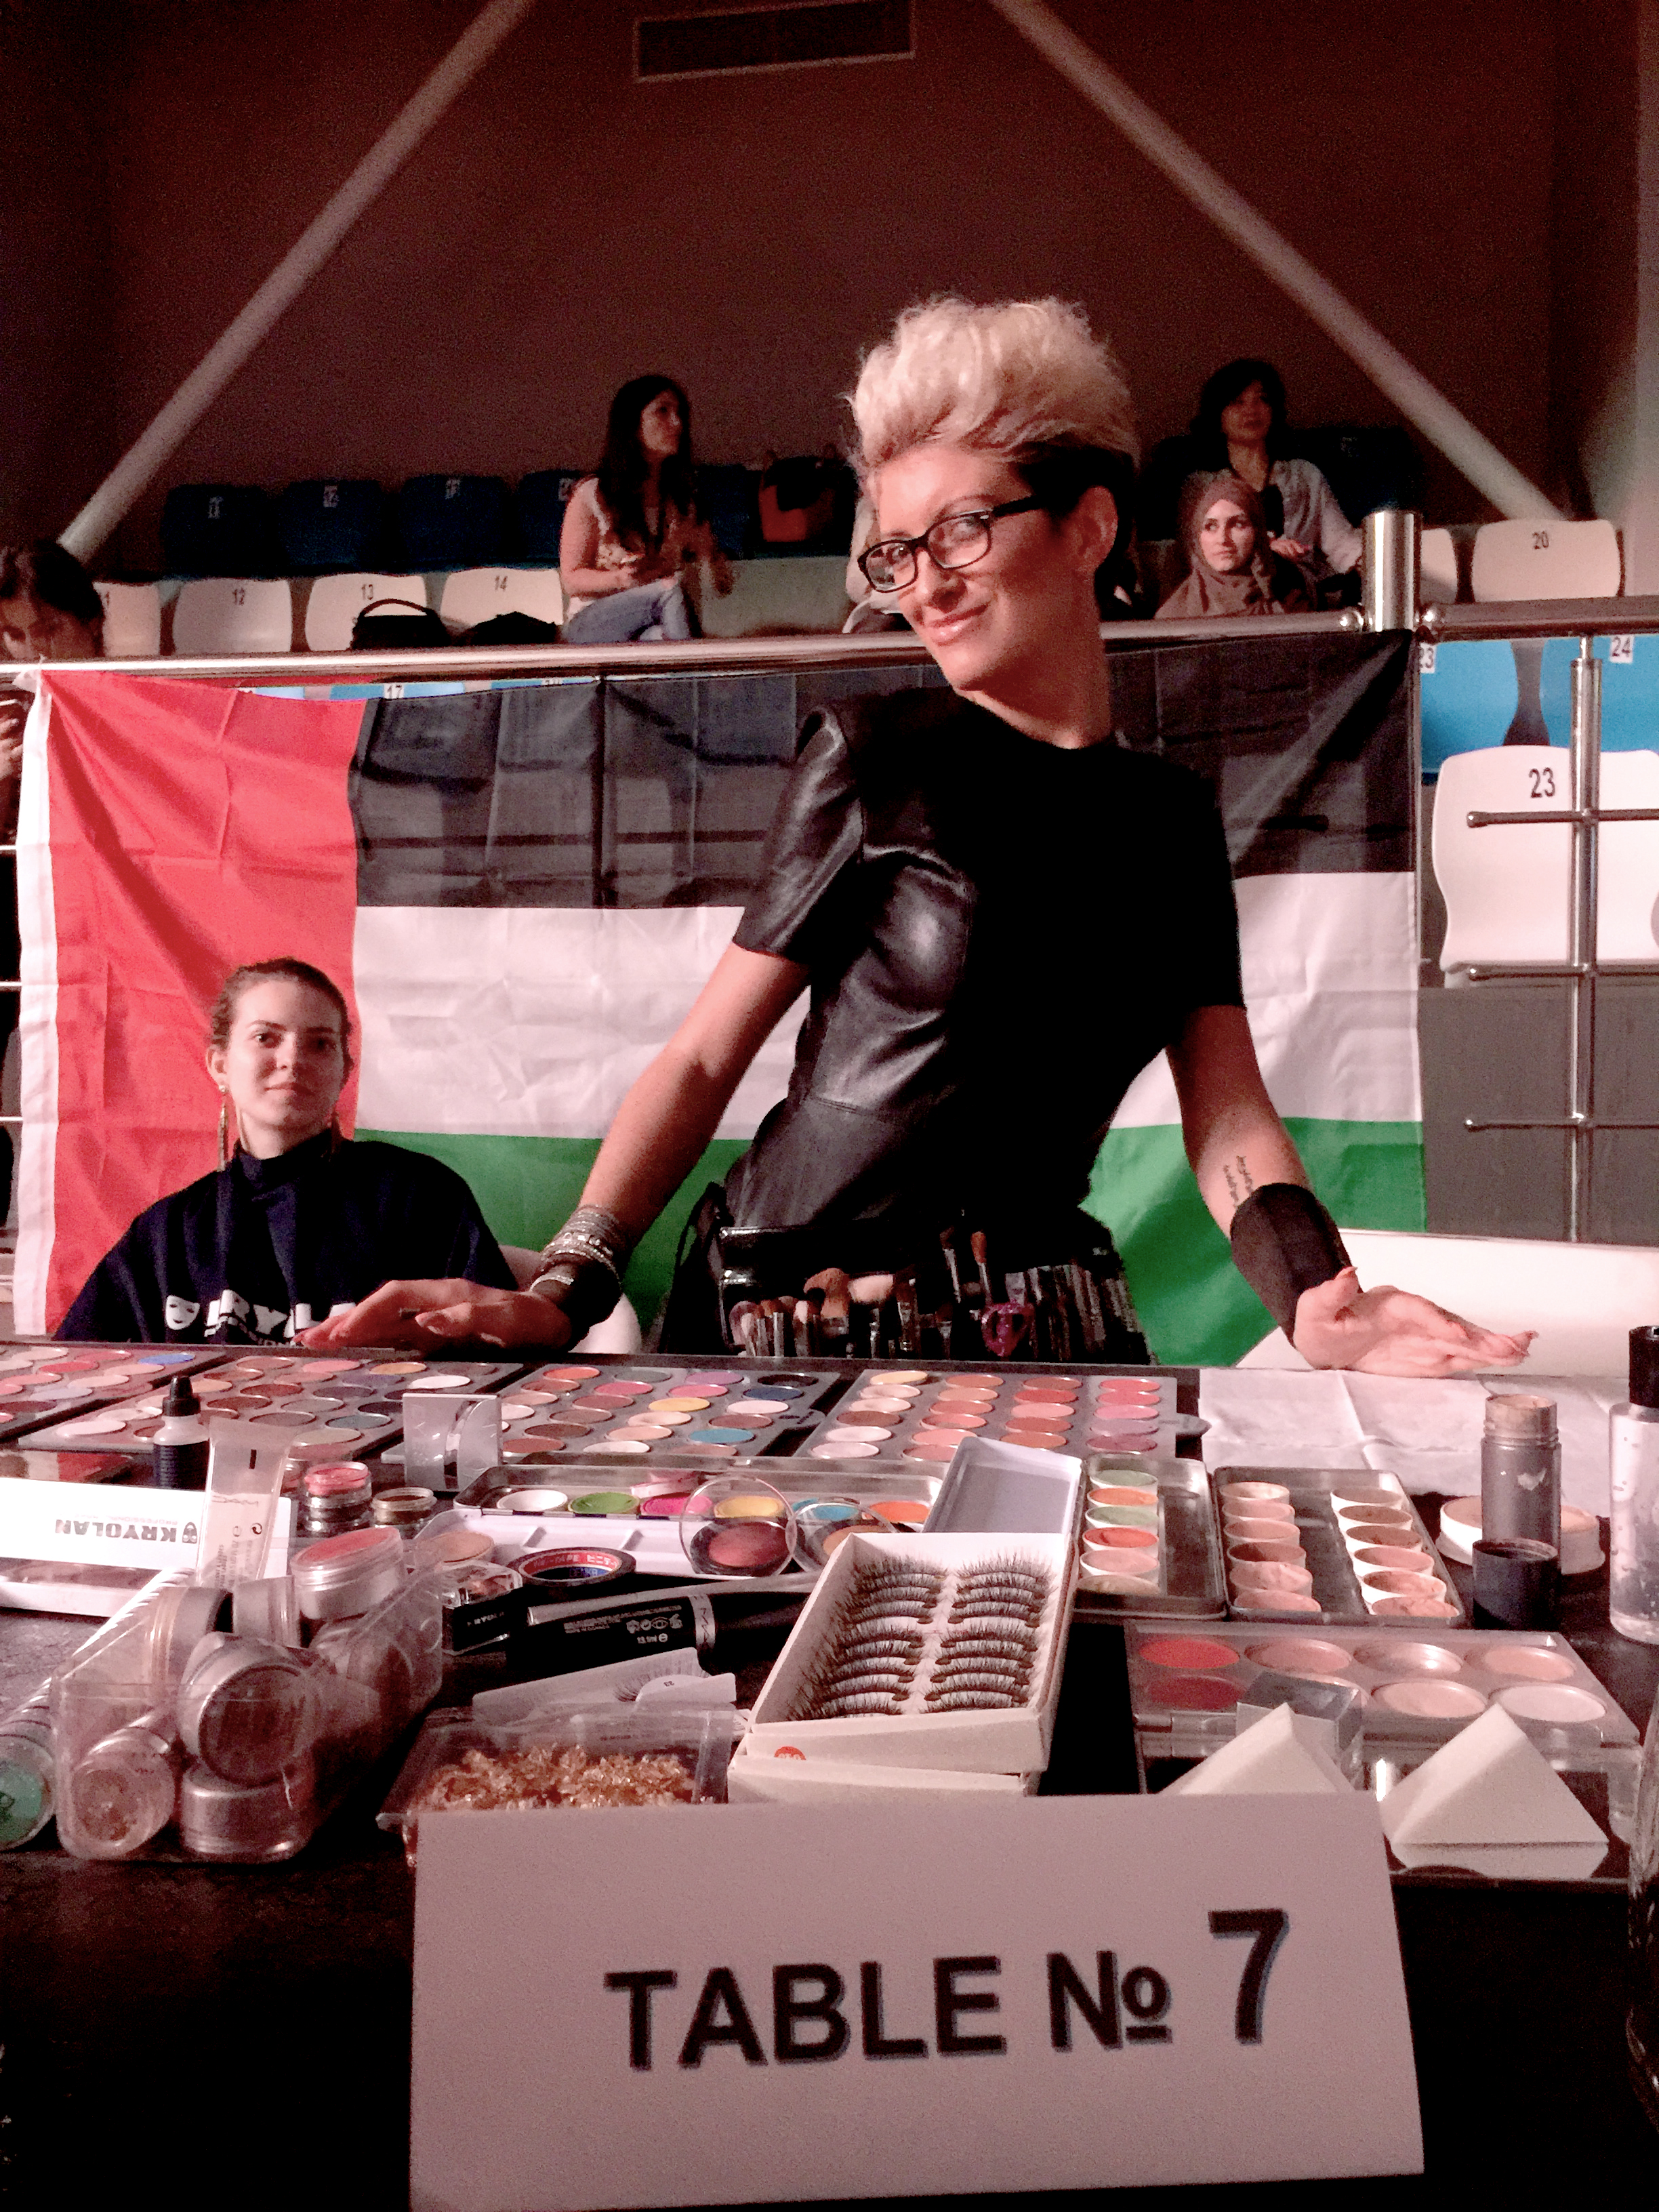
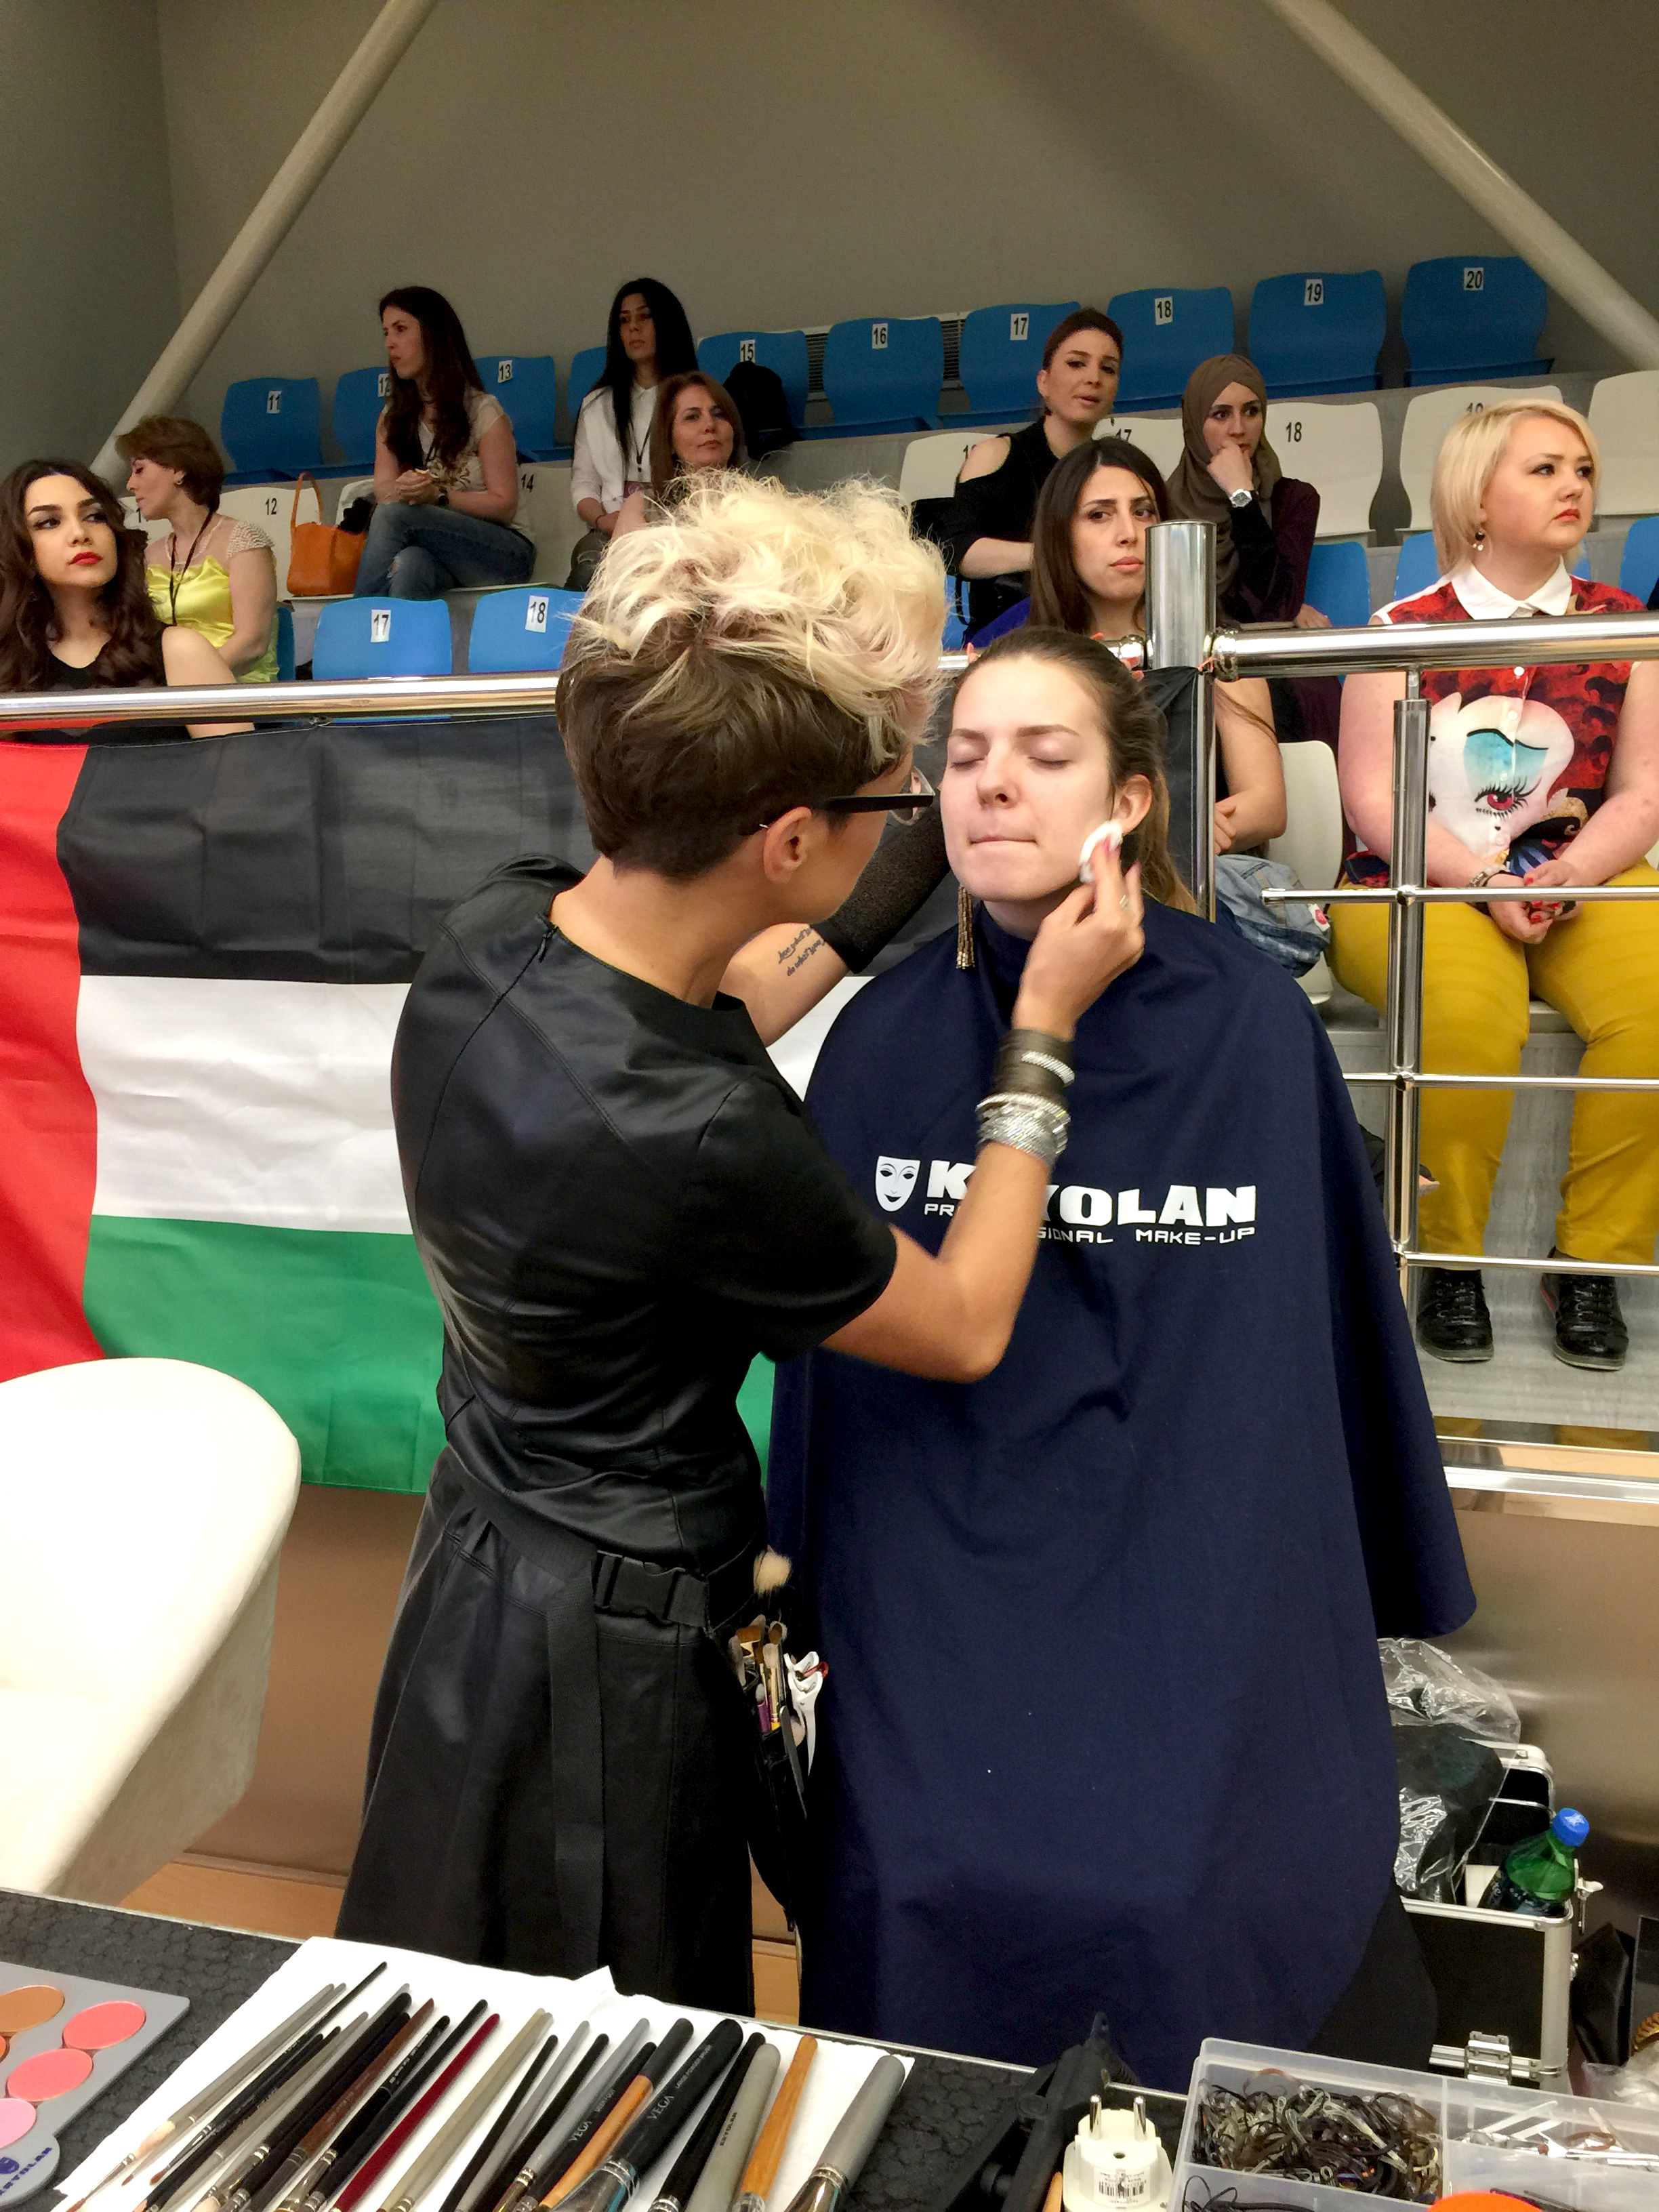
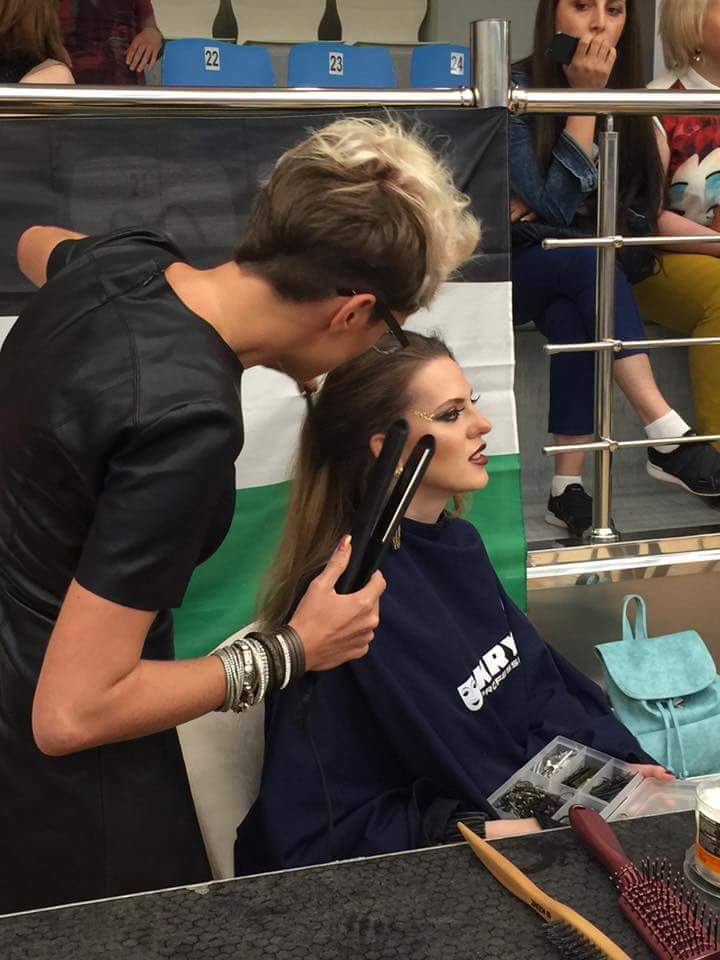
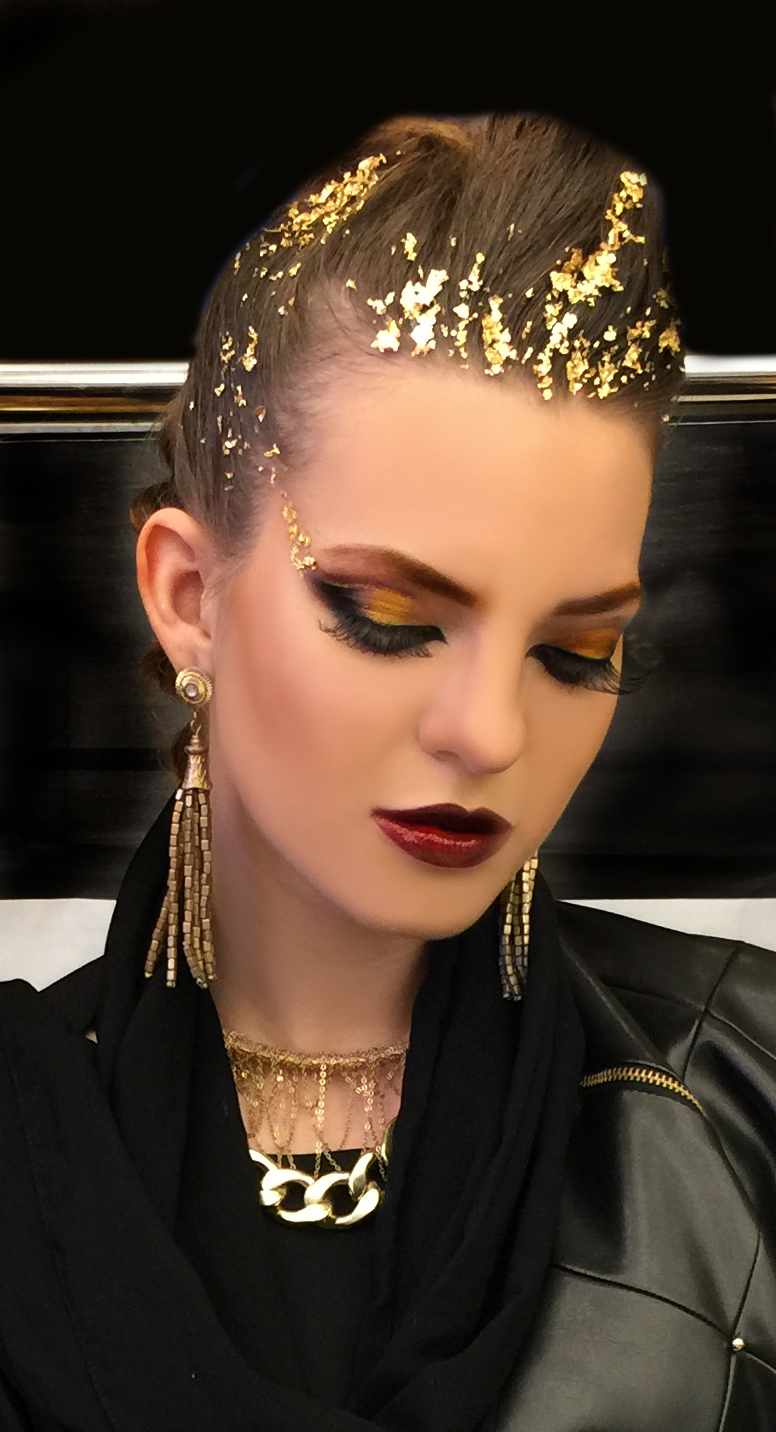
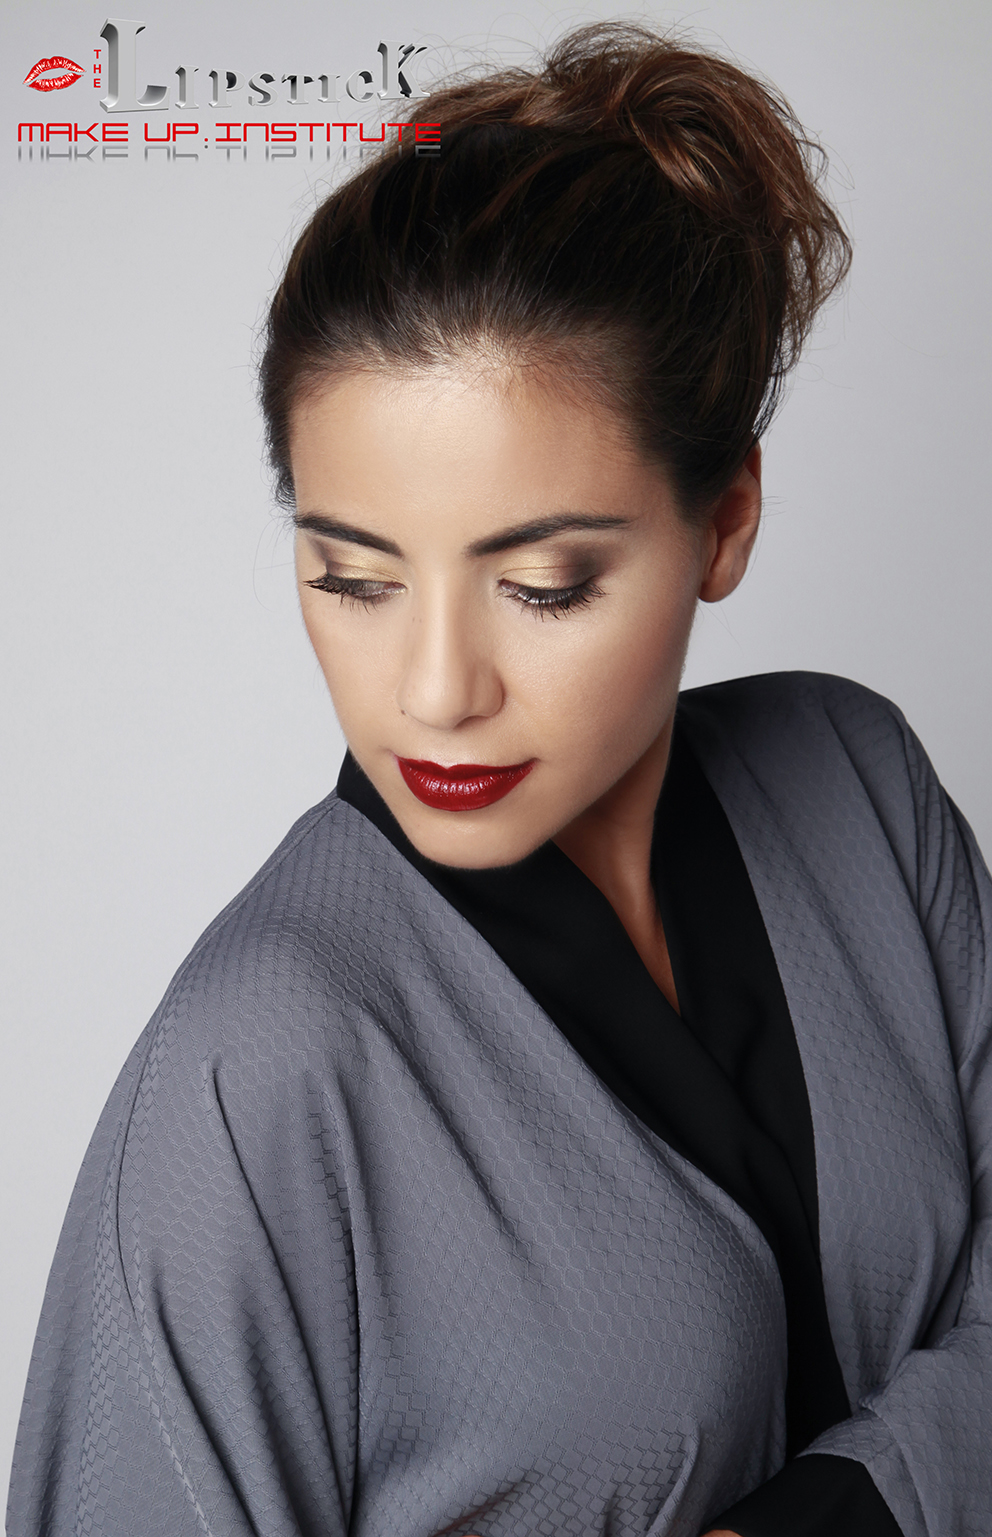
10minute makeup day look
We often hear this sentence:
“Im not wearing any makeup because i really don’t have time to stand in front of the mirror for hours. ”
Or
“I don’t know how to do makeup so i decided not to wear any”
Also
“Im a mother of 2 kids and i would love to pamper myself with a bit of makeup but there is really no time for it”
And so many other reasons and excuses.
So here we are for you bringing easy tips to create some magic in your pretty face whenever is needed.
This time the topic is the daytime look.
Most of us is kinda lazy to wake up an hour before work just to do some makeup, or simply just don’t want or really don’t have time.
Well you can always spend hours in front of the mirror
but lets do it quick as we don’t have time for anything. Mostly is running and rushing.
Here we go with the easy steps:
First of all don’t forget!
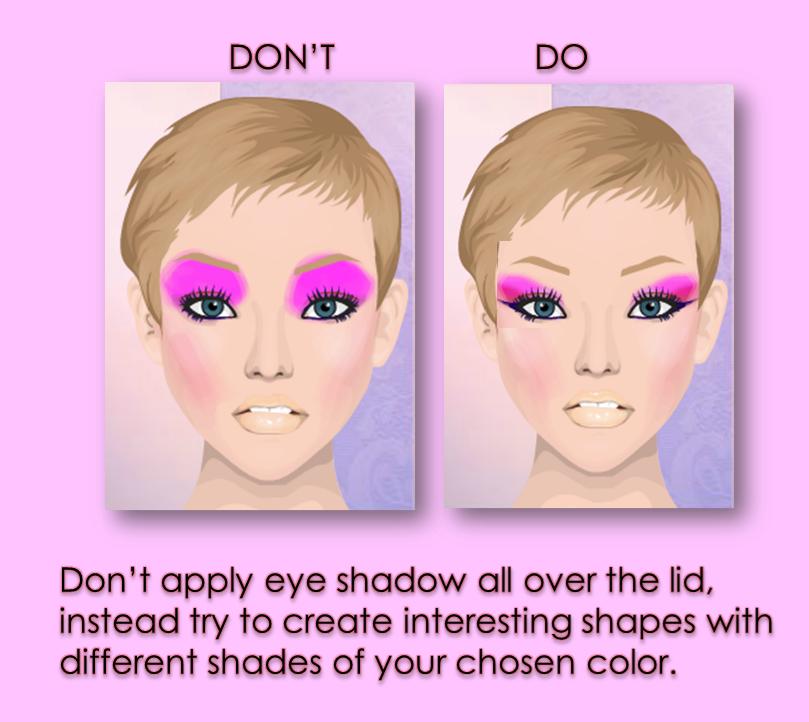
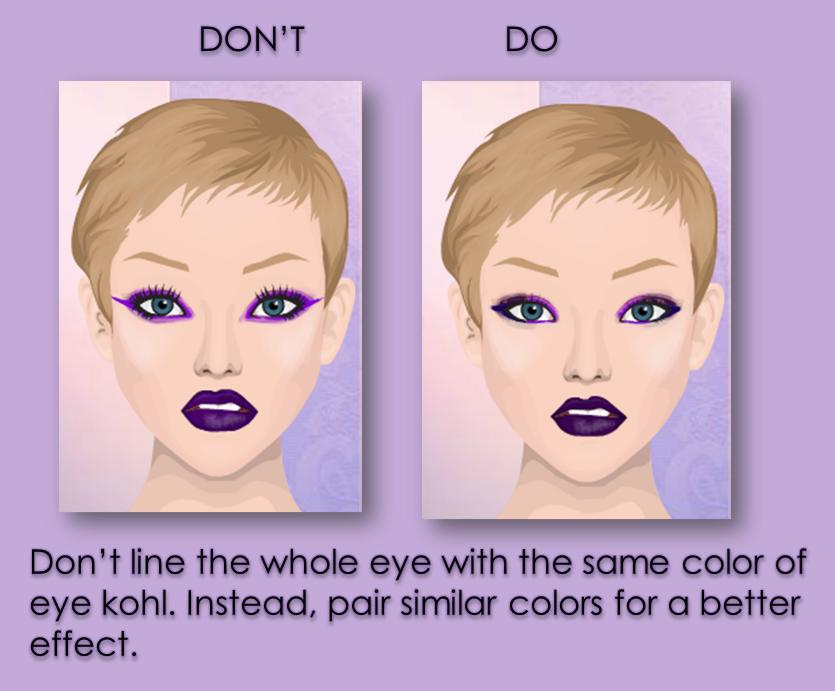
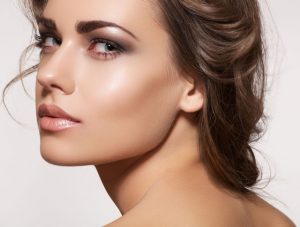
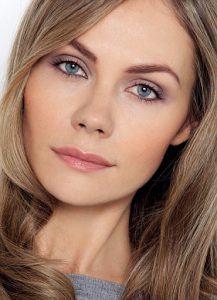
The daytime look should be light and lets say invisible we want to apply makeup in the morning to refresh our face.
Forget about heavy coverage and strong eye makeup.
The daytime makeup has to be transparent on the face, you don’t want to cover and correct everything on the face.
Keep it light!
So first of all moisturise your skin. Light daytime cream nothing too oily and heavy
Apply a liquid foundation. This won’t cover everything but will make your skin more uniform and will refresh it!
Powder it up with a bit of translucent powder. Keep it dewy don’t apply so much it will look caky.
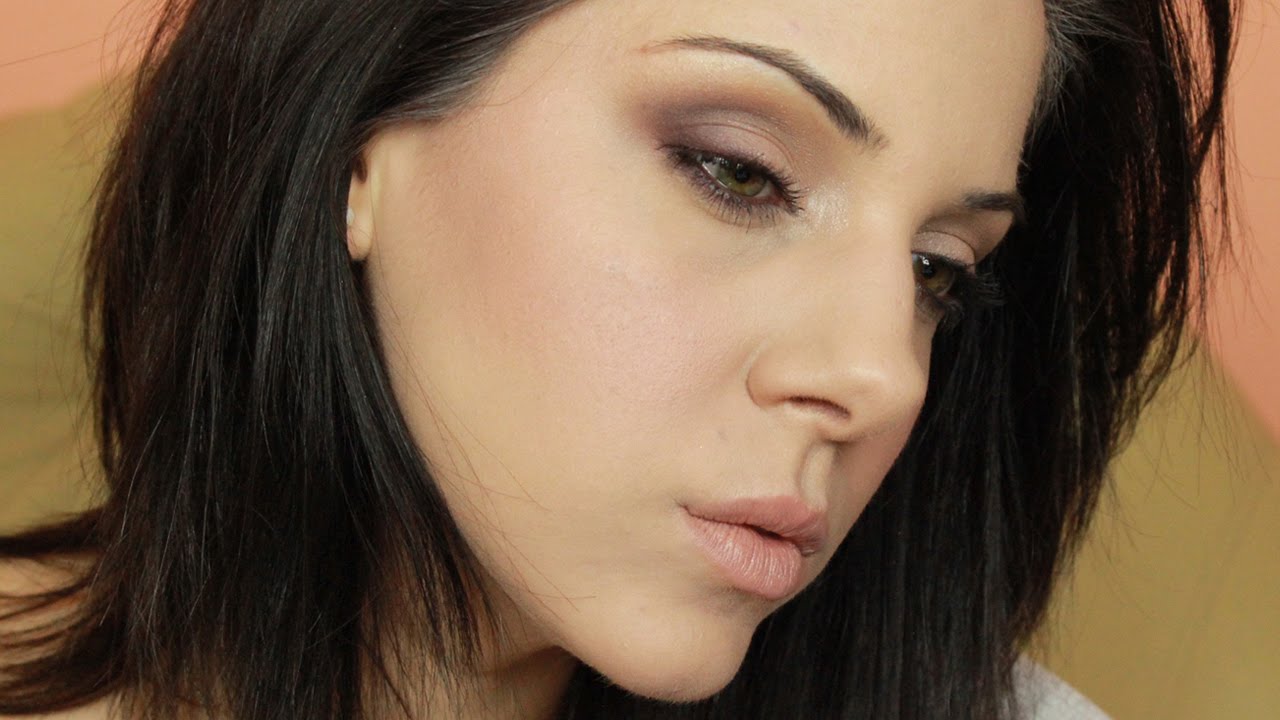
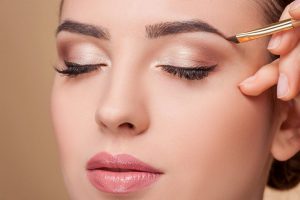
Take a bit of brown eyeshadow and touch up the eyebrows.
Apply a bit of beige matte eyeshadow on your eye lids and a brown eyeshadow on the outer corners of your eyes.
Apply mascara
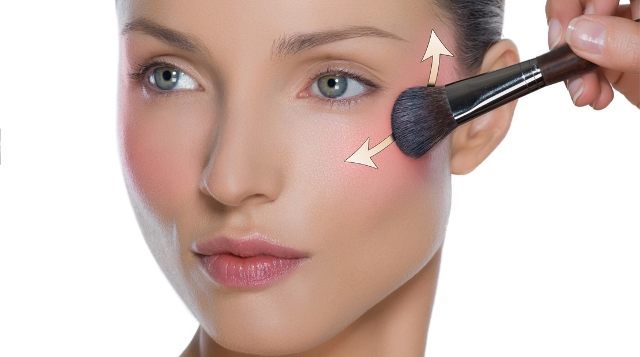
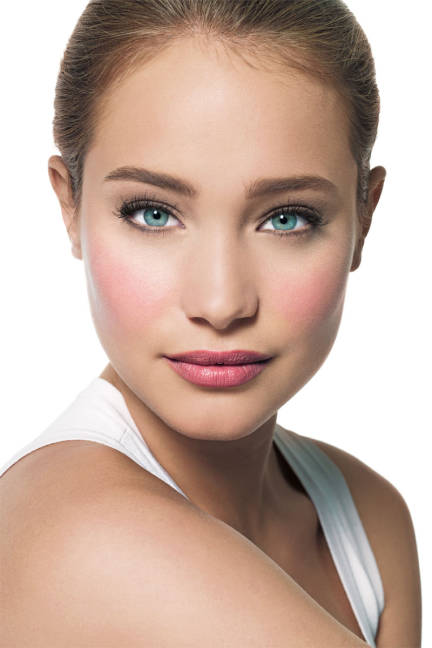
Take a bit of peach blusher and with a soft movements apply it on your cheekbones with circular moves.
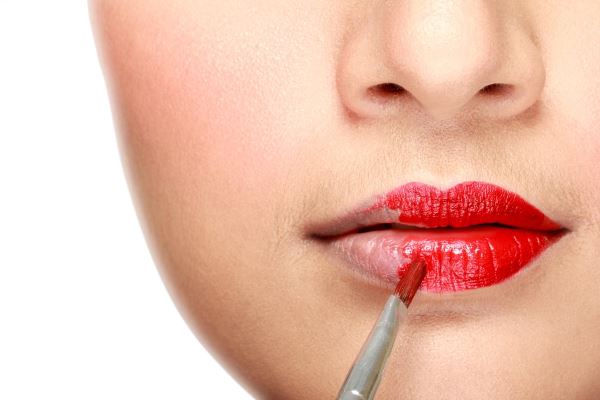
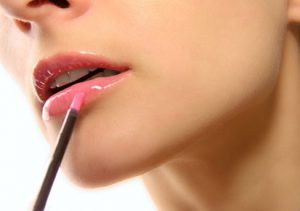
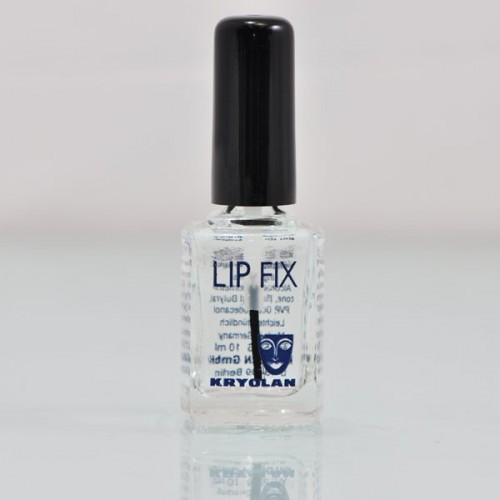
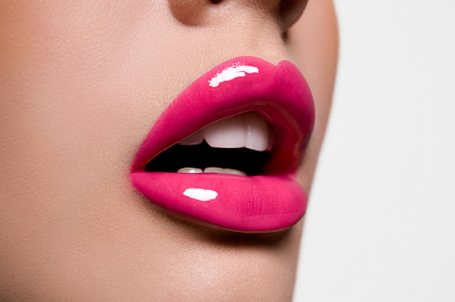
Dab a bit of gloss on your lips
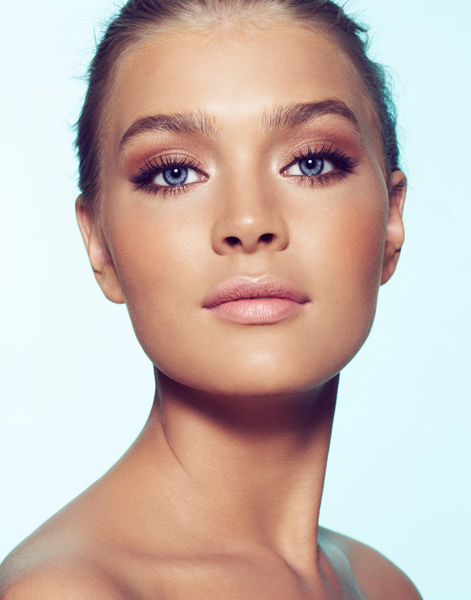
And here we go you are good to go!!
Only 10 minutes and you will look fresh and ready for the new challenges today
Easy and quick steps to make yourself feel much better


So there you guys! We hope you enjoy reading our topic for today!
See you tomorrow then we will talk about the daytime skin.


 e
e