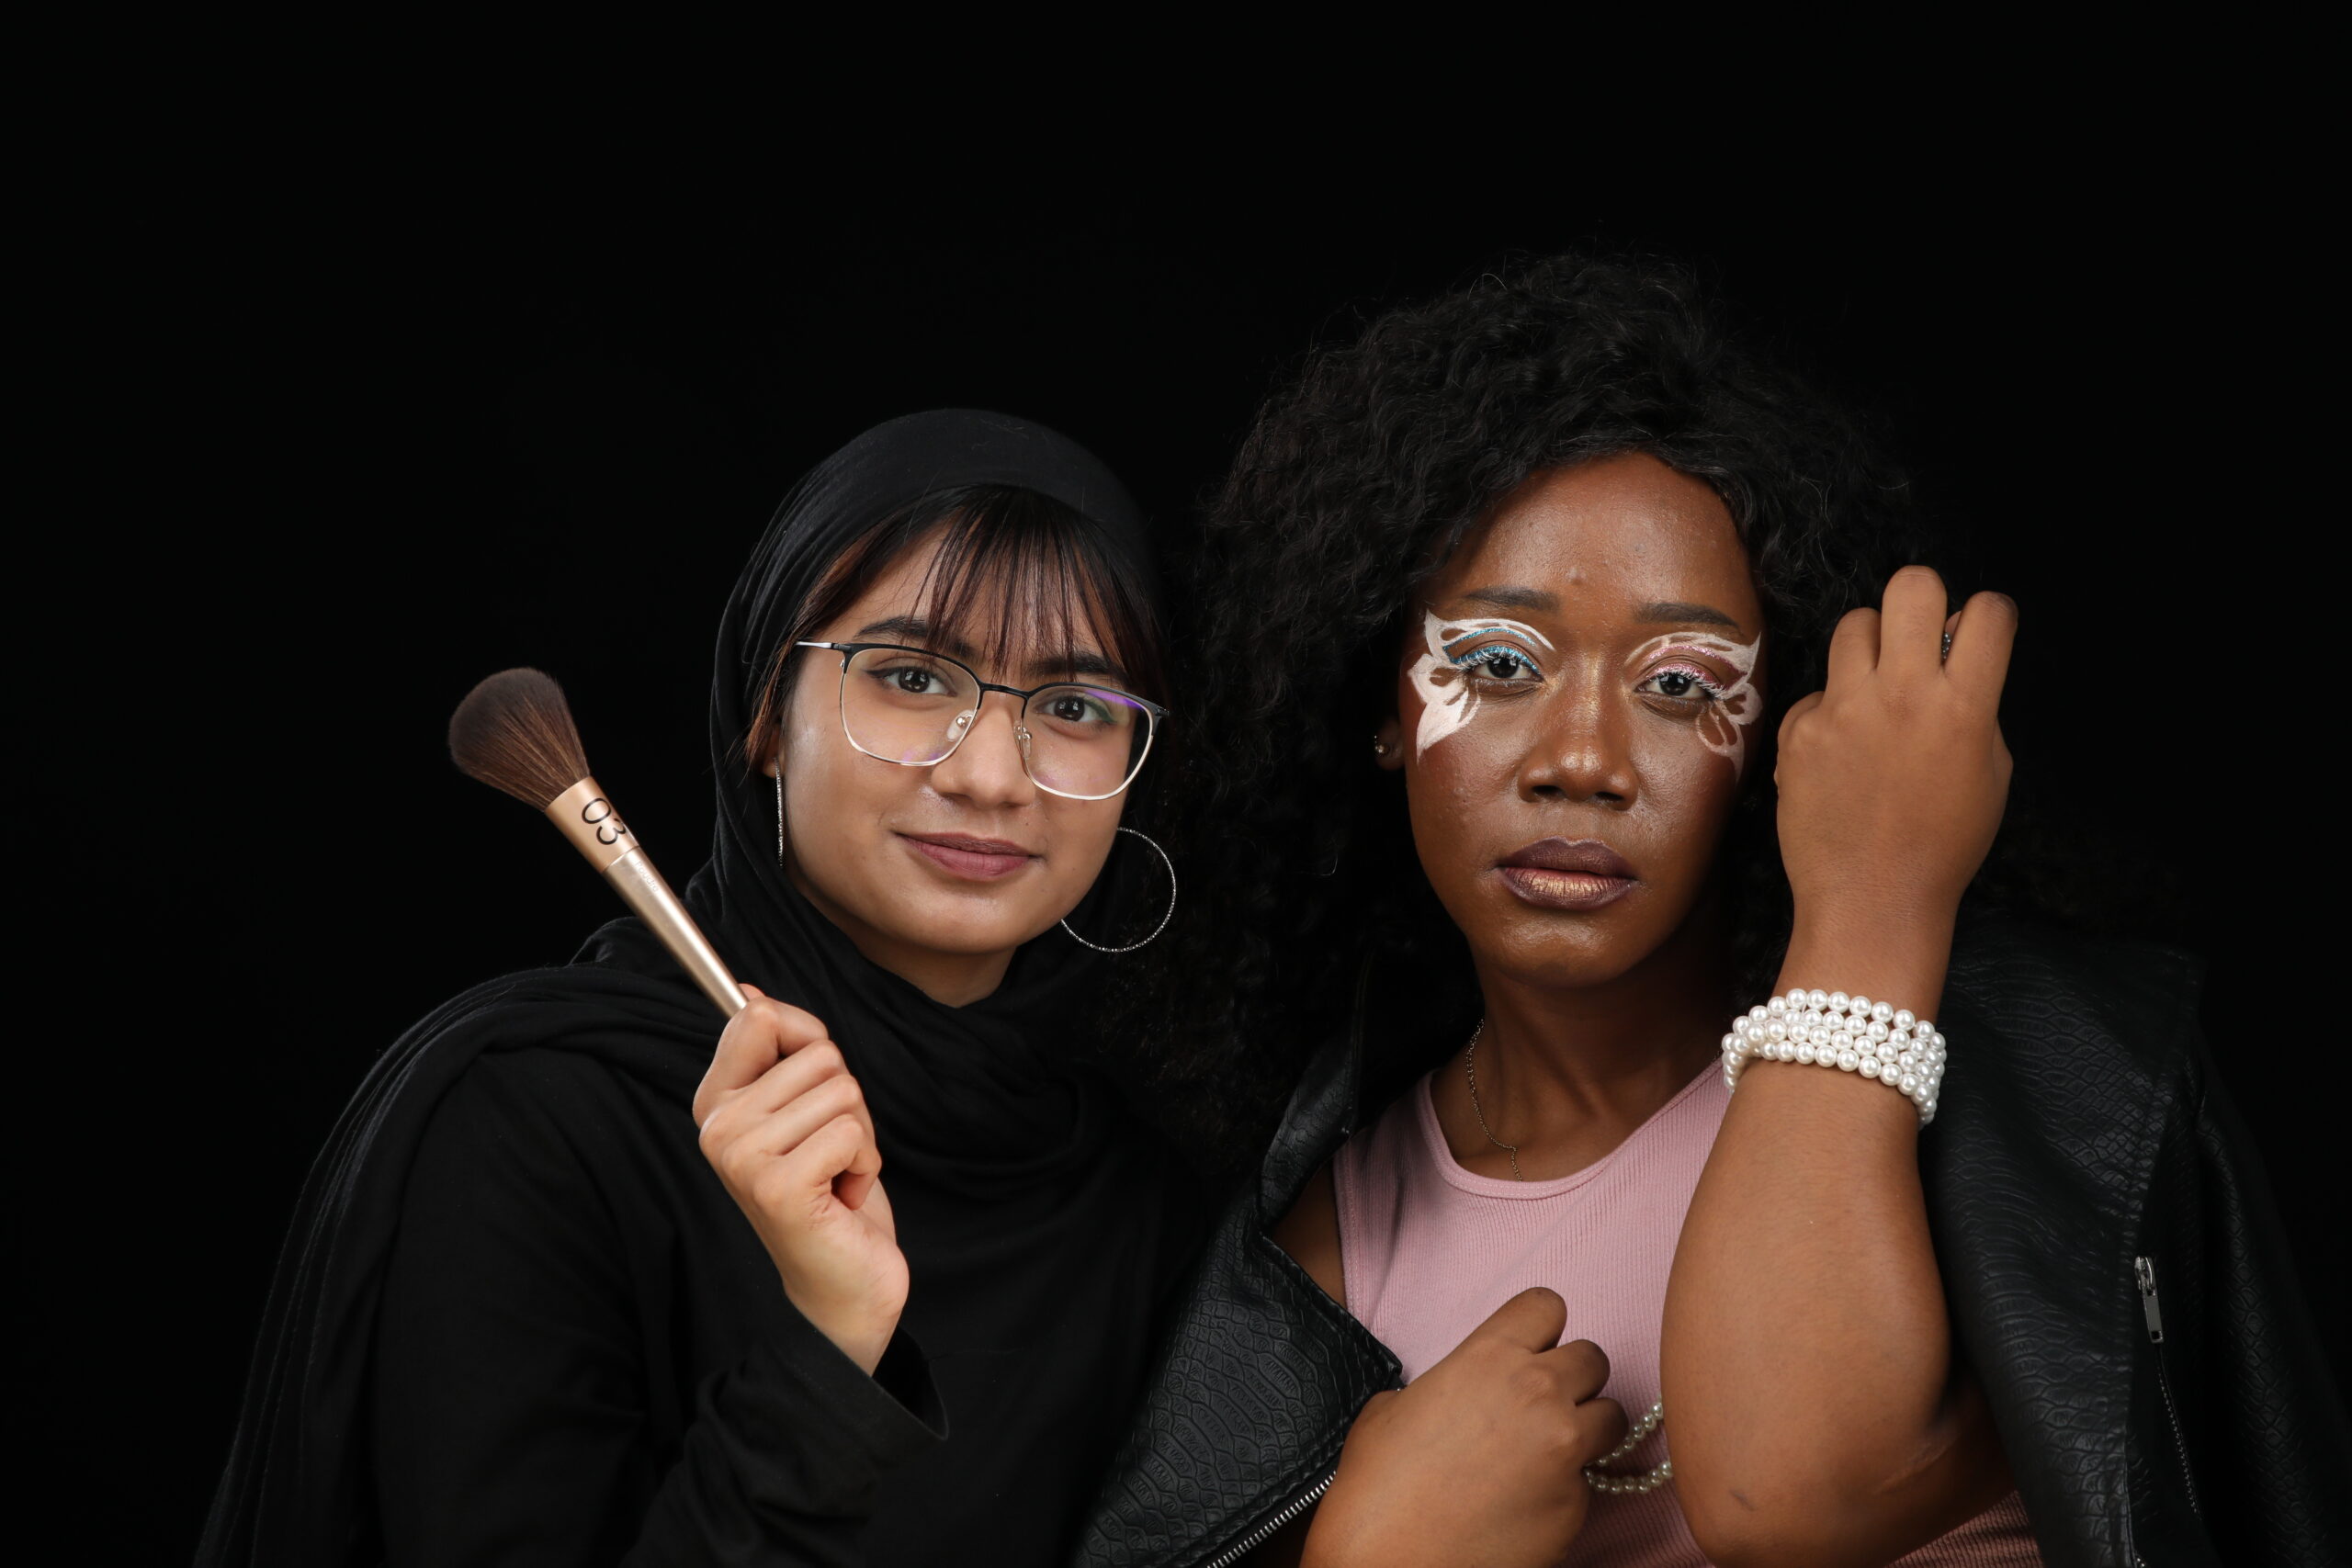
It can change how we look and feel in just a few minutes. First, it helps us feel more confident. For example, a bit of lipstick can make a smile shine brighter. When we feel good about how we look, we often feel better inside too.
Next, makeup lets us be creative. We can play with colors and styles to express who we are.
How does it work
Firstly, one day, we might want to look bold and strong with bright red lipstick.
Secondly, another day, we might choose soft pastels for a gentle, sweet look. The choices are endless.
Thirdly, moreover, makeup can hide things we don’t like.
Lastly, as I have noted ,if we have a pimple or dark circles, a little concealer can make them vanish.
This small trick can make us feel more comfortable and ready to face the day.
Then, there is the fun of learning new skills.
However, using makeup means learning how to use different tools and products.
Additionally, watching tutorials and trying new techniques can be exciting. Each time we try something new, we get a bit better. It’s like practicing a magic trick until we get it just right.
Also, makeup can help us connect with others. Friends often share tips and tricks or enjoy getting ready together.
However, this shared experience can bring people closer. It’s a way to bond over a common interest.
In conclusion, makeup is magic because it boosts confidence, sparks creativity, hides flaws, teaches new skills, and connects people.
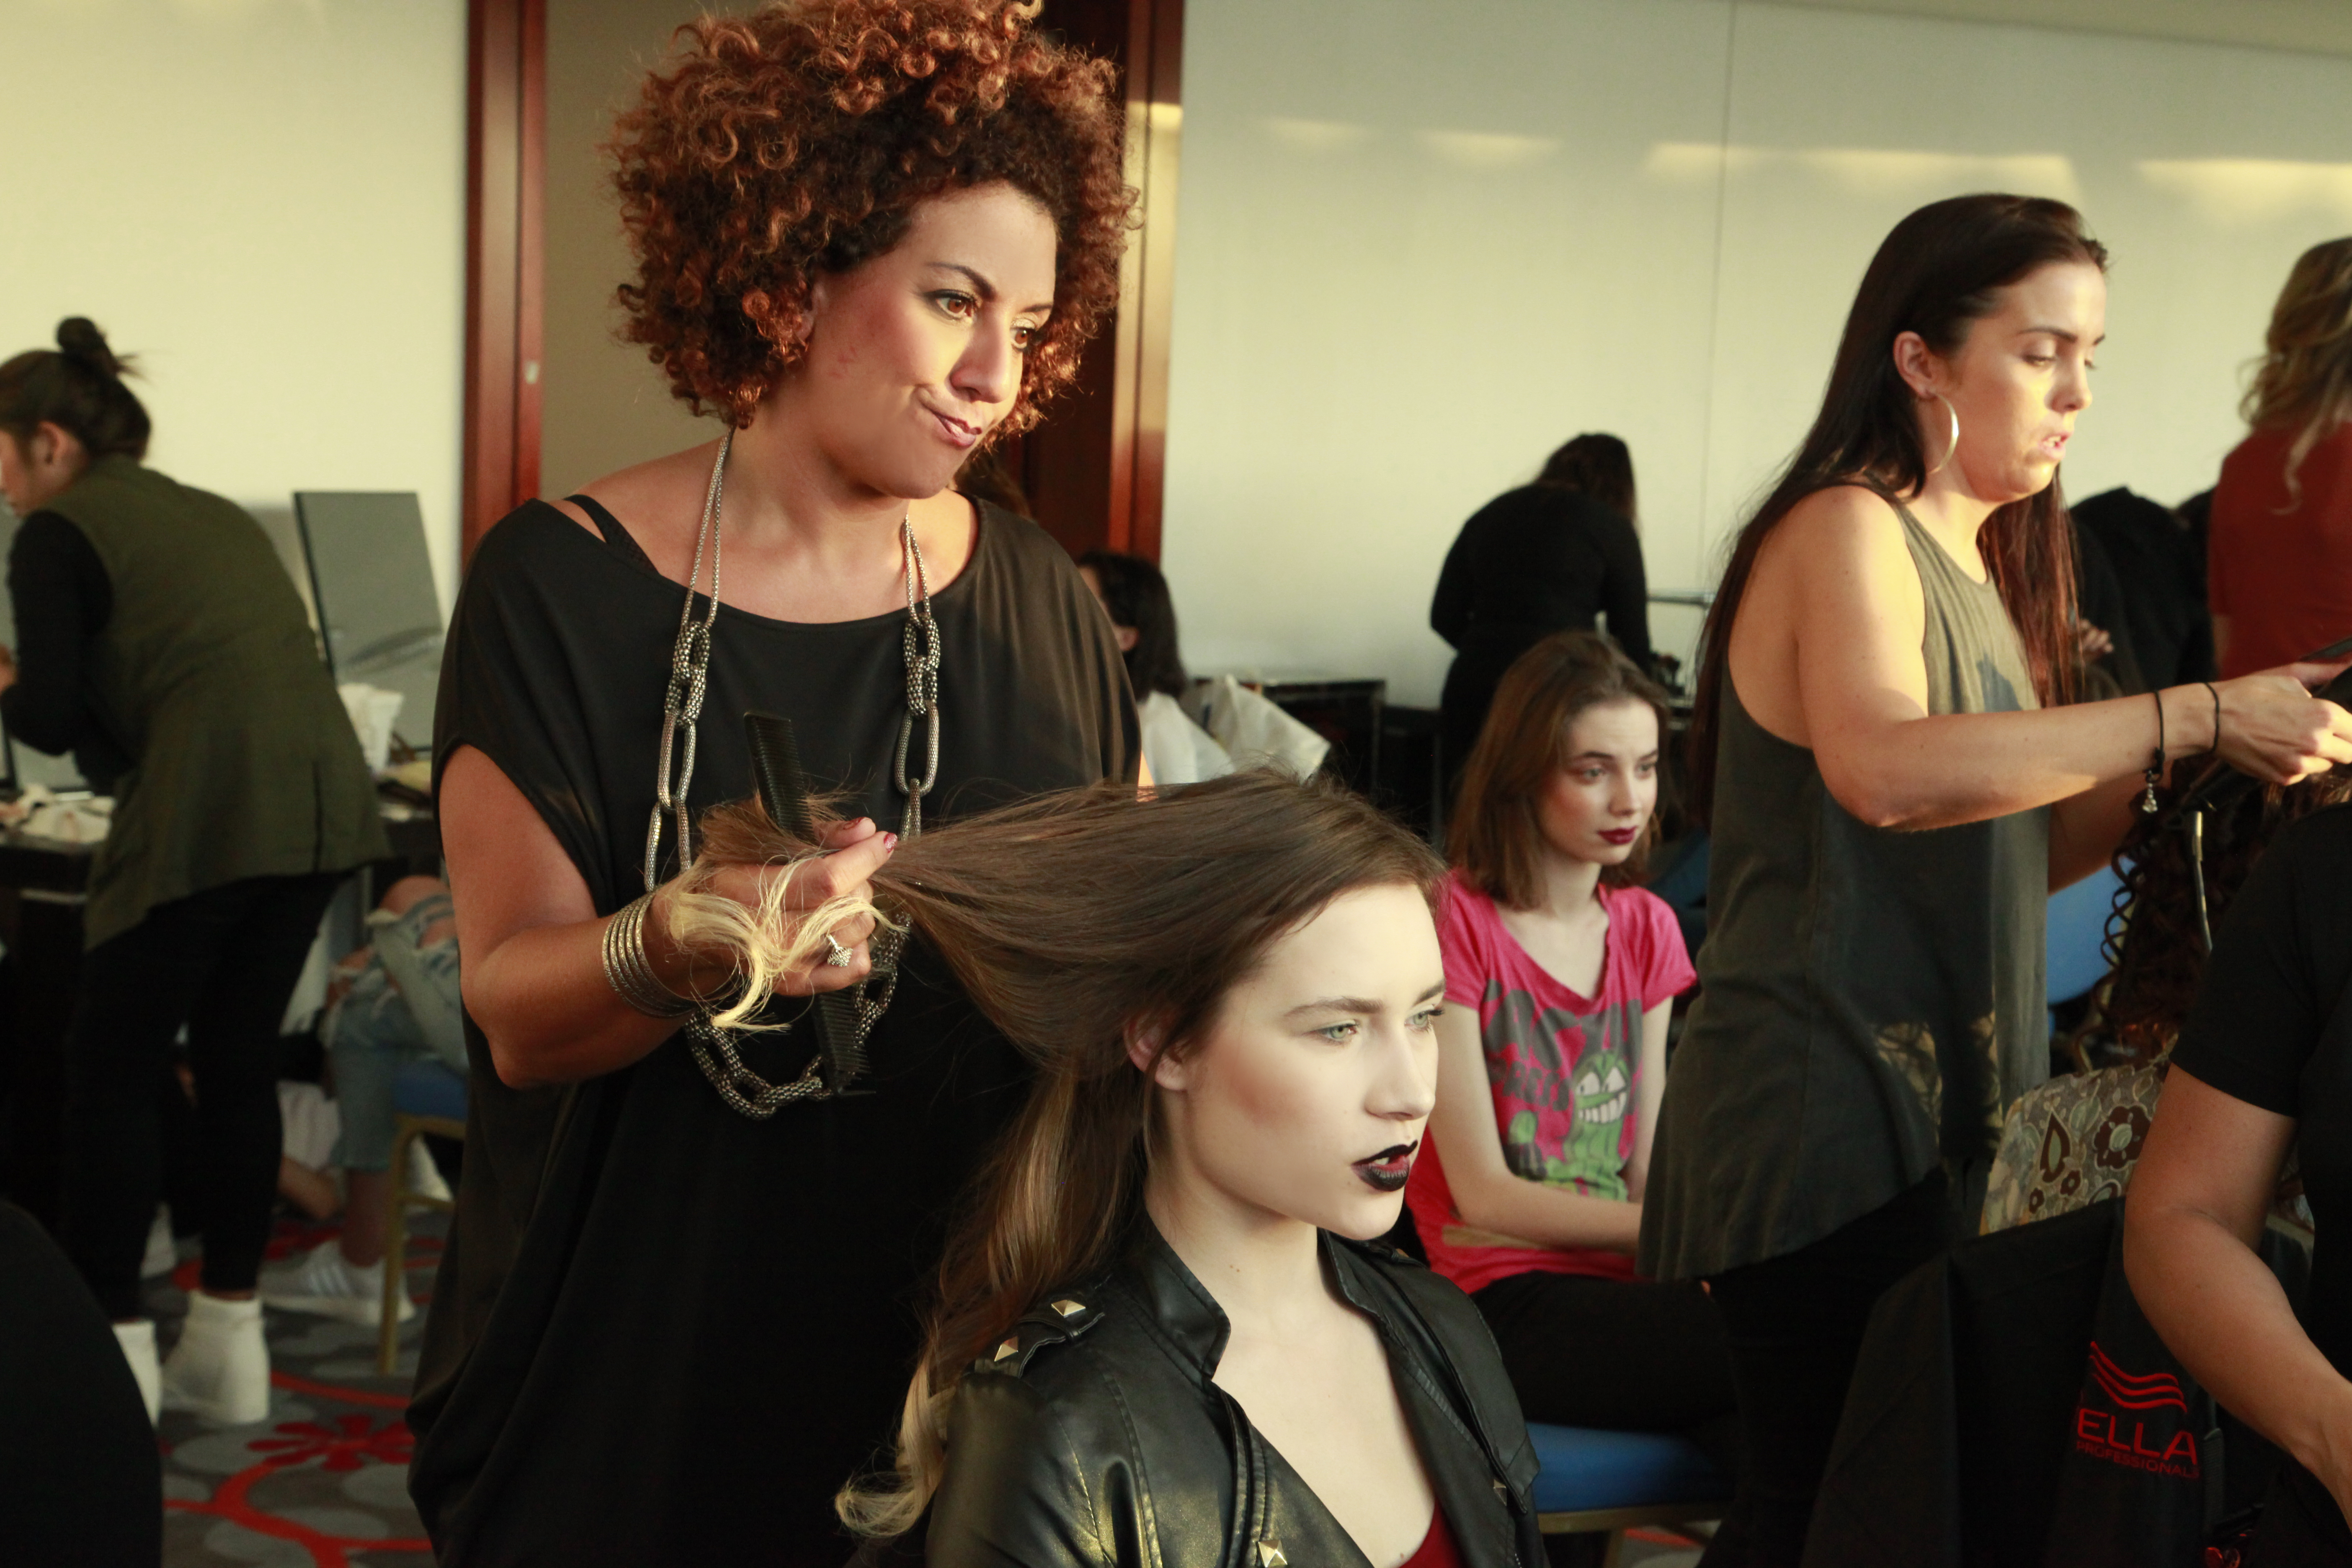
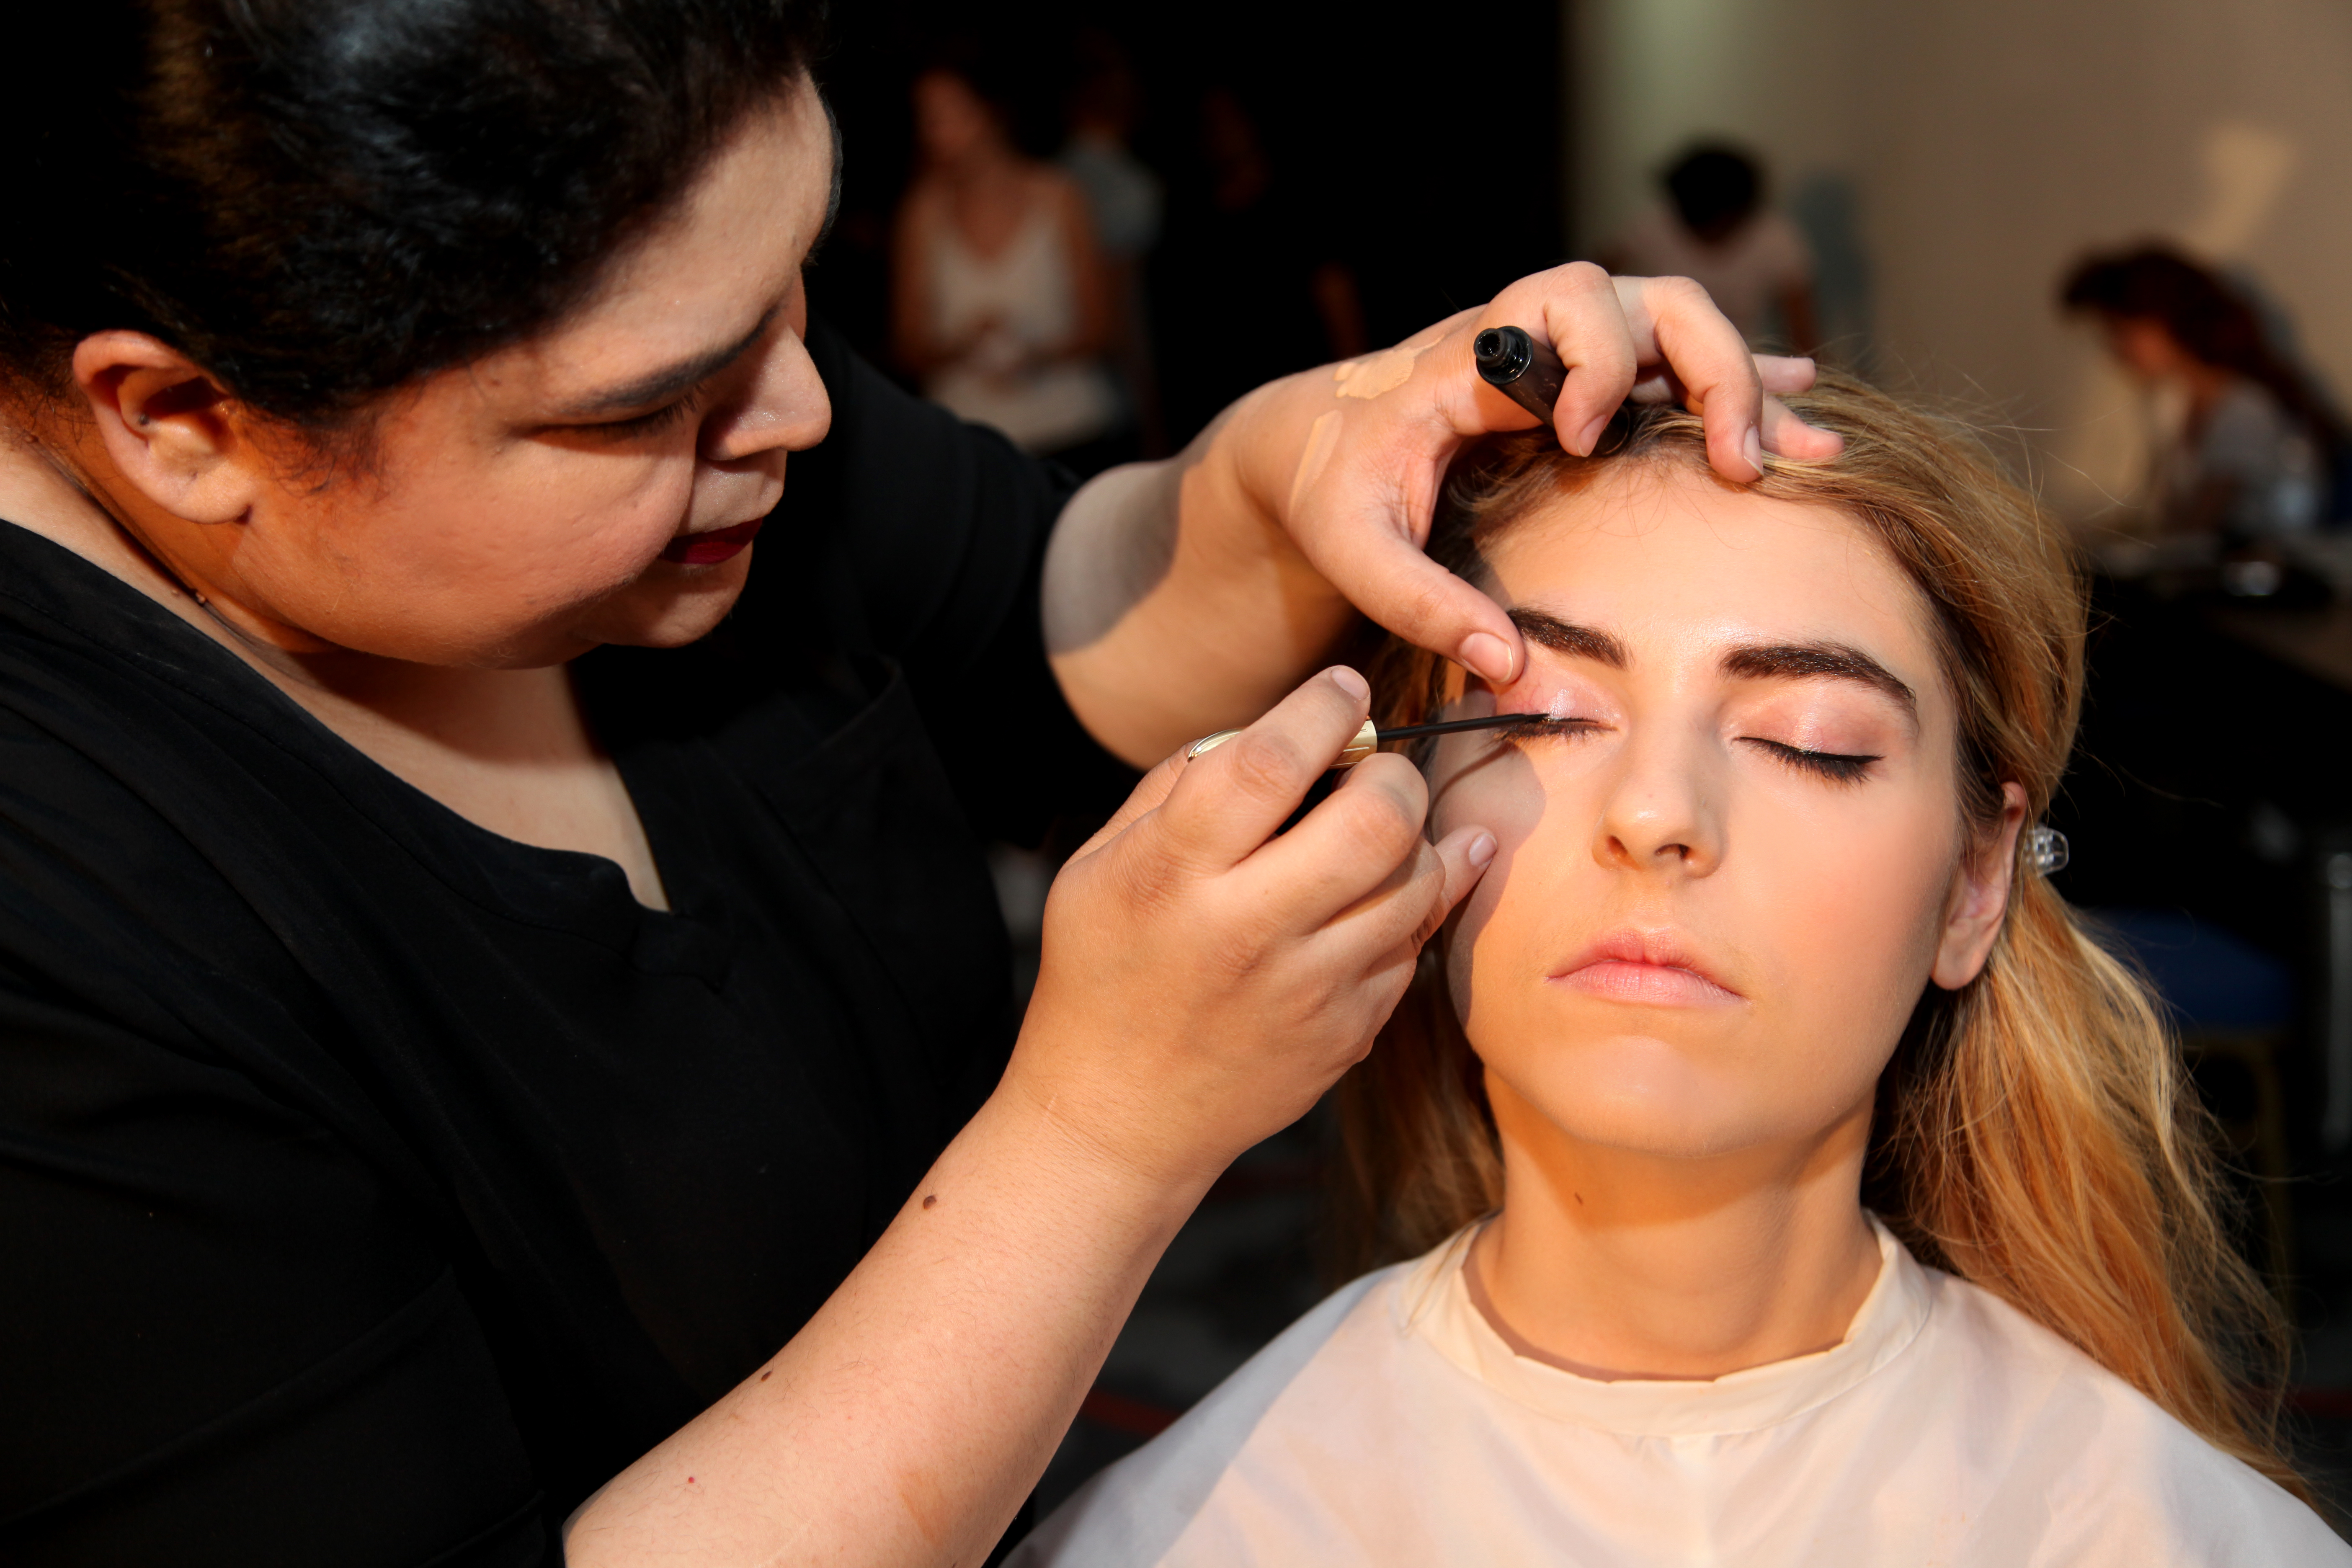
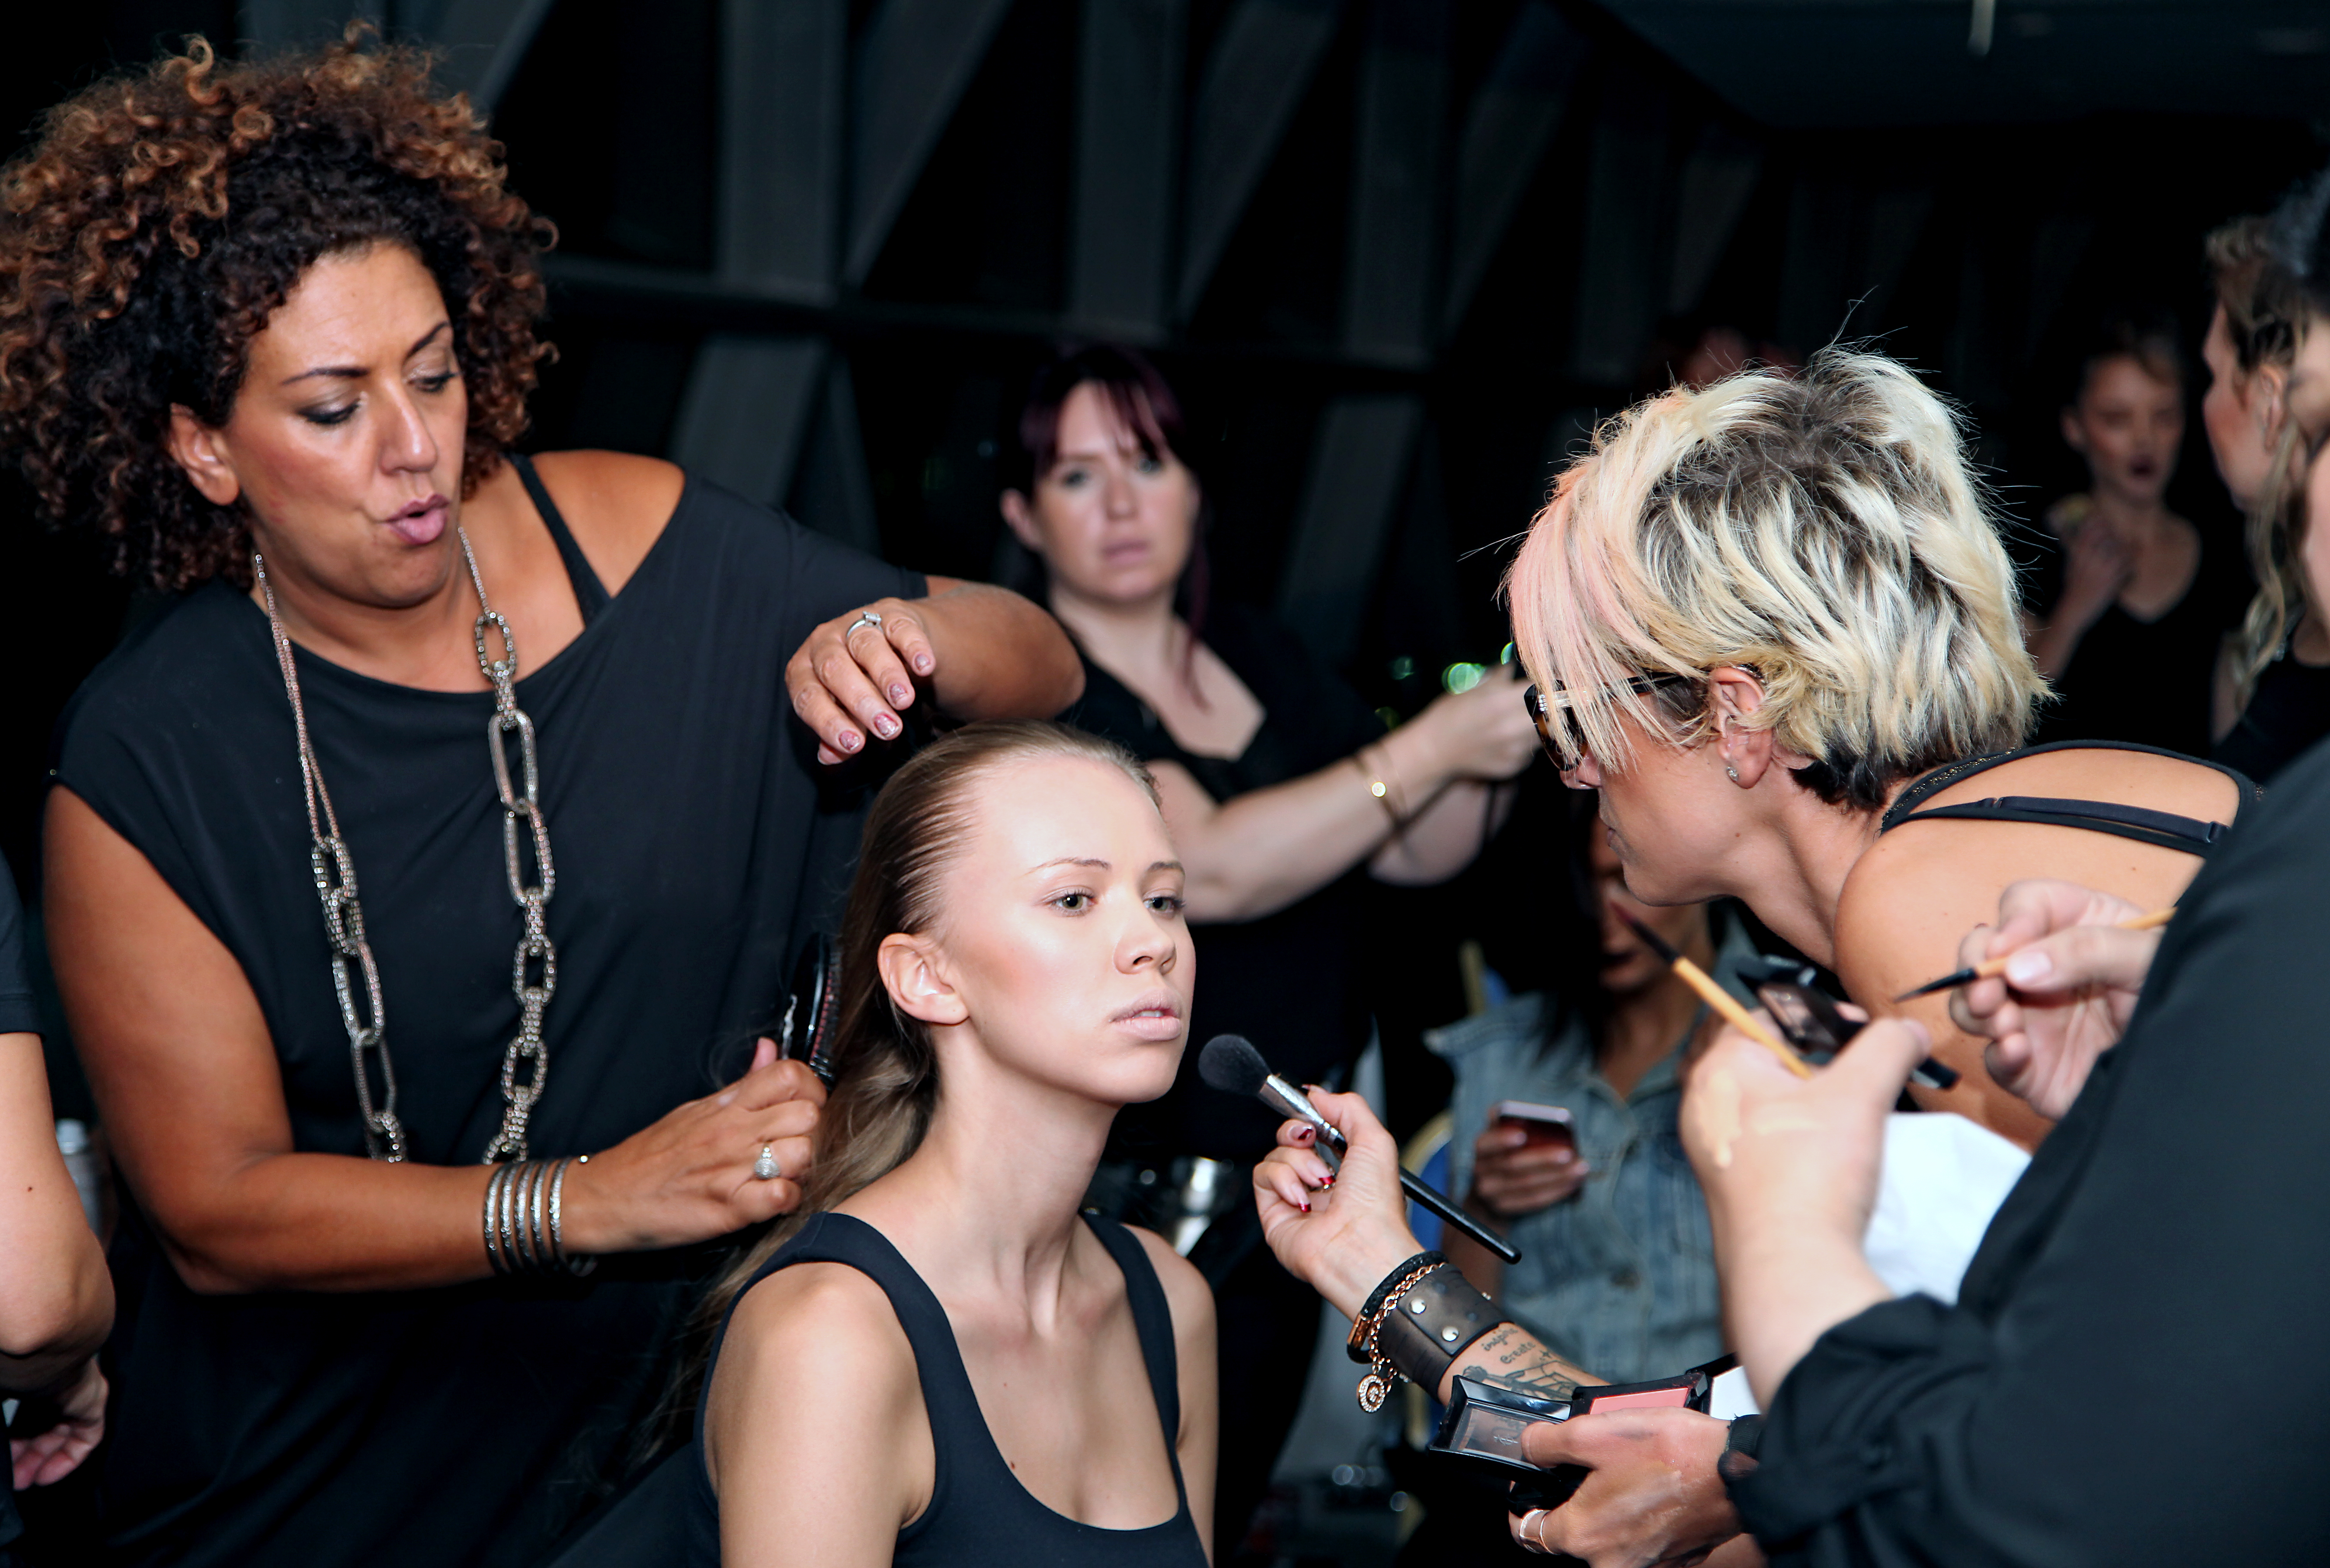
Arab Fashion Week is one of the most exciting events of the year. The rush is still flowing form the Day 1 and its all go go go behind the scenes, so come on in and see what Day 2 had in store for The Lipstick Makeup Institute team.
We are ready for day 2 at Arab Fashion WeekHard at work
Day 2
Look 1
Designer: Next Generation
Welcome to the dark side with New Generations latest collection. With a gothic look to match their beautiful dark stain clothing, make up by illamasqua to create this look.
We had a light base of foundation to give the clear clean skin look, very light contour just to highlight the cheek bones. On the eyes we used a sliver shimmer to the inner corner of the eyes, taking this to the base of the eyelid, up to the brow bone and gradually taking a darker shade in the eye crease for a bit of contouring, we also took the sliver shimmer under the eye and one light coat of mascara only of the top lashes.
For the lips we took a deep purple to finish off the gothic look.
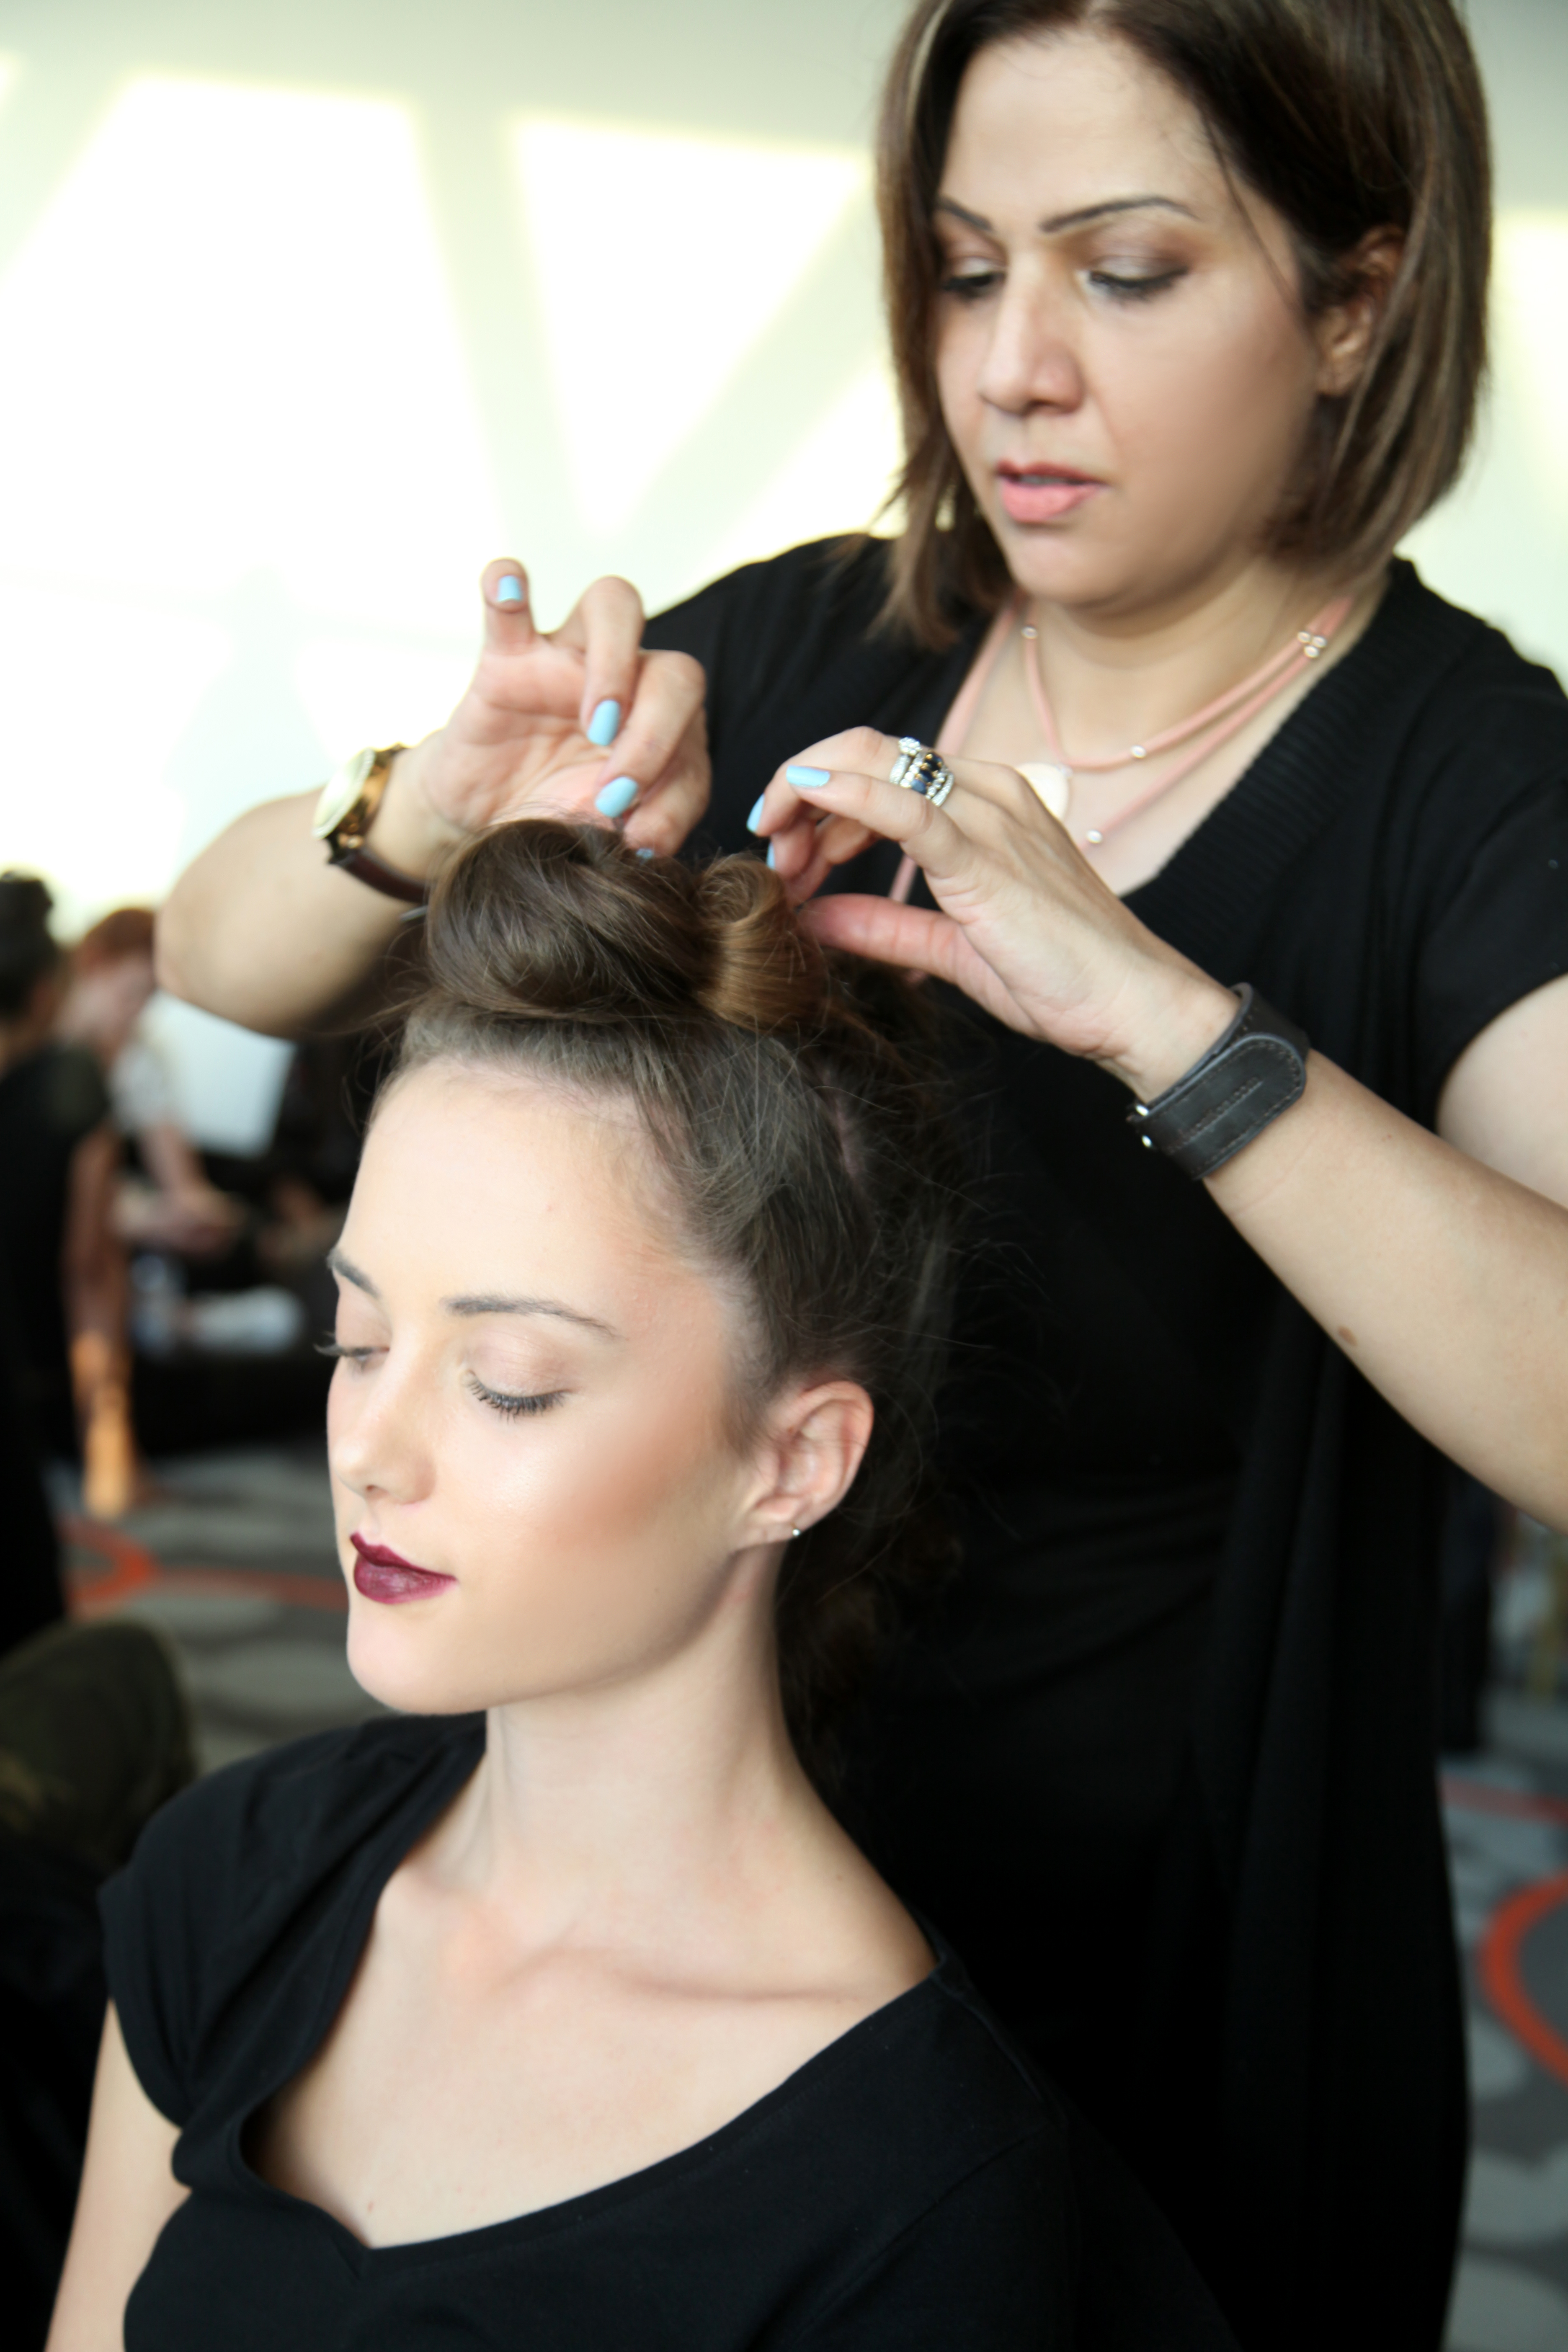
Look 2
Designer: Jeans Couture
With Jeans Couture funky edgy style we took peach and bronze tones to the eyes. On the lids we used a peachy bronze across the whole lid, we used a darker tone to bring the colour up to the brows. One coat of mascara on the top lashes. We kept the bottom lash line mascara free with a light sweep of peach pigment. For the lips we had a beautiful plum colour to compliment the bright eyes. For the cheekbones we took a shade of rouge to match the lip colour. The base was a matte clean finish.
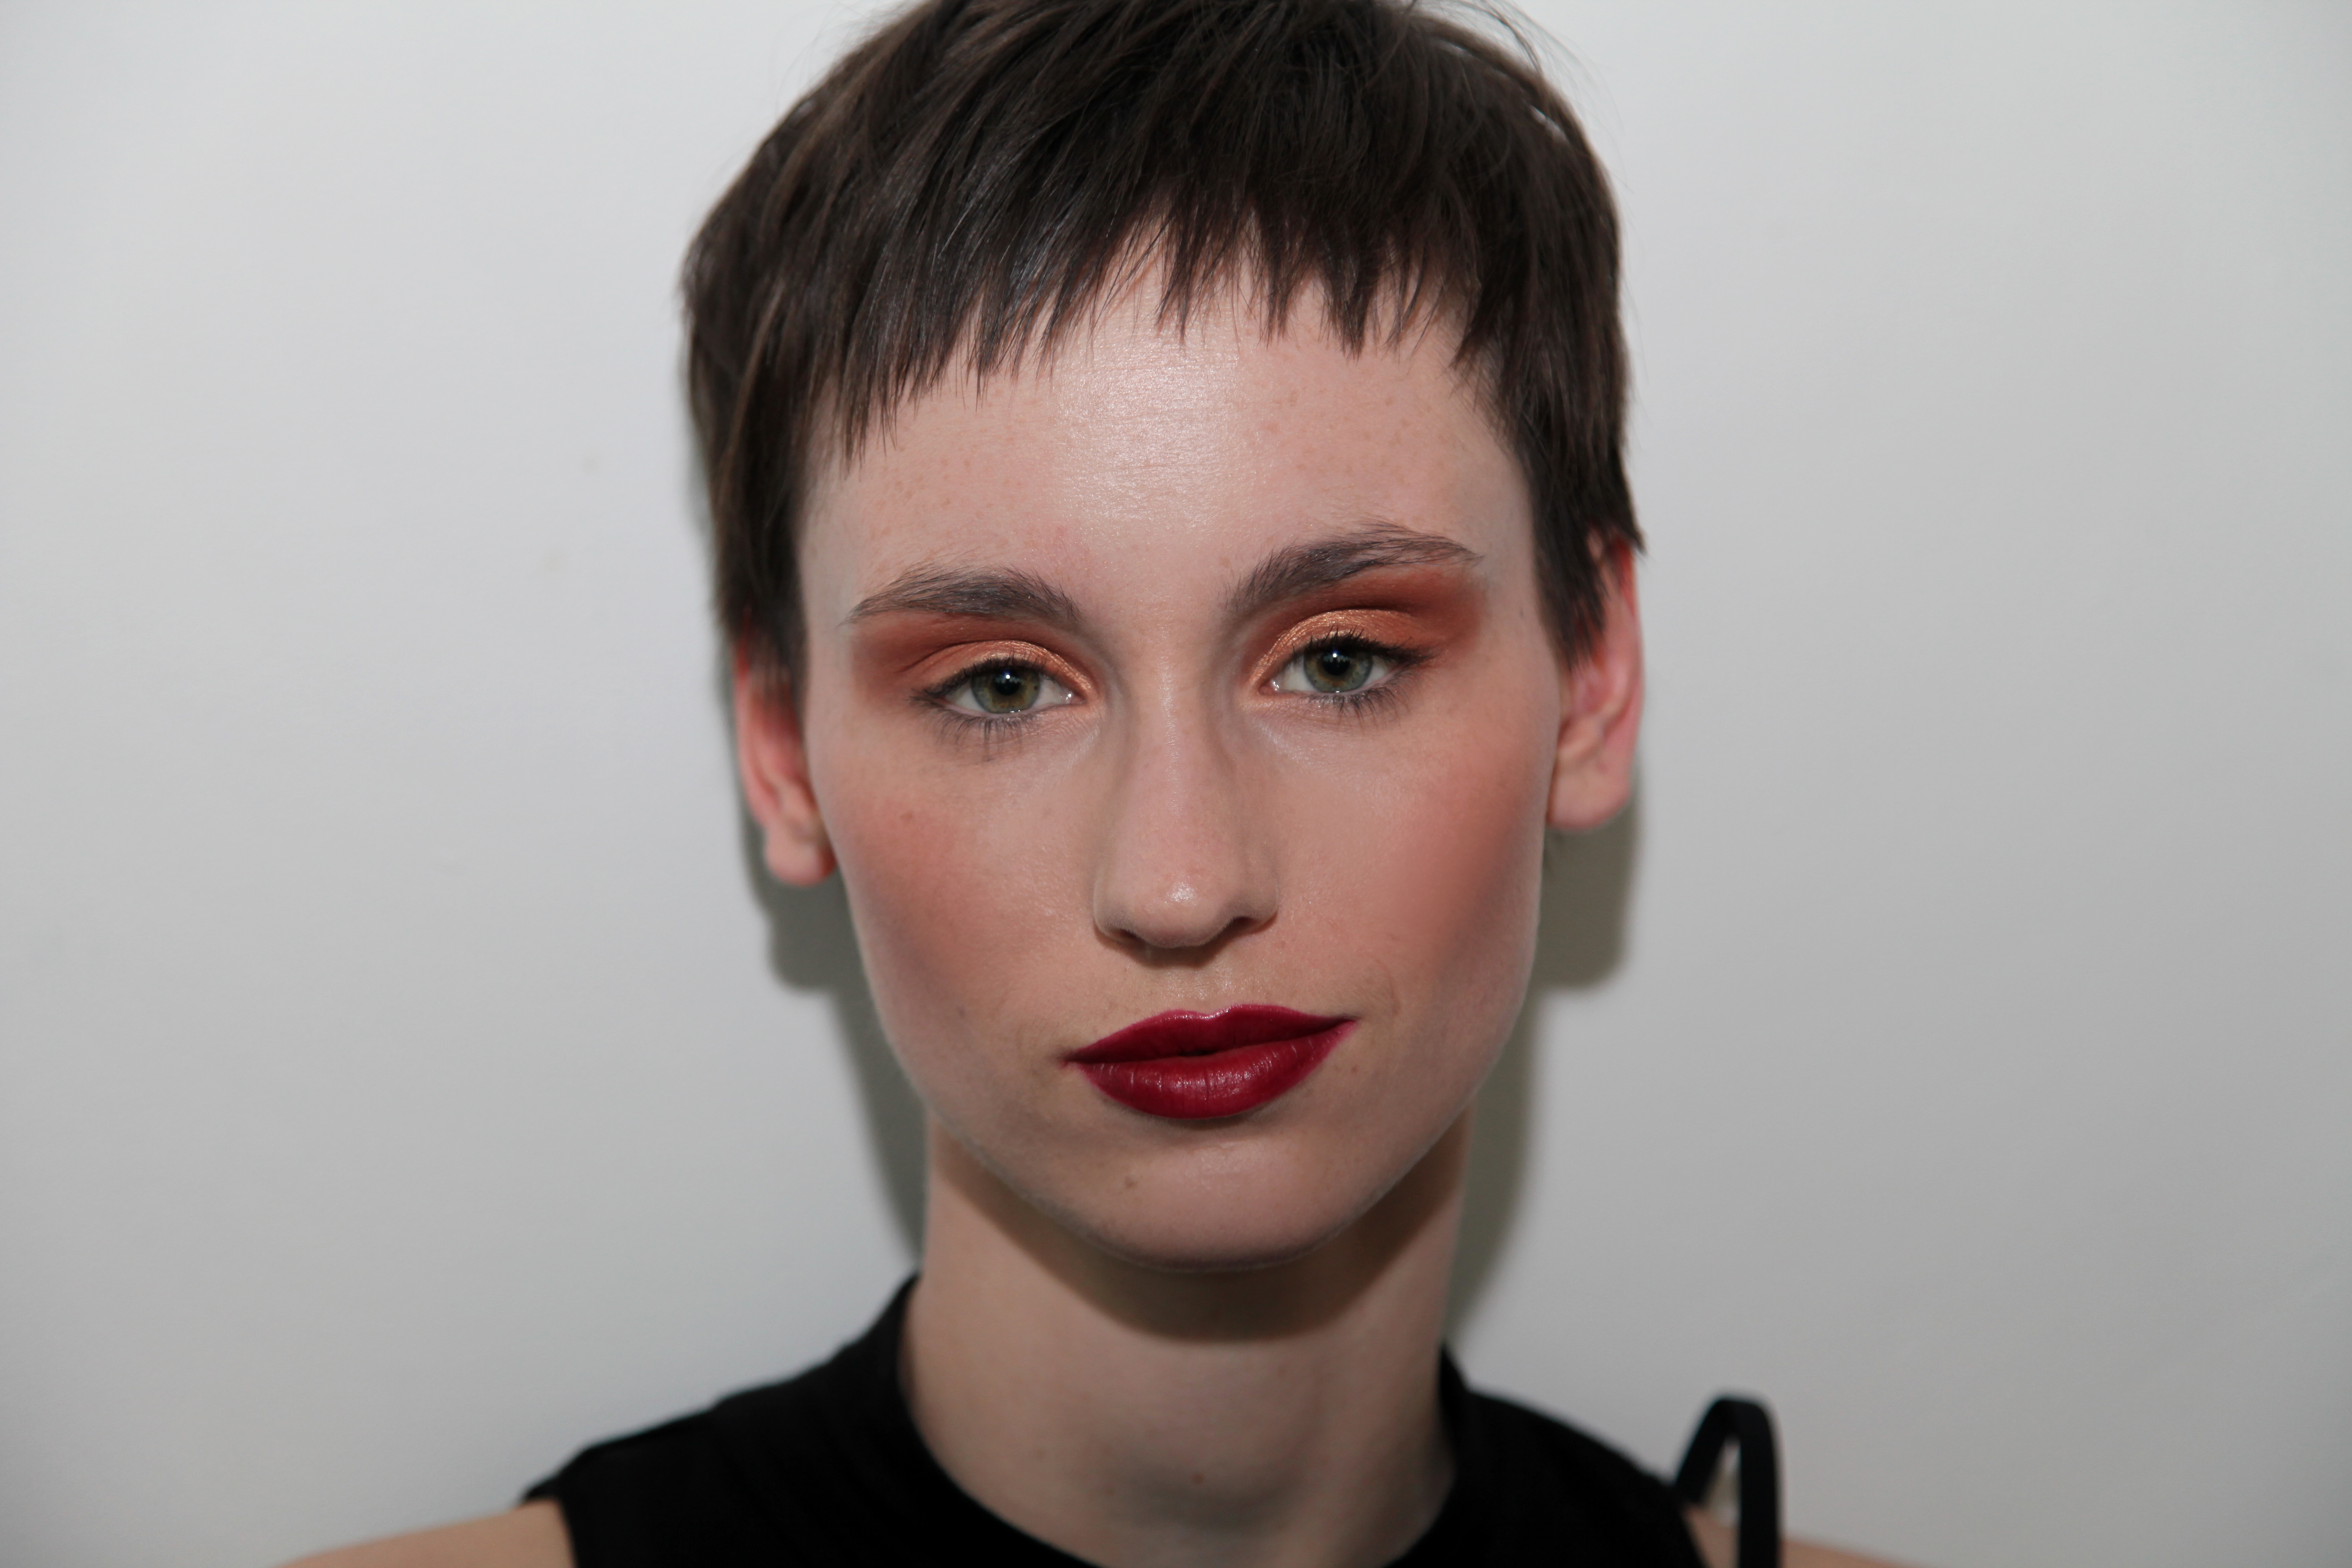
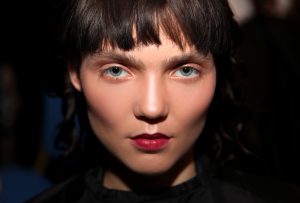
Look 3
Designer: Laquan Smith
With deep shades of red, black latex and sexy thigh high boots for this collection, we went for the oh so seductive look.
We had to get the make up done before the gorgeous models got their hair done so we had no time to lose. The look was very similar to Jeans Couture. We change the eyes slightly making the colours more pinks rather than bronze, we blended the shade more and didn’t take it as high as the brow bone, using the same technique to sweep slight pink pigment along the bottom lash line. With the lips we chose a slightly less blue undertone for a lighter shade. We contoured the cheeks more and high
Look 4
Designer: Laura Macini
Laura Macini create a beautiful Egyptian look for her beautiful evening gowns.
We bronzed the base up a bit for this look, contouring and highlighting the cheekbones and forehead. We kept the eyelid clean from colour using vaseline to create a beau tile sheen, used liquid liner on both the top and bottom lash line to elongate the eyes. For the lips we took a light blush shade to finish off the look.
Look 5
Designer: Ilse Jara
A complete eye change for this look compared to Laura Macini. Eyeliner came off and the gold was packed on. We kept the base very light and clean with just a very slight bronze for a cheekbone contour but the main focus was the eyes. We smashed heavy gold pigment from the top lashliene to the brows, smudging some vaseline on the lids as well for extra sheen. Lips we took pinky nude colour and kept lips matte. The hair stylist finished the look off by sweeping the hair back off the models face, this look is amazing on the catwalk as all the lights really shows the gold on the models eyes.
We hope you enjoyed backstage at Arab Fashion Week with the Lipstick Makeup Institutefor day 2.
As a matter of fact makeup really is magic. As an illustration whenever you put makeup on you feel like a completely different person.
All in all makeup gives you confidence and makes you glow.
However, as I said many times before makeup is just magic.
As soon as you start putting foundation on you feel the difference not just see it. As much as it is just a bit of paint it fills you with delight and makes you shine.
First thing to remember is that you need to put the foundation on right
All in all, you need to learn properly. For one thing you need the best teacher to show you how.
For fear that you will get it wrong then just book us at The Lipstick Makeup Institute.
Have a look at our website for ideas and to see all the teachers work from the students.
Secondly, give us a call to discuss all your needs.
Thirdly. get your brushes clean and ready for action.
Lastly, come and get ready to learn new skills and tips.
Both men and women are welcome at The Lipstick Makeup Institute.
All things considered, I believe we at The Lipstick Makeup Institute are the best in Dubai.
All in all we are very personal and don’t have huge classes, we are small, very cool and educated.
By all means check around all the schools but we are confident you will choose us. Coupled with experience and opportunity we are very high up there on the list.
By the same time you can choose your days and hours as we are very flexible.
You don’t have to give up makeup altogether just because you have oily skin. Knowing what compliments your skin type is important.
These professional suggestions for applying makeup if you have an oily complexion come from a cosmetic professional and a Lipstick Makeup Institute
You can check with your makeup artist on the following to see if they can accommodate them in your look.
Priming your skin is a must
Using a cosmetic primer will help your makeup remain in place if you have oily skin. We recommend a Oil Control Primer Or Pore Perfecting Primer. Apply it following a facial cleansing but before applying foundation, powder, or any other makeup.
Prepare your eyes
Eye Creases are one of the challenges for a nice eye makeup finish.
Use an eyelid-specific primer. This provided an ideal canvas for eye makeup and liner. Now you are ready to do any eye makeup.
Don’t use too much powder
Applying a lot of face powder seems like the appropriate move. But going too far could have the opposite effect by causing your pores to produce extra oil.
Only the shining portions should be covered with powder. Utilize a matte transparent product to reduce shine on all skin tones.
If you accidentally apply too much powder, dab it off with a moist makeup sponge.
Keep blotting sheets on hand
If you are prone to oiliness, your makeup will shine by lunchtime no matter how beautiful and matte it seems in the morning.
Some blotting papers only lift the oil from your skin.
Instead of rubbing the paper on your skin, the secret to using blotting papers without removing all of your makeup is to press it where your skin is oily and then roll it off.
Use non Comedogenic Products
After that invest in cosmetic items that are oil-free and noncomedogenic, which means they won’t clog your pores, because your skin already generates more oil than you need. Foundation and blush are two such products.
Generally use glycolic acid-infused face cleansers and toners as well, which reduce extra oil.
Try to find “long wear.” makeup.
Makeup may be made to smear, smudge, or slide by using water or oil. Stick to eye products that are waterproof, water-resistant, or long-wearing for this reason.
Consider soft, not slick, skin
When it comes to morning usage, gentler moisturizers that hydrate without being oily are preferable to those thick anti-aging treatments. A serum could be used. It is often lighter.
Remember to use sunscreen;
Chemical Sunscreens based out of avobenzone are a great pick as they dont give white cast, ideal for a makeup layer above this.
Also each skin type is distinct and has its own advantages and disadvantages.
So picking the finest makeup for an oily face and properly preparing the skin are the keys to getting your oily skin to stay covered by makeup. Use cosmetics that will limit the production of oil on your skin rather than drying ones. Using the tips and suggestions in this article, you may properly prepare your skin so that your makeup will last all day. So give them a try we’re confident your skin will thank you..
Further More Enrol Now
All in all you get the professional portfolio and work with us on our clients.
Because we are best
Thinking of start your career? Call us today on 052 834 9964 email our team or check out more details The Lipstick Makeup Institute
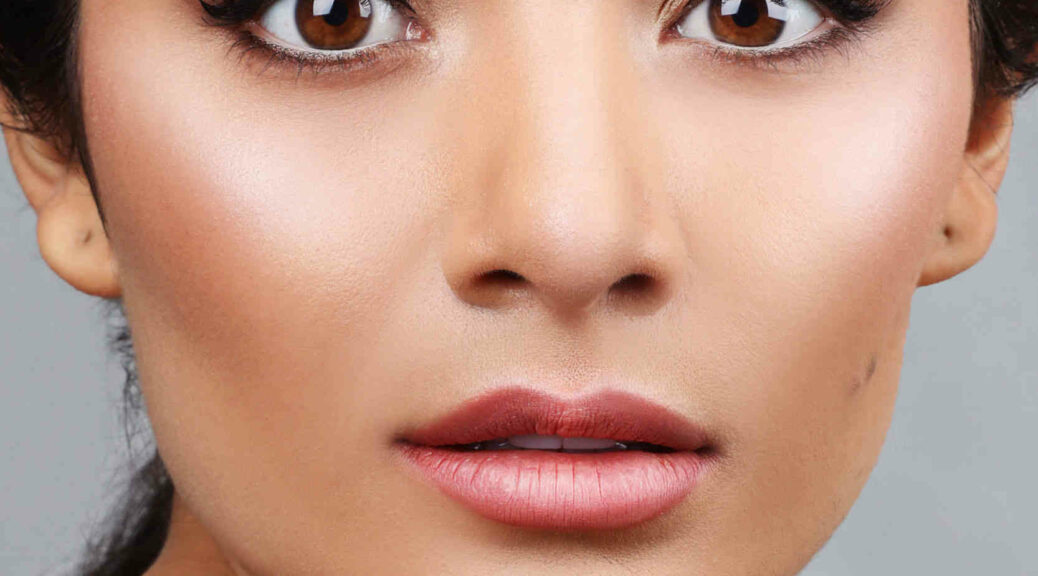
Learn How to Snatch with Concealer: Concealer really is the G.O.A.T makeup product. Beyond its ability to conceal any blemishes and nix dark circles, it has snatching superpowers. When applied strategically and with the right shade, it brightens, lifts, and sculpts your complexion like no other. It’s just so creamy and buildable, plus it doesn’t crease.
The secret to snatching lies in the concealer shade and placement. Your snatch shade should be three to five shades lighter than your skin match. By heightening the contrast with your skin, it enhances the brightening while creating natural shadows that give a seriously sculpted final look.
To snatch, apply the concealer to the inner and outer corners of your eyes (extending out towards your temples), on the bridge of your nose, the outer corner of your mouth, and underneath your cheekbones. Always apply in an upward motion, and then blend using small tapping motions, following the same direction (upwards).
Cook Your Concealer for More Coverage
If you want to increase the coverage of any concealer, the trick is to cook with it. No, we don’t mean putting it in the oven. The technique refers to applying your concealer to the areas you want to target, then leaving it for between one to three minutes before you blend it out – experiment to see which timing works best with your formula and the level of coverage you want.
Essentially, this ‘drying’ time allows the concealer to start setting into your skin, which means that when you go to blend, it’s almost semi-dry and doesn’t disappear into your skin or blender. You want to catch it just before it completely sets so that you’re still able to blend it. It’s magical!
Please feel free to contact us via phone call, email or WhatsApp. We are here for you and we’ll always advice you and we’ll find the best option for you.
Contact number & WhatsApp:
+971 52 8497972 /+971 52 8349964
Best makeup tips. Some of these hacks you’ll know, and others will be new, but trust us, these are the beauty hacks EVERYONE should know! Tried, tested, and approved by yours truly.
Always Prep your Skin to Create the Ultimate Makeup Base.
The bottom line is, your beat will never be its best without prepping your skin first. It’s just a fact.
If you skip these two essential steps, your makeup is more likely to settle into fine lines or collect in dry and flakey areas rather than be perfectly smooth.
It also helps your makeup stay in place for longer.
Step 1: Exfoliation is key, as this will help create a smooth canvas for makeup application and melt away any dead skin while leaving your skin brighter than before.
Step 2: The next step is hydration. Start with a plumping serum.
For the under eye area, we love using the eye lift and contour serum, as it’s super lightweight and hydrating, but it also firms the lids and under eye area for a smooth finish. Then, we seal in all that glazed hydration with the moisturizer, It sounds simple, but it’s one of those make-or-break steps.
Use Ice Water to Depuff and Tighten Your Pores.
This has to be one of the easiest (and cheapest) skincare hacks EVER. It’s pretty simple, just a little chilly. All you have to do is splash your face with ice-cold water for around one minute.
It mimics the effect of the coveted facial,
AKA utilizing cold temperatures to encourage blood flow, soothe inflammation, and depuff your skin…
hello cheekbones! It also tightens the appearance of pores and just makes your skin look really bright and alive. Sign us up!
How to give yourself an ice facial: Prepare a bowl of ice cubes, submerge them in water, and allow the ice to melt for a few minutes. Now, you can either splash your face with the cold water or take a deep breath and dip your face in for about 20 seconds at a time. Make sure you move your face about so every inch experiences that icy rush.
Learn More tips and hacks stay in touch wait for next blog.
Additionally, here is a photo of our director also on the Self makeup Course
Makeup School Dubai
Yasmin Hussain learnt how herself from the teachers. Flawless makeup.
Additionally, during the class we will teach you.
Course steps
Here is what we cover also, if there is anything specific you want to cover we can do this also, we will customise it for you,
Self Make up Application Course ( 1 or 2 days 9 hours in total )
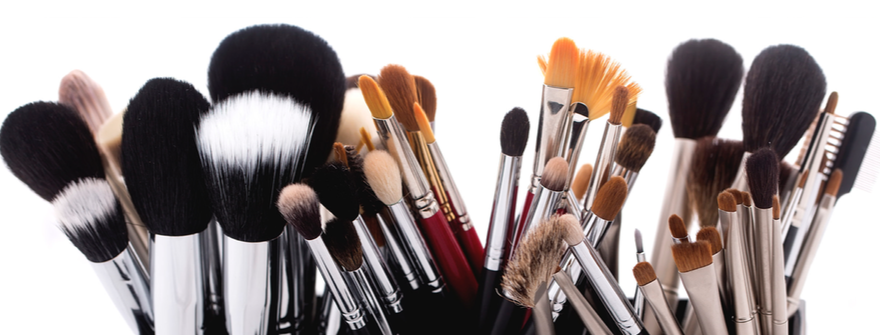
1. Make up steps, products and tools
2. Day make up including how to choose your foundations and also mixing and blending foundations to suit you skin tones which are ever changing.
3. Cocktail make up
4. Evening make up
5. Contouring and highlights
What the students get:
A course booklet, which provides step-to-step guides
Immediately, the school will provide all make up
Additionally, 1 professional photo of the your work so a self portrait taken by our Award Winning Photographers.
Therefore as a result after completing the course our students are entitled for huge discounts with different brands- Makeup Forever- Kryolan- Provok and KIKO
Finally, please let me know if we can help any further, you can contact us anytime.
In the meantime, please let me know if we can help any further, you can contact us anytime.
For the first time in history. we are doing 5 day International Diploma Course. The Lipstick makeup Institute recognises that not everyone needs 3 or 5 weeks.
Who is out there?
You guys are therefore we are putting on this course for you. Experienced makeup Artists who need a certificate.
Certification for your diploma
With this master class you will get your recognition in 5 days. We recognise that you dont need so much practice. Just show us what you can do. Express yourself in a 5 day international Diploma Course. Get recognised. You can open upper own salon. Go anywhere in the world with a certificate from The lipstick Makeup Institute.
The structure
Here is the structure. It is very simple and straight forward.
For the FRIST TIME IN HISTORY- 5 days only
1-week International Diploma Course
10-11 Talk by teacher Explanation
11-12 Morning practice on Facechart
12-12.30 Lunch
12-3.30 Model makeover with photoshoot
5 day International Diploma Course
LOOKS that will be covered
No Makeup Look, Catwalk/ glamorous, Bollywood or Arabic, European, Editorial
What The Students Get
International Diploma
KHDA Certification
5 Professional Photographs of their work
Makeup Supplied by school
Models Supplied by the school
Certificate of Achievement
Amazing
HOW TO BOOK for the 5 day diploma Course
call to Book now 21st NOVEMBER and 28th NOVEMBER
052 83 49964
We will run this course up until Christmas. Lets end the year on a high. Maybe you can join the @creativeshowteam
This is a new team that we have formed to service the event world. We are compiling the best of the best to be in the team. All paid work. We have done enough over the years for free so now its time to get rewarded.
Call to book for your 5 day diploma Course
Book onto this amazing course for only AED5,000 for the Diploma and KHDA Certification. Become a part of the Lipstick Makeup Institute Phenomenon and world.
Beginner Steps to Applying Makeup Before you even reach for makeup, it’s crucial that you prep your skin with skincare. “Always cleanse and moisturize for your skin type,” “Makeup will never lay properly without it.” When your skin isn’t properly prepped, you won’t be able to achieve an even flawless finish. Instead, your foundation will look heavy and gravitate toward the dry parts of your complexion while your concealer gets cake-y.
2. Apply Primer
Not all primers are created equal, so to achieve the best results, it’s best to select the right primer for your skin type. If you need help picking the perfect primer. If you use a heavy hand, the primer will start to ball or pill (not the look we’re going for). Instead, focus a thin coat on your forehead, cheeks, and chin. “This will allow it to blur and mattify in these areas (a.k.a. the T-zone), which are usually the areas that are the oiliest.”
3. Grab Your Foundation and Concealer
Now that your skin is prepped and primed, you can start applying your makeup. While typically you should start with foundation first and then concealer, there are certain instances where you’ll want to reach for concealer first.
Dab a few dots of foundation on your T-zone, focusing on your forehead, nose, cheeks, and chin. Next, use a foundation brush to blend it in. While you can also certainly use a makeup sponge or even your fingers, using a foundation brush is quick and easy, making it a great option for beginners (and anyone who’s looking to simplify their makeup routine). To achieve a natural finish, start with a small amount of product and blend up and out.
Now that your foundation is applied, you’re ready to apply concealer. Focus on any areas you want to conceal: under the eyes, around the nostrils, and any blemishes or dark spots. When it comes to covering up, it’s important to dab, never drag.
Spot apply on blemishes and lightly dab, using either your ring finger, a concealer brush, or sponge. To conceal under the eyes, draw two inverted triangles under your eyes and blend the edges into your foundation by lightly dabbing. Not only is the upside-down triangle technique pretty foolproof, but it also brightens up the entire face, contributing to a gorgeous glow.
4. Set Your Base
Swipe a brush or velvet puff into your setting powder, and tap it to remove any excess. You want to ensure it’s evenly covered before you apply it to your complexion. Next, press it into your face to ensure you don’t move your makeup around in the application process. Focus on areas that often seem to need a touch-up throughout the day (typically the T-zone). If you have a special occasion ahead of you or you just want to create a more airbrushed finish, you can also “bake” your makeup.
5. Create Dimension
Contour comes in powder, liquid, and cream formulas, with powder being the most foolproof, making it ideal for beginners. Using an angled brush, focus on the areas you want to create dimension. Next, place contour under the cheekbones, around your hairline, and on the sides of your nose.
When it comes time to apply highlighter, focus on the “high” points of your face that the sun would naturally hit. “Adding highlighter above cheekbones, by the eyebrow arch, down the bridge of the nose and blending very well will give the most realistic dimension,” While highlighter comes in a variety of forms, a powder highlighter is easiest to use if you’re a beginner. To apply, dip your brush in the powder and tap it to remove excess powder. Next, lightly glide it over the high points mentioned above.
6. Add Back Some Color
When selecting the right bronzer, be sure not to go more than a shade or two darker than your regular complexion. Once you have selected your shade, you’re ready to begin bronzing. Using a fluffy brush, blend bronzer around your hairline, on your cheekbones, and on your jawline. The easiest way to remember this? Just think of the number three. For a flawless application, draw a number three on your face, starting at your hairline and then continuing down to your cheekbones before rounding it out under your jawline. Blend in circular, sweeping motions for a flawless finish, and dust some on the bridge of your nose to complete your sun-kissed glow.
When it comes to blush, it’s best to select a hue that brings out your skin’s natural undertone. Next, using a brush, apply blush to the apples of your cheeks to create a subtle, natural-looking flush, moving your brush in circular motions to blend as you go. If you’re unsure where the apples of your cheeks lie, simply smile!
7. Focus on Your Eye Makeup
When it comes time to apply eye makeup, the choice is really up to you. Do you want to create a natural makeup look for the day? A smoky eye for date night? Do you feel like trying your hand at the edgy negative space liner for drinks with friends? Depending on where you’re headed and what you plan on wearing, you can tailor your eye makeup to match your mood. Rely on your eyeshadow, eyeliner, and mascara to create the perfect glam.
Once you’ve applied your eyeshadow, you can move on to your eyeliner.
Brows deserve attention all on their own. You can either make your brows look fuller or enhance your natural shape using a variety of products, like brow pencils, powders, or gels. If you aren’t sure which product is right for you, stick to these guidelines: Use a pencil for the most natural-looking approach that mimics your real hair. Use a brow powder if you want to fill in sparse spots. And finally, whip out the brow gel when you need to keep unruly brows in place.
8. Swipe on Your Lip Products
If using a lip primer, prep lips before you begin. Next, use your lip liner to outline your mouth. This is where you can also contour and create the illusion of a larger pout by simply lining slightly over your lips. Next, fill in your lips with your liner. Use this as an outline and apply your lipstick.
With these expert tips, the right products, and a little practice you’re ready to take your makeup routine to the next level.
Beginner Steps to Applying Makeup
We’ll always advice you and we’ll find the best option for you.
Contact number & WhatsApp: +971 52 8497972
Don’t miss your chance
The Lipstick Makeup Institute giving BIG DISCOUNT on our Professional Makeup Course.
Don’t miss such a great opportunity and book your seat now 6 students in a group.
The last couple of days were really fun and successful. A student enrolled for the self makeup application course for 2 days and we had an amazing time with her.
At first, she didn’t know much about makeup and brought her own makeup. From there, we assessed her things and checked if they were the right products for her to become successful. Thankfully, she had a few brushes that were fine, and powder, bronzers, blush and lipsticks that were right for her complexion. Apart from that, the only items that were incorrect were her foundation and eyeshadows.
At first, I taught her a few theoretical aspects of makeup before we headed onto creating makeup looks.
On the first day, we did practice work for Day Makeup. I taught her how to put her makeup on, which brushes to use, how to shape her eyebrows and lips.
Before
On the second and last day of the Self Application Makeup Course, we did a review of the Day Makeup Look and Transitioned it to Evening Makeup and Party Makeup. She was able to do her own makeup with some guidance.
After
Learning how to put your own makeup is very important especially because appearance in the workplace is essential. When looking for a job, the first thing an employer looks at is someones photograph. In a job interview, a person’s appearance is something someone checks out.
When working in the service business, it’s important to have your makeup done impeccably so that your clients will feel at ease when you talk to them.
Here, at the Lipstick Makeup Institute, we’ll help you land your dream job by helping you in guiding you with your makeup — be it for your workplace, or for a date night. We’re here for you.