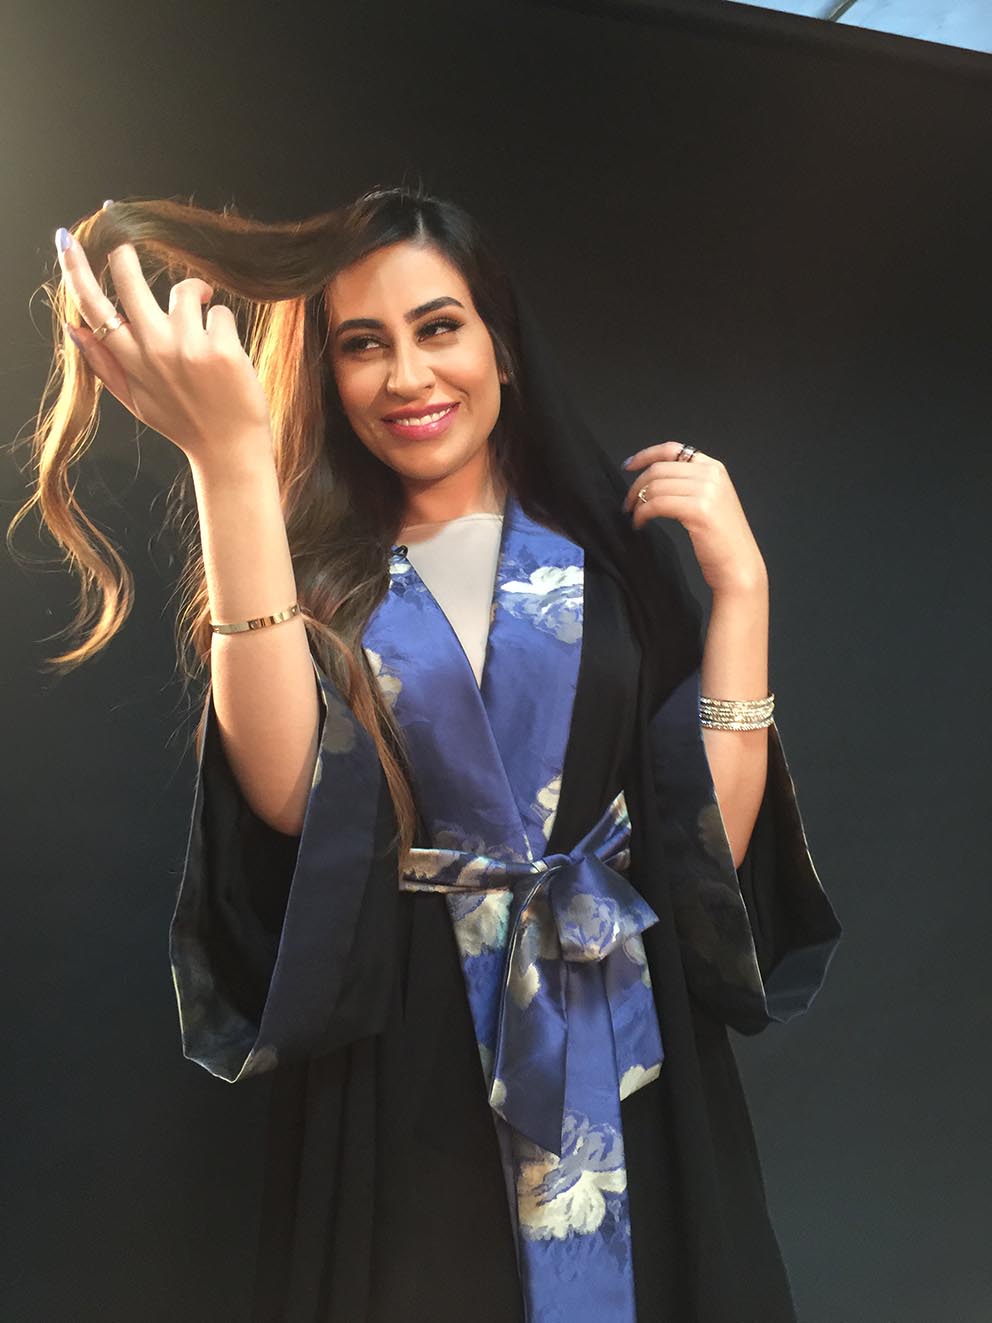
Beginner Steps to Applying Makeup
Lets begin
1. Prep Your Skin
Beginner Steps to Applying Makeup Before you even reach for makeup, it’s crucial that you prep your skin with skincare. “Always cleanse and moisturize for your skin type,” “Makeup will never lay properly without it.” When your skin isn’t properly prepped, you won’t be able to achieve an even flawless finish. Instead, your foundation will look heavy and gravitate toward the dry parts of your complexion while your concealer gets cake-y.
2. Apply Primer
Not all primers are created equal, so to achieve the best results, it’s best to select the right primer for your skin type. If you need help picking the perfect primer. If you use a heavy hand, the primer will start to ball or pill (not the look we’re going for). Instead, focus a thin coat on your forehead, cheeks, and chin. “This will allow it to blur and mattify in these areas (a.k.a. the T-zone), which are usually the areas that are the oiliest.”
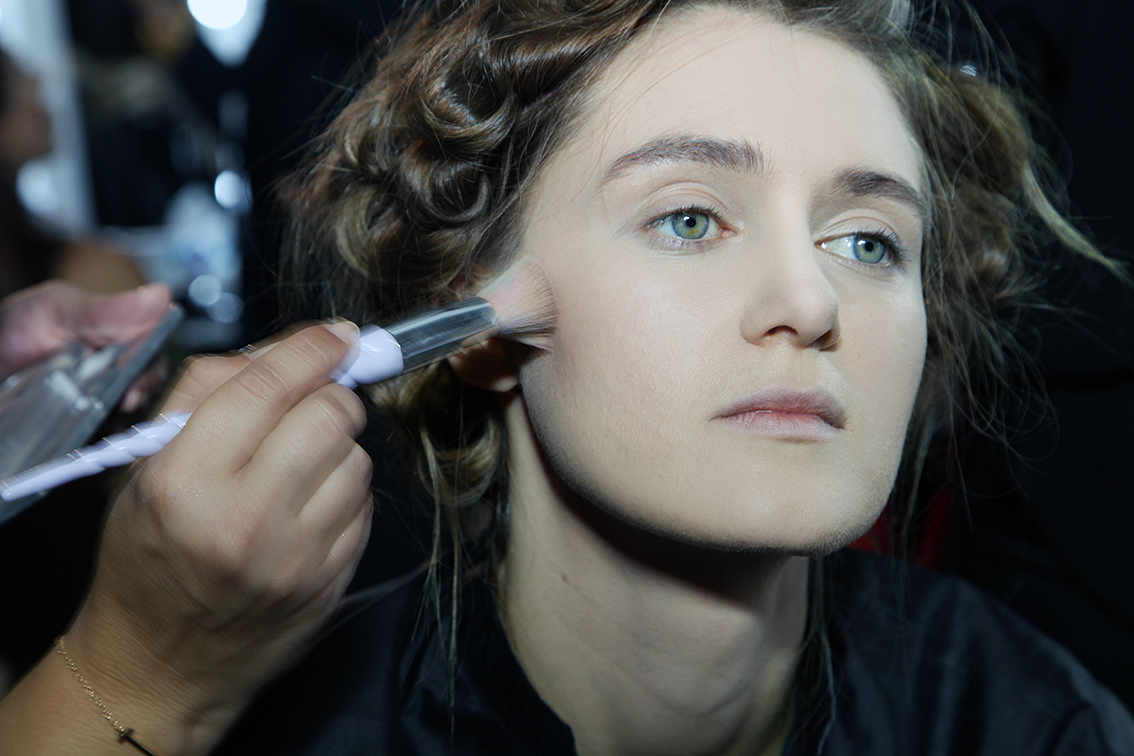
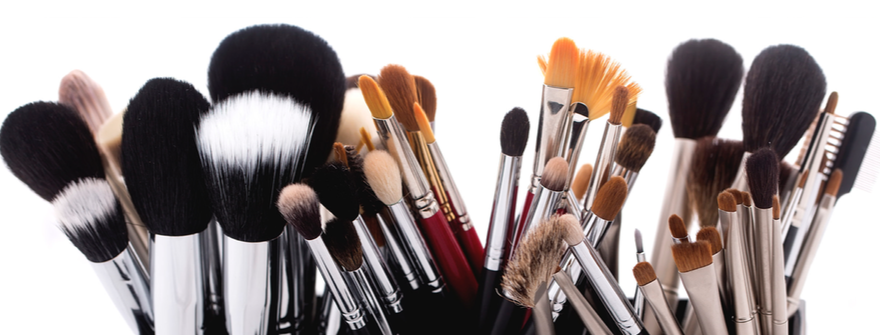
3. Grab Your Foundation and Concealer
Now that your skin is prepped and primed, you can start applying your makeup. While typically you should start with foundation first and then concealer, there are certain instances where you’ll want to reach for concealer first.
Dab a few dots of foundation on your T-zone, focusing on your forehead, nose, cheeks, and chin. Next, use a foundation brush to blend it in. While you can also certainly use a makeup sponge or even your fingers, using a foundation brush is quick and easy, making it a great option for beginners (and anyone who’s looking to simplify their makeup routine). To achieve a natural finish, start with a small amount of product and blend up and out.
Now that your foundation is applied, you’re ready to apply concealer. Focus on any areas you want to conceal: under the eyes, around the nostrils, and any blemishes or dark spots. When it comes to covering up, it’s important to dab, never drag.
Spot apply on blemishes and lightly dab, using either your ring finger, a concealer brush, or sponge. To conceal under the eyes, draw two inverted triangles under your eyes and blend the edges into your foundation by lightly dabbing. Not only is the upside-down triangle technique pretty foolproof, but it also brightens up the entire face, contributing to a gorgeous glow.
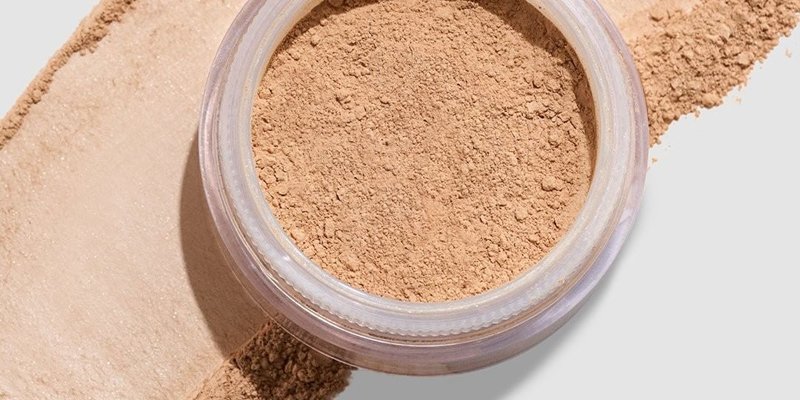
4. Set Your Base
Swipe a brush or velvet puff into your setting powder, and tap it to remove any excess. You want to ensure it’s evenly covered before you apply it to your complexion. Next, press it into your face to ensure you don’t move your makeup around in the application process. Focus on areas that often seem to need a touch-up throughout the day (typically the T-zone). If you have a special occasion ahead of you or you just want to create a more airbrushed finish, you can also “bake” your makeup.
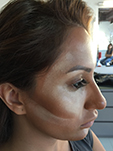
5. Create Dimension
Contour comes in powder, liquid, and cream formulas, with powder being the most foolproof, making it ideal for beginners. Using an angled brush, focus on the areas you want to create dimension. Next, place contour under the cheekbones, around your hairline, and on the sides of your nose.
When it comes time to apply highlighter, focus on the “high” points of your face that the sun would naturally hit. “Adding highlighter above cheekbones, by the eyebrow arch, down the bridge of the nose and blending very well will give the most realistic dimension,” While highlighter comes in a variety of forms, a powder highlighter is easiest to use if you’re a beginner. To apply, dip your brush in the powder and tap it to remove excess powder. Next, lightly glide it over the high points mentioned above.
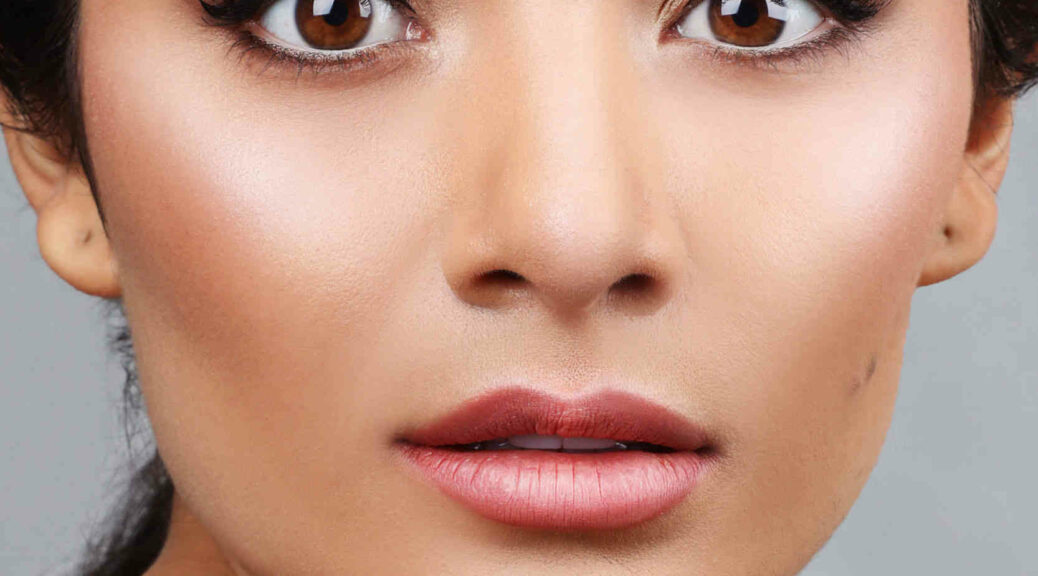
6. Add Back Some Color
When selecting the right bronzer, be sure not to go more than a shade or two darker than your regular complexion. Once you have selected your shade, you’re ready to begin bronzing. Using a fluffy brush, blend bronzer around your hairline, on your cheekbones, and on your jawline. The easiest way to remember this? Just think of the number three. For a flawless application, draw a number three on your face, starting at your hairline and then continuing down to your cheekbones before rounding it out under your jawline. Blend in circular, sweeping motions for a flawless finish, and dust some on the bridge of your nose to complete your sun-kissed glow.
When it comes to blush, it’s best to select a hue that brings out your skin’s natural undertone. Next, using a brush, apply blush to the apples of your cheeks to create a subtle, natural-looking flush, moving your brush in circular motions to blend as you go. If you’re unsure where the apples of your cheeks lie, simply smile!
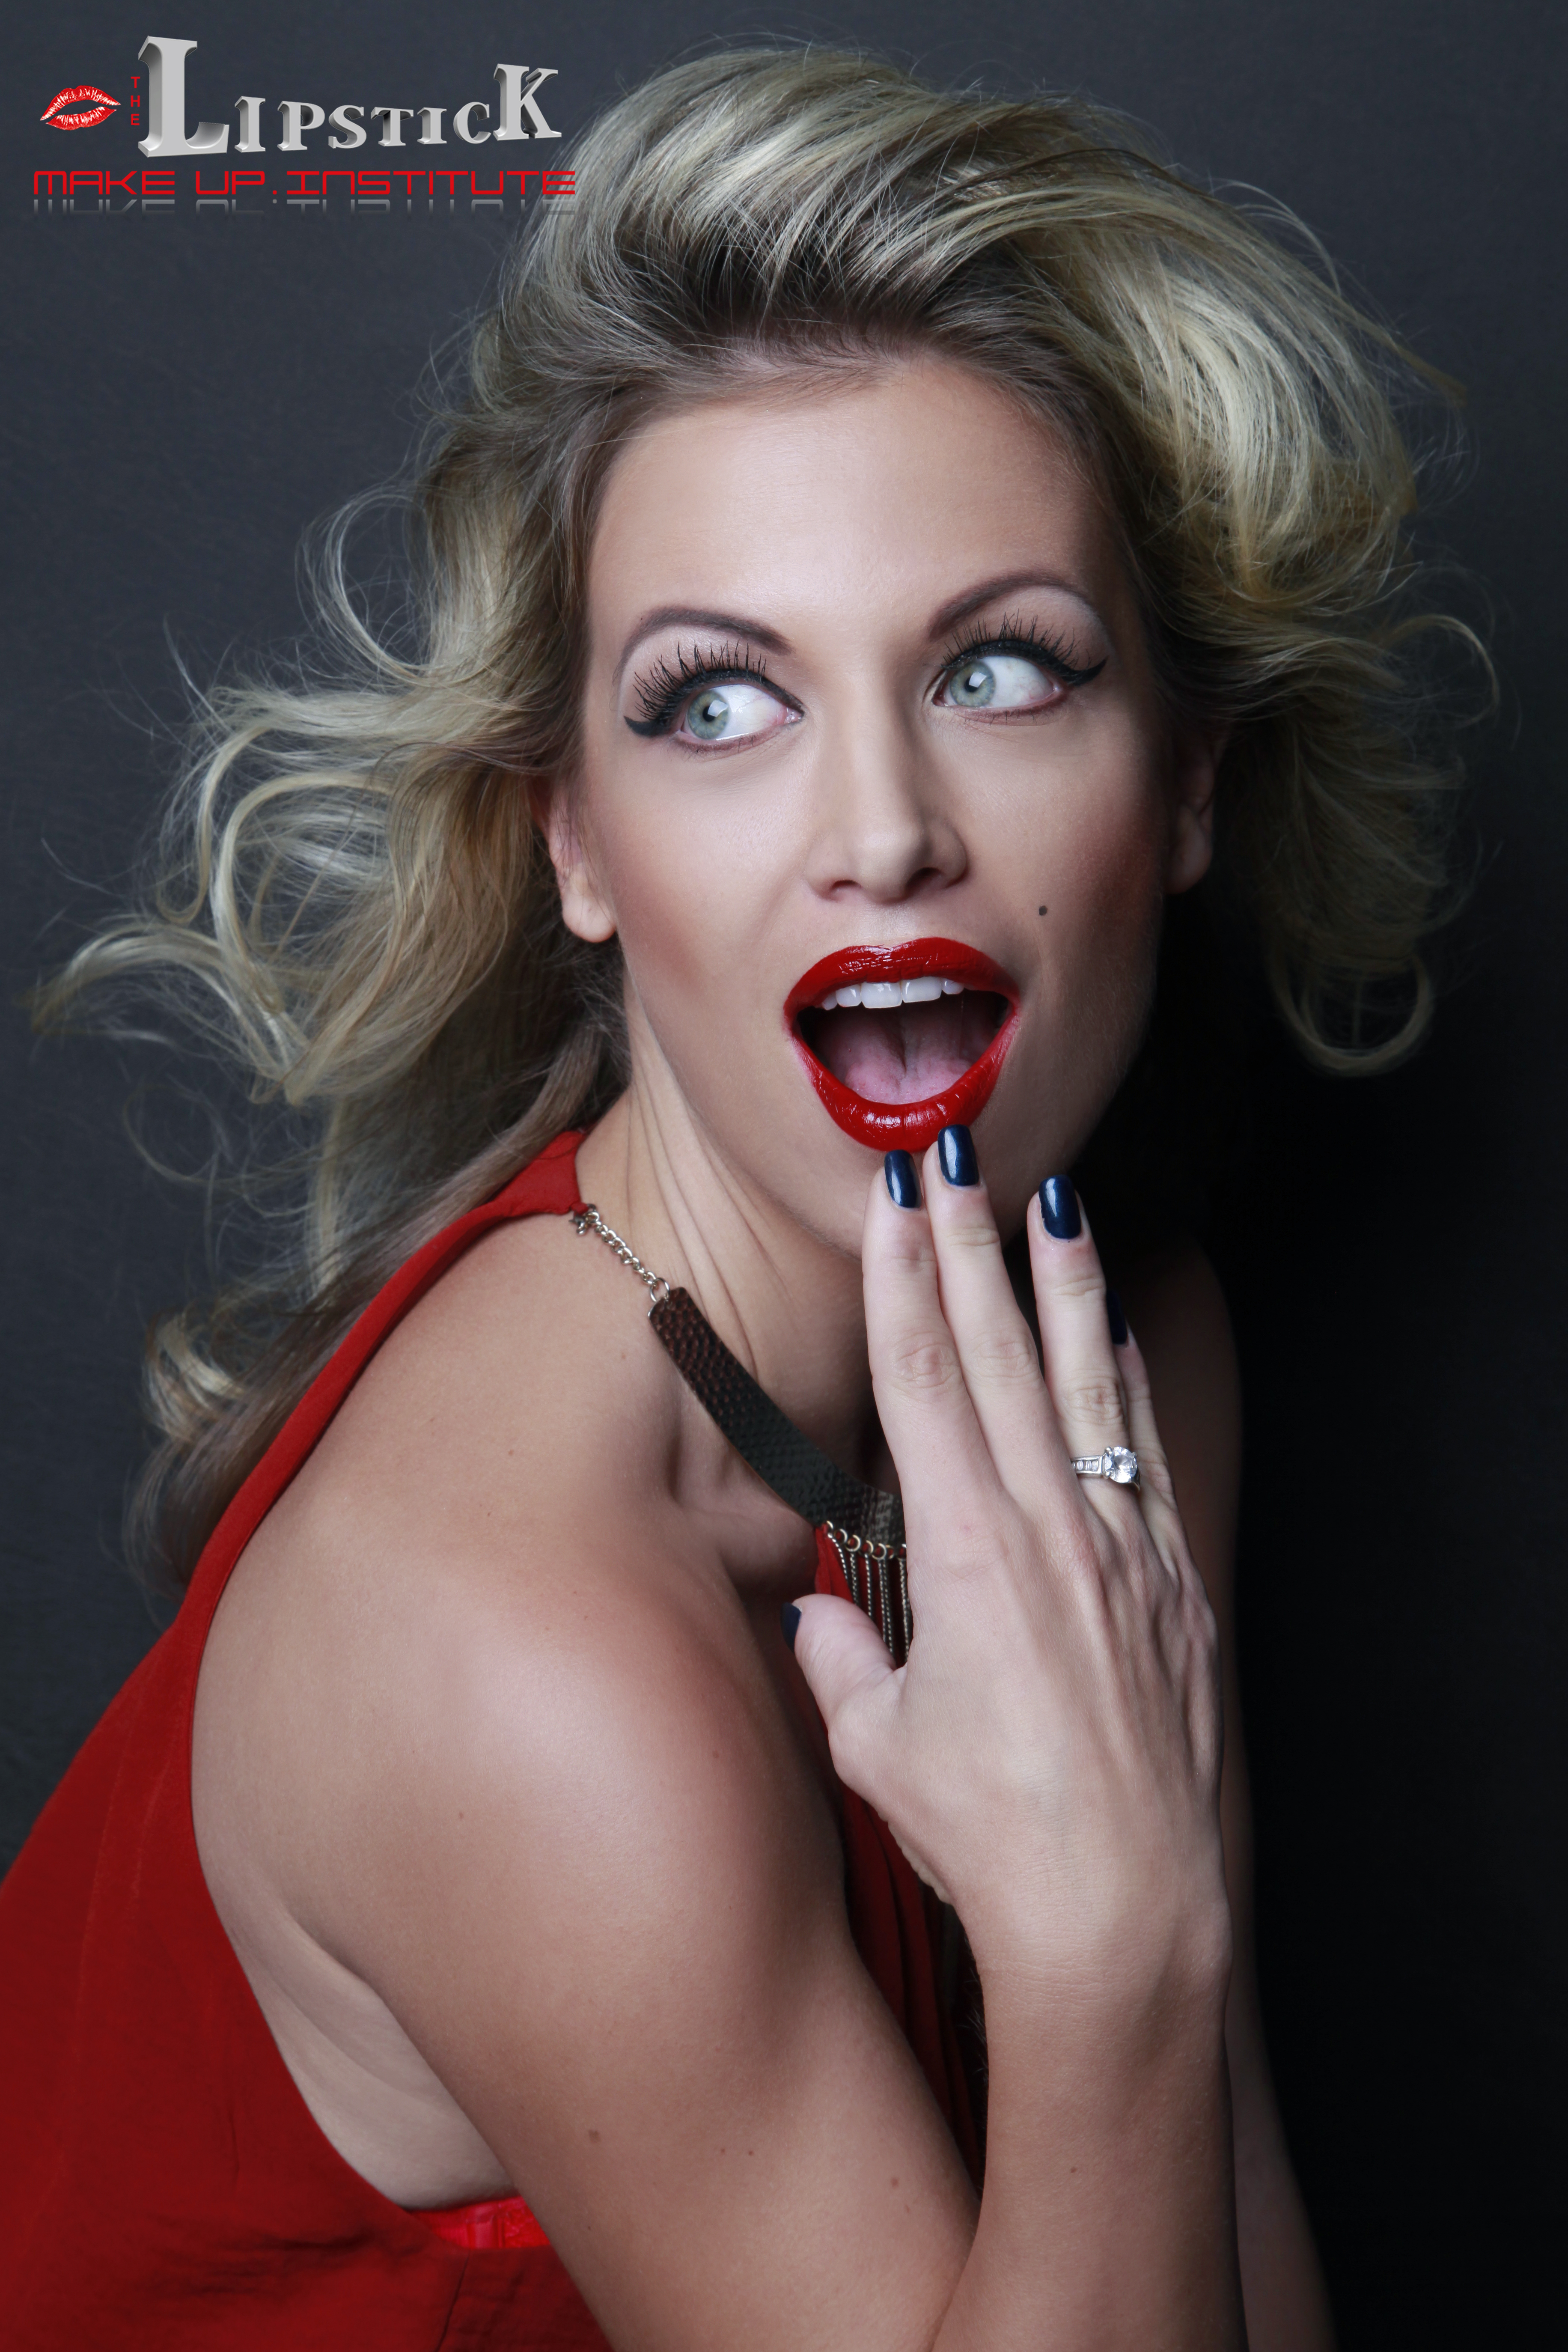
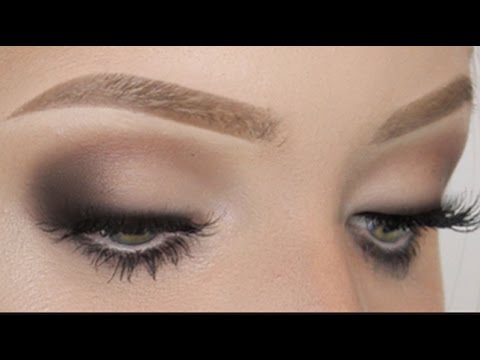
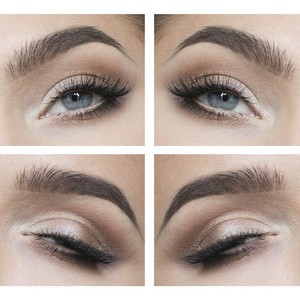
7. Focus on Your Eye Makeup
When it comes time to apply eye makeup, the choice is really up to you. Do you want to create a natural makeup look for the day? A smoky eye for date night? Do you feel like trying your hand at the edgy negative space liner for drinks with friends? Depending on where you’re headed and what you plan on wearing, you can tailor your eye makeup to match your mood. Rely on your eyeshadow, eyeliner, and mascara to create the perfect glam.
Once you’ve applied your eyeshadow, you can move on to your eyeliner.
Brows deserve attention all on their own. You can either make your brows look fuller or enhance your natural shape using a variety of products, like brow pencils, powders, or gels. If you aren’t sure which product is right for you, stick to these guidelines: Use a pencil for the most natural-looking approach that mimics your real hair. Use a brow powder if you want to fill in sparse spots. And finally, whip out the brow gel when you need to keep unruly brows in place.
8. Swipe on Your Lip Products
If using a lip primer, prep lips before you begin. Next, use your lip liner to outline your mouth. This is where you can also contour and create the illusion of a larger pout by simply lining slightly over your lips. Next, fill in your lips with your liner. Use this as an outline and apply your lipstick.
With these expert tips, the right products, and a little practice you’re ready to take your makeup routine to the next level.
Beginner Steps to Applying Makeup
We’ll always advice you and we’ll find the best option for you.
Contact number & WhatsApp: +971 52 8497972
Don’t miss your chance
The Lipstick Makeup Institute giving BIG DISCOUNT on our Professional Makeup Course.
Don’t miss such a great opportunity and book your seat now 6 students in a group.
All our works can be seen on our Instagram & Facebook pages.
Makeup Educators in the world of Dubai
With lots love your Lipstick Makeup Institute Team.