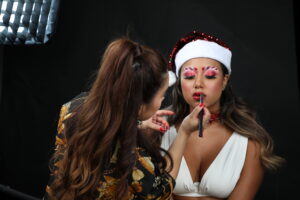
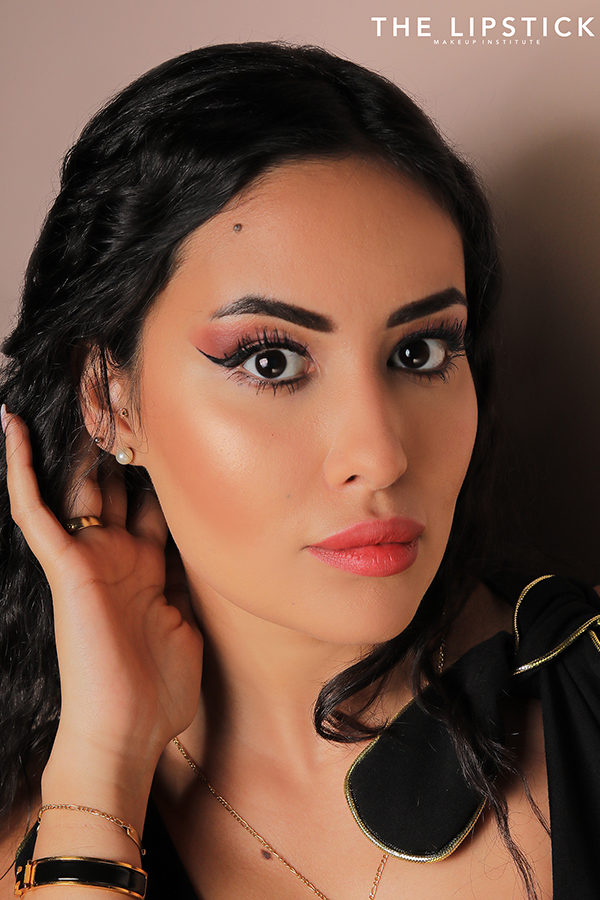
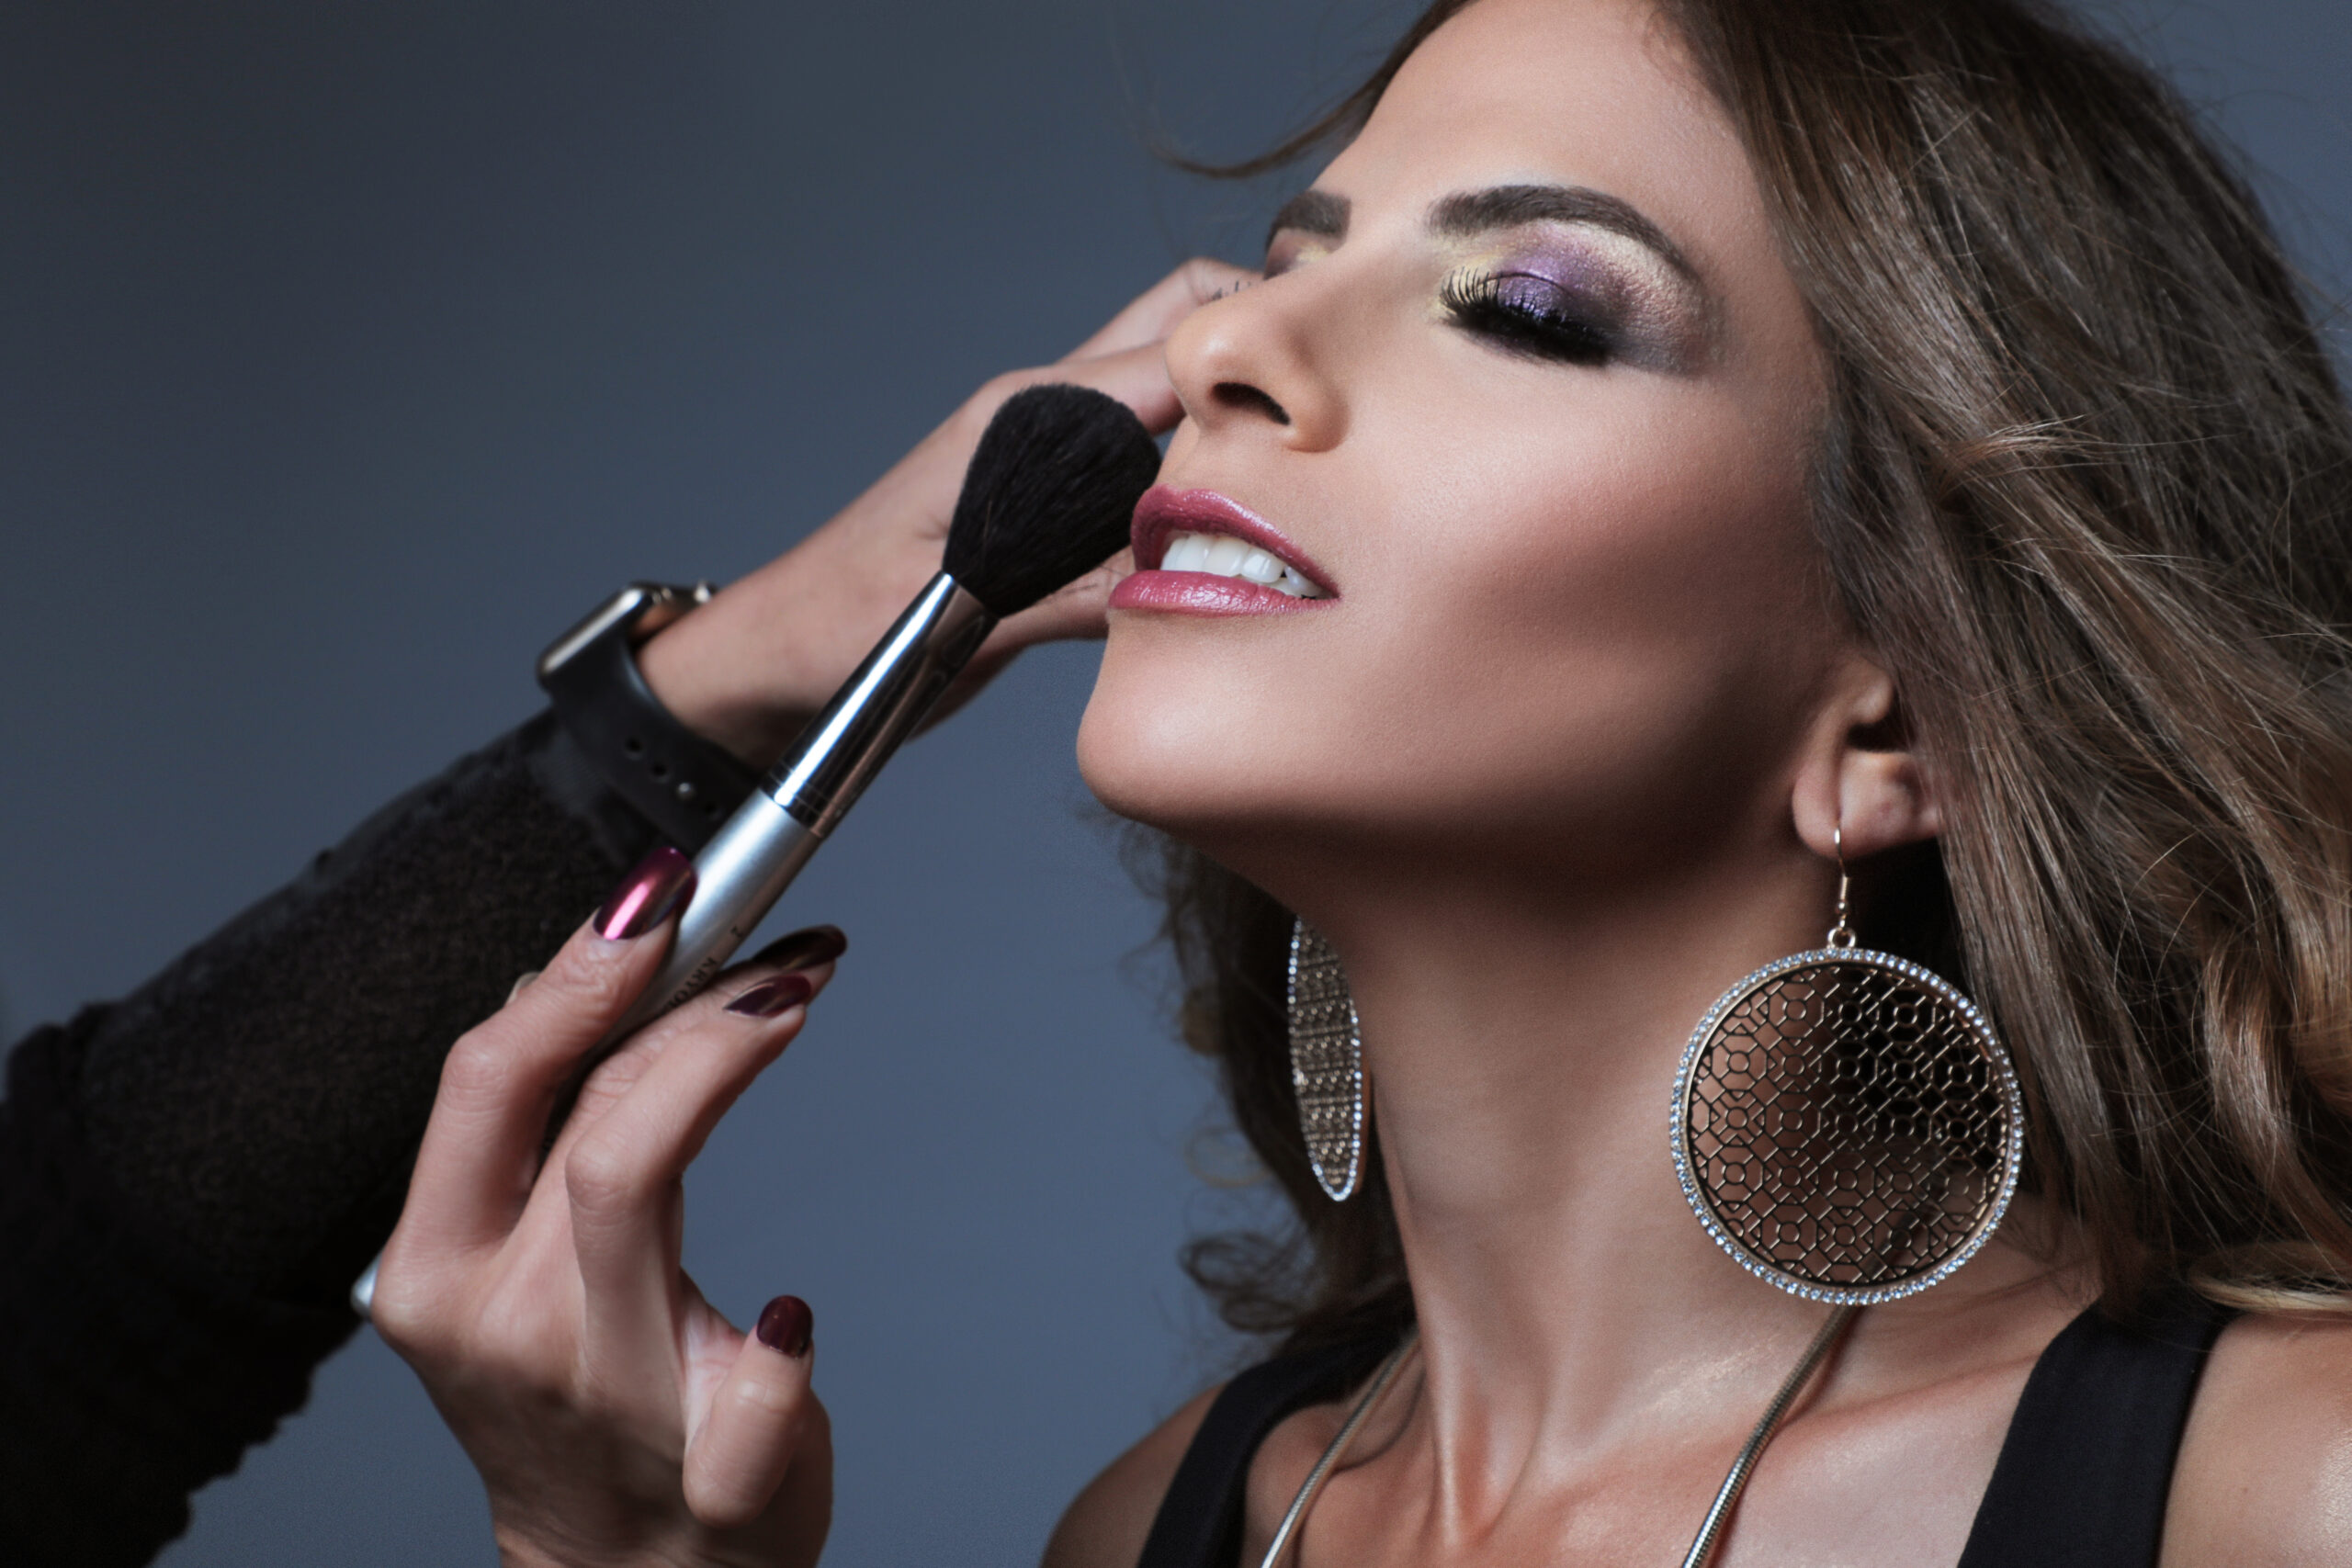
Category Archives: #bodycontour

How to Apply Shimmery Bronzers

How to Apply Shimmery Bronzers

How to Apply Shimmery Bronzers


Firstly we’re sure you’ve heard, our beautiful, shimmery bronzers are best-selling multi-taskers. They can be apply to your cheeks, eyes and even lips if you’re truly daring and love shimmer. One of the questions we often get asked is “which stripe in each bronzer do you apply where?” To get the answer, we went straight to our experts, the jane iredale Global Educators.

Before we share application tips, let’s first talk about our quad bronzers.

Each of the four shimmery shades has four stripes of color to provide you with countless possibilities.

Firstly you apply

  • Moonglow Bronzer contains four warm golden shades,
  • Rose Dawn Bronzer is made up of four cool pink/bronze shades,
  • Sunbeam Bronzer is comprised of four luminous pink/copper shades, and
  • Peaches & Cream Bronzer is a combination of four warm peachy pink shades.

Apply Shimmery Bronzers

Shimmery Bronzers

Apply Moonglow Bronzer


Use the darkest shade to as a contour and bronzer.

The second darkest shade can be use as a warm blush and a highlighter.

The light peachy and golden shades can both be use as a highlighter.


When Ever  Apply Rose Dawn Bronzer


  • The darkest shade can be use as a blush and a bronzer.
  • Use the medium cool pink stripe as a blush or highlighter if you have a cool skin tone.
  • The medium warm pink stripe can be use as a blush if you have a warm skin tone.
  • The lightest shade can be use as a highlighter.

Whereas Apply Sunbeam Bronzer


  • Use the shimmery, pink shade as a blush if you have a lighter skin tone.
  • The warm, peach shade is a great highlighter.
  • Contour with the darkest shade. It makes a beautiful bronzer.
  • The copper shade is a beautiful blush for people with darker skin tones.

Lastly Peaches & Cream Bronzer Apply 


  • The golden, peachy shade is the perfect highlighter for people with a warm skin tone.
  • If you have a cool skin tone, try the nude peach shade as a highlighter.
  • Use the darkest shade as a contour or a bronzer.
  • The vivid coral shade makes a stunning blush.

Moreover How to Apply Shimmery Bronzers

All in all Join Lipstick Makeup Institute and Become a Professional Makeup Artist

After all Enrol Platinum Makeup Diploma and become a professional makeup artist in 2 weeks

While Learning you can practice on models and get a chance to work with clients and celebrities.

Additionally they can also go into your portfolio. 

Also have a look at our website you will see all the amazing work we do. 

www.thelipstickmakeup.institute

Create the Perfect Makeup Look

Create the Perfect Makeup Look

Create the Perfect Makeup Look

Starting a makeup routine can be overwhelming, especially when you’re just a newbie in the beauty world. With so many products and tools to choose from, it’s easy to get lost in the vastness of the world of makeup. 

But never fear! If you are a rookie looking to find your footing in this tricky terrain, you have come to the right place. In this blog post, we will walk through all that goes into setting up a simple yet effective beginner’s makeup collection and provide helpful tips along the way. So read on because you’re just about ready for takeoff!


Makeup products for beginners

Are you new to the world of makeup? Don’t worry, everyone has to start somewhere! The key is finding the right products that work for you. Whether you’re after a natural look or something more dramatic, there are makeup products out there that will help you achieve your desired look. A great place to start is with some basic essentials, such as a good quality foundation, mascara, and a versatile eyeshadow palette. 

Look for products that are easy to use and don’t require too much skill to apply. Remember, practice makes perfect, so don’t be afraid to experiment until you find what works best for you. With a bit of patience and the right products, you’ll soon be a makeup pro!


Create the perfect look :

So, let’s talk about the makeup basics you need: 


1. Skin-prepping products

Skin-prepping products are essential in a makeup kit for beginners, for creating a smooth base before you apply makeup. Start by cleansing your skin with a gentle cleanser to remove any dirt, oil, and bacteria that can clog pores and cause blemishes. 

After washing your face, be sure to exfoliate at least once a week to slough away dead skin cells and keep your complexion looking bright and even. Finally, apply a moisturizer with SPF protection or sunscreen to shield the skin from UV damage. A good primer is also a must before you start applying makeup to help makeup last longer and really bring out the vibrancy of each product. For beginners, especially if you have oily skin, opt for one that is lightweight and oil-free.

Create the Perfect Makeup Look

2. Brushes and sponges

You’ll need the proper instruments to correctly apply your beauty products. So, brushes and sponges are a must among your makeup basics. These goodies are essential tools for makeup beginners to achieve a flawless makeup look. Here are the brushes you’ll need: 

You’ll need the proper instruments to correctly apply your beauty products. So, brushes and sponges are a must among your makeup basics.

These goodies are essential tools for makeup beginners to achieve a flawless makeup look. Here are the brushes you’ll need:  

  • For foundation, a flat foundation brush or a damp beauty blender works best to apply and blend the product. 
  • For concealer, use a small concealer brush or a pointed sponge for precise application and blending. 
  • When it comes to eyeshadow, blending brushes, an eyeshadow brush and a smudger brush are great options to achieve a seamless eyeshadow look. 
  • An angled brush can be useful for applying brow products or gel eyeliner. 
  • When using blush, a fluffy blush brush is great for blending and distributing color seamlessly. 
  • Finally, a highlighter brush or fan brush is perfect for applying highlighter precisely to the high points of the face. 

Remember to clean your brushes and sponges regularly to avoid any bacteria buildup and to ensure a smooth makeup application.


Create the Perfect Makeup Look


Perfect Makeup Look

Best Makeup School in Dubai


Enroll Your Course only 6 seats in 1 class.

However, Further more any inquiry feel free to contact

We look forward to seeing you at The Lipstick Makeup Institute, give us a call anytime on +971 (0) 528349964.

We will welcome you with open arms. Bring your friends too. 

Create the Perfect Makeup Look

Make Your Lipstick Last Longer

Make Your Lipstick Last Longer


Lipsticks have always been a must-have in every woman’s makeup kit. A well-applied lipstick can immediately brighten your face and add a pop of colour to your look. However, achieving an ideal pout can be tricky especially when you’re new to the game. Don’t worry, because we’ve got you covered with some impressive lipstick hacks and tips to help you attain a long-lasting, fuller lip look.


Make Your Lipstick Last Longer


How to make the lipstick last longer?

It’s quite normal for most lipsticks to wear off within a few hours of you stepping out of the house. So, obviously the next question in your mind will be – how to make lipstick last longer? Here are some lipstick hacks and a step-by-step guide for you to follow in order to make your lipstick last longer.

1. Exfoliate your lips

Exfoliating your lips is the first step towards taking care of your lips and making your lipstick last longer. This is the most basic lipstick hack that will help you get rid of any dead skin cells accumulated on your lips. This will also give you a smooth base for your lipstick. Use a lip scrub and massage your lips gently and rinse it off.

2. Hydrate your lips

Moisturised and hydrated lips ensure that its glide smoothly and also last longer. Hydrated lips hold your lipstick better unlike dry lips, which easily flake off. Apply a lip balm few minutes before applying. Use this hack especially before using a matte liquid lipstick as dried and dehydrated lips will not hold for a longer time, and also make your lips look cracked and creased.

3. Use your concealer as a lip primer

This may seem like an unusual hack but applying a concealer as a lip primer does wonders. Use a concealer to draw a line around the corners of your lips. It works as a lip primer, preventing any spills or smudging around the edges. Your will last longer if there is less edge bleeding.

4. Always use a brush to apply lipstick

Applying a with a brush helps you control the amount you want to apply on your lips. You can distribute the evenly without having any product build-up. If you’re looking for an intense high pigmented lipstick that comes with a brush applicator, you can try the Les Macarons Infallible Ultra Matte Liquid that gives full coverage and lasts up to 16 hours.

5. Blot and powder your lips

This is yet another amazing hack you should definitely try if you haven’t already. Blot your lips with a tissue after applying, and then apply a light layer of translucent powder. This makes the last longer and helps set it. If you like liquid lipsticks, apply it as usual, let it dry for a while and then use this hack.


For More Tips n Hacks Keep Following or Join our institute for Makeup Courses


Make lips look bigger

Make lips look bigger

Make lips look bigger

 lips look

For lips look bigger

The trend of having fuller lips has been around for a while, and for a good reason! They can make you look more youthful and your pout more stunning. But getting lip surgeries isn’t a viable option for everyone. Wondering how to make the lips look bigger naturally without getting a surgery done? Here are some lip makeup tips to help you attain fuller lips:

1. Use a lip plumper

Lip plumper is a cosmetic product that helps boost blood flow to your lips, giving the impression that they are bigger. Look for a lip plumper that has natural ingredients like cinnamon, ginger, or peppermint oil.

2. Overline your lips

You may have noticed many celebrities use this lipstick hack of overlining the lips with a lip liner or lipstick to create an illusion of fuller lips. For this hack, use a lip liner that is darker than your lipstick and draw slightly away from your natural lips. Apply a lipstick and fill in the gap in between to give a fuller look.

3. Highlight your cupids bow

Highlighting your cupids bow is a smart lipstick hack to make your lips appear bigger and fuller. Use a highlighter or a shimmery eyeshadow to highlight the cupid’s bow above your lips.

4. Use a lip gloss to highlight your lips

Accordingly using a lip gloss may seem like a Y2K lipstick trend, but it does make your pout look fuller. Apply a lip gloss that matches your lipstick shade over your lipstick. This will draw attention to your as the shiny product picks up light and makes your look bigger.

5. Line with a concealer

As a results  Concealers not only help your lipstick longer but are also your answer to the question how to make your lips look bigger? This lipstick hack will enhance your lip makeup routine! Because use a small brush and apply concealer on the outer edge of your already over-lined lips. Your lips will pop and look fuller eventually as a matter of fact.

Above all now that you know the lipstick hacks to make your lipstick last longer and lips look bigger, choose a long-lasting lipstick that compliments your skin as a results. 

Lips look bigger

However, Furthermore any inquiry feel free to contact

All in all we look forward to seeing you at
The Lipstick Makeup Institute, give us a call anytime on
+971 (0) 528349964.

because we will welcome you with open arms. Bring your friends too. 

Also Feel free to ask any question on our official email or instagram

Basically we are one of the best celebrity makeup school in Dubai.

Although we soon launch our online portal as well. 

Make lips look bigger

Makeup Tips

Makeup Tips


Quick Makeup Tips for Bridal Makeup on Oily Skin

You don’t have to give up makeup altogether just because you have oily skin. Knowing what compliments your skin type is important.Makeup Tips

These professional suggestions for applying makeup if you have an oily complexion come from a cosmetic professional and a
Lipstick Makeup Institute


You can check with your makeup artist on the following to see if they can accommodate them in your look.

Priming your skin is a must

Using a cosmetic primer will help your makeup remain in place if you have oily skin. We recommend a Oil Control Primer Or Pore Perfecting Primer. Apply it following a facial cleansing but before applying foundation, powder, or any other makeup.

 
Prepare your eyes
Eye Creases are one of the challenges for a nice eye makeup finish.
Use an eyelid-specific primer. This provided an ideal canvas for eye makeup and liner. Now you are ready to do any eye makeup.


Don’t use too much powder

Applying a lot of face powder seems like the appropriate move. But going too far could have the opposite effect by causing your pores to produce extra oil.
Only the shining portions should be covered with powder. Utilize a matte transparent product to reduce shine on all skin tones.
If you accidentally apply too much powder, dab it off with a moist makeup sponge.


Keep blotting sheets on hand

If you are prone to oiliness, your makeup will shine by lunchtime no matter how beautiful and matte it seems in the morning.
Some blotting papers only lift the oil from your skin.
Instead of rubbing the paper on your skin, the secret to using blotting papers without removing all of your makeup is to press it where your skin is oily and then roll it off.

Use non Comedogenic Products


After that invest in cosmetic items that are oil-free and noncomedogenic, which means they won’t clog your pores, because your skin already generates more oil than you need. Foundation and blush are two such products.

 
Generally use glycolic acid-infused face cleansers and toners as well, which reduce extra oil.


Try to find “long wear.” makeup.
Makeup may be made to smear, smudge, or slide by using water or oil. Stick to eye products that are waterproof, water-resistant, or long-wearing for this reason.


Consider soft, not slick, skin

When it comes to morning usage, gentler moisturizers that hydrate without being oily are preferable to those thick anti-aging treatments. A serum could be used. It is often lighter.


Remember to use sunscreen;
Chemical Sunscreens based out of avobenzone are a great pick as they dont give white cast, ideal for a makeup layer above this.

Also each skin type is distinct and has its own advantages and disadvantages.

So picking the finest makeup for an oily face and properly preparing the skin are the keys to getting your oily skin to stay covered by makeup. Use cosmetics that will limit the production of oil on your skin rather than drying ones. Using the tips and suggestions in this article, you may properly prepare your skin so that your makeup will last all day. So give them a try we’re confident your skin will thank you..

Further More Enrol Now

All in all you get the professional portfolio and work with us on our clients.

Because we are best

Thinking of start your career? Call us today on 052 834 9964 email our team or check out more details The Lipstick Makeup Institute

Boost your career Lipstick Makeup Institute

Join Now  Celebrity Makeup School.


Skin for Ultimate Makeup Base

Skin for Ultimate Makeup Base

Skin for Ultimate Makeup Base

The bottom line is, your beat will never be its best without prepping your skin first. It’s just a fact. If you skip these two essential steps, your makeup is more likely to settle into fine lines or collect in dry and flakey areas rather than be perfectly smooth. It also helps your makeup stay in place for longer.

Step 1: Exfoliation is key, as this will help create a smooth canvas for makeup application and melt away any dead skin while leaving your skin brighter than before. Of course, as it’s formulated with papaya and pineapple enzymes that remove dead skin while amping up your glow game. We’re obsessed.

Step 2: The next step is hydration. Start with a plumping serum. For the under eye area, we love using the Eye Lift and Contour Peptide Serum, as it’s super lightweight and hydrating, but it also firms the lids and under eye area for a smooth finish. Then, we seal in all that glazed hydration with the Moisturizer, as it’s formulated with nourishing manuka honey and restorative peptides to plump and protect. It sounds simple, but it’s one of those make-or-break steps.


You can see all our images on our website: 

https://thelipstickmakeup.institute/www.thelipstickmakeupinstitute

All in all we have an extensive range of courses. However, if you just want to learn for yourself this is perfect. 


makeup courses dubai


Ultimate Makeup Base


What The Students Get

International Diploma

KHDA Certification

5 Professional Photographs of their work 

Makeup Supplied by school

Models Supplied by the school

Certificate of Achievement


Best Makeup School in Dubai

Enroll Your Course only 6 seats in 1 class.

However, Further more any inquiry feel free to contact

We look forward to seeing you at The Lipstick Makeup Institute, give us a call anytime on +971 (0) 528349964.

We will welcome you with open arms. Bring your friends too. 

Makeup School in Dubai

Makeup School in Dubai

Diploma For Beginners to Professionals 3 Weeks

Book this amazing course in only AED15,000 you will get the Diploma with KHDA Certification.

Become a part of the Lipstick Makeup Institute top leading school in Dubai

At last you will be a part of YH Studios also. 

All our students have the unique opportunity to work in our Global Award Winning Studio every time they do a look on the models.

This way they get to learn just how makeup should look and be applied for Media Makeup.

Makeup for photography is very different from daily makeup. We are a Fashion Photography Studio so the courses we offer are exciting and get our students feel free to show creativity at its peak.

All in all our main aim is to train and guide. Our students to be professional, practical, quick and precise in their job.

Makeup School in Dubai
Professional Diploma

Join one of our course and get the best possible training. 

3 Weeks Diploma Never been done before. We have the new in trend Diploma Accelerated Course.

In touch with the new on trend looks, Social Media Guidance, Best contemporary Photographers, Diploma in 3 weeks overall for AED15,000

You get 5 full professional photographs of your work in the course. In this diploma you are prepared to become a full-time professional makeup artist. Plus also you get an International Diploma with worldwide recognition.

Makeup School in Dubai Makeup Courses


Certification

We also provide KHDA Certificate so you will be certified makeup artist.


Best Makeup School in Dubai

Enroll Your Course only 6 seats in 1 class.

However, Further more any inquiry feel free to contact

We look forward to seeing you at The Lipstick Makeup Institute, give us a call anytime on +971 (0) 528349964.

We will welcome you with open arms. Bring your friends too. 

Fuller Lips with Lip Contour

Fuller Lips with Lip Contour


Fuller Lips with Lip Contour

you don’t have to spend money on injectables to plump your lips, you can easily fake the effect using makeup too.

Step 1

However, just like your complexion, start with a little lip prep. Use a lip exfoliatorthen wipe away any dead skin with a warm towel and hydrate with a lil’ lip balm. Blot away any excess moisture with a tissue.

Step 2

Now to contour: use a brown or nude shade of lip liner or just use your regular contour formula and draw a line from the center of your nose to the middle of your Cupid’s bow, and then mimic the shape of your Cupid’s bow right above it, so it forms an arrow shape. Then, draw two small lines a couple of millimeters below your low lip line on both sides. Blend it out using a small dense brush and then apply a little foundation – just use any excess on your brush or makeup sponge.

Step 3

Next up, grab a lip liner in a shade that matches your natural lip color, and draw an X at the Cupid’s bow. Outline the lips, being careful not to go too far outside your natural lip line. You can overline your lips by tracing just a millimeter beyond your lip line – always start small and build gradually. Then, connect your liner at the corners and fill the lips with liner, fading towards the center. Apply your matching lip shade all over.

Step 4

Next, using lipstick in a lighter shade, dab it onto the center of your lips and blend it out with your finger to create the illusion of a fuller pout. You can also apply a touch of concealer if you don’t have a lighter shade. To make the lip look fuller, add a high-shine gloss or a dusting of highlighter on the center of the lip and Cupid’s bow. Et voila, plump AF lips!


Fuller Lips with Lip Contour

Fuller Lips with Lip Contour
The Lipstick Makeup Institute

have a look at our website: 

www.thelipstickmakeup.institute

All in all on here you will see all the courses on offer.

Not only will you get makeup education you will get a professional portfolio for out partner company YH studios. 

Another key point is that our days with pre planning are flexible. 

Above all we will see you soon. 

Enrol Now 

Contact +971 52  834 9964

Learn How to Snatch with Concealer

Learn How to Snatch with Concealer

Learn How to Snatch with Concealer: Concealer really is the G.O.A.T makeup product. Beyond its ability to conceal any blemishes and nix dark circles, it has snatching superpowers. When applied strategically and with the right shade, it brightens, lifts, and sculpts your complexion like no other.  It’s just so creamy and buildable, plus it doesn’t crease.

The secret to snatching lies in the concealer shade and placement. Your snatch shade should be three to five shades lighter than your skin match. By heightening the contrast with your skin, it enhances the brightening while creating natural shadows that give a seriously sculpted final look.

To snatch, apply the concealer to the inner and outer corners of your eyes (extending out towards your temples), on the bridge of your nose, the outer corner of your mouth, and underneath your cheekbones. Always apply in an upward motion, and then blend using small tapping motions, following the same direction (upwards).


Cook Your Concealer for More Coverage

If you want to increase the coverage of any concealer, the trick is to cook with it. No, we don’t mean putting it in the oven. The technique refers to applying your concealer to the areas you want to target, then leaving it for between one to three minutes before you blend it out – experiment to see which timing works best with your formula and the level of coverage you want.

Essentially, this ‘drying’ time allows the concealer to start setting into your skin, which means that when you go to blend, it’s almost semi-dry and doesn’t disappear into your skin or blender. You want to catch it just before it completely sets so that you’re still able to blend it. It’s magical! 


Learn How to Snatch with Concealer makeup courses dubai

The Lipstick Makeup Institute

All our works can be seen on our Instagram & Facebook pages.  

Please feel free to contact us via phone call, email or WhatsApp. We are here for you and we’ll always advice you and we’ll find the best option for you. 

Contact number & WhatsApp:
+971 52 8497972 /+971 52 8349964

Bake to Set and Snatch Your Makeup

Bake to Set and Snatch Your Makeup

Bake to Set and Snatch Your Makeup

Baking is, without a doubt, our fave hack – we couldn’t do our makeup without it. Wanna know why? Well, it locks your makeup in place from morning to night, and it helps achieve that blurred, airbrushed finish. As if that wasn’t enough, when applied strategically, it can help brighten and sculpt your facial features for an effortlessly snatched lewk.

How to bake: 

Start by applying your complexion products – to bake, the powder needs some form of cream or liquid formula to grip. Once your base is blended, dip a powder puff or damp makeup sponge into the powder and apply a thick layer of setting powder (using a dabbing motion) on the areas of your face you want to brighten and set. Once you’ve let it set for three to five minutes (whatever you have time for), simply dust away any excess powder with a fluffy brush.


Where to bake: 

The main area we like to bake is our under eyes, starting from the inner corner of the under eye, from the bridge of the nose, and extending all the way to the tail end of the brow. You can also bake your smile lines, as this is an area where makeup tends to crease throughout the day. When we’re going full glam, we also bake underneath our cheek contour to create more contrast and sculpt our cheekbones. Then we apply any excess powder to the chin and forehead to control oil and mattify.

Our go-to baking formula: 

Easy Bake Loose Setting Powder is best for a reason. Not only does the finely-milled powder smooth and set your makeup, but it’s also available in nine shades, so you can easily find a shade that blends seamlessly with your complexion products.

Bake to Set and Snatch Your Makeup


makeup courses dubaiBake to Set and Snatch Your Makeup

Stay tuned for more makeup hacks.


Become a professional makeup artist in 3 weeks

Enrol for upcoming batch

Contact: +971 52 834 9964