makeup course dubai
makeup course dubai
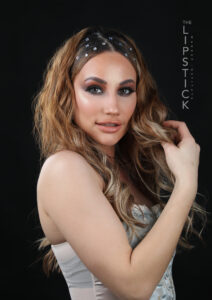
If you’re passionate about makeup and want to turn your hobby into a career, look no further than an award-winning makeup school in Dubai.
This school is known for offering some of the best courses to help you learn everything about makeup. Whether you’re a beginner or have some experience, their courses are perfect for all skill levels.
Firstly, of all, the instructors at this school are experts.
Secondly, many of them have worked in the fashion and beauty industries for years.
Thirdly, because of this, you’ll get real-world tips and advice from people who know the business well.
Lastly, In addition, they’ll guide you every step of the way, ensuring that you master both basic and advanced techniques.
About the courses
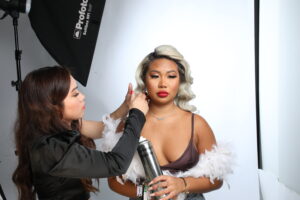
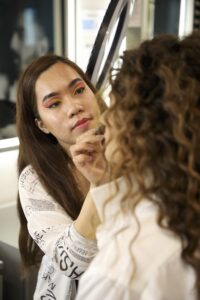
Moreover, the courses cover a wide range of topics. For example, you’ll learn about bridal makeup, special effects makeup, and even editorial looks. This means that no matter what your interest is, there’s a course that will suit you. Plus, you’ll have the chance to practice on real models, which is a great way to improve your skills.
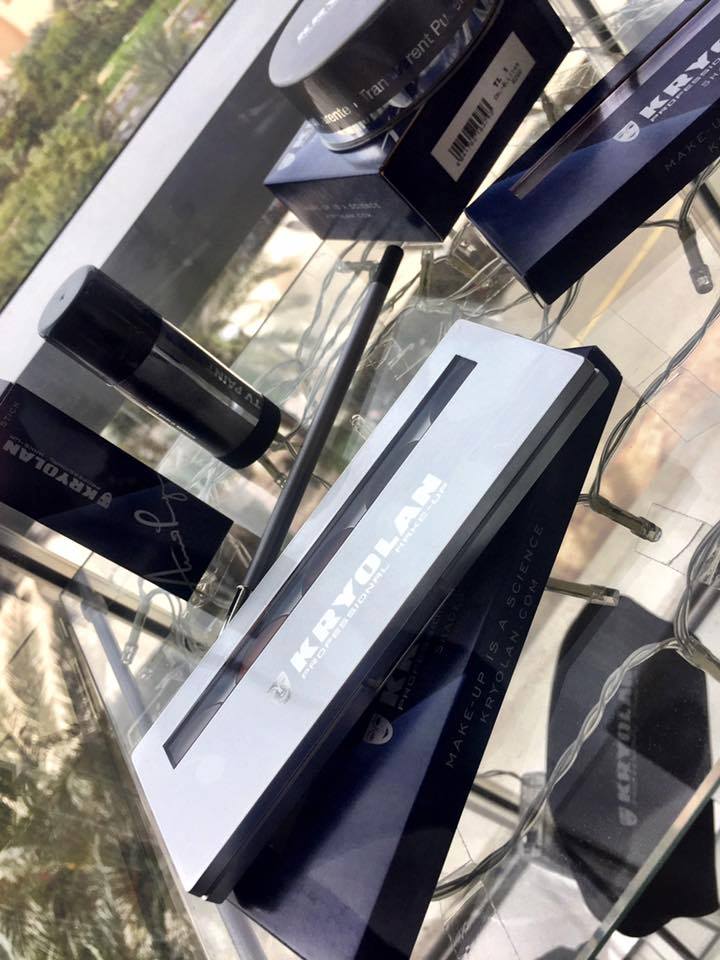
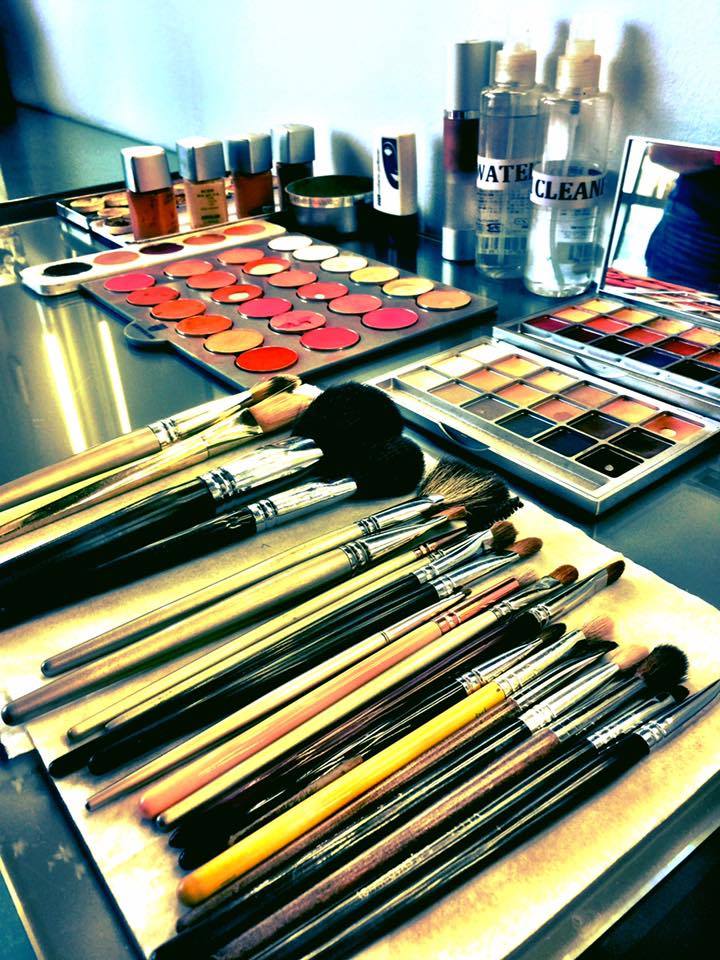
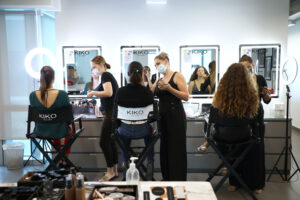
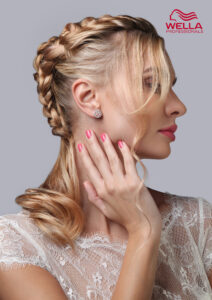
Another reason to choose this school is its modern and fully equipped facilities. Everything you need is available, from the latest makeup products to the best tools in the industry. Furthermore, the classrooms are designed to give you a hands-on learning experience, making it easier to understand the techniques.
Additionally, the school offers flexible course schedules. You can choose from full-time or part-time options, depending on what works best for you. This makes it easy for anyone to fit makeup training into their busy lives.
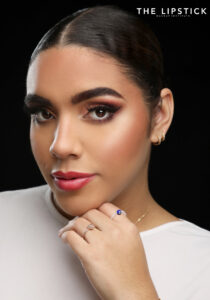
What’s more, graduates from this school often find work quickly. The school has connections with top beauty brands and fashion houses, which can help you get your foot in the door. Finally, the school’s award-winning status speaks for itself, ensuring that you are learning from one of the best in the business.
In short, if you’re looking to build a career in makeup, this award-winning school in Dubai is a fantastic place to start. You’ll leave with the skills, confidence, and connections needed to succeed in the beauty world.
Check the website for information
However, give us a call at Lipstick based in Barsha, Dubai we can’t wait to see you anytime at

Give us a call anytime on
+971 (0) 52 83 49964.