Prosthetic makeup (also called Special make-up effects and FX prosthesis) is the process of using prosthetic sculpting,
moulding and casting techniques to create advanced cosmetic effects.
Prosthetic makeup revolutionised by John Chambers in such films as Planet of the Apes and Little Big Man.
TECHNIQUE
The process of creating a prosthetic appliance begins with life casting, taking a mould of a body part (often the face) to use as a base for sculpting the prosthetic.
Life cast moulds made from prosthetic alginate or more recently, from skin-safe silicone rubber. This initial mould is relatively weak and flexible. A hard mother mould, typically made of plaster or fibreglass bandages its created overtop the initial mould to provide support.
Once negative mould made, its promptly fill with gypsum cement, most of the common brand is “Ultra cal -30 to make a “positive” mould.
The edges of the clay should be as thin as possible, is a stand-in for what will eventually be the prosthetic piece.
Along the edges of the mould, “keys” or mould points are sculpt or carved into the life cast, to make sure that the two pieces of the mould will to together correctly.
After that once sculpting is complete a second mould. This gives two or more pieces of a mould a positive of the face, and one more negative mould pieces of the face with prosthetic sculpt in. Carefully removed and material is cast into mould cavity. The prosthetic material can be foam latex, gelatin, silicone or other similar materials.
Its cured within the two part mould thus creating the beginning of a makeup effect.
One of the hardest parts of prosthetic make-up is keeping the edges as thin as possible. The tissue should be a thin so they are easy to blend and cover giving a flawless look.
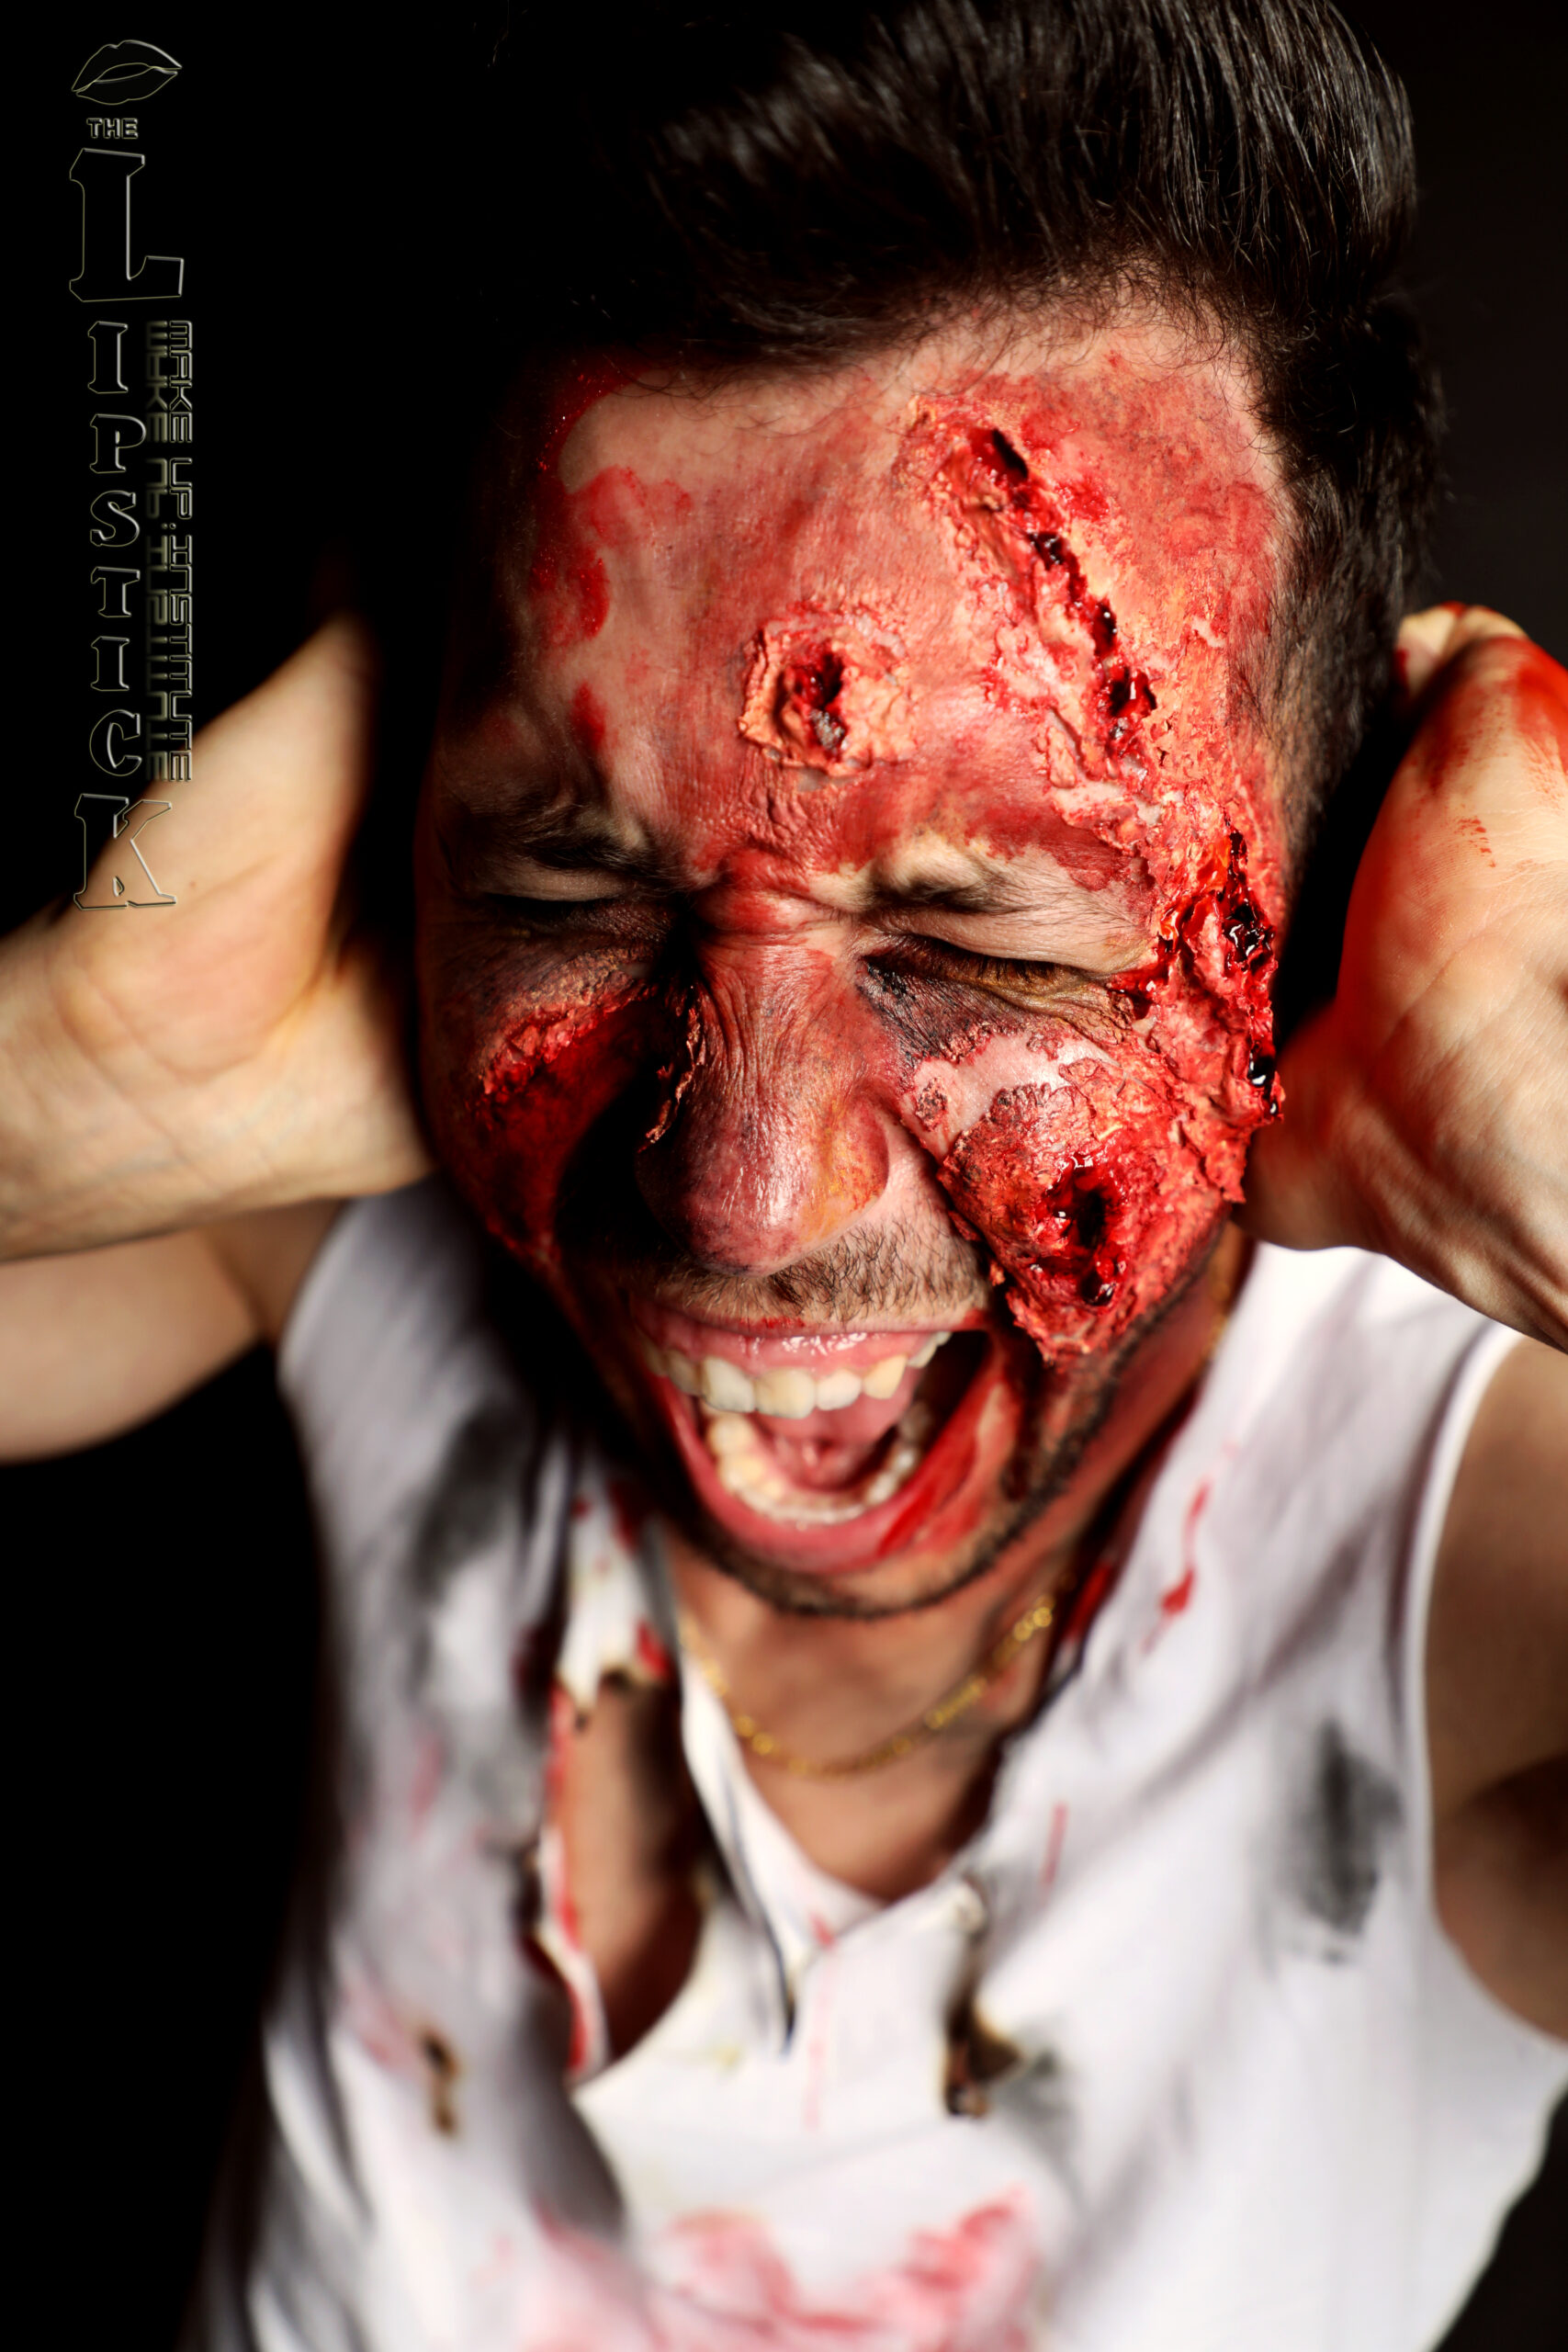
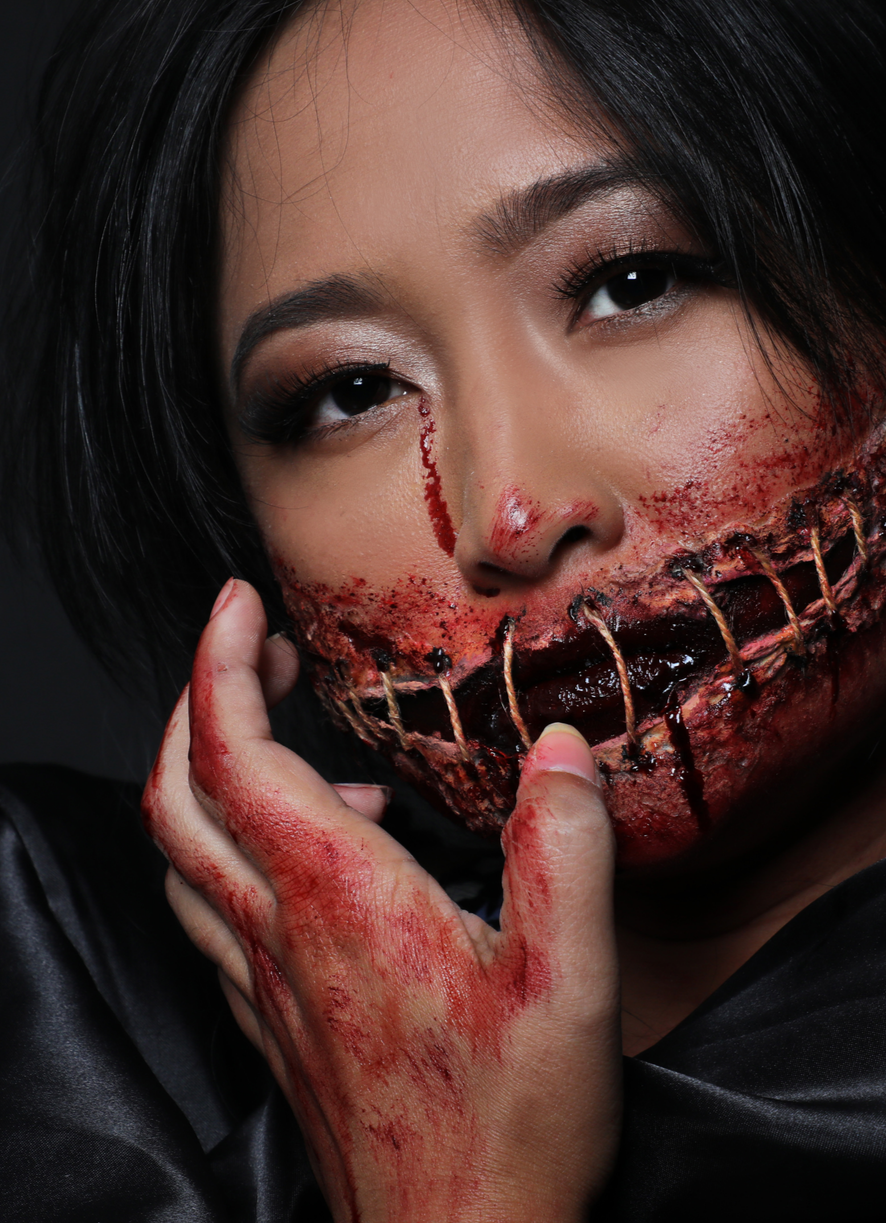
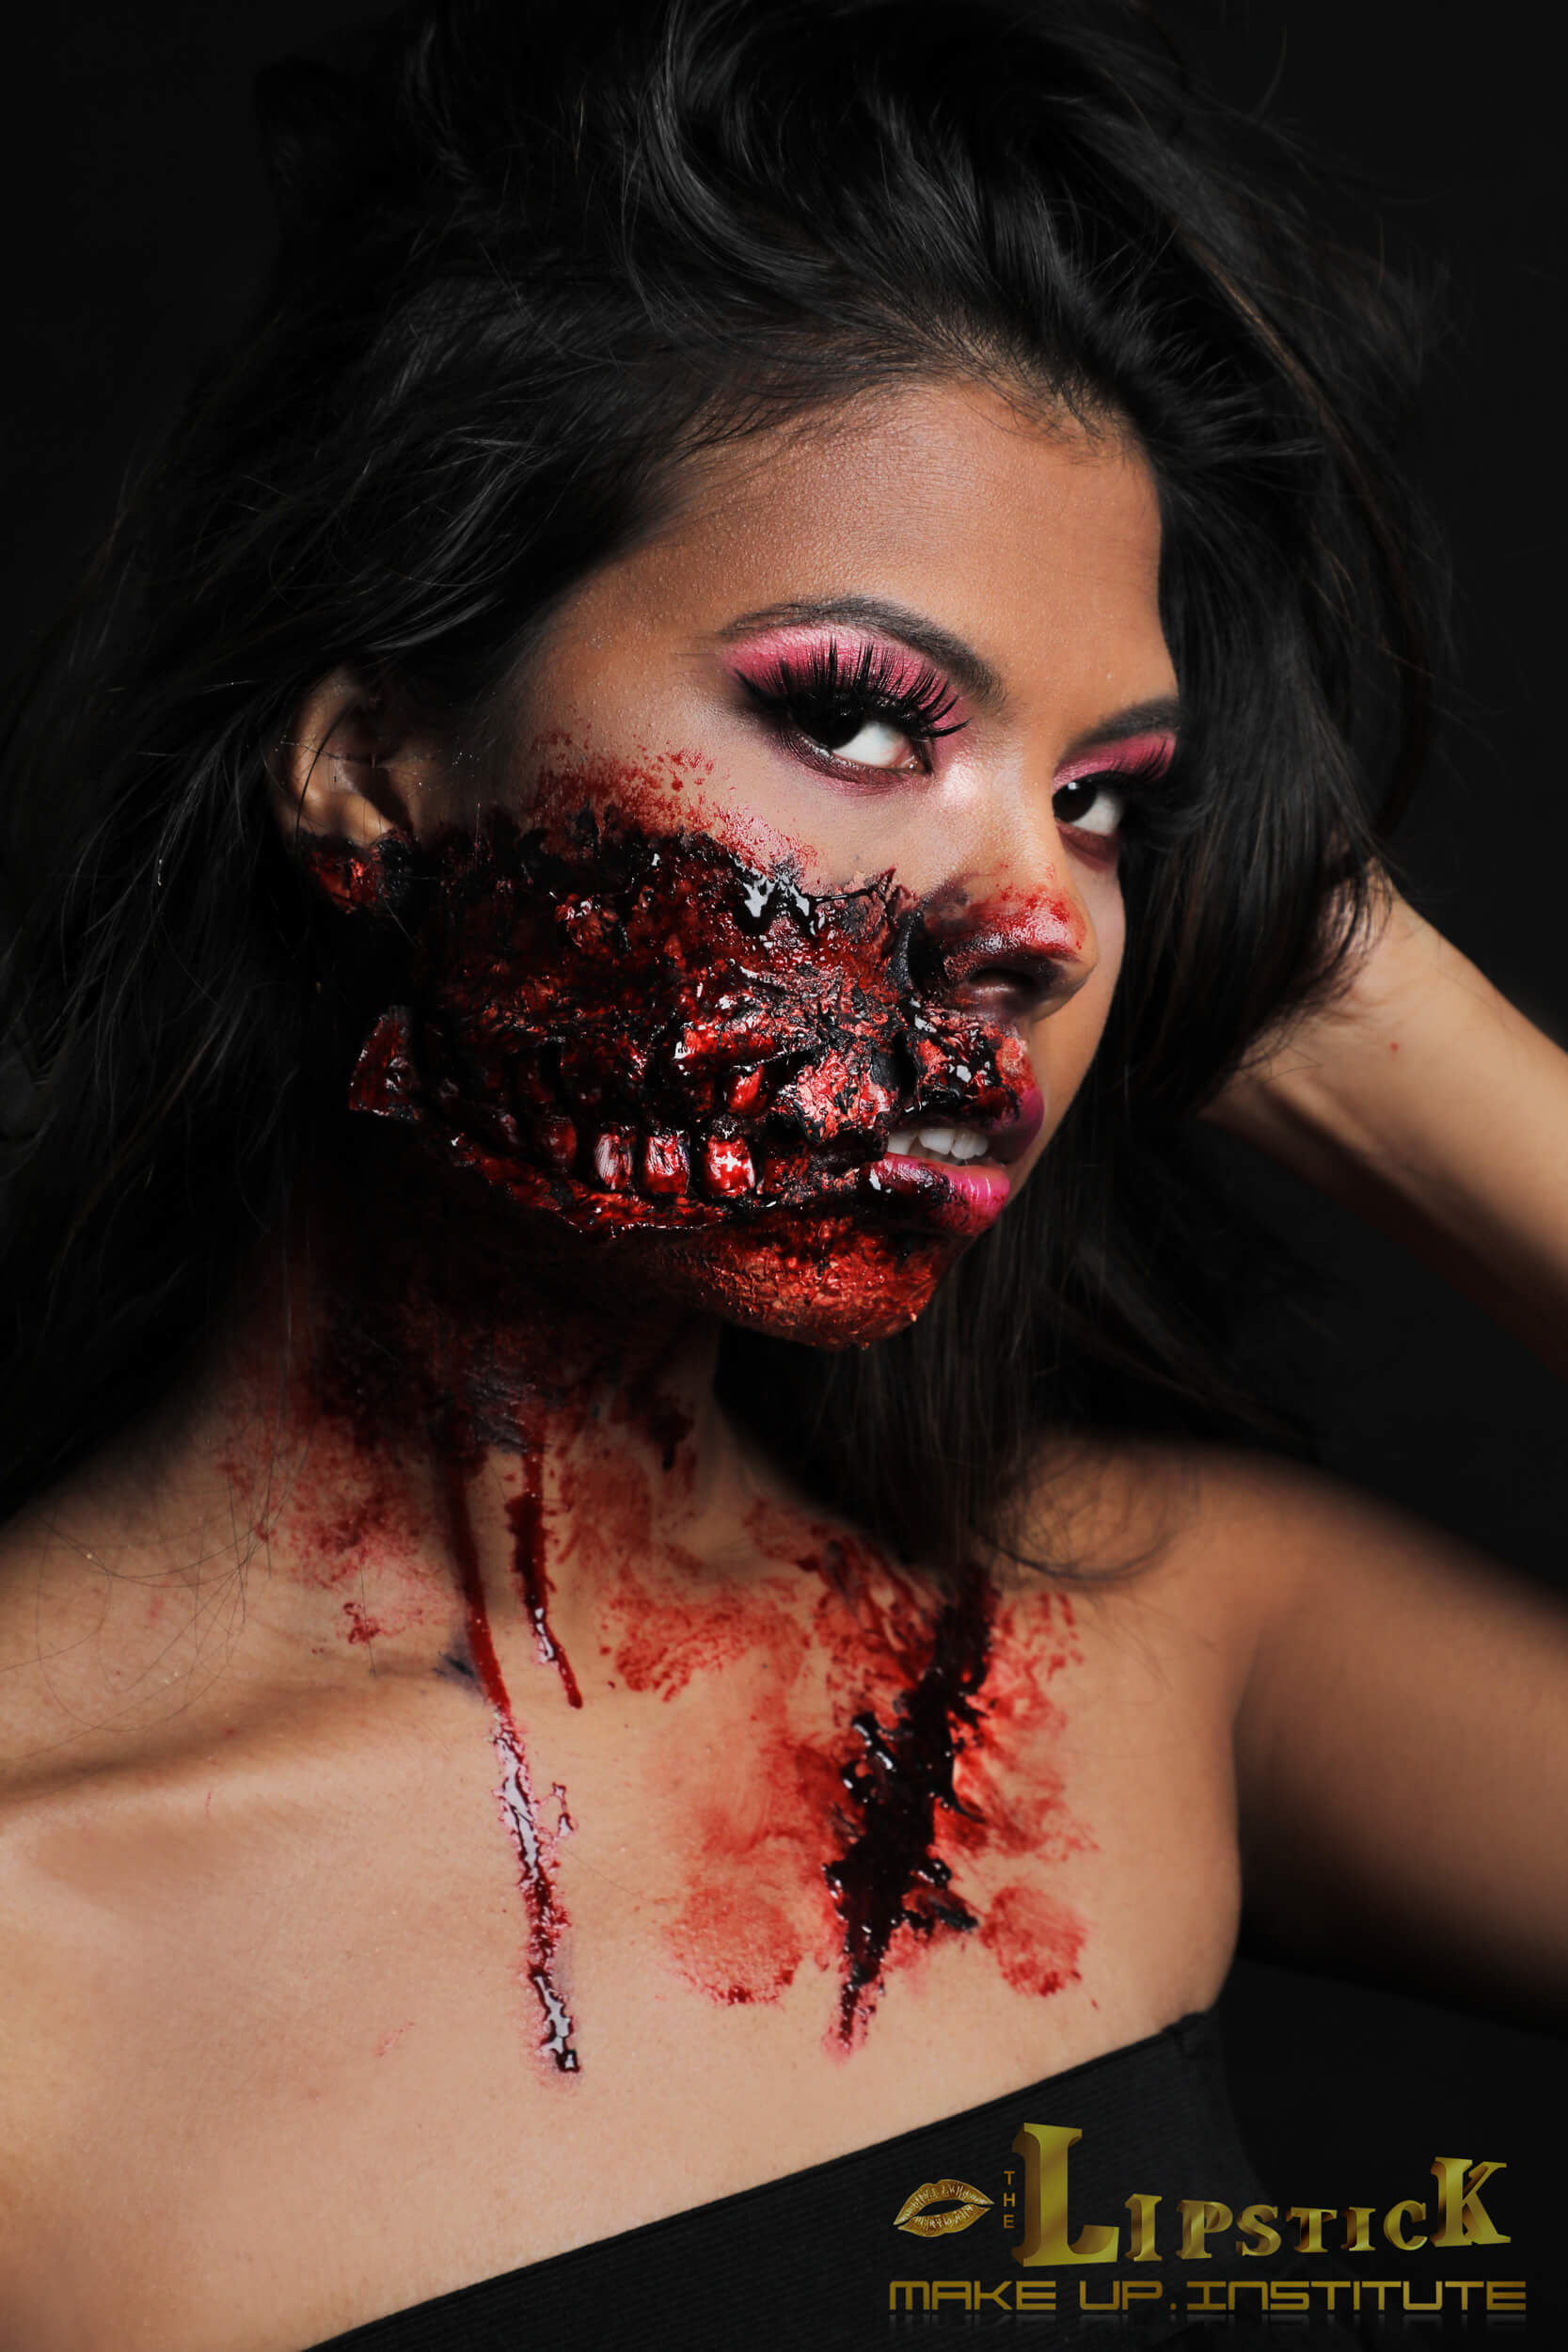
The use of prosthetic makeup to create wounds or trauma is called moulage and is used by the military and medical schools to educate lesson psychological trauma when exposed to the real thing.
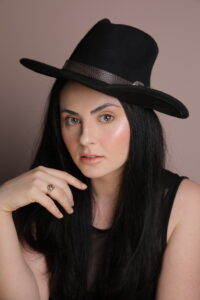
Halloween is a beauty junkie’s favorite time of year and for good reason. Most people think costumes and candy but we think, MAKEUP!
You want to lean at The Lipstick Makeup Institute?
Halloween is the perfect chance to get creative with your cosmetics, but choosing the right products for this evening can be tricky. Get tips from the pros below and be sure to tag your Halloween makeup looks with #GloHalloween on Facebook or Instagram for your chance to be featured!
Use Long-wear Makeup
“If a client asks for a Disney Princess, a mermaid, a sugar skull, a pinup girl or any other full-on glam look, I get so excited! It’s a great reason to use my go-to, long-wearing use products to build a bullet-proof base for color that will last all night.”
Favourities application
Her favorites are Under Eye Concealer for color correction, Satin Cream Foundation for flawless skin, Luminous Setting Powder to set the look and Pressed Base for both base and contour and learn halloween makeup look.
Scarey?
There’s nothing scarier than makeup that doesn’t last all night long.
Shop Your Own Makeup Collection“Be creative and reinvent new combinations of what you already own with the makeup you have. Improvise and think outside the box. But most importantly it’s your art so allow yourself to have fun.”
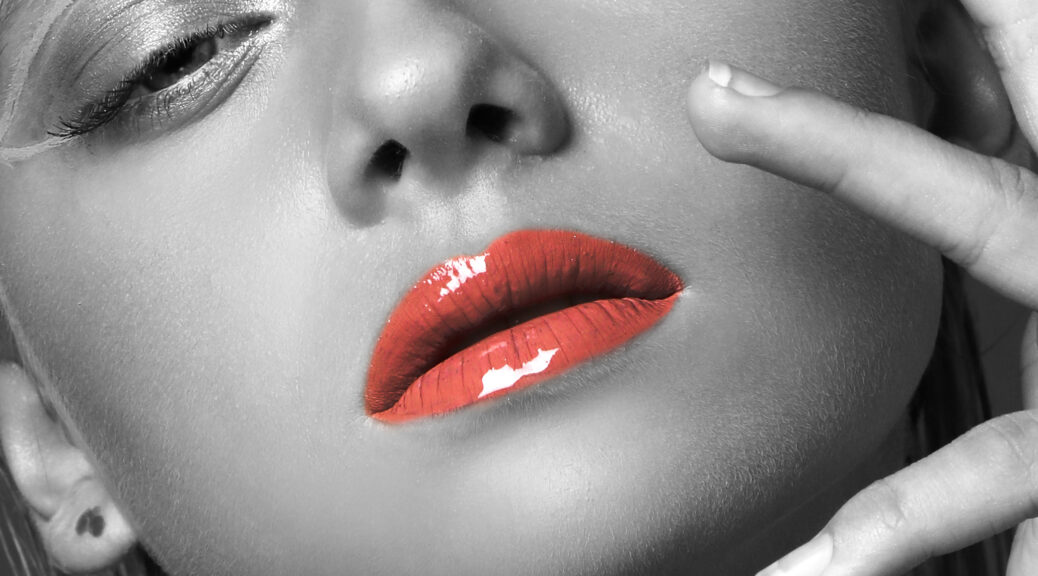
Always look lip blushed!
Never have an occasion to bust out that red lipstick in your collection? A red lip can easily be incorporated into variety of Halloween makeup looks from vampire to pinup glam.
Costumes
If you need a last minute Halloween costume, liquid eyeliner can work wonders. Craft a Halloween costume with nothing more than liquid eyeliner nose and whiskers, and top it off with a headband with paper ears attached.
Preparation time
How long do you prep?
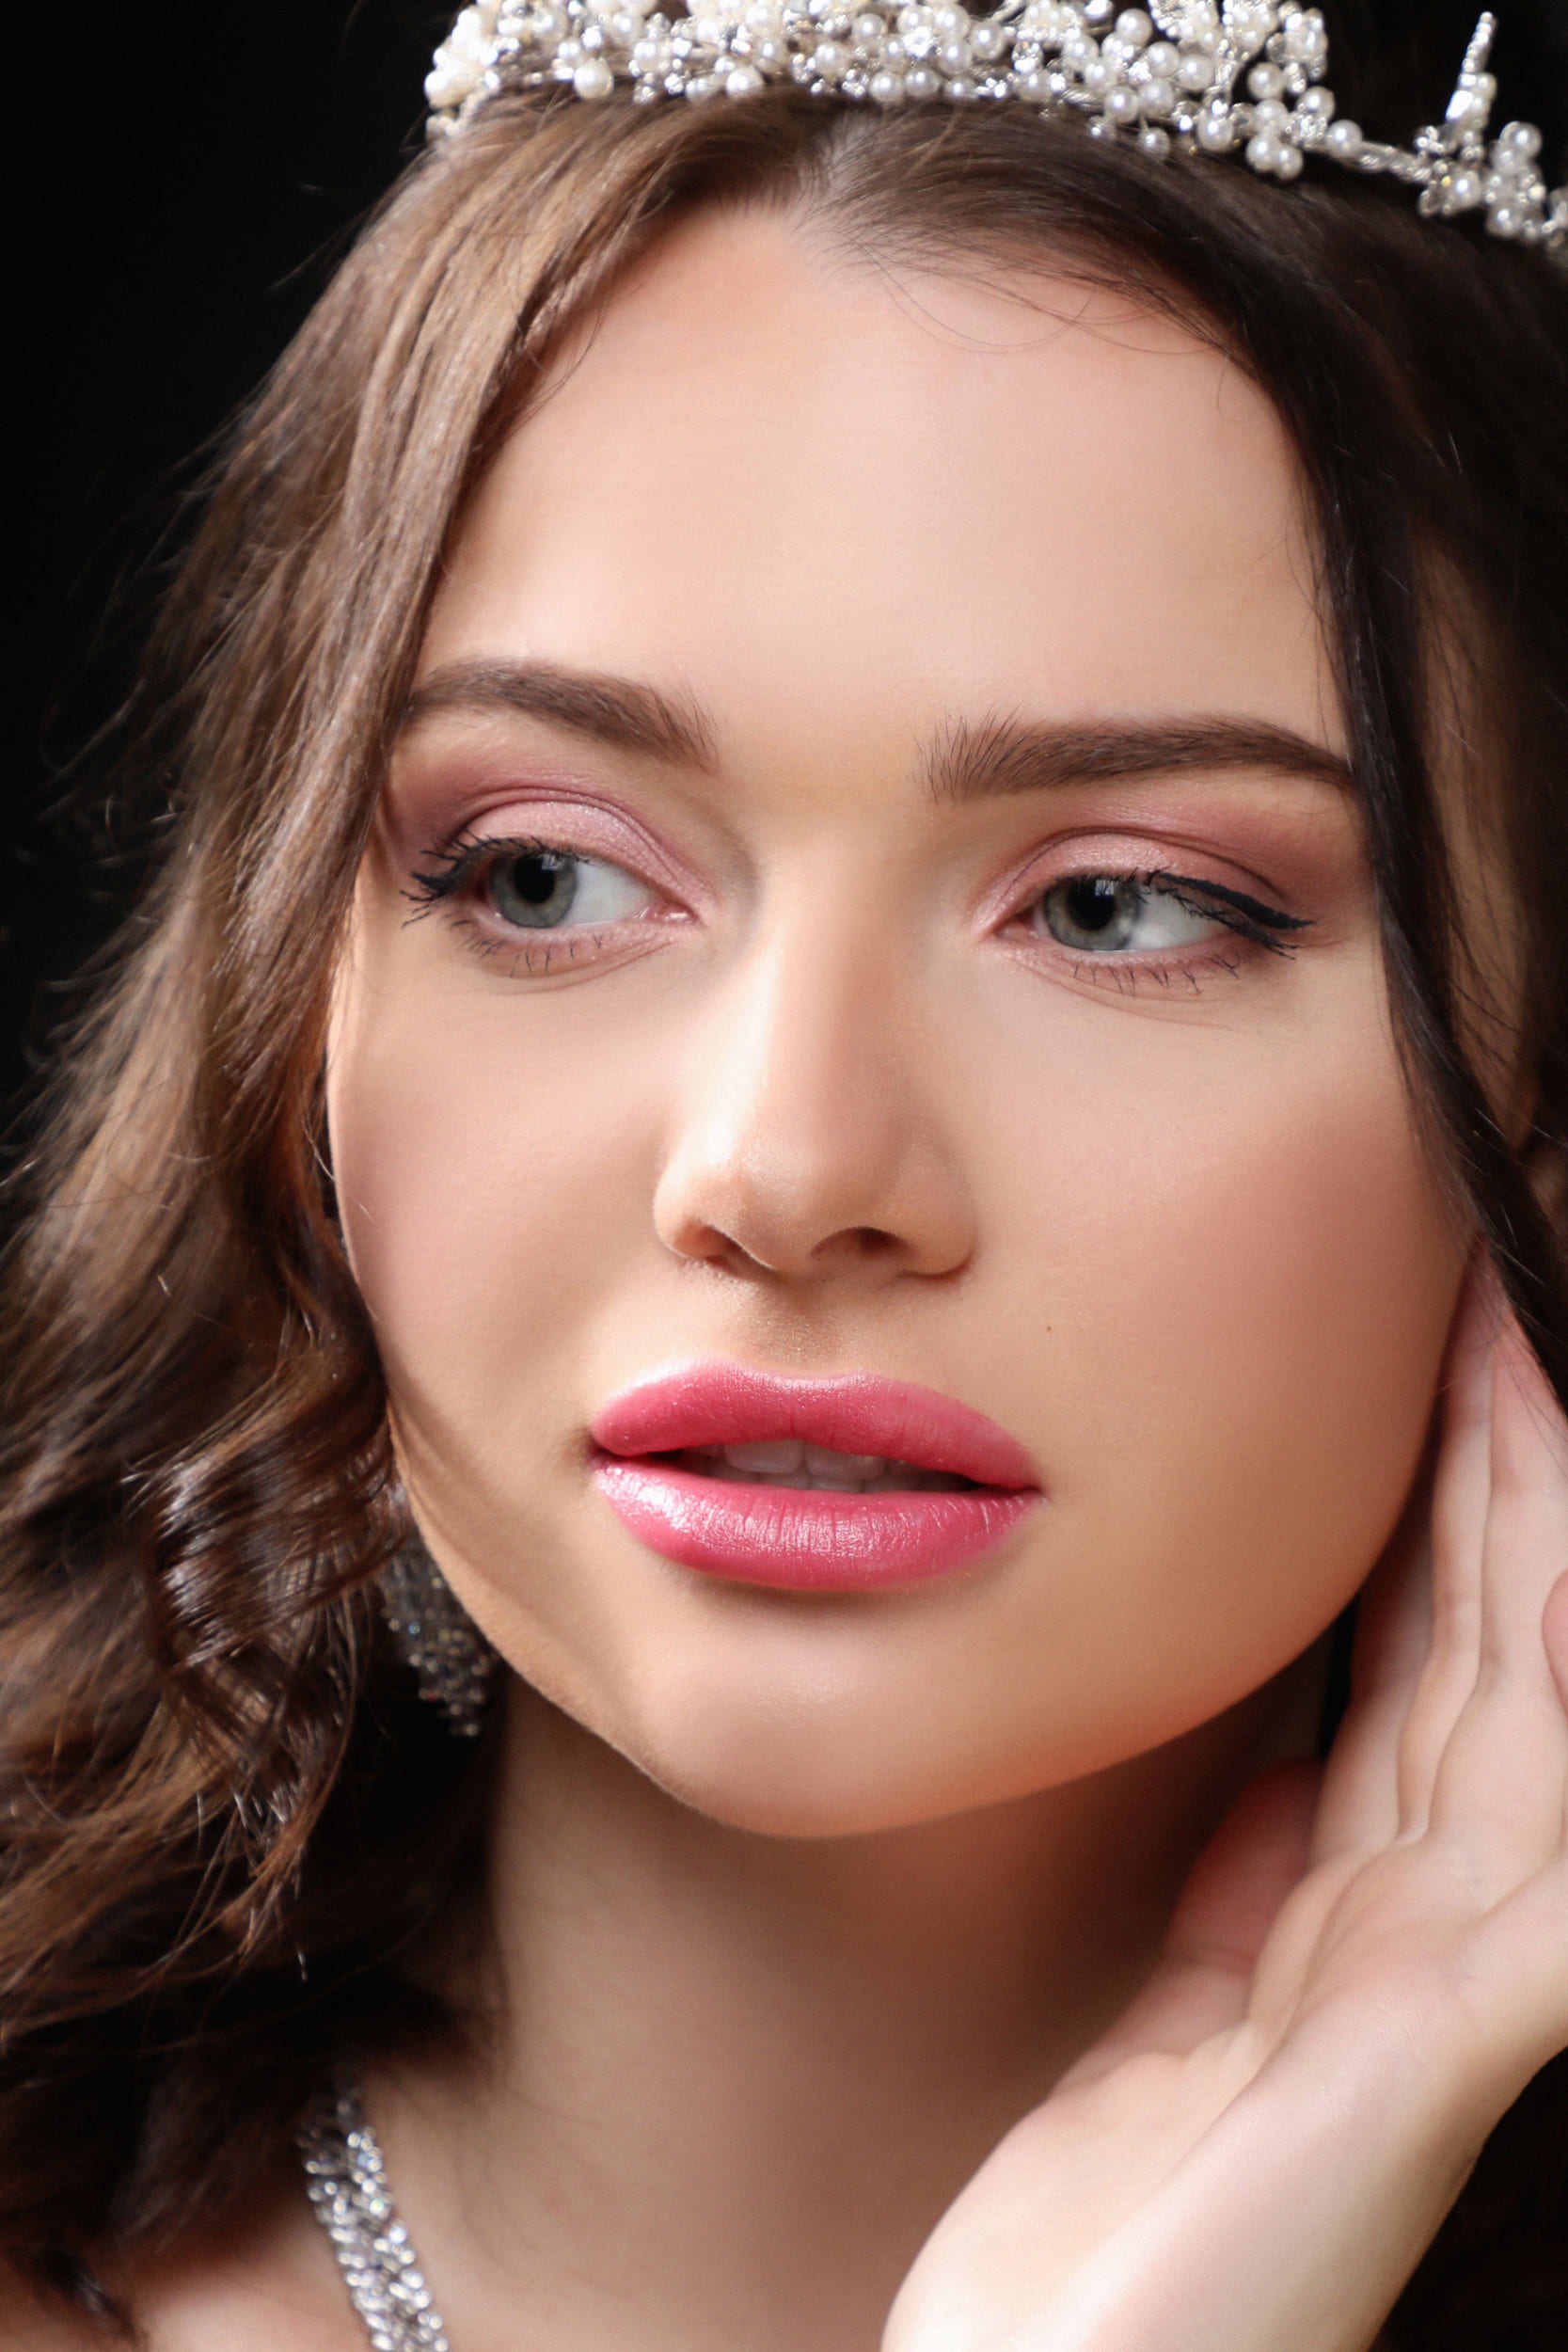
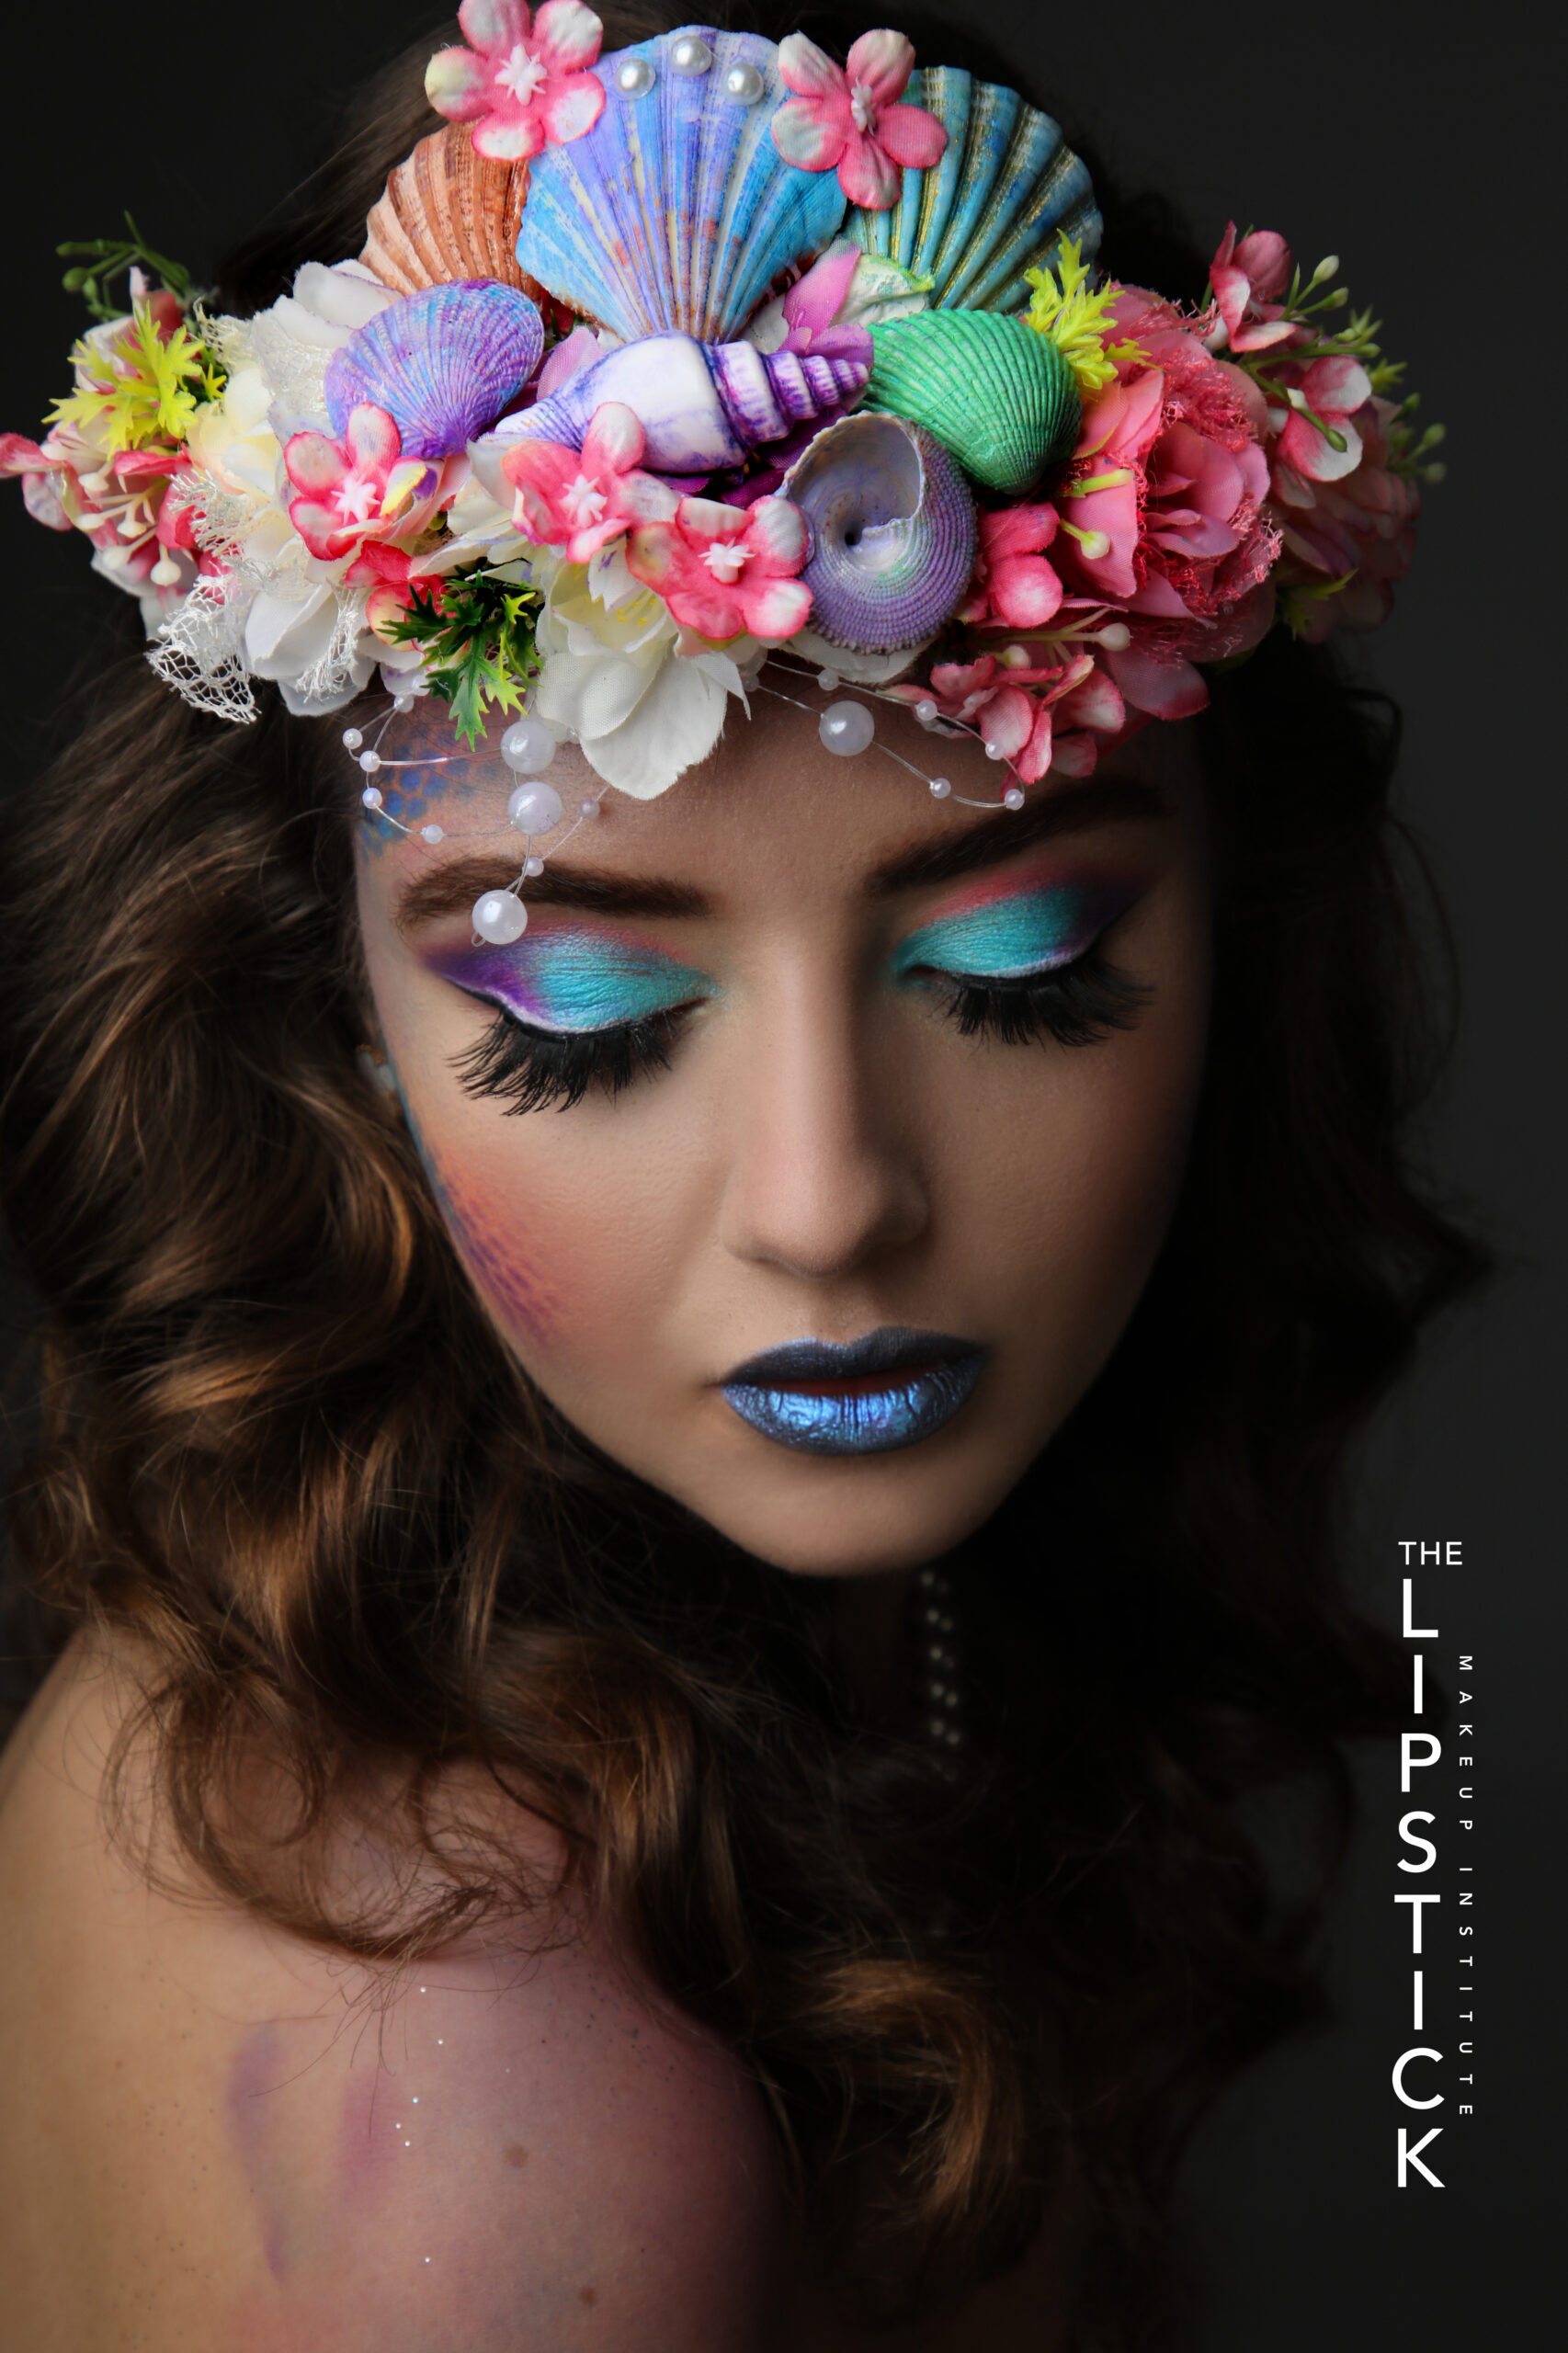
When you have more time and preparation, the possibilities are endless! Zombie, vampire, mermaid, deer, Barbie, you name it. Get creative! Learn Halloween Makeup Look
Base Your Look on a Photo
starting your Halloween makeup application with a solid base. “I always use the Face Primer…with…Tinted Primer.”
Recommendations
Deanna also recommends taking your time and mirroring your look off of an inspirational photo. “I find the more I dissect a picture or inspirational photo, the more details pop out. Also, always do a trial run. It always comes out better the second time around!”
Do you use Pinterest?
Pinterest is our favorite source of Halloween makeup inspiration.
Learn Halloween Makeup Look
Our Favorite How-To’s
You know these?
Learn Halloween Makeup Look
Sandy from Grease
Holly Golightly
Evil Queen
Daisy Buchanan from The Great Gatsby
Mary Poppins
70’s Beauty Icon
Iconic Beauty.
in Platinum Makeup Diploma. Become a professional makeup artist in 3 weeks.
A Cocktail makeup application can be completed in 20 to 30 minutes. Why cocktail? This makeup look is perfect for dinner time, weddings or any occasion where we would like to have a little bit stronger makeup on. Its between the daytime and evening makeup look, but stronger then the daytime look but lighter and softer than the evening look.
Cocktail Makeup Look
Self Makeup
Lets see the steps:
Cleanse, tone and moisturize: Wait a few minutes for moisturizer to be absorbed. Use primer if needed.
Foundation: Dab liquid foundation over the entire face with your fingertips or sponge. For cream foundation use a wet sponge for a better and smoother coverage. Apply in thin layer over the entire face.
When you applying the foundation, you must ensure that you got the right colour. Choose 3 colours which are close to your skin colour. Apply a line on the face from each colour near to the jaw line. The colour which blends into your skin colour and its invisible that is the right foundation for you. Don’t try the foundations on the hands, its not helpful about choosing the right colour, because the skin on the hands are not the same as on your face, its not the same colour as your face and the skin on the face is more sensitive.
Make sure that the entire face is well blended and covered. Dont stop at the jaw line extend the foundation under it also and on the neck. If your first coat of foundation does not cover well, apply a second or third. Layering is always better in the makeup artistry than an initial heavy application.
Corrector / concealer : Cover blemishes and dark areas with orange, yellow or peach-toned
corrector. The concealer will conceal the corrector colour, what is in skin colours. Application with fingertips or concealer brush.
Powder: Use a loose pale yellow-based powder or translucent dusting powder to set the makeup. Apply with a brush, for dry skin dust only around the nose and forehead since these areas t to be a little richer in oils.
Eyebrows: Shape the brows with a small amount of brow powder or pencil. If you have a dark hair, using a colour that is one or two tones lighter than the hair colour. Use a golden brown or light brown shade if you have a fair skin complexion.
Eye shadow: Choose three shades of eye shadow: light, medium and dark. Use the dark to line the upper lid, thinly, along the lash edge. Use medium shade to cover the remaining part of the eye lid up to the crease. Use the lightest shade for the area between the crease and the brow. You can highlight the eyes by using the darkest shade in the crease of the eye, and/or to stretch the eye shadow along the lid out toward the temple and blend the colour.
In this makeup look we can go with a stronger eye makeup. By applying a touch of black in the outer corner of the eye will give deepness to our look. The highlighter can be pearl shine (shimmer) to give a bit of glamour to our eye makeup look.
Eyeliner: Use cake liner and apply with an angled or fine liner brush, or use a sharpened eyeliner pencil. In general apply a black, dark brown, dark grey/black, eyeliner in a thin line at the base of the lashes. Start at the edge of the upper lashes.
Mascara: Black mascara is the best to highlight your lashes. Apply in two thin coats rather than one heavy one. If you are deciding to curl your lashes do it before you applying mascara.
Blush: Apply the blush directly on the cheekbones and blend it to the hairline. You can add a little shimmer on the top of the cheekbones if you want to emphasize them.
Lip liner: Apply lip liner in advance of lip colour as the lip liner helps contain the lipstick, keeps it from feathering, and makes it more durable. Remember that symmetry is beauty. Use your lip liner to improve the symmetrical look of the lips with the right side being the mirror image of the left. Try also to make upper and lower lips appear to be equal thickness.
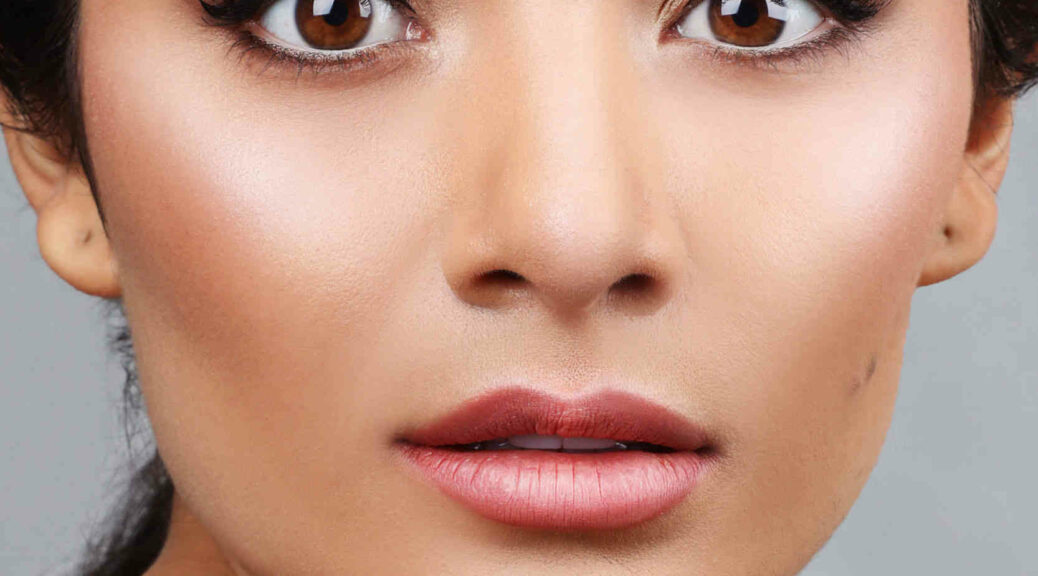
Lipstick: Neutral shades and sheer formulas are perfect for a daytime look. Use a lip brush to apply dark or bright colour’s since these require very precise application. Add a dot of a gloss to the centre of the bottom lip and then blot. Make sure no lipstick sticks to the teeth.
“I believe that when one look at a face, you should notice the face, not the make-up. Make-up should be there to enhance the face, not to cover it up. It should not attempt to cover and conceal and change a woman’s beauty. It should bring out It’s best features and make the most of it. it should be about harmony with life and nature.”
Healthy glowing skin is the dream of every woman. How to achieve it? We need to take care of our skin. Clean it properly day by day and moisturize it.
Skin care steps:
Cleaning (wet wipes, cleansing milk, gel, micellar water etc)
Toning (the toner cleans up the skin perfectly, refreshes it and closes the pores)
Moisturizing the skin (day cream with SPF, vitamins and anti-aging)
Make-up application steps:
Primer (if needed depends of the type of foundation) (application with fingers or foundation brush)
Foundation application (liquid, cream, stick depends of the skin type) (application with sponge, foundation brush, stippling brush)
Corrector application (green, yellow, peach or orange depends of the skin colour. Applying under the eye, eyelids and anywhere on the face where we want to correct the
discolorations. Green –red, yellow-violet, orange, peach – blue)(application with fingers or with concealer brush)
Concealer – after the colour correction we need to cover up the corrected areas. The concealers are always in our skin tone. (ivory, beige, sand, etc)(application with fingers or concealer brush)
Fixing powder – lose powder or translucent powder is for the fixing the foundation to get the matte and smooth finish. For the touch ups we are using the compact powder. (application with a powder brush or with powder puff)
Filling up the eyebrows – we want to achieve the perfectly done and natural eyebrows. We are using eye shadows (matte) in lighter shade than the eyebrow colour, application with an angled brush.
Application of the mascara ( 2 layers – it can be the same mascara or 2 different kinds of mascara, application from the roots to the top.)
Blusher or bronzer application – on the cheek bone – blended, with a blusher brush.
Lips – lip liner, lipstick and lip gloss application with a lip brush.
Our students started The Platinum Started At Lipstick
And are all from every different age.
Firstly, Here at The Lipstick, Makeup Institute The Platinum Amazing Course is the course Really gets our students ready to become the best professional makeup artist they can be.
The course is over taken over five weeks. The first few weeks the makeup teacher covers the whole history of makeup, all the looks, the colours, how we got to where we are today in the world of makeup.
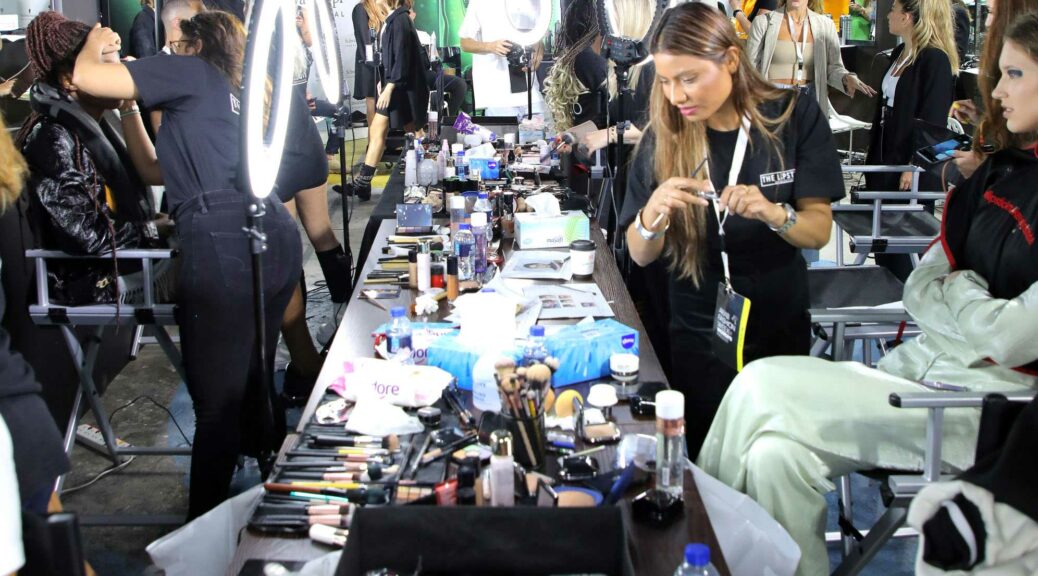
Student Work
At The Lipstick Makeup Institute, our teachers are simply the best. We also hire our ex graduates as they know how we work. They also understand how students want to be taught.
All our works can be seen on our Instagram & Facebook pages.
Look at our students at work k, don’t they look busy?
Platinum Makeup Diploma Started
Join our next diploma, don’t miss the chance its 3 week diploma you can learn many thing in this diploma while learning you can work with us on our clients and practice on our models create different looks our sister company YH STUDIOS did professional photos for your portfolio so you get 5 high end photos after complete the diploma.
Makeup Educators in the world of Dubai. Becoming a makeup educator takes a lot of practice, experience, and holding pride to your own work. The Lipstick makeup institute has an exciting opportunity for all talented people to come and learn makeup skills. We’re going to run through all of the skills and characteristics you need to become a professional MUA. At the institute we will be covering:
The makeup theory
Basic makeup skills
Advanced makeup skills
Creative makeup
SFX makeup
Editorial makeup
Basic hair skills
Makeup is an art form that presents the makeup artistry world. Therefore, our makeup educator ensures that all students benefit from every class with a full understanding of the material. Moving on to makeup skills and application, our students vary in their makeup application knowledge. As a makeup educator, it’s my role to put all my students on the same level and give them confidence to move forward.
At The lipstick makeup institute, we run the course for five weeks with intensive learning and practice. We ensure that all our graduates have a full understanding of all types of makeup application, and they are ready to become professional makeup artists in the makeup artistry world.
The International Platinum Course This course is for 3 weeks. Timing is from 10AM to 4PM Sun-Thurs.
Get in touch.
We’ll always advice you and we’ll find the best option for you.
Contact number & WhatsApp: +971 52 8497972
Don’t miss your chance
The Lipstick Makeup Institute giving BIG DISCOUNT on our Professional Makeup Course.
Don’t miss such a great opportunity and book your seat now 6 students in a group.
Doing a Perfect Lipstick Application. Lipstick Application is a fun way to enhance your look and express your personal style, but applying it can be tricky. When applied wrong, lipstick may look uneven, might bleed onto your skin, and could fade too soon. Fortunately, there’s a simple yet effective way to apply your lipstick and keep it in place. You’ll be looking your best in no time!
Apply a thin layer of lip balm to moisturize and even out your lips.
Lip balm nourishes your lips so they’re less likely to get dry and flaky. Additionally, lip balm can smooth out your lips by filling in uneven spots. Swipe the lip balm over your upper lip from your Cupid’s bow to the corner of your lips on each side. Then, apply the lip balm to your bottom lip from the center out to the corners.
Trace your lips with a lip pencil to prevent bleeding if you like.
You don’t have to line your lips, but it can keep your lipstick in place and define the shape of your lips. To apply the lip pencil, position the tip at the center of your Cupid’s bow and slowly trace your lips out to the corner of your mouth on each side. Then, place your pencil at the center of your bottom lip and trace along your lip out to the corners on each side.
Smile so your application will be even.
As you talk and move your mouth, your skin naturally stretches out, which can make your lipstick appear uneven. To make sure it’s layered evenly, smile slightly while you’re applying the lipstick.
Start applying lipstick in the center of your lips.
For the easiest application, apply it directly from the tube. To begin, position your lipstick at your Cupid’s bow on your top lip. Carefully dot the lip color onto your Cupid’s bow and the plump part of your lower lip.
Drag the lipstick from the center to the corner of your mouth.
Swipe the lipstick from the center of your Cupid’s bow out to the corner of your upper lip. Repeat on the other side of your upper lip. Then, position your lipstick in the center of your bottom lip and spread it out to the corner of your bottom lip on each side.
Use your finger to fill in patchy areas with a second layer.
Check your lips to see if the color looks even. If you have patchy spots, swipe a clean finger over the tip of the lipstick, then dab the color onto the patchy area. Repeat as needed to fill in your lips.
Blot the inside of your lips with a tissue to remove excess.
Fold a clean tissue in half, then hold it between your lips with the fold facing your mouth. Press your lips together around the tissue and release.
We’ll always advice you and we’ll find the best option for you.
Contact number & WhatsApp: +971 52 8497972
Don’t miss your chance
The Lipstick Makeup Institute giving BIG DISCOUNT on our Professional Makeup Course.
Don’t miss such a great opportunity and book your seat now 6 students in a group.
Beginner Steps to Applying Makeup Before you even reach for makeup, it’s crucial that you prep your skin with skincare. “Always cleanse and moisturize for your skin type,” “Makeup will never lay properly without it.” When your skin isn’t properly prepped, you won’t be able to achieve an even flawless finish. Instead, your foundation will look heavy and gravitate toward the dry parts of your complexion while your concealer gets cake-y.
2. Apply Primer
Not all primers are created equal, so to achieve the best results, it’s best to select the right primer for your skin type. If you need help picking the perfect primer. If you use a heavy hand, the primer will start to ball or pill (not the look we’re going for). Instead, focus a thin coat on your forehead, cheeks, and chin. “This will allow it to blur and mattify in these areas (a.k.a. the T-zone), which are usually the areas that are the oiliest.”
3. Grab Your Foundation and Concealer
Now that your skin is prepped and primed, you can start applying your makeup. While typically you should start with foundation first and then concealer, there are certain instances where you’ll want to reach for concealer first.
Dab a few dots of foundation on your T-zone, focusing on your forehead, nose, cheeks, and chin. Next, use a foundation brush to blend it in. While you can also certainly use a makeup sponge or even your fingers, using a foundation brush is quick and easy, making it a great option for beginners (and anyone who’s looking to simplify their makeup routine). To achieve a natural finish, start with a small amount of product and blend up and out.
Now that your foundation is applied, you’re ready to apply concealer. Focus on any areas you want to conceal: under the eyes, around the nostrils, and any blemishes or dark spots. When it comes to covering up, it’s important to dab, never drag.
Spot apply on blemishes and lightly dab, using either your ring finger, a concealer brush, or sponge. To conceal under the eyes, draw two inverted triangles under your eyes and blend the edges into your foundation by lightly dabbing. Not only is the upside-down triangle technique pretty foolproof, but it also brightens up the entire face, contributing to a gorgeous glow.
4. Set Your Base
Swipe a brush or velvet puff into your setting powder, and tap it to remove any excess. You want to ensure it’s evenly covered before you apply it to your complexion. Next, press it into your face to ensure you don’t move your makeup around in the application process. Focus on areas that often seem to need a touch-up throughout the day (typically the T-zone). If you have a special occasion ahead of you or you just want to create a more airbrushed finish, you can also “bake” your makeup.
5. Create Dimension
Contour comes in powder, liquid, and cream formulas, with powder being the most foolproof, making it ideal for beginners. Using an angled brush, focus on the areas you want to create dimension. Next, place contour under the cheekbones, around your hairline, and on the sides of your nose.
When it comes time to apply highlighter, focus on the “high” points of your face that the sun would naturally hit. “Adding highlighter above cheekbones, by the eyebrow arch, down the bridge of the nose and blending very well will give the most realistic dimension,” While highlighter comes in a variety of forms, a powder highlighter is easiest to use if you’re a beginner. To apply, dip your brush in the powder and tap it to remove excess powder. Next, lightly glide it over the high points mentioned above.
6. Add Back Some Color
When selecting the right bronzer, be sure not to go more than a shade or two darker than your regular complexion. Once you have selected your shade, you’re ready to begin bronzing. Using a fluffy brush, blend bronzer around your hairline, on your cheekbones, and on your jawline. The easiest way to remember this? Just think of the number three. For a flawless application, draw a number three on your face, starting at your hairline and then continuing down to your cheekbones before rounding it out under your jawline. Blend in circular, sweeping motions for a flawless finish, and dust some on the bridge of your nose to complete your sun-kissed glow.
When it comes to blush, it’s best to select a hue that brings out your skin’s natural undertone. Next, using a brush, apply blush to the apples of your cheeks to create a subtle, natural-looking flush, moving your brush in circular motions to blend as you go. If you’re unsure where the apples of your cheeks lie, simply smile!
7. Focus on Your Eye Makeup
When it comes time to apply eye makeup, the choice is really up to you. Do you want to create a natural makeup look for the day? A smoky eye for date night? Do you feel like trying your hand at the edgy negative space liner for drinks with friends? Depending on where you’re headed and what you plan on wearing, you can tailor your eye makeup to match your mood. Rely on your eyeshadow, eyeliner, and mascara to create the perfect glam.
Once you’ve applied your eyeshadow, you can move on to your eyeliner.
Brows deserve attention all on their own. You can either make your brows look fuller or enhance your natural shape using a variety of products, like brow pencils, powders, or gels. If you aren’t sure which product is right for you, stick to these guidelines: Use a pencil for the most natural-looking approach that mimics your real hair. Use a brow powder if you want to fill in sparse spots. And finally, whip out the brow gel when you need to keep unruly brows in place.
8. Swipe on Your Lip Products
If using a lip primer, prep lips before you begin. Next, use your lip liner to outline your mouth. This is where you can also contour and create the illusion of a larger pout by simply lining slightly over your lips. Next, fill in your lips with your liner. Use this as an outline and apply your lipstick.
With these expert tips, the right products, and a little practice you’re ready to take your makeup routine to the next level.
Beginner Steps to Applying Makeup
We’ll always advice you and we’ll find the best option for you.
Contact number & WhatsApp: +971 52 8497972
Don’t miss your chance
The Lipstick Makeup Institute giving BIG DISCOUNT on our Professional Makeup Course.
Don’t miss such a great opportunity and book your seat now 6 students in a group.
Process are must be follow when you are doing the makeup. Wether you are working single or you working with many faces in a short amount of time,
It is important to follow sanitary guidelines.
Skin breakouts can occur as well as infection if proper sanitary makeup precautions are not taken.
An organized and clean makeup kit and station screams professionalism and your clients will immediately get the sense that you know what you’re doing and they are in good hands!
Mascara should be discard at every 6 weeks
Use clean disposable mascara wands and never double dip
Wipe powder products including eye shadow and blush with tissue after use
Wash your brushes with brush cleaner after each application.
Use a palette knife or spatula for liquid, creams and emollient-based products.
Sanitize lipstick; concealer & cream products by dipping in or spraying with alcohol(91%) then wipe them with a clean tissue.
Scoop lipstick color of the stick with a spatula and place it onto a mixing palette.
Sanitize pencils prior to using, remove residue from the sharpener with alcohol and dip the pencil in or spray with alcohol.
Loose powders and pigments should be onto a mixing palette using a spatula or palette knife.
Use disposable applicators when you working with liquid liners and lip gloss, and never double dip. You can also dispense these products onto a mixing palette; never apply directly with included applicator.
When you are working with liquid cosmetics, dispense them onto a mixing palette and apply then with brush or sponge. Make sure the mouth of the bottle doesn’t touch surface of your tools. This applies to foundations, moisturizers or anything that comes out from a bottle.
Q-tips are great for applying concealer and foundation over any open wounds. Also you can dip into the loose powder to set properly.
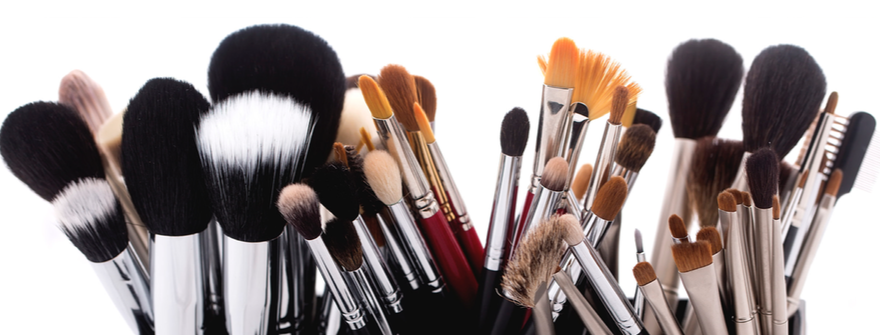
Makeup Tools
PROFESSIONAL SANITARY GUIDELINES
Sponges should be use on one person at a time.
You can make sure your makeup kit is not shared with any one and that it is used only by you.
Makeup course is just around the corner and what better way to invest in your makeup career to take it to the next level?
The 3 week long course teach by Experienced Makeup Artist,
Lea doesn’t just refine your makeup skills and refresh your creative eye, it also can elevate your career!
This course is strictly for Makeup Artist’s that need help with specific makeup skills, learning how to get their dream client or how to market themselves as a professional Makeup Artist.
Best Makeup School, Boost your career with The Lipstick Makeup Institute
This course includes a full photoshoot with our professional YH STUDIOS and models.
The shoot taken place in our studio and we will provide you incredible images for your portfolio to attract your dream clients!
Student Portfolio
We took our students on our projects they work with us directly on our clients to get confidence and portfolio.
Working in the fashion industry isn’t like being an every day Makeup Artist, there many technical skills needed and attention to detail is key.
Join one of our course and get the best possible training.
3 Weeks Diploma Never been done before. We have the new in trend Diploma Accelerated Course.
In touch with the new on trend looks, Social Media Guidance, Best contemporary Photographers, Diploma in 3 weeks all for AED12,990
You get 5 full professional photographs of your work in the course. In this diploma you are prepared to become a full-time professional makeup artist. Plus also you get an International Diploma with worldwide recognition.
Why The Lipstick Makeup Institute? Thats easy, we are the best at Institute in Dubai.
You get the professional portfolio and work with us on our clients.
Thinking of start your career? Call us today on 052 834 9964 email our team or check out more details The Lipstick Makeup Institute