Tag Archives: makeup

Makeup for blue eyes

We would say its easy when it comes to the light eye colour.

If you have blue eyes be sure to use the right colours to bring out the eyes more  and make you look fresh and glowing.

In case you are  using the wrong  colours,  your eyes can look tired and the purpose of using makeup  is to enhance our beauty so its time to talk about the  colours to enhance your eyes.

Blue eyes and neutrals as on the green eyes always looks good.

The darker the colour the eyes will look more dramatic when it comes to the eye colour.

Strong dark grey or black contours can make you look the drama queen of the night in a gorgeous edition.

Don’t go over the top, make sure that your are using your blending brush enough and not leaving harsh lines in your eye makeup.

10171614_10153163720030027_5019177814438280041_n


You like it more natural?

You can’t go wrong with some cream and brown colours with a dash of dark brown or black in the outer corner of he eye.

10623302_10153046727555027_1657178163259097445_o


Dark blue or dark grey can look awesome on the blue eyes

10953281_10153129523785027_7322214368265362253_o

Don’t forget the colour wheel  and our complimentary colours if you want to enhance your blue eyes even more.

Oranges, copper and peach… work perfectly on blue eyes will make the colour really vibrant.

_MG_6031

Lets put all these infos together and check the colours we can apply for the  blue eyes:

-champagne

-peach

-rose

-orange

-copper

-grey

-dark blue

-dark brown

-navy

-black


Now we have all the colours together so we can start experimenting.

Good luck ladies


Don’t forget  to visit us tomorrow as we will talk about the most universal eye colour… the brown eyes


Dos and don’ts in contouring and highlighting

Highlighting and contouring can provide great dimensions to the face allowing you to add cheek bones you never knew you had, while slenderizing the forehead you always felt was a little too big. Celebrity makeup artist have been using these techniques for years to give celebs the perfect red carpet face. Kim Kardashian is known for her super highlighted and contoured makeup and has inspired many YouTube videos on achieving her look. Like any good makeup technique, it takes practice and the right tools to achieve the perfect highlights and contours. Here are a few of the do’s and dont’s in highlighting and contouring:

1. Do choose a highlight that is not too far off from your natural complexion, the goal is to add dimension and accentuate the skin not create a whole new skin complexion. If you have yellow undertones and are a complexion close to Kim Kardashian’s or even a few shades darker, yellow highlights work really well. If you are closer to a Gabrielle Union brown complexion, try choosing something in the brown family that is a few shades lighter than your natural complexion.

2. Don’t apply too much. Whether you are using a foundation, concealer, or powder you do not want it to be too thick. If the product is applied too thick, it will be harder to blend it in and will not look natural. Highlighted and contoured  makeup should look effortless and blend naturally, not be cakey and thick.

3. Do ask for a second opinion. Sometimes what looks great in our mirrors doesn’t always look great in natural light or in person. Ask a friend if everything looks well blended and even take a photo of yourself to make sure you don’t have that tell-tell white cast under your eyes.

4. Don’t go crazy buying products. You don’t need a million and one different products to achieve a beautiful highlight and contour look, even makeup artist have a few staple products that are their go to. Select a shade close to your complexion in either a foundation, concealer or powder and stick with that. As you get better you can always add a few more products to your collection but there is no need to break the bank.

5. Do go to a makeup counter and get help. If you need a little extra assistance with learning how to perfect the highlight and contour method or even need a little help with selecting the right product or shade for you go see a makeup artist. It is their job to help you and most makeup artist love sharing their secrets and giving out tips. To get the most time and attention possible from your artist, try going during a week day where there is usually less traffic and your lesson won’t be as rushed.

6. Do practice. Practice makes perfect and the more you practice at this look the better you will become. YouTube has a plethora of every day women and beauty gurus who have mastered this look, watch as many videos as you can until you find the method that works best for you.


Tip of the day: The ultimate tip of the day

The less is more !

022613-Contouring-Good-Bad-600x328


New week new topic from tomorrow..all about the eye makeup …stay tuned


How to contour and highlight like the Hollywood Celebrities do

Want to look like a Hollywood Celebrity?

With these tips you can easily look like a million dollar woman.

Lets start:

Contoured cheeks and glowing skin add that extra something to a typical, everyday makeup look. A little highlighter can give you that celebrity glow and a little extra bronzer will give you that chiseled, model face that most of the celebrities  loves to rock.

Add a little sparkle to your makeup routine with highlighter. A light dusting of highlighter on the top of the apples of your cheeks will make your skin look more radiant and will make you look more awake!

Take a bit of the lightest color on a fan brush, and gently sweep this highlighter right above where you would apply blush.

Don’t put highlighter too close to your under eye area as this can help highlight, or pinpoint, any under eye darkness! Also, be careful not to use too much highlighter. You want to avoid looking like a disco ball! Brush a translucent powder on top if you need to soften.

For contouring the face, you should go for a matte bronzer. Use an angled brush and start by deepening your temples. After that, find your cheekbones with a finger and apply bronzer directly under your cheekbones in a slant. Lastly, bronze up under the chin — and you will have a structured, contoured face.

 Tip of the day: Build up your makeup, apply step by step and little by little in this case you can control the amount of the products you are applying to your face.
640_jennifer_lopez_ocean_drive_nov15
kendall-jenner5
Dos and don’t in contouring and highlighting is our tomorrows topic…dont miss it!

Dry Contouring

If you’re a contouring newbie, powder is the way to go. Powder is also easier to blend. If you’re hoping to achieve a matte look, powder contouring will help you define your features. You can most definitely be a contouring pro and go this route–it’s really more about ease and desired look. Powder on dry skin can enhance creases and make you look more chalky and less fab, so best to use this method if you have oily skin.

These are simply guidelines. You can mix and match product textures if you have different needs or combination skin.

The dry contouring gives you a soft and natural look. It works perfectly for daytime and high fashion looks.

Tip of the day: use greyish brown eyeshadows for contours it will give you a natural look.


tips-for-gorgeous-skin-600x400


Stay with us tomorrow as we will give you tips how to contour and highlight like the Hollywood Celebrities do.

Tips from the Lipstick Makeup Institute on Mascara and False Lashes

 Sample 1
 12605495_1751012468451004_8182255944933402758_o
 1
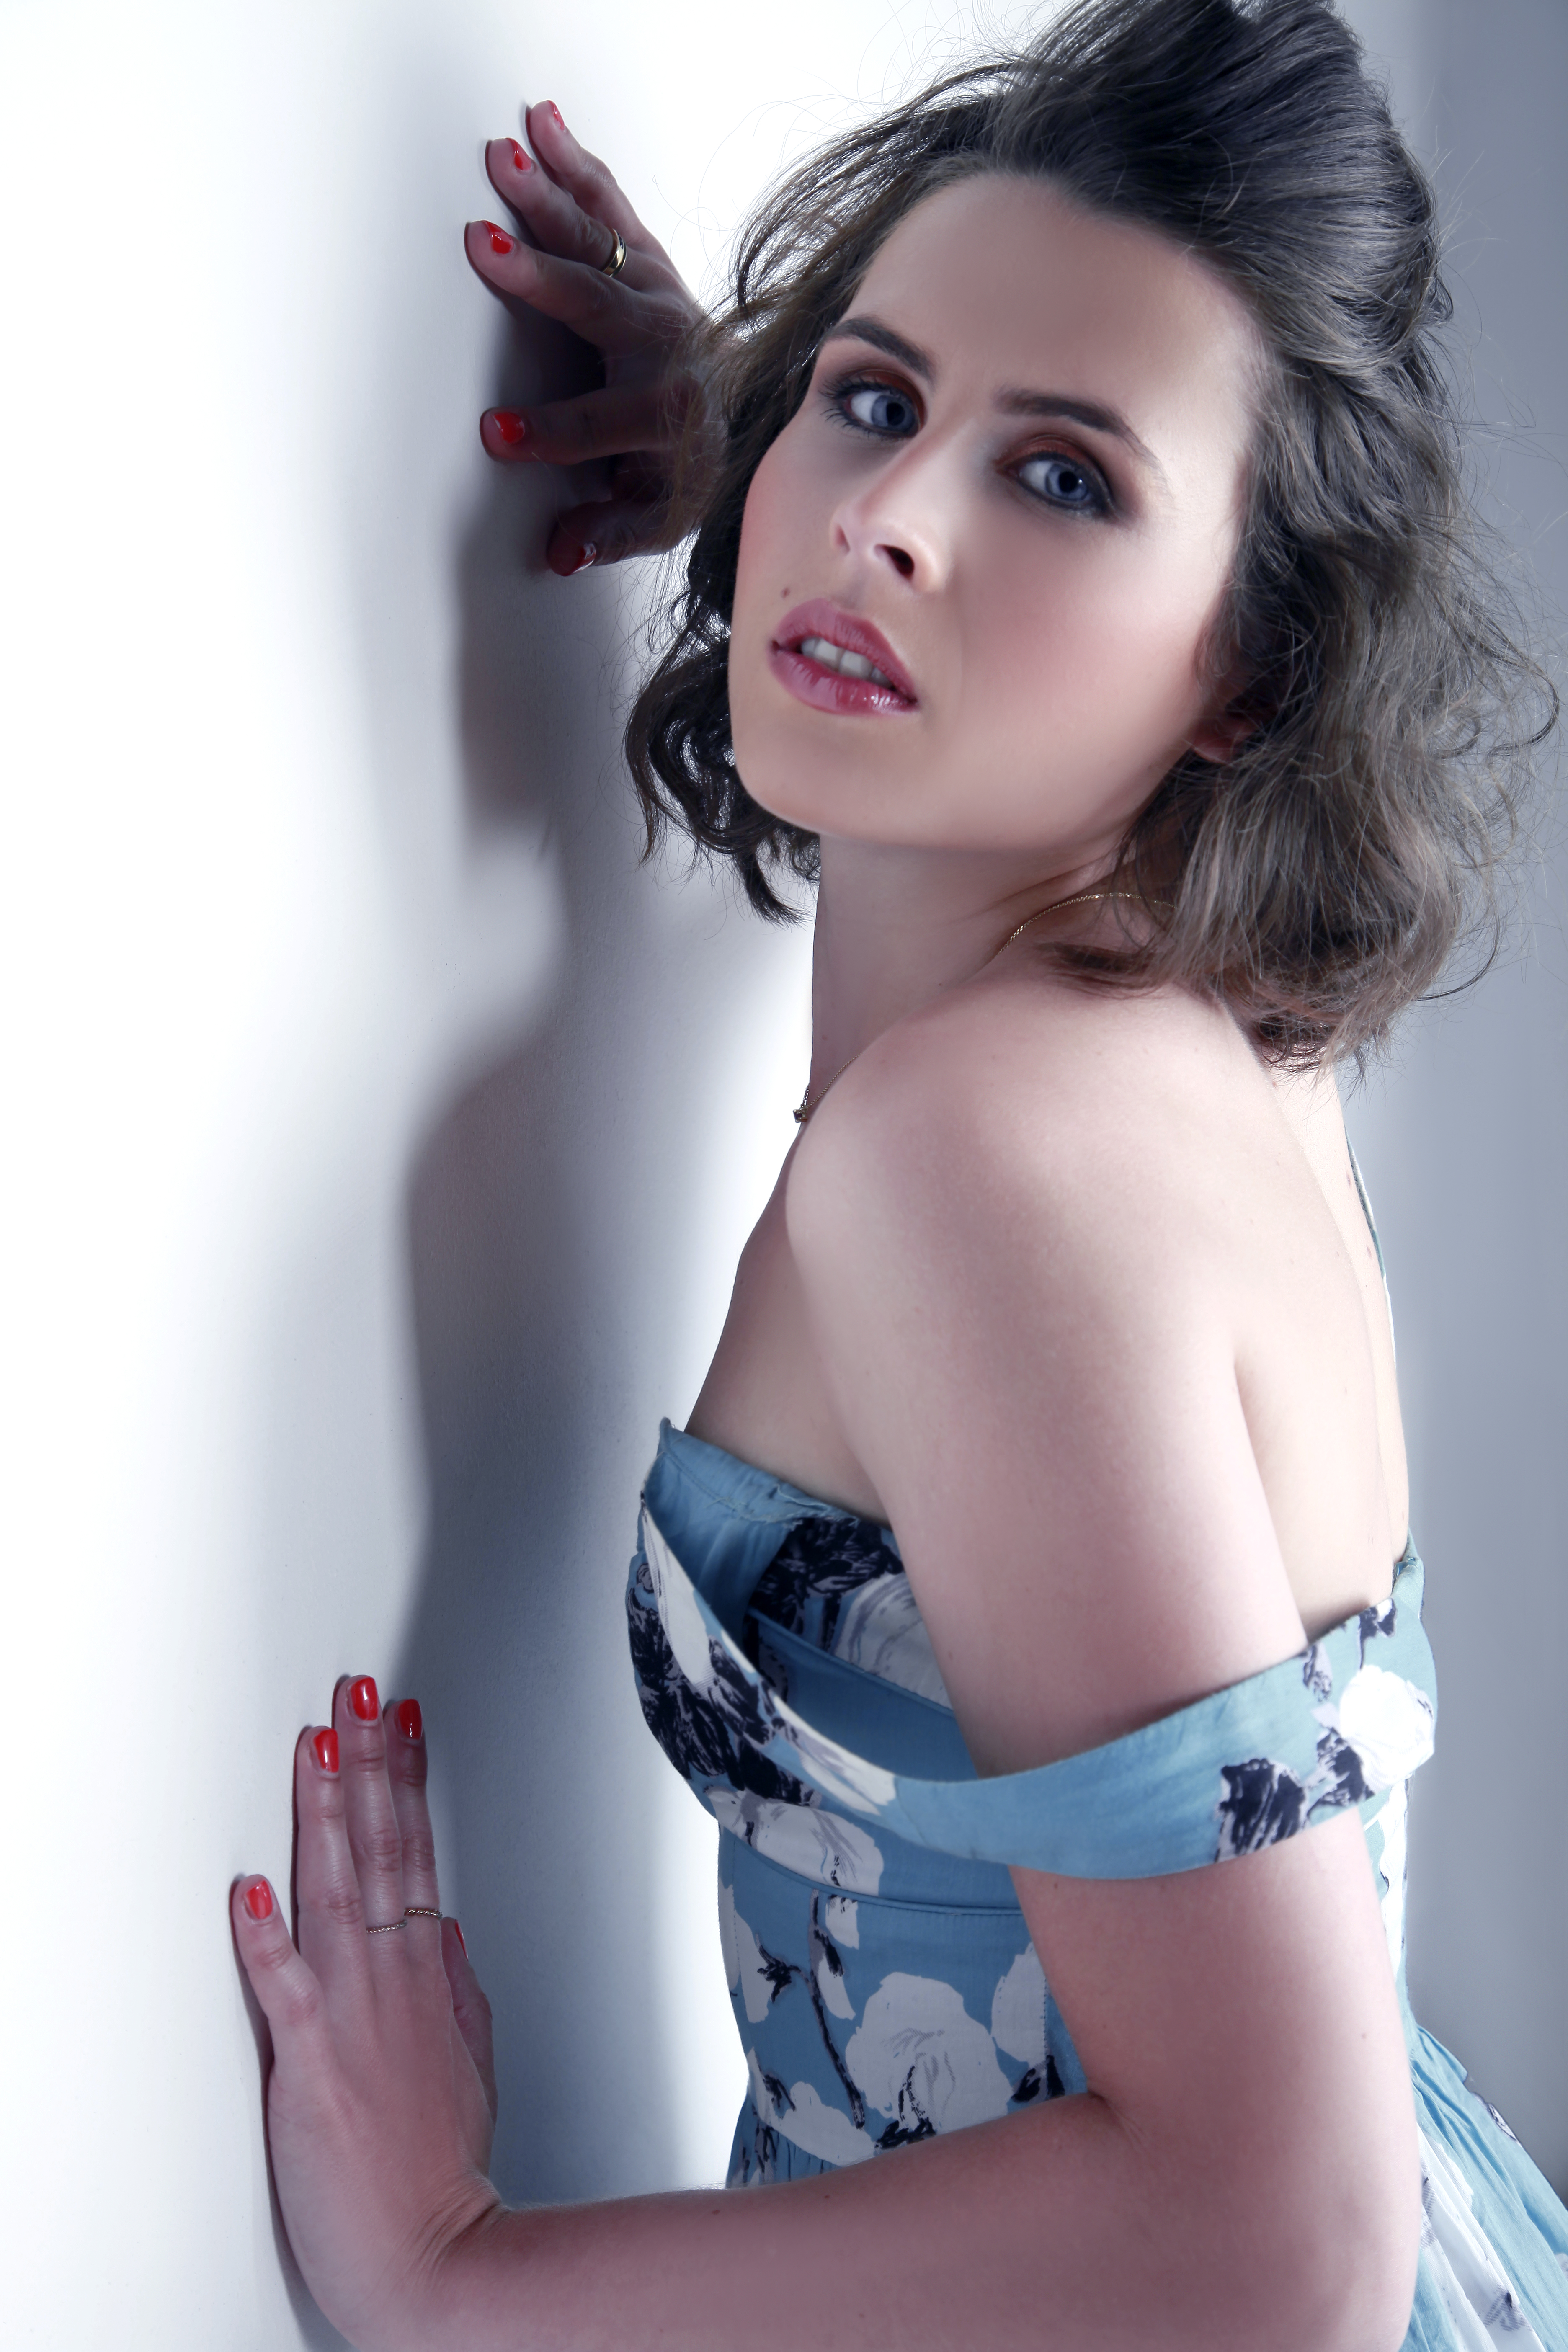
 Size the lashes. Before gluing the lashes on, you will need to make sure they are not too wide for your eye. Hold the lash strips up against your eyelid, and trim them down on the sides if necessary.
  • If the lashes are too long for your personal taste, consider trimming the individual lashes down to achieve a more natural look. Lashes should be longer toward the outer corner of the eye
  • Apply the lash glue to the outer seam of the eyelash strip with an applicator or small brush. Allow the glue to dry for a moment before applying it to your lashes.
  • Alternatively, you can squeeze a thin line of lash glue onto the back of your non-dominant hand. Then, gently run the outer seam of the eyelash strip along it.
3
Place the strip on your eyelid, positioning it as close as possible to your natural lashes. Bring the strip down from above, not from the front. This is to ensure that you get as close as possible to your lashline.[1]
4
Allow the glue to dry naturally. Once the strip is in place, you do not need to press or hold it. [2]
5
Apply mascara to your lashes. This will help blend your natural lashes with the false ones, achieving a more natural look. You can use black, brown, or dark gray mascara.
6
Apply liquid eyeliner along your upper lids. Be sure to fill in any gaps between the false lashes and your own to make them look more natural. Use black, brown, or dark gray liner.
7
Use makeup remover to remove false lashes. Dip a q-tip in eye makeup remover and gently rub it along your lash line. Allow the remover to sit for a minute, and gently pull off the strip.
KR01353G
CHOOSING MASCARA
1

Decide what you want out of your mascara. There is a mascara for just about any kind of lash enhancement–curling, volumizing, lengthening, defining, faster growth, waterproof–plus many products that combine these effects. Take a look at your lashes and decide what sort of enhancement they need.

  • For sparse lashes, look for a thickening or volumizing mascara with a large, round brush with lots of bristles. You can also find a combination primer and mascara formula, which is perfect for bulking up lashes and keeping them healthy.[1]
  • If you have short lashes, look for a lengthening mascara with a smaller brush with thick bristles. A small wand will allow you to get very close to your eye and make sure you coat each lash.[2]
  • If your lashes are full but you want length and definition, choose a lengthening mascara, but one with a long brush with evenly-spaced bristles to separate your lashes.[3]
  • To curl your lashes, try a mascara with a curved brush.[4]
  • For a natural, everyday look, find a mascara with a rubber brush and evenly spaced bristles. Lots of drug store brands have these types of brushes. Waterproof mascara will likely last all day.[5]
  • If your lashes are uneven in length or damaged, check the ingredients on the mascara. Phyto-keratin and panthenol can help your lashes grow. Use a fatter brush on your lashes.[6]
  • You should only use mascara for three months before replacing it, so go ahead and experiment with different brands and formulas until you find your perfect mascara.
     

    Pick your shade. For the most part, black is the way to go. It gives the illusion of thickness and length and can really make your eyes pop. If your lashes are red or blonde, however, make brown your go-to shade, wearing light brown for everyday and a dark brown to amp up the drama.[7]

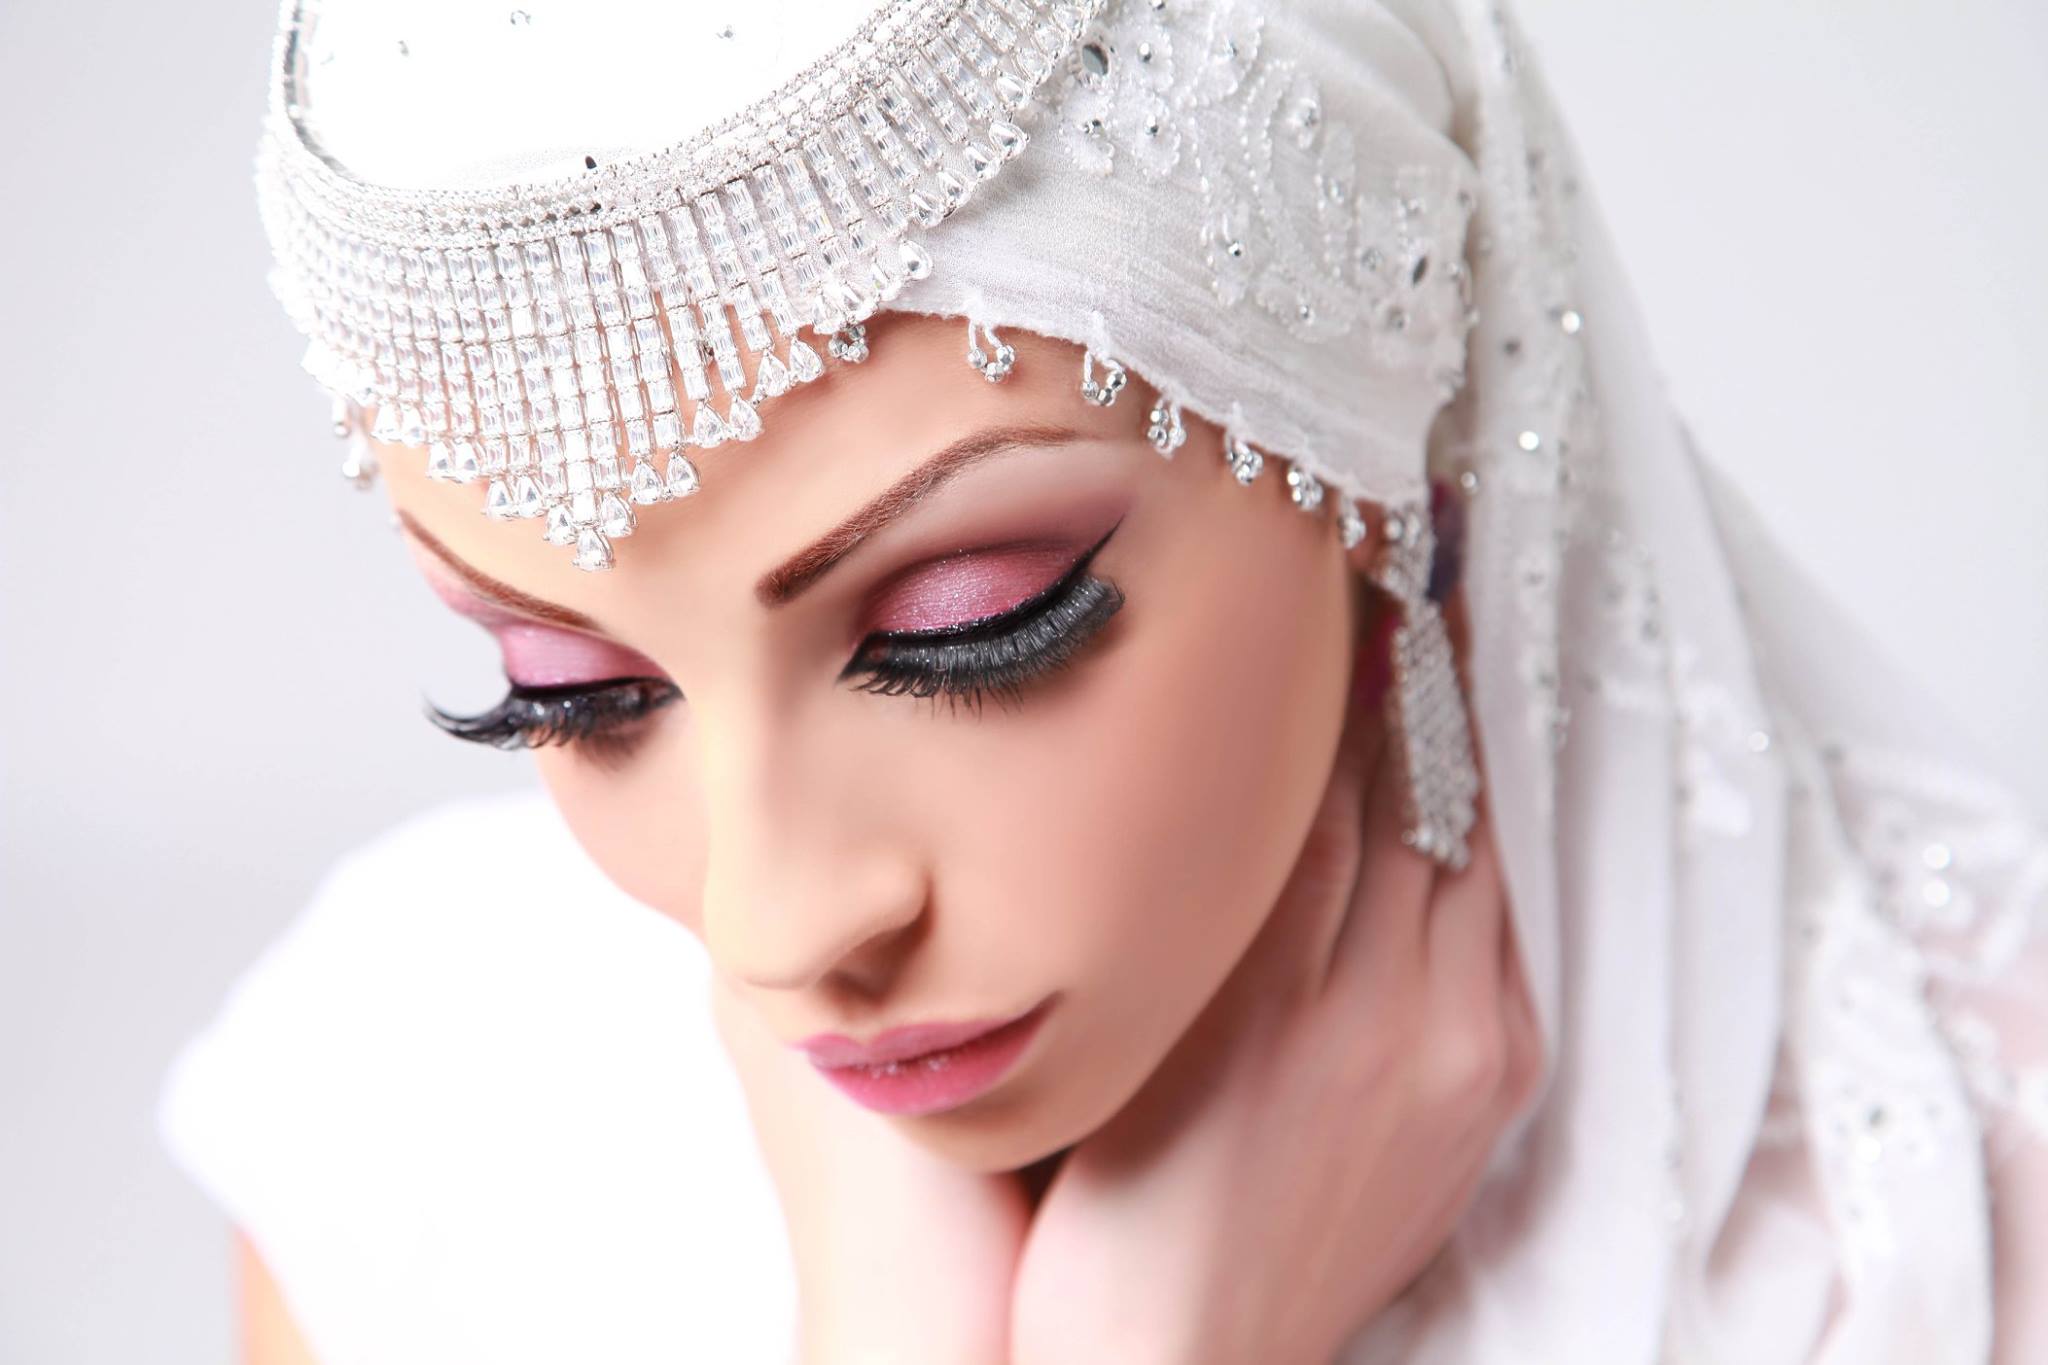
    • Experiment with colored mascaras. Green can bring out violet in blue eyes, purple can enhance green eyes, and blue and purple can brighten your complexion.[8]

 Invest in an eyelash curler, while you’re at it. If you’re serious about getting knock-out lashes, an eyelash curler is key. This will lift your lashes and allow more light to hit your eyes so they look bigger and brighter.[9] It may not seem like it, but an eyelash curler can make a huge difference.

  • Look for a curler with a rounded rubber pad, which will help curl your lash instead of bend it at a sharp angle.[10]

Applying Mascara to Upper Lashes

Curl your lashes first. Apply the curler to the base of your lashes and gently squeeze for about 10 seconds. Then slide the curler to the middle of of your lashes and squeeze for 10 seconds. Finally, curl the tips of your lashes with another 10-second squeeze. This will ensure you have a natural curve instead of lashes that are bent at a harsh angle.[11]

  • If you don’t have a curler or you’re too afraid to use one, use your fingertips to push up and curl wet lashes.[12]

Remove the wand from the mascara tube by twisting back and forth instead of pumping it up and down. Twisting will allow the brush to pick up the mascara, which is what most people think they are doing when they pump the brush in the tube. What they are actually doing is forcing air into the tube, which dries out the mascara.[13]

Wipe off excess mascara on a tissue or on the lip of the tube. Too much product can lead to clumping. Giving the wand a little wipe will leave you with just the right amount.[14]

Look up to lift your lashes. You should still be able to see yourself in the mirror out of your peripheral vision.

  • If you are afraid you are going to blink when you approach your lashes with the wand, open your mouth. It’s harder to blink when your mouth is wide open.[15]

Place the wand against the base of your lashes and wiggle it back and forth a little. You want the most product to be applied to the roots, which will make your lashes look longer and keep them from getting weighed down on the tips.[16]

  • The wiggle will also help lift and curl your lashes.[17]

Pull the want out toward the tips of your lashes with a zig-zag motion, or another little wiggle. The zig-zag adds length and volume, and can reduce clumping.[18]

Go over your lashes with a second coat. Try to leave it at that–do a third coat at the most. The more you layer on the mascara, the more likely it is the mascara will dry on your lashes and cause the new coat to clump.[19]

  • Mix mascaras if you want–do one layer lengthening, then a layer of thickening on top.[20]

Don’t neglect the lashes on the inner and outer part of your eyelid. A lot of times, people apply mascara only to the very center of their eyelid, which can actually make your eyes look narrower.[21] Make sure you apply to the inner, middle, and outer lashes.

  • If you are having trouble reaching your inner lashes with your brush, you can very carefully bend the brush to a 90 degree or right angle (don’t worry, you can bend it back). This will make it easy to brush those inner lashes without getting mascara all over your face.[22]
Addressing Common Problems 
Remove any mistakes with a cotton swab. If you get mascara on your face or eyelid, allow it to dry so you don’t smear it and make things worse. Once dry, press the tip of a cotton swab to the spot and spin. This should remove the spot without messing up your eyeshadow.[26]

De-clump with a clean mascara wand. Either use a disposable wand or repurpose an old one (wash it thoroughly with soap and water first). Comb through the top and bottom of the lash, spinning the brush as you sweep forward. This should remove clumps and give your lashes definition.[27]

  • Try to comb through your lashes while the mascara is still wet.
  • If you don’t have an extra wand on hand, try using a clean toothbrush to comb out any clumps.[28]

Thicken your lashes even further with baby powder. If you don’t feel like you’re getting the thick, voluminous lashes you want, try this trick. Apply one coat of eyeliner, then dust your lashes with translucent powder or baby powder (you can use a makeup brush or a cotton swab dipped in powder). Then add another coat of mascara.[29]

  • The powder gives the mascara more to cling to, which allows you to build more volume.[30]

Remove your mascara every night with an eye makeup remover. It might not seem like a big deal, but it can dry out your lashes at night and cause them to become brittle and fall out.[31]

 Tip of the Day: Always curl your lashes before applying mascara not after, it can break your lashes.
Stay tuned tomorrow as we will talk about

About Highlighting

Step 1: Determining Your Face Shape

Picture of Determining Your Face Shape
Before beginning your highlighting and contouring, you must first determine your face shape.  Faces can be oval, rectangular, round, heart-shaped, oblong, diamond-shaped, or triangular (including inverted triangular).  To determine your face shape,  pull all of your hair back tightly and examine your face in the mirror, looking for the following attributes.  A measuring tape may be used to measure the length and width of the face for a more precise determination.
OVAL: Oval-shaped faces have a length equal to 1.5 times the width of the face, with forehead and jaw equal widths.
RECTANGULAR: Rectangular faces are 1/3 longer than the width of the face and have strong angles on the forehead and at the jawline.
ROUND: Round faces are as wide as they are long, but with soft, rounded edges.
HEART-SHAPED: Heart-shaped faces have the most width at the cheek, eye, and forehead areas, with a narrow to pointy chin.  Sometimes they will also have a high forehead.
OBLONG: Oblong faces are as long as it is wide.  Straight sides, a high forehead, and larger than average distance between the bottom of the lip and the tip of the chin are common attributes of the oblong face.
DIAMOND-SHAPED: Diamond-shaped faces are characterized by a narrow forehead and a narrow chin with the widest point at the cheeks.
TRIANGULAR (and INVERTED TRIANGULAR): Triangular faces are wide at the forehead and narrowest at the jawline; inverted triangular faces are widest at the jawline and narrowest at the forehead.Determining your face shape will help you decide where to place your highlights and contours and what features you’d like to define or downplay.
images

Highlighting certain features of the face can be super flattering for the spring time, if done properly. By illuminating specific areas of the face, you’re putting them in the spotlight, but don’t think taking a face powder with tons of shimmer and applying it all over will give you a flattering look. All good things must come in moderation (even glitter).When it comes to brightening any part of the skin, it’s always a good idea to stick with the “less is more” mindset. Features like cheek bones, under the brow and cupids bow, nose area, chin and forehead are all prime targets to apply some sort of illuminator. We put together every highlighter tip for your face, from where to put a brightener to which products you should be using. Take a look through the slideshow above to see some of our favorite celebrities exemplifying the highlighted, fresh-faced look.

Tip for the day: “Less is more”

Stay tuned tomorrow as we have to talk about the right shade of blush for you


What products to use for contouring


This actually depends on your skin type and the blend-ability of the product you are using. It is pretty obvious that a concealer will be much more pigmented than a foundation which might make it a tad bit harder to blend.

For example, for someone with an oily skin type I would suggest that he/she uses a cream concealer 2 shades darker to contour and one that is 2 shades lighter to highlight. This needs to be set with a translucent powder to prevent it from slipping and sliding on your face.

You don’t need to stick with a single product. You could use a highlighting concealer and a contouring foundation. It’s all up to what products you have access to! Infact, the brushes you use might actually make or break your highlighting-contouring routine, so keep that in mind too.

It slims your face and creates definition and illumination to create a sleek, sculpted look.

Kryolan_UltraFoundation_Cream_24_Colors_Palette_9008-m

Tip for the day:  Your are not only enhancing your facial features, but also get a little confidence boost!

Stay with us tomorrow as we talk about highlighting.

What is HD foundation and when is it used?

In today’s digital age of Instagram, seven-second videos, and of course, selfies, an HD foundation becomes almost as essential to your social game as a strong Wi-Fi connection and adequate battery life. Long praised for their ability to create an airbrushed effect under the most high-def cameras, most formulas combine the use of coated pigments and ultra-fluid textures to provide a seamless finish, no matter how closely you will zoom in on a picture.

HD Micro Foundation Smoothing Fluid is a soft, micronized foundation with anti-aging complex and protects the skin from harmful environmental influences – for a perfect appearance. Ideally suited for natural looking make-up for high definition camera work in photography, fashion shows, show events, weddings and more. Apply Smoothing Fluid thinly and evenly with a fine-pore make-up sponge or foundation brush. Allow to act briefly and powder if necessary with Micro Finish Powder. ECARF certified.

The-changing-faces-of-Kiwi-women_Kryolan-2

HD Micro Foundation Cream is a micronized foundation with unique light reflection. Optically, it significantly reduces the shadow effects of wrinkles. Which means that it enables natural, youthful appearance especially with make-up for high-definition camera techniques for film, TV and photography. At the same time, special ingredients protect the skin from harmful environmental influences. Thinly and evenly apply HD Micro Foundation Cream with the included very fine-pore make-up sponge or alternatively with a foundation brush and set it with HD Micro Finish Powder. ECARF certified.

base_image_33_3


Tip of the day: the secret of the HD foundations is to layer them while applying on the face. With this application technique you will get a perfect and flawless coverage but invisible on the skin.

Visit our log tomorrow guys to read and learn about different foundation application techniques.

STUDENTS TESTIMONIAL

Dubai Zombie challenge


I attended the three days Dubai zombie challenge that took place in wonderland, Dubai from 7th till 9th of April 2016

The event was organised and supervised by the famous French Le Manoir de Paris, they are specialised in makeup and special effects.

There were 2 amazing ladies Laura and Dalila they were responsible for the clients that wants to change into zombies, they took good care of them with smiles and love from the entrance till the makeup room, and they also were supervising the whole event.

Then another French person to train the new zombies, in addition to two more men that were responsible for all the details of the game from maintenance to the safety of the clients, They were very well organised and they planned everything that they even had first aid kit to help the clients.

First day i went before we start we had a meeting with the two professional French makeup artists Emilia and Camilla we were seven makeup artists in addition to them, by the second day we ended up in only 5 persons, they divide us as follows

  • One group for the latex
  • One group for the Air brush
  • One group for coloring details
  • One group for the final touch of clothes and hair and rest of the body
  • Camilla and Emilia took over the Air brush details and were also overlooking all the groups to make sure that we were on the right track

They also decide that we rotate every day so that we all get to learn everything in the process, also during the breaks they encouraged us to practice on our own bodies to learn more all the tricks.

They were both very supportive and helpful they treated us as a team, they fluded us with all the experience and data needed to make sure that we become experts in such a short time, doing all the tricks and moves live really made a difference with us.

They were answering all the questions asked, it was really not only an event it was like a professional special effects course and workshop at the same time.

We had a lot of fun with all of them we even had the chance to try the game itself .

I am really happy I was chosen to attend this event i learned totally new things in a very interesting filed of makeup which is the special effects, I want to thank Livia in the first place she is the one who recommended me to the group of the event, thanks for the support Lipstick Makeup institute.

The correct foundation application

Brush? Sponge? Beauty blender or fingers?

What is the right way? Well it depends what is the texture of your foundation.

If its liquid the best is to apply with a foundation brush or buffing or kabuki brush. This way the foundation layer will be thin and invisible on your skin but the same time a nice coverage. The Beauty blender is for blending the foundation after the brush application.

base_image_7_26Kryolan-Professional-Premium-Smoothing-Brush-Review-handle+cosmetic-brush01732_00_prod_Kabuki Pinselbeautyblenderreview1

Cream foundations especially if we are using Kryolan Supracolor, Dermacolor or TV Stick the best to apply with wet latex sponge by dabbing in the skin not dragging around the foundation. 

Latex_Foam_Sponge_Applicator


Tip of the day: If you have a dry skin and wondering how to achieve  dewy and healthy glowing skin here is our tip for you. Before applying  the liquid foundation spray your face with a water spray or rose water.

Do this between every single step. The rose water will give you a moisturised and dewy look.

2227823XL576-R-rosewater-facial-spray