Tag Archives: Smokey eyes
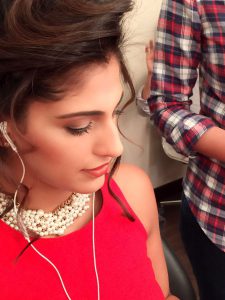
Our lovely Successful Student from Silver Media Make Up Course.
Another beautiful souland successful student has just passed through, “The Lipstick Makeup Institute” has successfully fulfilled her course and departed armed with knowledge and skills that will see her through her next phase of life as a successful make up artist.
Our lovely Tatiana was graceful enough to have chosen Lipstick to educate her and fuel her with the knowledge that she will only get from educators who really understand their field.
In this industry there are a lot of so called , “Make Up artists” out there who don’t know anything! That isn’t me just trying to make out that we are better than anyone else I am just stating a fact.
Tatiana just finished , The Silver Media Make Up course.
Here is the description of the Course, if you are interested.
Silver Make Up Course (5 days 30 hours)
Creative make up course:
- Fantasy make up
- Avant-garde make up
- Special visuals make up
- Face (body) painting make up
- Stage make up
What the students get:
A course booklet which provides step to step guides
Professional set of brushes to use whislt on the course
All make up will be provided by the school
Set of products worth AED500
Opportunity to work with professional models
The rare chance to work in a professional operating studio
Working with professional photographers
3 professional photo of the students work
After completing the course our students are entitled for huge discounts with different brands
International Certificate
The Silver make up course is for a make up artist who wants to improve its skills in the creative make up field.
Previous knowledge in make up is required.
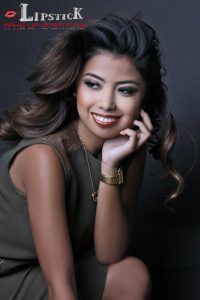
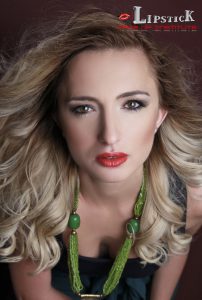
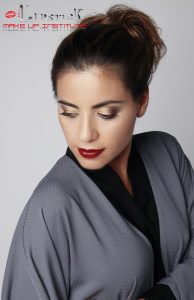
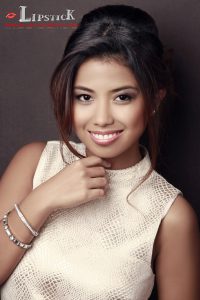
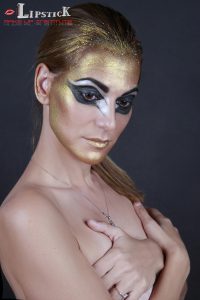
Just take a look at Tatiana’s final Portfolio she left the course with as all students leave with professional images taken by our sister company, YH Studios DXB
So if you want a Porfolio like this and the best training you could possibly have then contact us. We would would so glad and proud to have you come and join us.
Congratulations to our Student from The Lipstick Makeup Institute
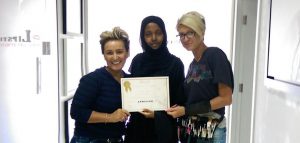
We just want to wish our lovely student Heba Salad all the best with her career. The lady has just finished the Gold media Make Up course. Reba collected her Certificate and her photos today on her birthday. She passed her exam with flying colours and not only is that down to our lovely Sheba whom we will miss very much but it is down to our great Master educator, Livia.
This is the Gold Course Heba just finished.
Gold Make Up Course (10 days 60 hours)
1. History of make up and the fashion icons
2. Skincare and make up steps 3. Daytime look make up (theory and practice) and hair styling
4. Evening make up look (theory and practice) hair styling
5. Smokey look (classical)
6. European bridal (theory and practice) hair styling
7. Red Carpet make up look (theory and practice) hair styling
8. Arabic make up (theory and practice) hair styling
9. Bollywood make up (theory and practice) hair styling
10. Make Up for photoshoots (colour and black and white)and hair styling
11. Creative make up workshop and hair styling
12. Preparing an own concept for a photo shooting (hair and make up)
13. Examination theory (1 hour) and creating a make up look and hair styling (2 hours)
What the students get:
A course booklet which provides step to step guides Professional set of brushes to use whilst on the course
Set of products worth AED1000
All make up will be provided by the school
Opportunity to work with professional models
The rare chance to work in a professional operating studio
Working with professional photographers
5 professional photo of the students work
After completing the course our students are entitled for huge discounts with different brands International Certificte
The Gold make up course is for a person who wants to get a basic and short training of the make up artistry.
YasminvHussain, Heba Salad & Livia Rideg
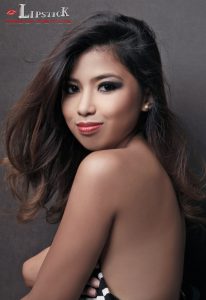
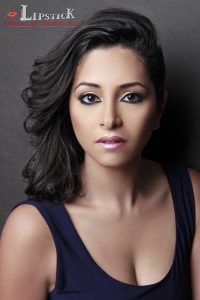
Take look At hobbies Portfolio she left Lipstick with taken by our partner company , YH Studios DXB.
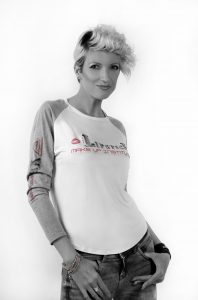
Livia is not just a teacher but this is her passion and life long ambition.
This is her! Looks a bit weird, I know, only joking ha!!
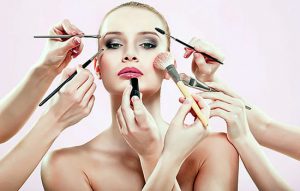
Personally I think Liv was born with a lipstick in one hand and a blusher brush in the other! A bit like this!!
Like I am to photography, by the way I am Yasmin Hussain, founder of The Lipstick Make up institute Livia is to make up!
The Lipstick Make Up Institute on set of Tv Show!
The Lipstick Make Up institute Team are on set for the next 3 days of TV show Colors Cric Quiz 2016 In asspocaition with Studio House Video Domination. Proud of what we are achieving!
Today Studio House tomorrow Azerbaijan !! We are trying our best for all the girls who form our Teams. Lets see where it gets us guys!
We are trying to branch out and do everything we can to show case case our skills so from teaching make up and make up artists to fashion shows, models portfolios, advertising adverts, documentaries, tv shows, tv quizzes, you tube videos, real life fly on the wall shows to anything and everything that involves media , make up and photography.
If you like what we do and we are about then please apply to come on one of our courses or even come one of the team.
We are always looking to expand our network of great make up artists as there are a lot out there who claim to be and are not! People know that when the book a lipstick Team that we only have the best and all through my life I knew that Quality speaks for itself!
Only yesterday we were contacted by the Director of Oriental Fashion Week which will take place in Paris, Europe in July to see if I could bring my Team over to look after the models! Great compliment! She said that she has seen what we have been doing and would love for us to take this role!
This is what being professional, efficient and great at your job does for you and all the girls that are selected to be in our teams are just that! True Professional and there is nothing more pleasing to know that in whatever walk of life you are in the hands of a professional!
We certainly have standard at Lipstick!
More about choosing the correct Blusher for your skin tone. (part 2)
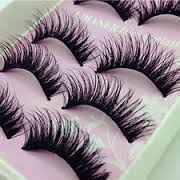
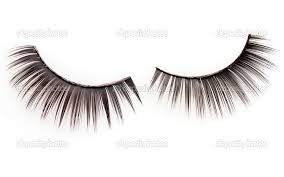
All about false lashes and how to apply it
- If the lashes are too long for your personal taste, consider trimming the individual lashes down to achieve a more natural look. Lashes should be longer toward the outer corner of the eye
2
Apply the lash glue to the outer seam of the eyelash strip with an applicator or small brush. Allow the glue to dry for a moment before applying it to your lashes.
- Alternatively, you can squeeze a thin line of lash glue onto the back of your non-dominant hand. Then, gently run the outer seam of the eyelash strip along it.
Thats all for today my ladies!
Tomorrow will learn about blusher application
Don’t miss it!
Perfect Smokey Eyes look part 2
Your smokey eye style makeup is comprised of a collection of different looks you create. Each element of makeup is characterised by its colour, finish, and performance. If your makeup is chosen correctly and your looks are skilfully combined, you are a woman with makeup sense.
The application

Outline your eye contour with a black eye pencil, all the way around. Make the line thicker along the upper lashes.

With a brush or a sponge applicator, apply your base colour eyeshadow on the mobile eyelid and above the crease, about halfway to the eyebrows, blending slightly.

With a pointy sponge applicator, apply contour colour eyeshadow all the way around your eyes, blending it well with the pencil line.

Half-close your eyes and apply contour colour in the crease.

You will now need to define the outside corners of your eyes using a horizontal “V” shape. The position of the pointy end of the “V” will control the apparent shape of your eyes.

With a medium-sized soft round brush (you can also use a flat one, holding it sideways), blend the eyeshadows on the upper eyelid. With a flat brush, blend the eyeshadows on the lower eyelid.
Repeat your contour colour application with a sponge, as many times as needed to achieve a deep shade. Blend again with brushes after every application.
Apply highlight colour eyeshadow or facial powder under your eyebrows to ease the blending of the dark contour and add some volume to your eye makeup.
For an irresistible deep regard, outline the inside contour of your eyes with eye pencil. Use darker-than-usual eyebrows and lots of mascara to finish the look. Your eyes should now be smokier then ever before!
To keep your bright eye makeup in balance, try a stronger blush, and keep your lips pale with a light gloss application.
Don’t forget the perfect smokey eyes are all about blending and practice.
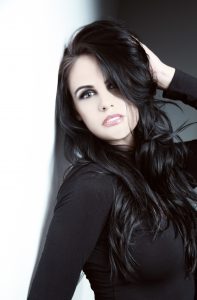
See you all tomorrow as we discuss about Lipsticks and will give you amazing tips how to get perfect lips by applying the lipstick in a correct way
How to get the perfect Smokey Eyes. Tips and tricks from The Lipstick make Up institute
Smokey Eyes
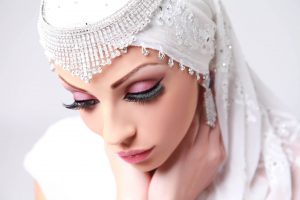
Smokey eyes have become a classic party eye makeup look. The secret of this trend’s popularity is that smoky eyes can change your face dramatically, transforming the girl-next-door into a stylish diva.
Once you learn and master these application and blending techniques, the transition will take you only a few minutes. You can then have irresistible-looking eyes, even if they are not big or bright.
In this article you will learn:
- how to choose the texture of your eye makeup.
- which are the most flattering shades.
- easy and mess-free application techniques.
Colour

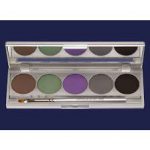
You will need one black eye pencil, at least two colours of powder eyeshadow, and dark mascara to produce a fantastic smoky eyes effect. Once you have mastered how to do this your confidence will go through the roof and when your friends see what you have done on your eyes they will ask you every time you are going out with them if you will do their eyes too. I promise, just see!!
You will know what I am talking about!
The base colour should be a rich shimmery (not metallic) powder texture. Choose a shade slightly darker than your skin tone. You may choose neutral beige or grey colours for a soft and sophisticated look; or use a bright base for a dramatic look.
The contour colour must be a dark, matte, or slightly shimmery colour. Choose between dark brown, blue, green, or purple, depending on the colour of your attire. Use black with any outfit for a stunning effect.
You may add a third shade to your smoky eyes: a slightly shimmery highlight colour applied just under the eyebrows. This will enlarge the eye area and also soften any demarcation lines that remain after blending. Your normal facial powder can produce the same result if you are aiming for a more sophisticated look.
Choose soft black eye pencil or kohl for an enhancing all-around contour. Never use liquid eyeliner; it is for crisp lines, not the soft and sultry look we are aiming for here.
Black thickening mascara and stronger-than-usual eyebrows are in tune with smoky eyes makes.
Stay tuned tomorrow as we discuss on the right application for smokey eyes.
How to apply Kryolan Eyeliner the best possible way.
All about eyeliner! What’s that you say? You already know all there is to know? We thought so too. That is until we learned these 8 unique tips, tricks, and facts.
We will guide you as to what is the best eyeliner to use and for what occasion.
Get it right and you will look amazing but get it wrong and an in perfect line or application then it will spoil the whole look!
1. White eyeliner can make your eyes look more awake. Swap your regular black pencil for white when you’re looking a tad on the tired side and say good morning to brighter eyes.
2. Dark eyeliner was actually created, in part, to protect people from the harsh rays of the sun. So, if anything, you have an excuse for owning ten identical similar shades of black eyeliner. But don’t forget: there’s no substitute for SPF!
3. Winged eyeliner can be worn on both top and bottom lash lines—at the same time! Choose two contrasting colors for an edgy makeover and read this tutorial for instructions.
4. Ever mess up on your liner look (hello, eyes that are suddenly two different sizes)? No worries, simply apply makeup remover to a Q-tip to erase the error without smudging or starting over.
5. Connect the dots instead of sweeping liner on for more precise results. Just dot with cream liner and connect with a smudge brush for perfect liner, every time.
6. You can use more than one eyeliner color at once—trust us. In our Rock Doll makeup tutorial, Emma Willis shows us how to rock three liners at once for a dramatic evening look. Try it out and report back!
7. Purchase a less-than-effective eye pencil? Instead of returning it, take a cue from ladies of the 80s: swipe it over an open flame to heat it up and it will glide right on. Quick tip: this trick works well for dramatic liner looks, too.
8. Getting a winged eyeliner look is way easier than you think. Choose which two-step process is right for you and voila—pro eyes in seconds!
9. Waterproof Mascaras.
Waterproof liquid liner enables you to create a variety of eye-opening effects—from thin, precise lines to thick, dramatic looks. The formula glides on with ease, dries quickly and won’t smudge or run day-into-night.
The fine marker-like tip offers precise application for everyone from novices to pros and results in beautifully defined eyes that will leave a lasting impression.
Benefits:
- Waterproof and easy-to-use
- Goes on smoothly without skipping, smudging, or pulling
- Lasts all day long!


Stay tuned for tomorrow as we discussed all about Smokey Eyes!
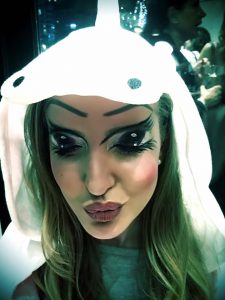
Lipstick make Up Team at Mori Sushi
The Lipstick Make Up Team had a fabulous night was had by everyone in Downtown Dubai. The event was t mark the opening of the new restaurant where over 200 people gathered to mark the occasion with amazing gives from the DJ, wonderful sushi, great makeup for the Lipstick make Up Institute Team. Many joined in the theme of the evening by wearing onesies which was just great fun to see.
The flow of ladies just kept coming and were great sports and participated in all the nights fun.
Its amazing to see just how make up with the right technique can change a persons attitude and makes everyone feel part of a culture.
At The Lipstick make Up Institute we are always creating and having fun with our students on courses. Check out our Facebook page and see the diverse range of make up looks we do https://www.facebook.com/The-Lipstick-Make-Up-Institute-1660062514212667/
Our sister company : YH StudiosDXB http://yhstudiosdxb.com
Is part of the whole set up and this is why our students get the best of everything, make up, teaching, creativity, location shoots, studio shoots etc.
Check out our images, you will love them.
Our main photographer, Yasmin is from the UK and has been a photographer for over 26 years and works closely with the students so that they understand the relationship between make up and photography.
Please check out our courses. We have a range from 1 hour to 6 weeks. This is our passion too its not just a business, we do what we love and love what we do. Teaching is easy as our students really want to learn even if its just to learn how to apply their make up on themselves. Learn about contouring, Highlighting, how to apply the lipstick correctly. Its very thin line between applying make up correctly and un correctly. Get it wrong and the whole look does not work! You look like a painted doll. Call us on +971 52 83 49964 for advice on our courses.

