The Life of a Makeup Artist
Have you ever spent hours late at night watching makeup tutorials online and thought…
hmm love to be her/him one day.I bet you have as I have in the past. I have imagined working with famous celebrities and traveling around the world doing what I love, while getting paid for it.
So I took the chance, flew to Dubai and the rest was history.
I thought the life of a Makeup Artist was easy.
Believe me, I had to crawl my way into the industry, as years ago, makeup artists from my country
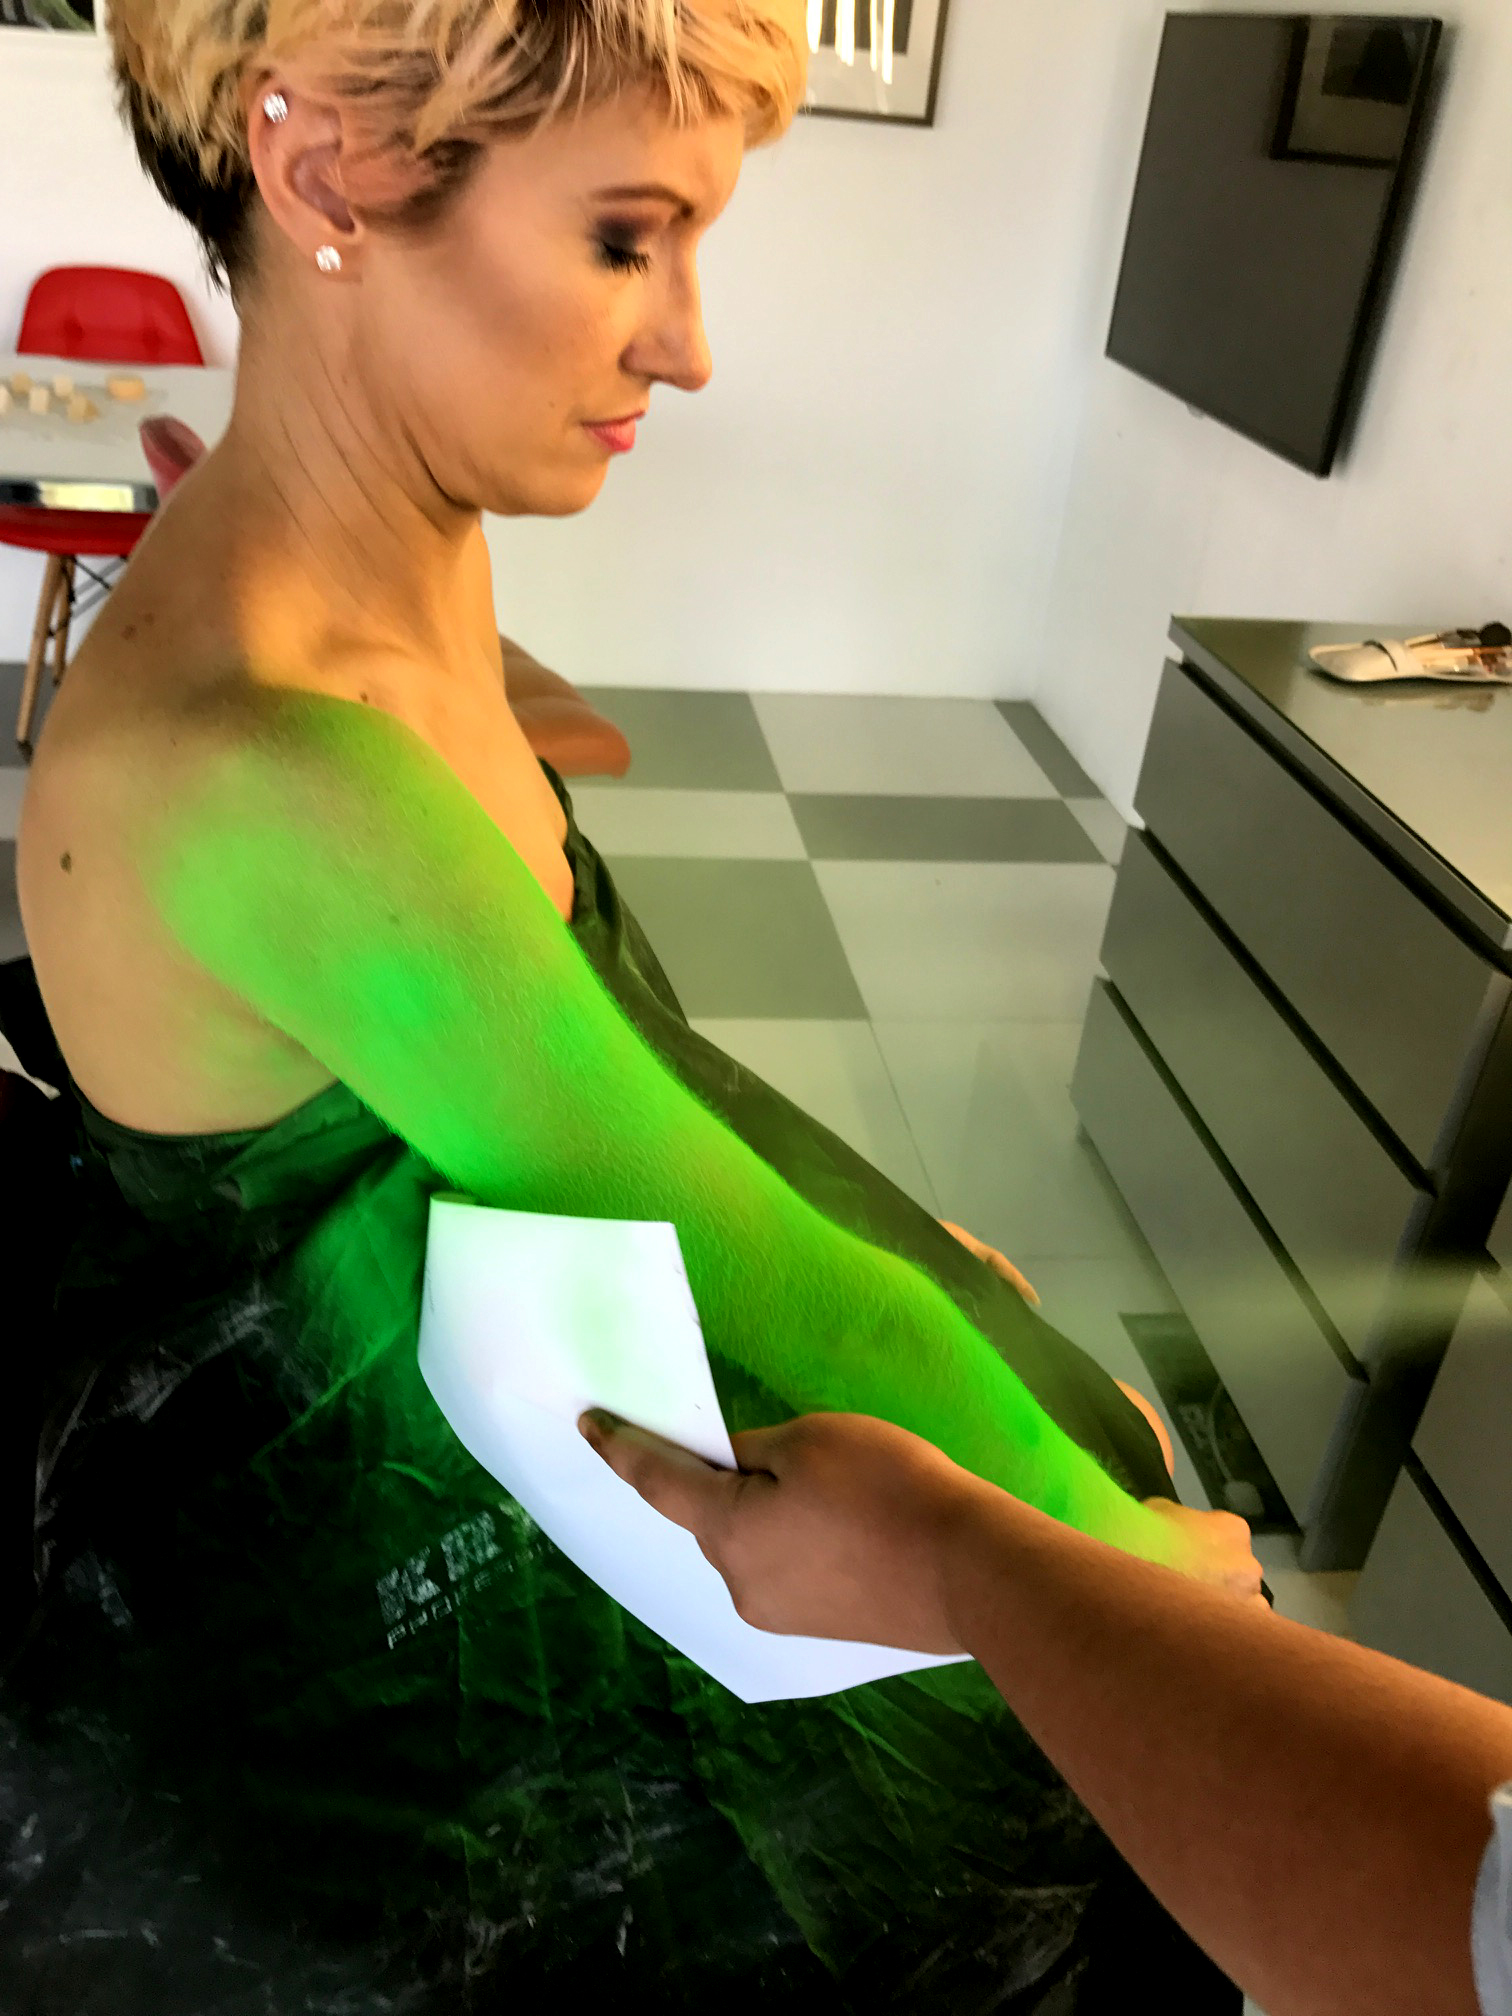
I had to train every single day crying while I drew eyeliners. I have lived in places not suitable for human beings and worked with impossible personalities.
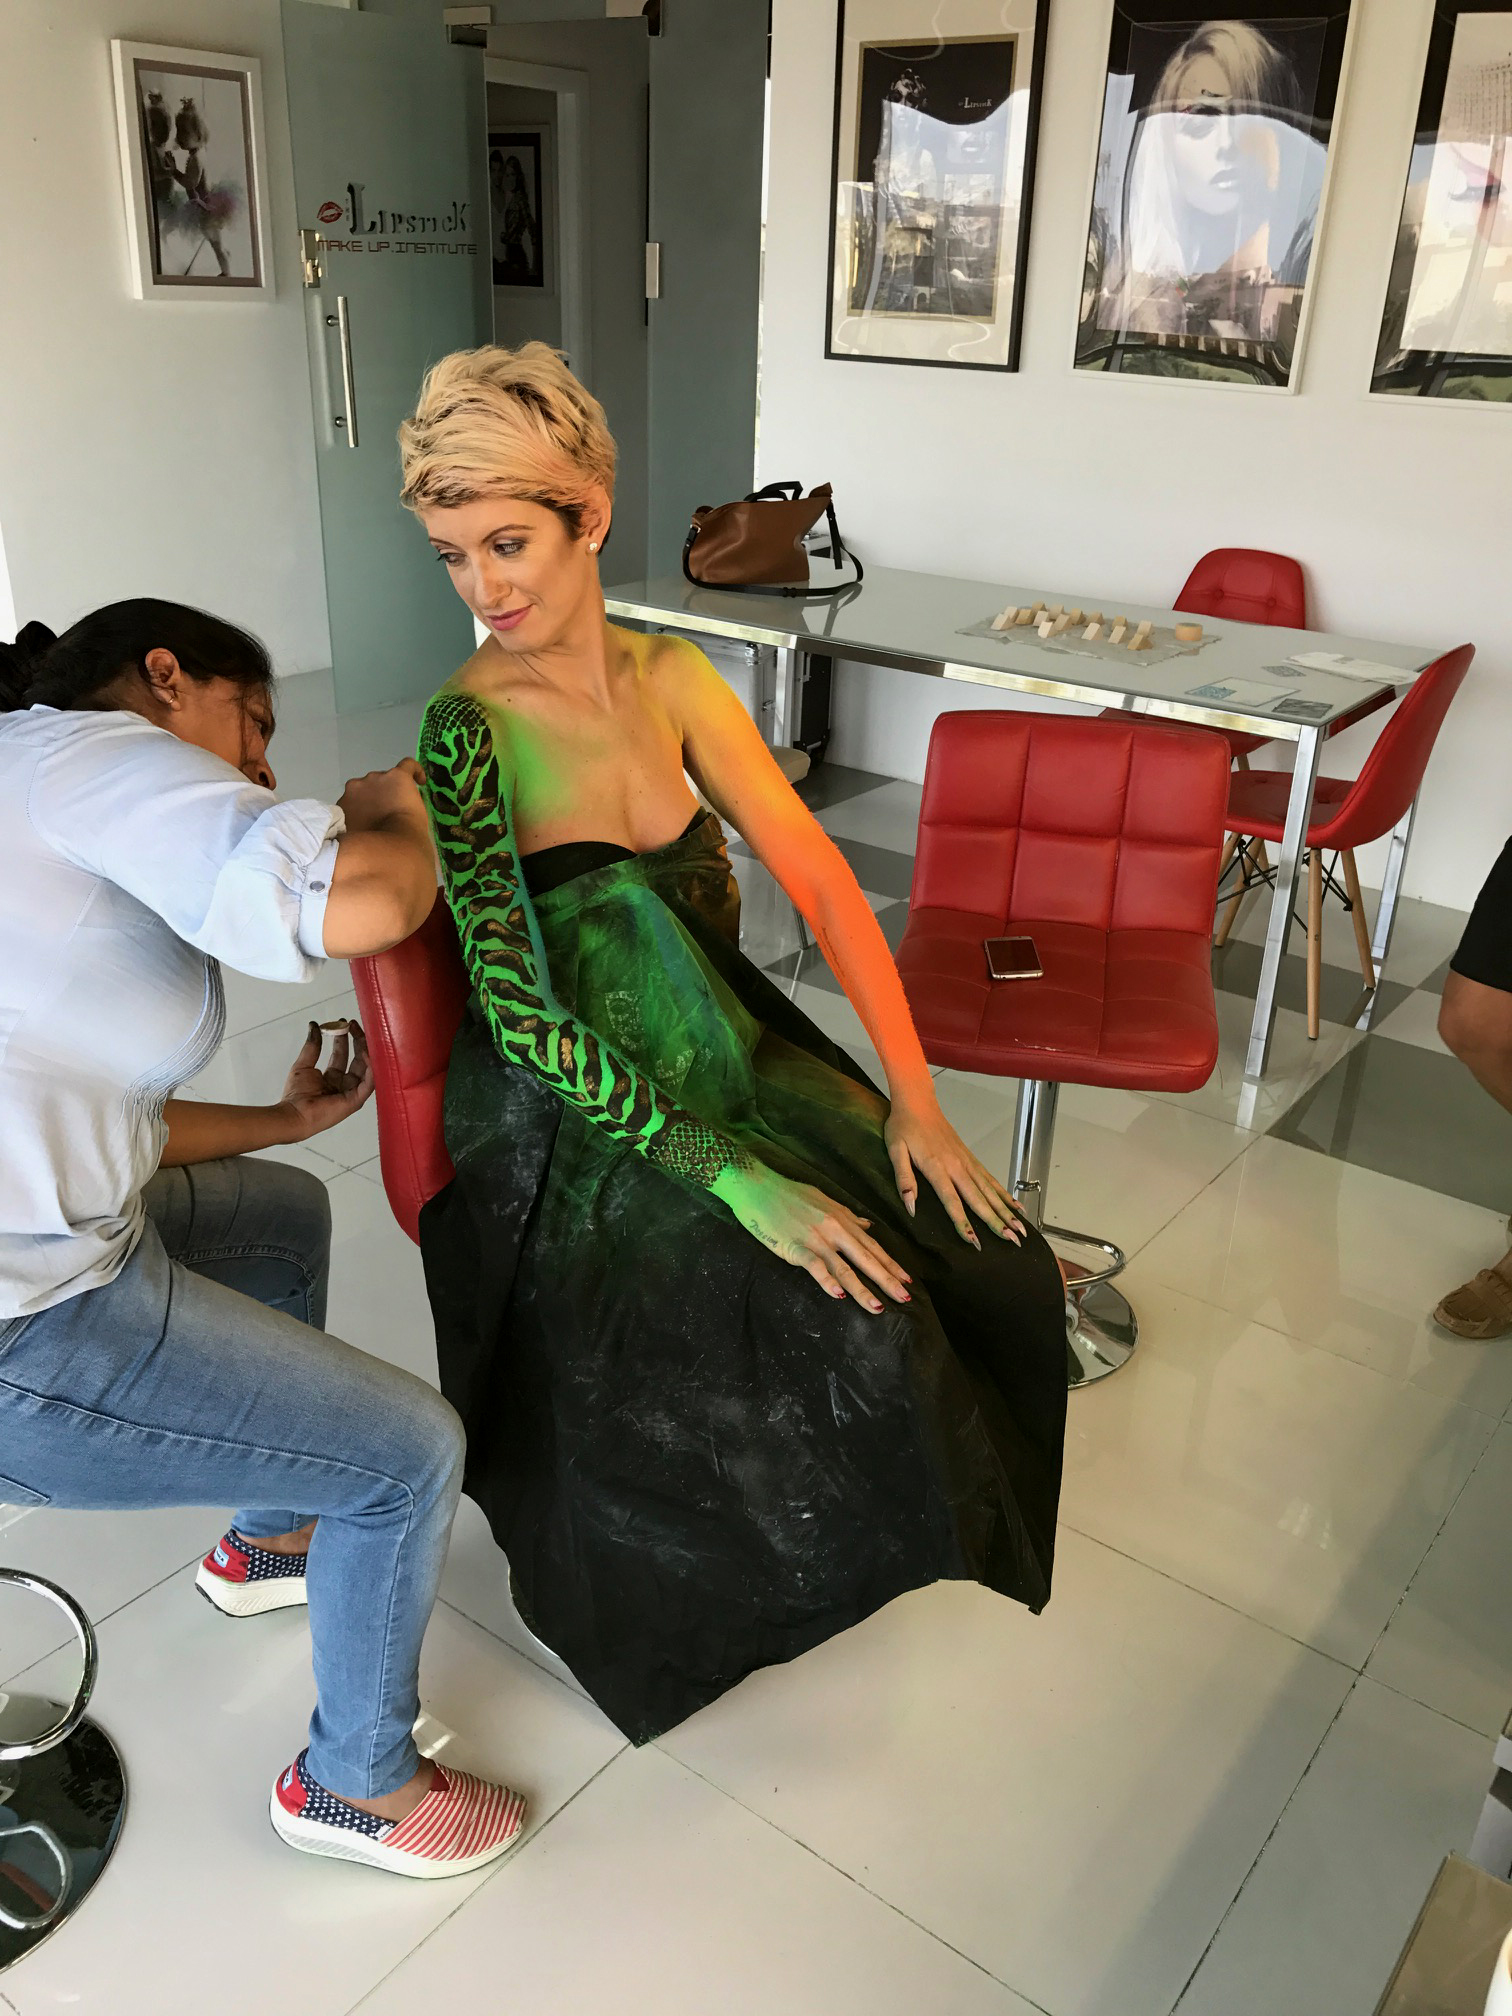
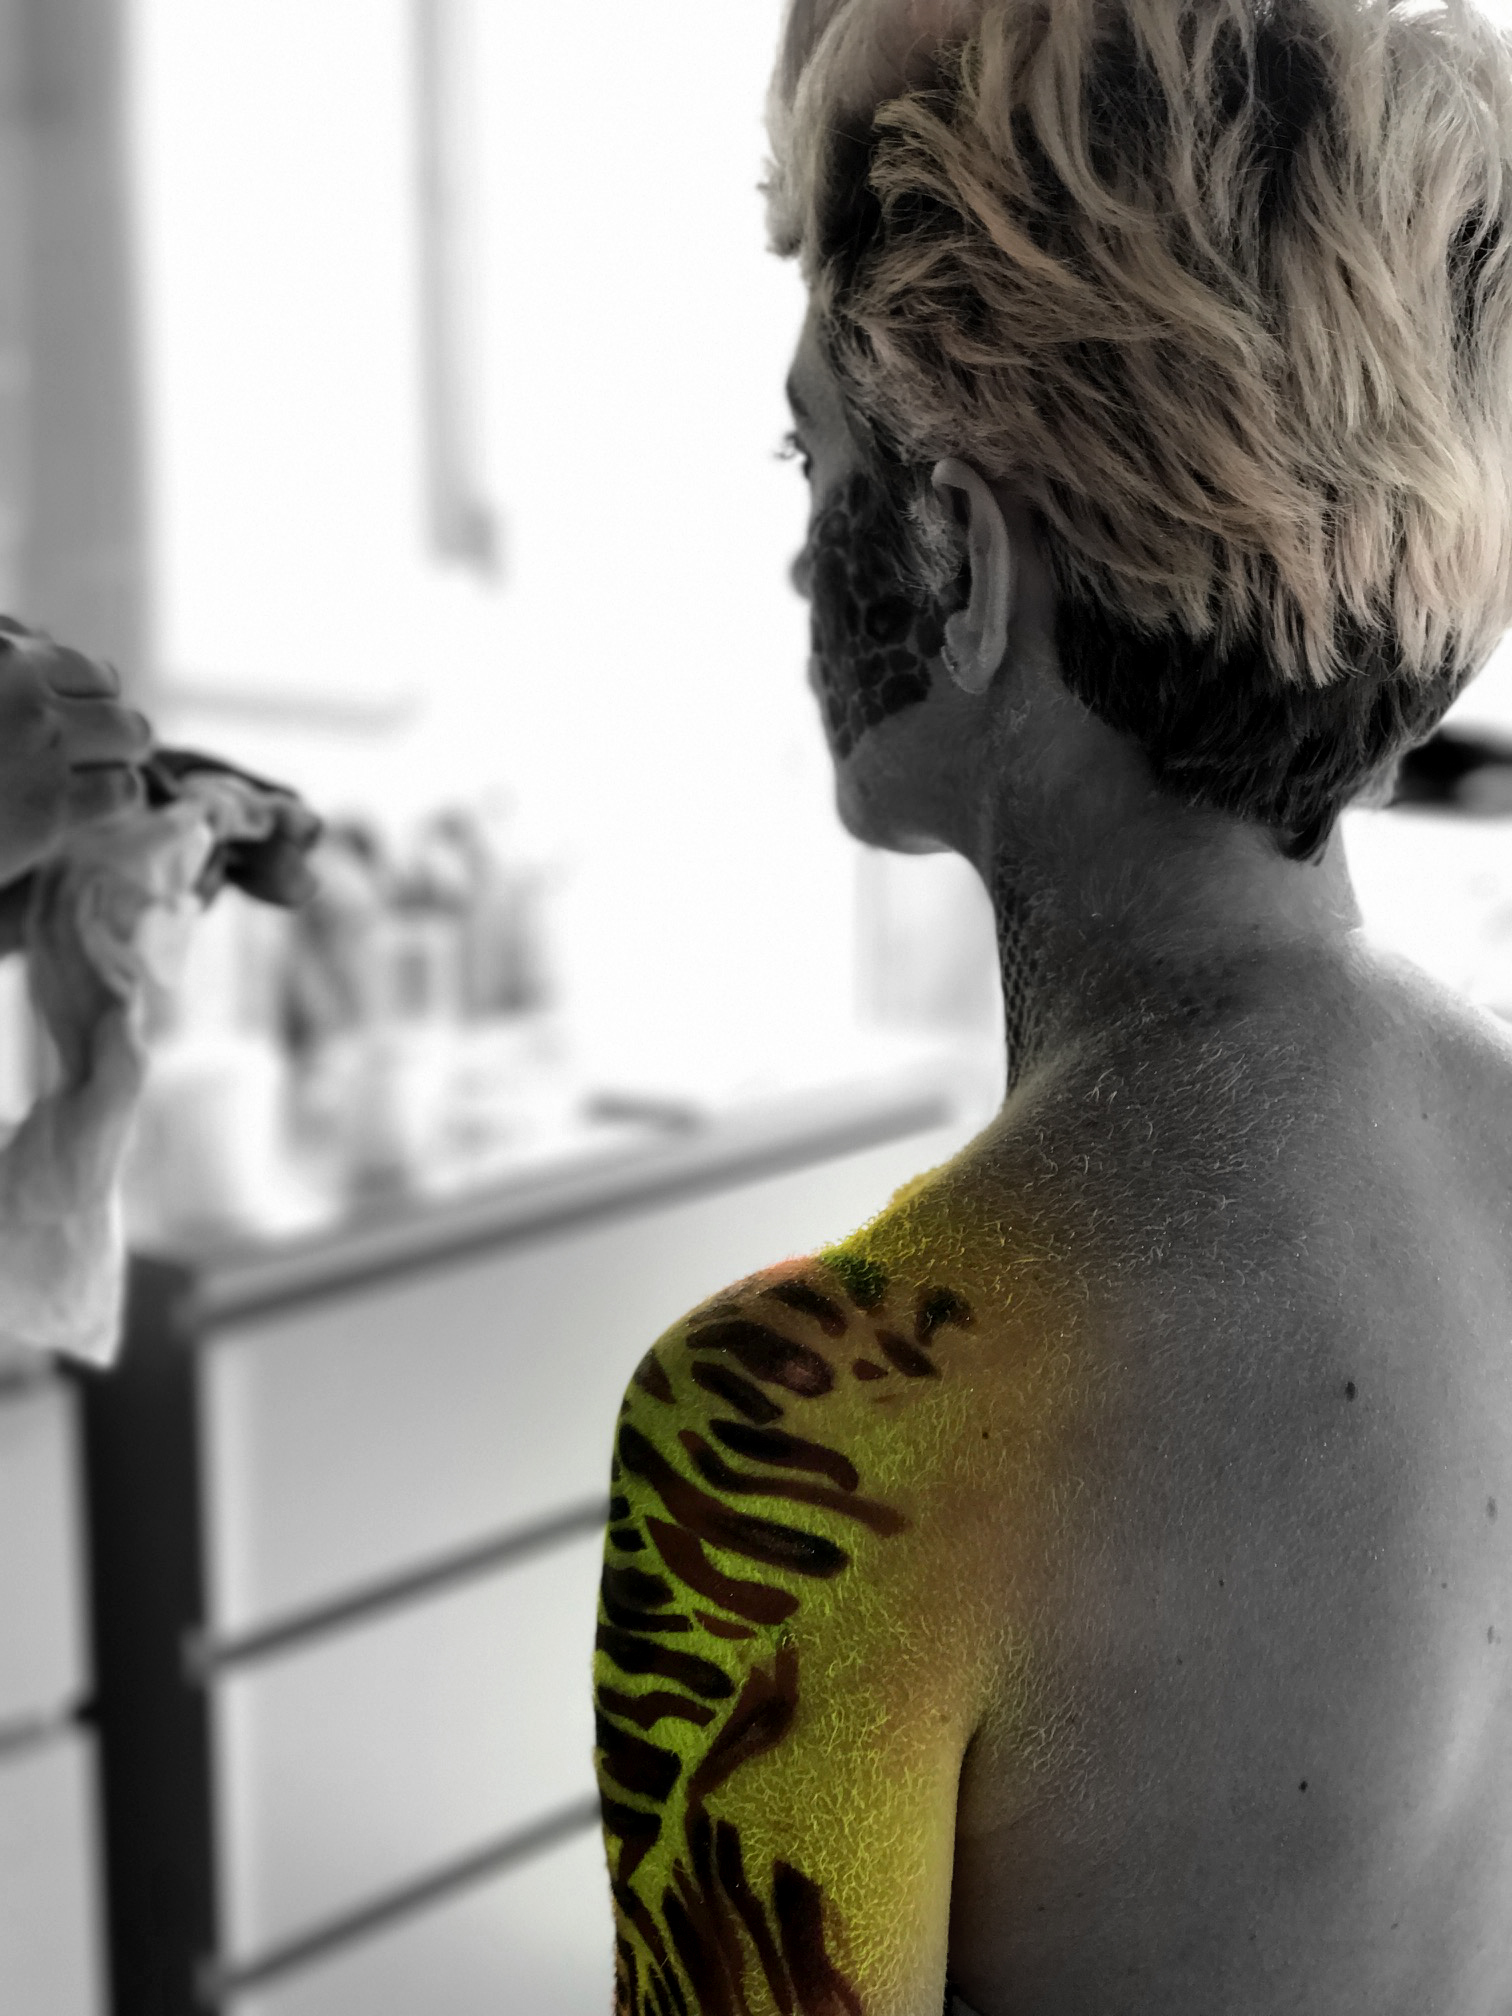
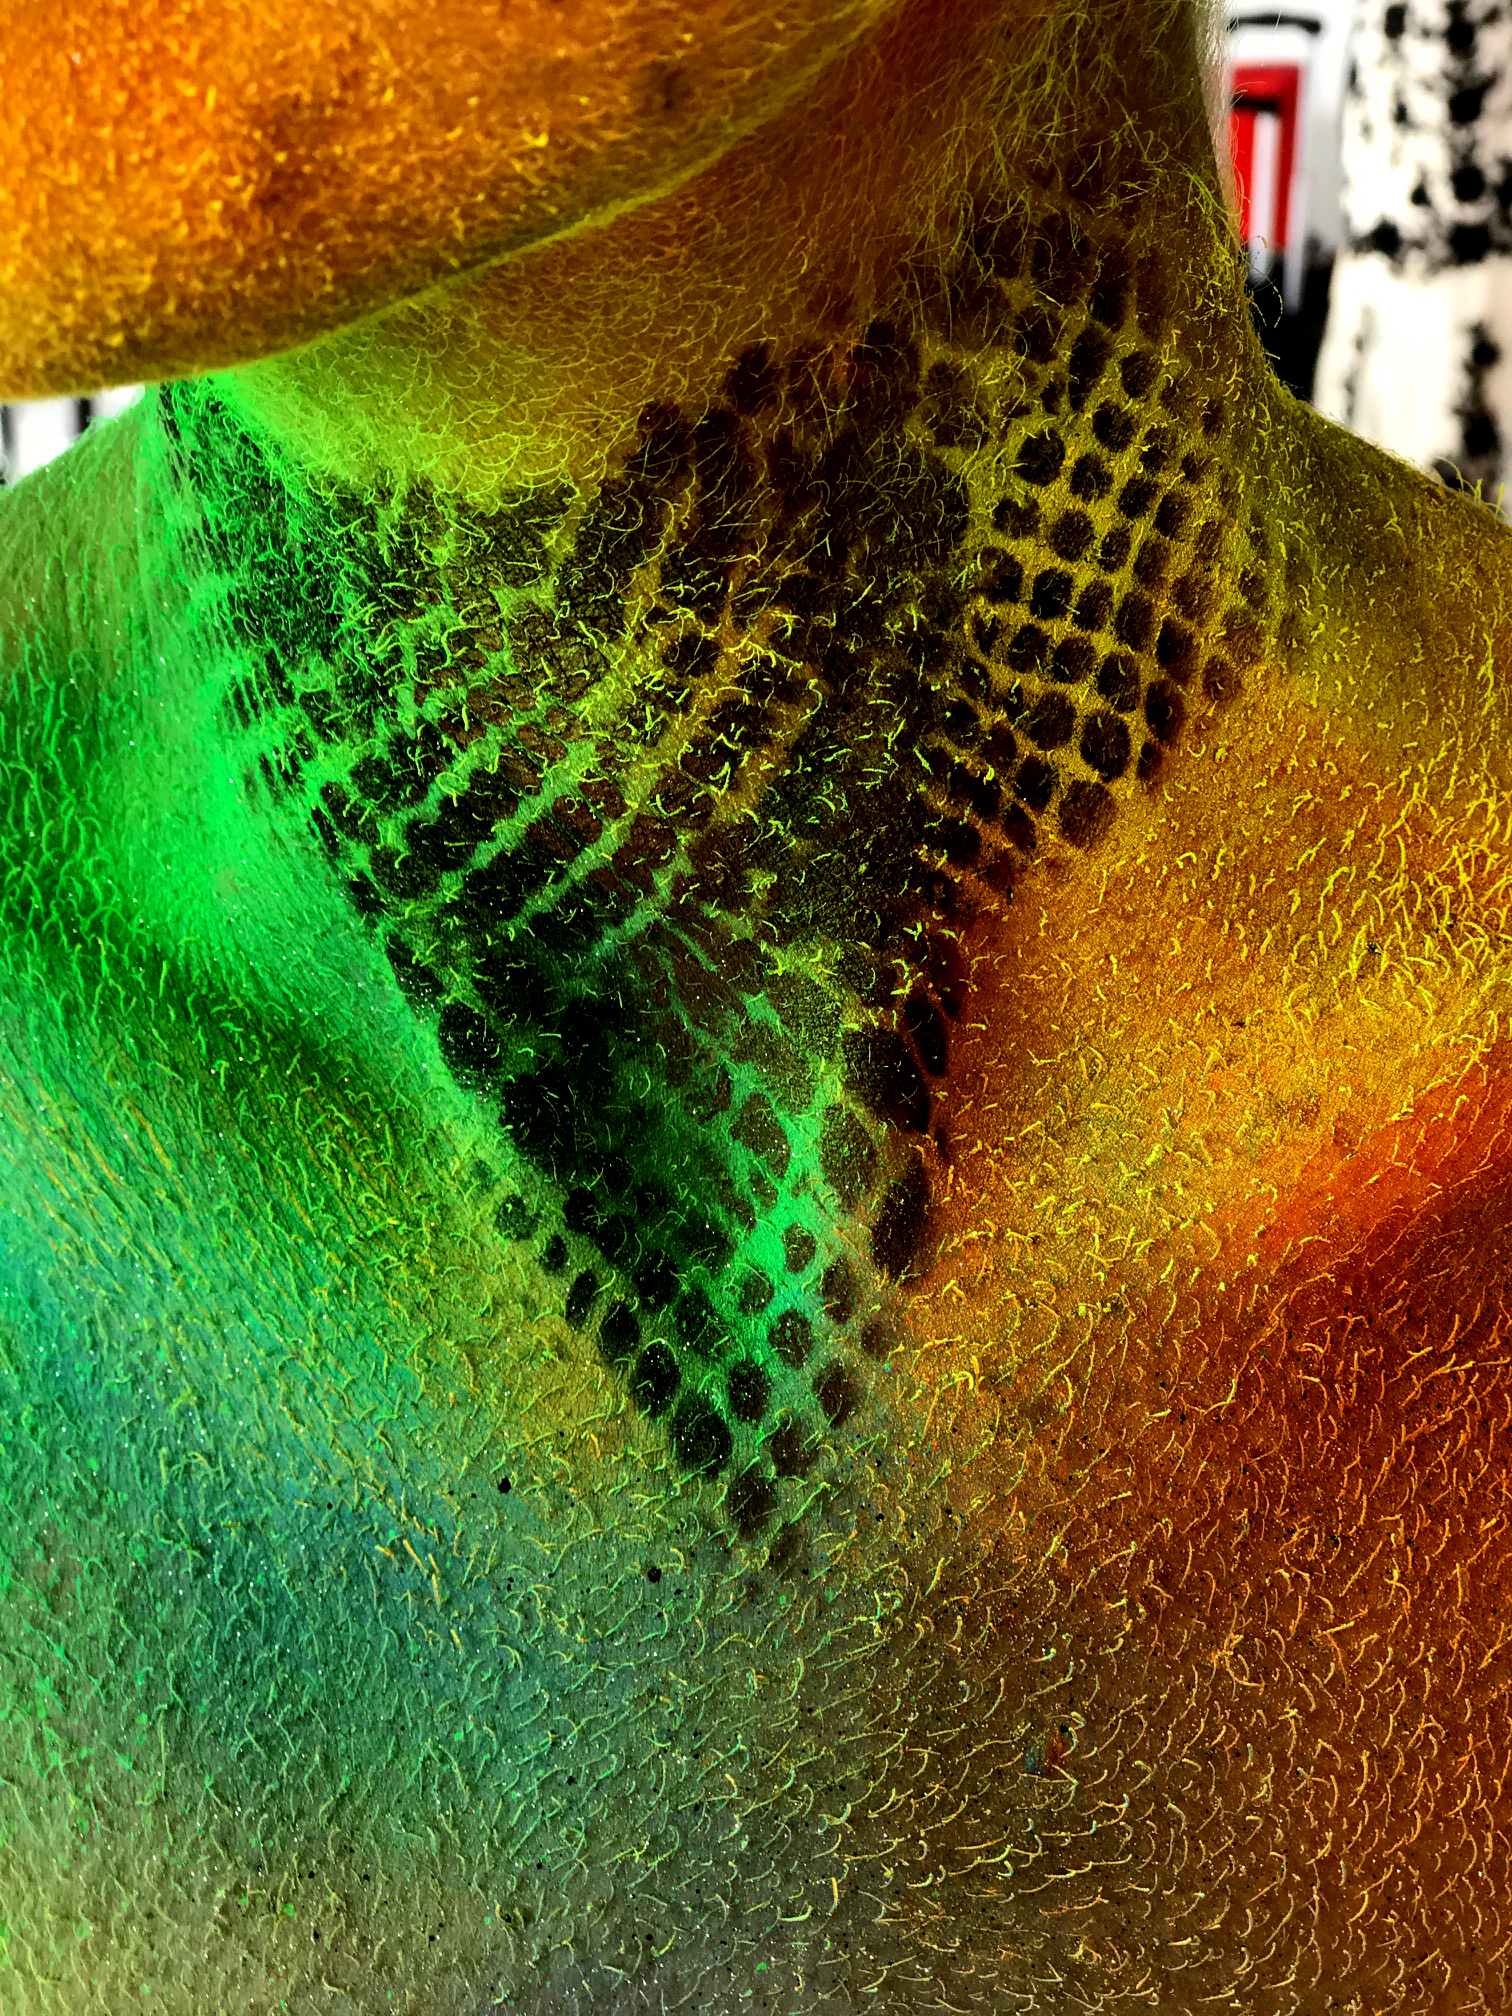
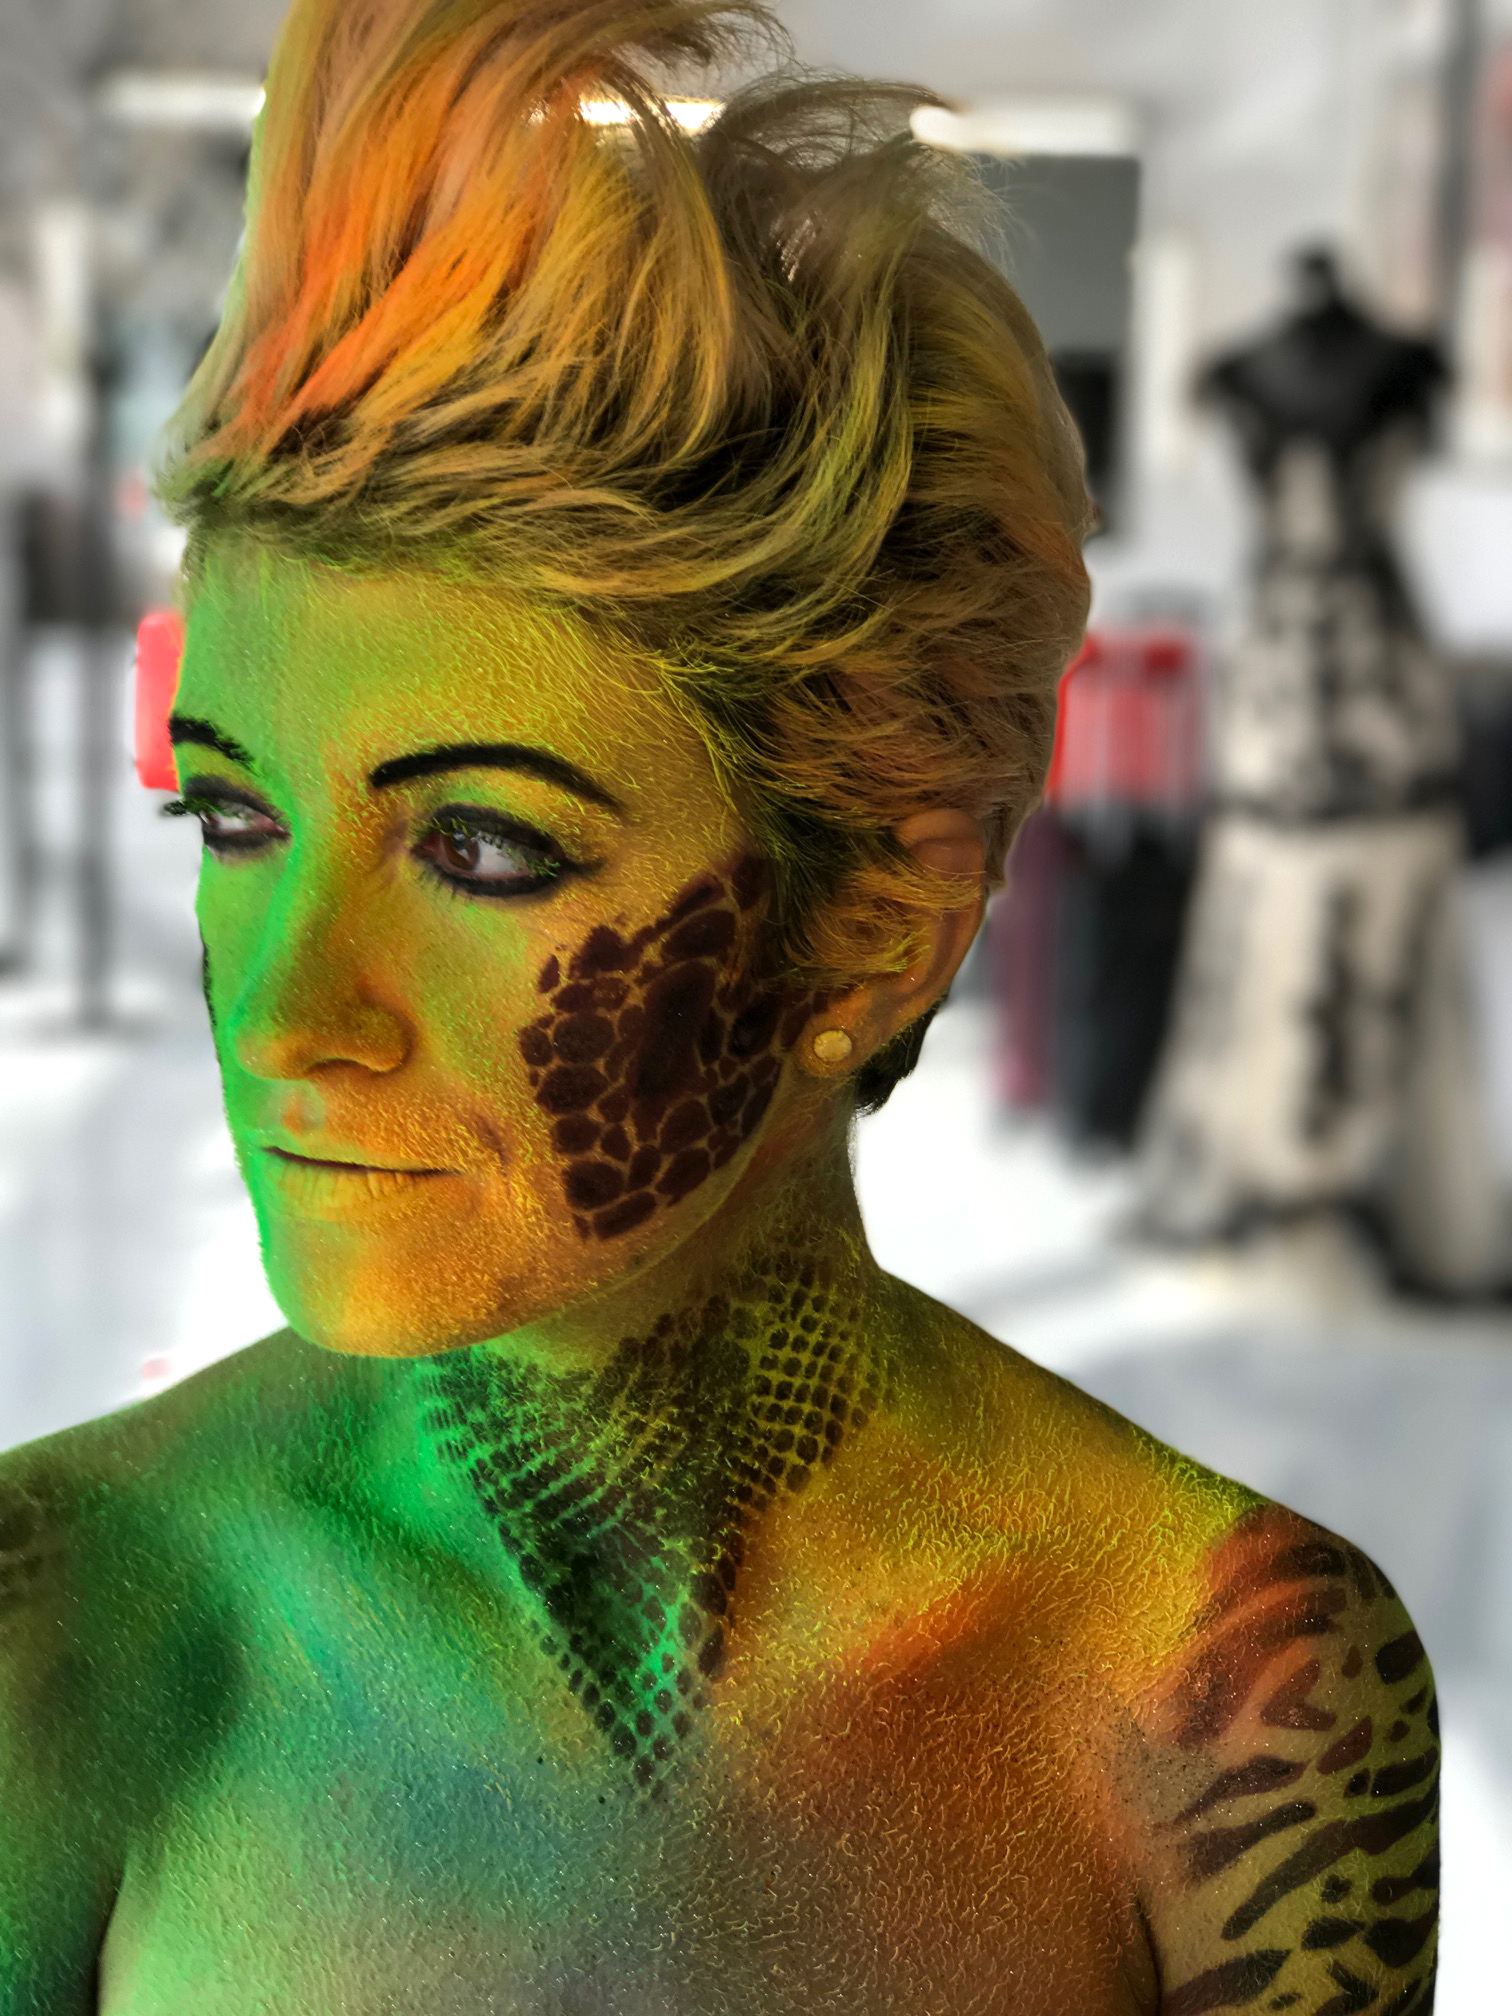
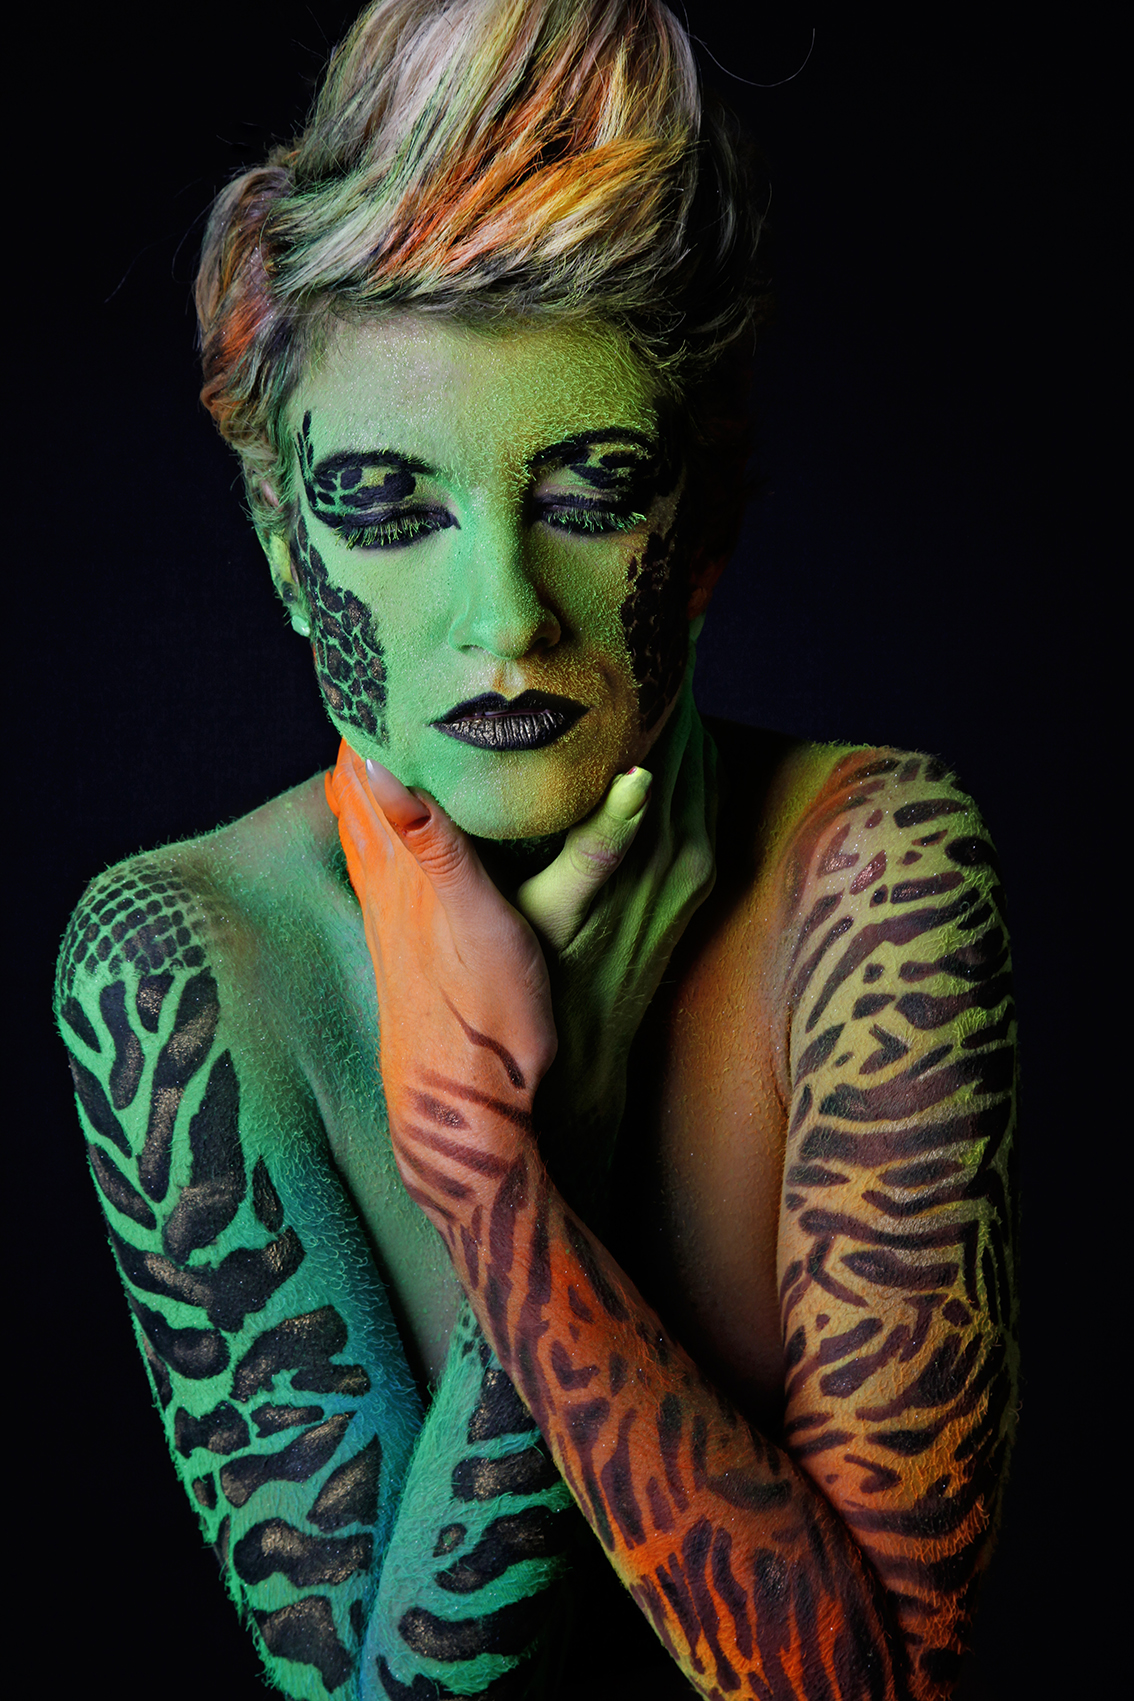
But in spite of all that, I kept going. I honed my skills, trying to gain as much experience as I can, learned from different styles of makeup from different people, and always having that goal of stepping up in my career.
Fast-forward 15 years later, I still haven’t reached all my goals.
So far, I’ve crossed out a few things off my bucket list though – such as, worked for VIPs of Dubai, princesses, celebrities, work in media, my work published in magazines, attend classy events, meeting amazing people in the industry and so much more.
And maybe you don’t have to go through what I’ve gone through by taking our Platinum Makeup Course this Ramadan.
The Lipstick Makeup Institute is offering a 40% discount 25,000 AED to 15,000 AED for a limited time. If you take this course, I’m sure you’ll get ahead in the game really fast. Just call: 0528349964


However Join Lipstick Makeup Institute Enrol Now
052 834 9964 call now