in conclusion, Join our next diploma, don’t miss the chance its 3 week diploma you can learn many thing in this diploma while learning you can work with us on our clients and practice on our models create different looks after all our sister company YH STUDIOS did professional photos for your portfolio so you get 5 high end photos after complete the diploma.
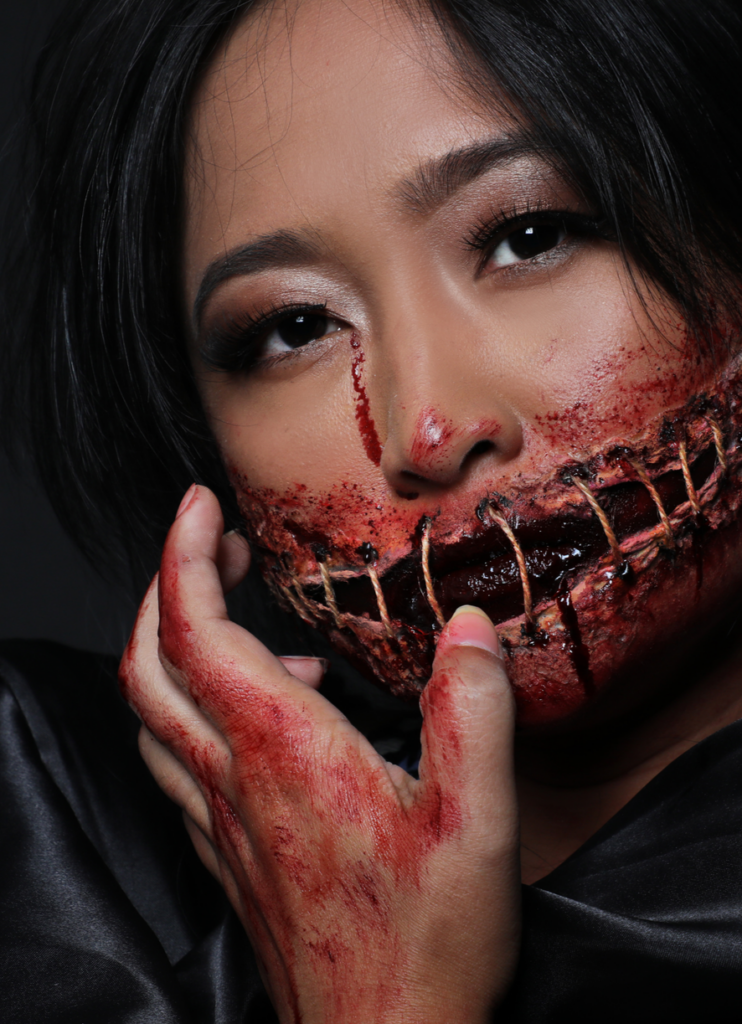
Prosthetic makeup (also called Special make-up effects and FX prosthesis) is the process of using prosthetic sculpting, moulding and casting techniques to create advanced cosmetic effects.
Prosthetic makeup revolutionise by John Chambers in such lms as Planet of the Apes and Dick Smith in Little Big Man.
Best Makeup Courses In Dubai
Gold Make up Course
For instance on the Gold Make up Course you will learn all about the history of make up at first because it’s so important. Why do we teach you about skin care? This is the beginning of the journey off applying your makeup. skin care, colour theory, face/eye shapes and contouring. You will start with the basics of daytime and evening makeup, european bridal as well as beginner hairstyling.
After all, you learn all the basics of these make ups, you will move onto a classical smokey eye, red carpet, Bollywood and Arabic looks.
Firstly, towards the end of the ten days as a result you will then master a creative make up look and will take home with you 5 professional photographs for your portfolio.
The pictures and videos you can find on our Instagram & Facebook pages.
A successful career in the beauty industry needs more than natural talent and good looks. It will be takes training and education from a respective beauty academy. If you’re serious about having a successful career, you need to find the right school to provide skills and knowledge is a must. This blog will show the importance of a beauty academy for successful career.
Beauty industry is a competitive field. To be successful, you need to have the right skills and training. Enrolling in a reliable makeup academy in UAE is a must; With the right education and training, you can achieve your goals and reach your full potential and also offer you the opportunity to connect with other professionals with this industry.
THE IMPORTANCE OF A BEAUTY ACADEMY FOR SUCCESSFUL CAREERS
Beauty academies offer programs that cover everything from hair styling and makeup application to nail care and skincare. Joining makeup courses in UAE ensures you get the best possible education to help you succeed in your chosen career.
In addition, a good beauty academy will also offer you the opportunity to meet other professionals in the industry. This networking can be use when finding job opportunities or advancing your career.
Professionals in the beauty industry know the importance of keeping up with the latest trends. A good beauty academy will offer classes that teach students the latest techniques and styles including the best bridal makeup in UAE. Many academies also provide advanced courses for those who want to specialize in the particular beauty industry. In addition, most academies have career counsellors who can help students choose the right path for their future careers.
BENEFITS OF ATTENDING THE BEST BEAUTY ACADEMY
There are many benefits to attending a professional beauty school. Students learn from experienced instructors. They also have access to state-of-the-art equipment and resources.
A career in the beauty industry can be rewarding. You have a successful career in this exciting field with the right education and training. If you’re thinking about a beauty academy, be sure to check out your local beauty academy. You may find it’s the perfect place to start your successful journey.
The beauty industry is always changing and evolving, as are the techniques and styles use by professionals in the industry. A good beauty academy will offer classes that teach the students latest techniques so they can stay ahead of the curve and ready for new trends to come their way. Many academies also offer advance courses for those who want to specialize in a beauty industry area. So whether you’re just starting or looking to take your career to the next level, a professional beauty academy can give you the education and training you need to succeed.
THE LIPSTICK MAKEUP INSTITUTE
Takeaway
With experienced instructors, and a professional beauty parlor course recognized by the industry, a professional Lipstick Makeup Institute DUBAI can give you the education and training your needs to have a successful in this exciting field. So don’t wait, explore your options today to become the best bridal makeup artist in UAE.
Wet Smokey LookWet Smokey Look Is a perfect makeup look for photo shoots, high fashion looks and for fashion shows. Basically its a simple full smokey look on the top with a transparent lip gloss. The steps of application are the same as the classical one. We need to make sure that the base (eye shadow) is strong ( 2 layers and blended).
Cool makeupThe cool looksexy look
Finish the whole makeup and exactly before the photo shooting or stage apply the lip gloss in one thick layer, carefully not to mess up the eye shadows and blending.
Application
Apply a transparent (clear) lip gloss on the top of eye shadows, especially on the centre of the lid (moving area of the eye) with a flat eye shadow brush. If you want to create a full wet look on the face you can apply the lip gloss on the high point of the face (top of cheekbones, bridge of the nose, chin, centre of the forehead). The look is ready for the shooting or for the stage. This look is not an everyday makeup.
Wet Look
The wet smokey is for fashion shoes or photo shoots. The eye makeup will be spoiled by the lip gloss so make sure that you are in time and quick. The other two ways of creating a wet look is with Vaseline and the 8 hours cream.
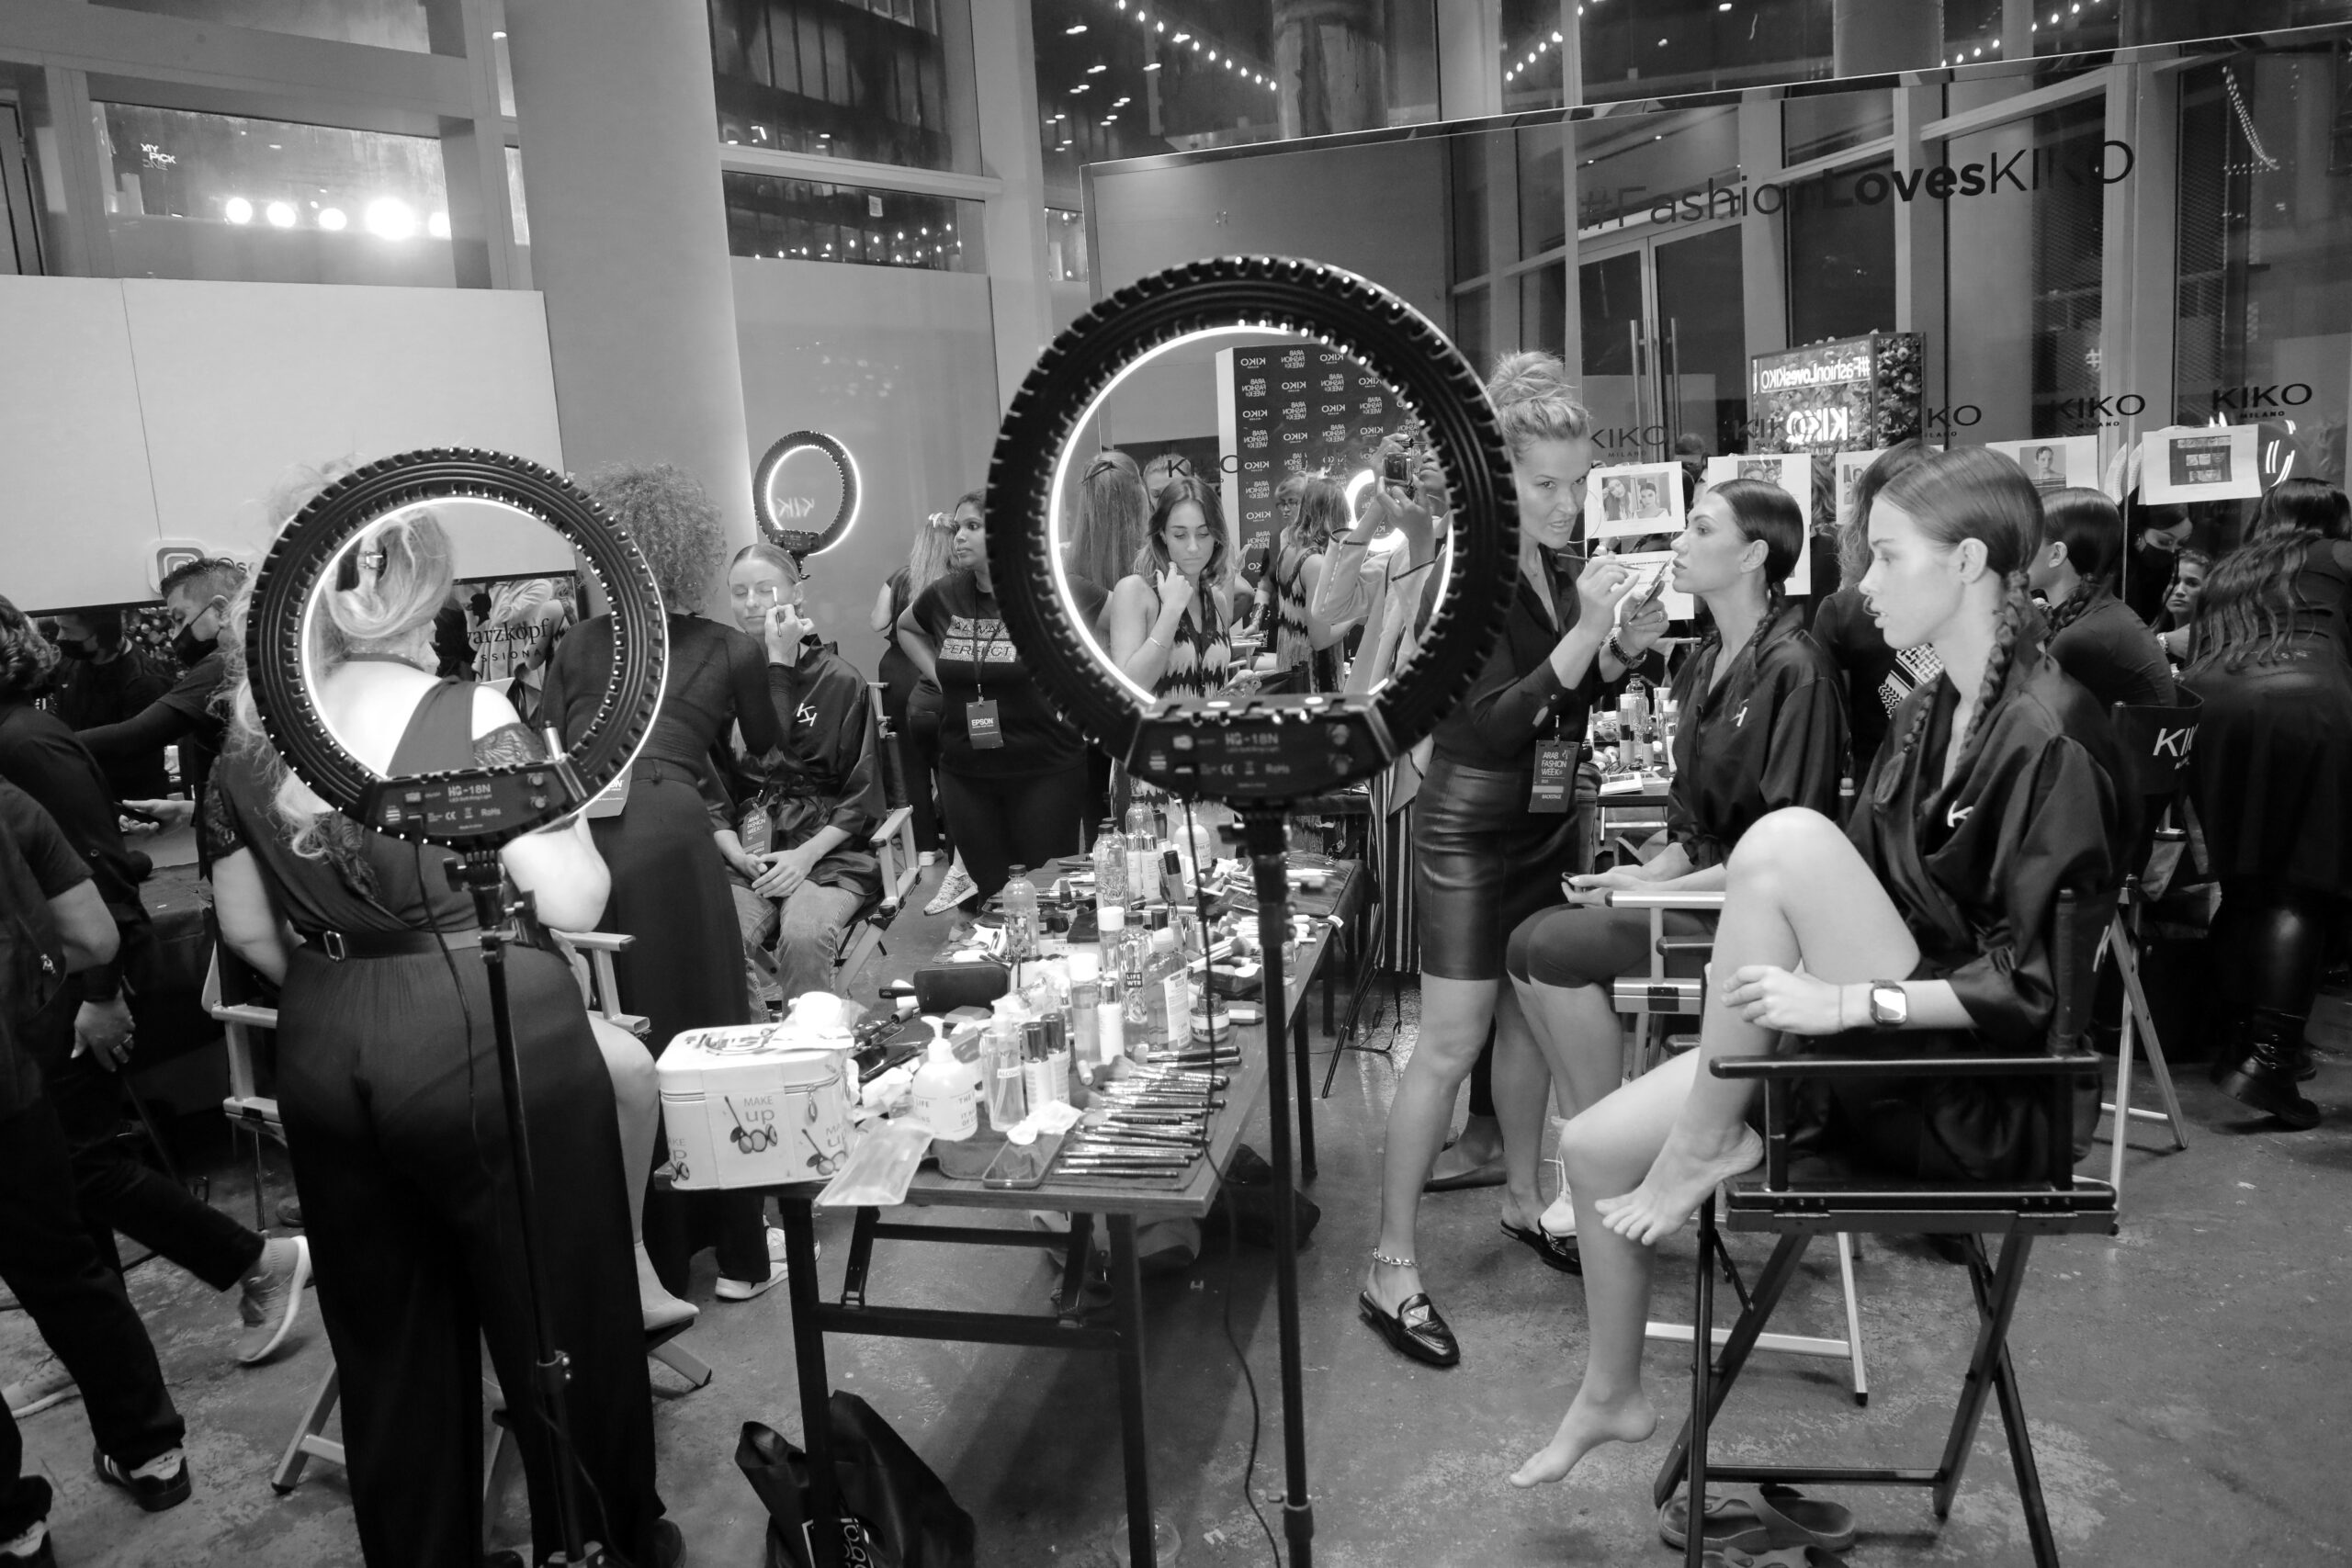
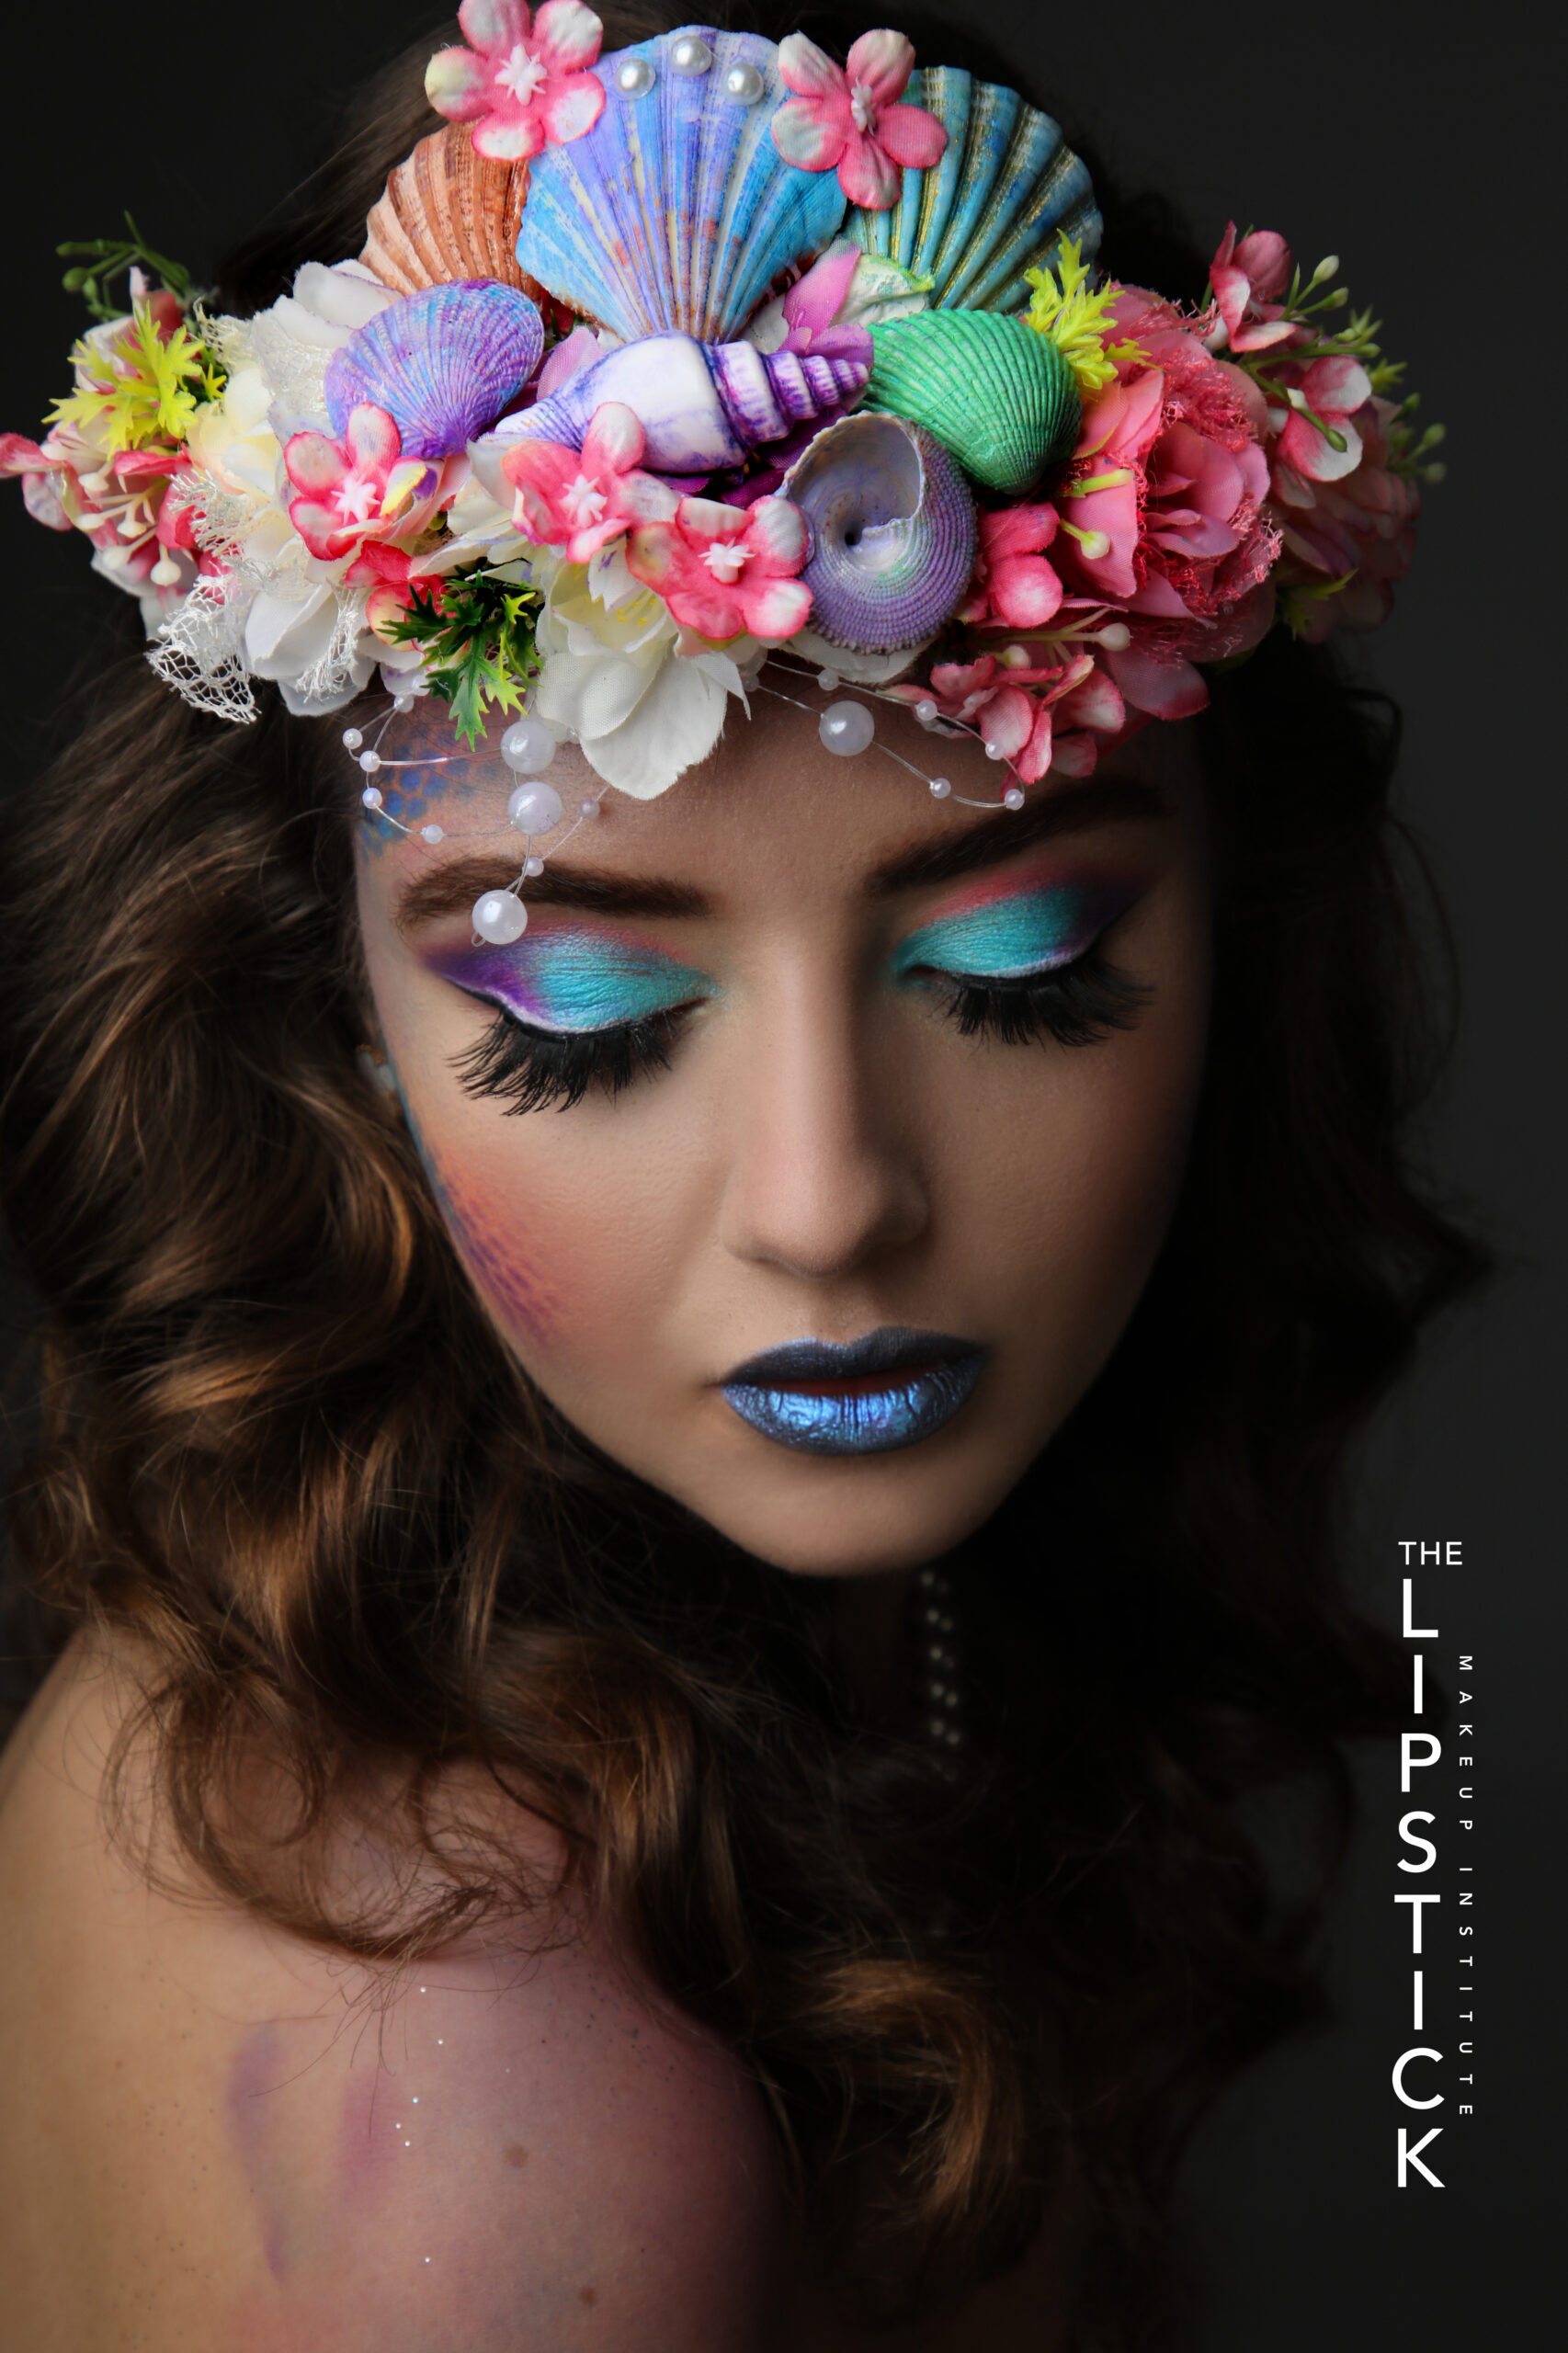
Our Platinum students get a chance to work with us in amazing projects such as this which you won’t find anywhere else in Dubai.
So, what are you waiting for? Our next batch of the Platinum Makeup Course is on January 9, 2022. Together, let’s explore the amazing world of makeup.
If you have any questions, please don’t hesitate to contact us at 052 834 9964 or email us at info@thelipstickmakeup.institute
Prosthetic makeup (also called Special make-up effects and FX prosthesis) is the process of using prosthetic sculpting,
moulding and casting techniques to create advanced cosmetic effects.
Prosthetic makeup revolutionised by John Chambers in such films as Planet of the Apes and Little Big Man.
TECHNIQUE
The process of creating a prosthetic appliance begins with life casting, taking a mould of a body part (often the face) to use as a base for sculpting the prosthetic.
Life cast moulds made from prosthetic alginate or more recently, from skin-safe silicone rubber. This initial mould is relatively weak and flexible. A hard mother mould, typically made of plaster or fibreglass bandages its created overtop the initial mould to provide support.
Once negative mould made, its promptly fill with gypsum cement, most of the common brand is “Ultra cal -30 to make a “positive” mould.
The edges of the clay should be as thin as possible, is a stand-in for what will eventually be the prosthetic piece.
Along the edges of the mould, “keys” or mould points are sculpt or carved into the life cast, to make sure that the two pieces of the mould will to together correctly.
After that once sculpting is complete a second mould. This gives two or more pieces of a mould a positive of the face, and one more negative mould pieces of the face with prosthetic sculpt in. Carefully removed and material is cast into mould cavity. The prosthetic material can be foam latex, gelatin, silicone or other similar materials.
Its cured within the two part mould thus creating the beginning of a makeup effect.
One of the hardest parts of prosthetic make-up is keeping the edges as thin as possible. The tissue should be a thin so they are easy to blend and cover giving a flawless look.
The use of prosthetic makeup to create wounds or trauma is called moulage and is used by the military and medical schools to educate lesson psychological trauma when exposed to the real thing.
A Cocktail makeup application can be completed in 20 to 30 minutes. Why cocktail? This makeup look is perfect for dinner time, weddings or any occasion where we would like to have a little bit stronger makeup on. Its between the daytime and evening makeup look, but stronger then the daytime look but lighter and softer than the evening look.
Cocktail Makeup Look
Self Makeup
Lets see the steps:
Cleanse, tone and moisturize: Wait a few minutes for moisturizer to be absorbed. Use primer if needed.
Foundation: Dab liquid foundation over the entire face with your fingertips or sponge. For cream foundation use a wet sponge for a better and smoother coverage. Apply in thin layer over the entire face.
When you applying the foundation, you must ensure that you got the right colour. Choose 3 colours which are close to your skin colour. Apply a line on the face from each colour near to the jaw line. The colour which blends into your skin colour and its invisible that is the right foundation for you. Don’t try the foundations on the hands, its not helpful about choosing the right colour, because the skin on the hands are not the same as on your face, its not the same colour as your face and the skin on the face is more sensitive.
Make sure that the entire face is well blended and covered. Dont stop at the jaw line extend the foundation under it also and on the neck. If your first coat of foundation does not cover well, apply a second or third. Layering is always better in the makeup artistry than an initial heavy application.
Corrector / concealer : Cover blemishes and dark areas with orange, yellow or peach-toned
corrector. The concealer will conceal the corrector colour, what is in skin colours. Application with fingertips or concealer brush.
Powder: Use a loose pale yellow-based powder or translucent dusting powder to set the makeup. Apply with a brush, for dry skin dust only around the nose and forehead since these areas t to be a little richer in oils.
Eyebrows: Shape the brows with a small amount of brow powder or pencil. If you have a dark hair, using a colour that is one or two tones lighter than the hair colour. Use a golden brown or light brown shade if you have a fair skin complexion.
Eye shadow: Choose three shades of eye shadow: light, medium and dark. Use the dark to line the upper lid, thinly, along the lash edge. Use medium shade to cover the remaining part of the eye lid up to the crease. Use the lightest shade for the area between the crease and the brow. You can highlight the eyes by using the darkest shade in the crease of the eye, and/or to stretch the eye shadow along the lid out toward the temple and blend the colour.
In this makeup look we can go with a stronger eye makeup. By applying a touch of black in the outer corner of the eye will give deepness to our look. The highlighter can be pearl shine (shimmer) to give a bit of glamour to our eye makeup look.
Eyeliner: Use cake liner and apply with an angled or fine liner brush, or use a sharpened eyeliner pencil. In general apply a black, dark brown, dark grey/black, eyeliner in a thin line at the base of the lashes. Start at the edge of the upper lashes.
Mascara: Black mascara is the best to highlight your lashes. Apply in two thin coats rather than one heavy one. If you are deciding to curl your lashes do it before you applying mascara.
Blush: Apply the blush directly on the cheekbones and blend it to the hairline. You can add a little shimmer on the top of the cheekbones if you want to emphasize them.
Lip liner: Apply lip liner in advance of lip colour as the lip liner helps contain the lipstick, keeps it from feathering, and makes it more durable. Remember that symmetry is beauty. Use your lip liner to improve the symmetrical look of the lips with the right side being the mirror image of the left. Try also to make upper and lower lips appear to be equal thickness.
Lipstick: Neutral shades and sheer formulas are perfect for a daytime look. Use a lip brush to apply dark or bright colour’s since these require very precise application. Add a dot of a gloss to the centre of the bottom lip and then blot. Make sure no lipstick sticks to the teeth.
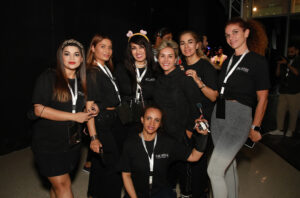
Our students started The Platinum Started At Lipstick
And are all from every different age.
Firstly, Here at The Lipstick, Makeup Institute The Platinum Amazing Course is the course Really gets our students ready to become the best professional makeup artist they can be.
The course is over taken over five weeks. The first few weeks the makeup teacher covers the whole history of makeup, all the looks, the colours, how we got to where we are today in the world of makeup.
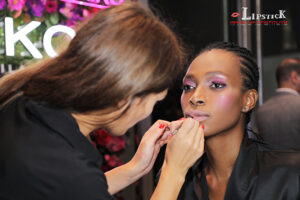
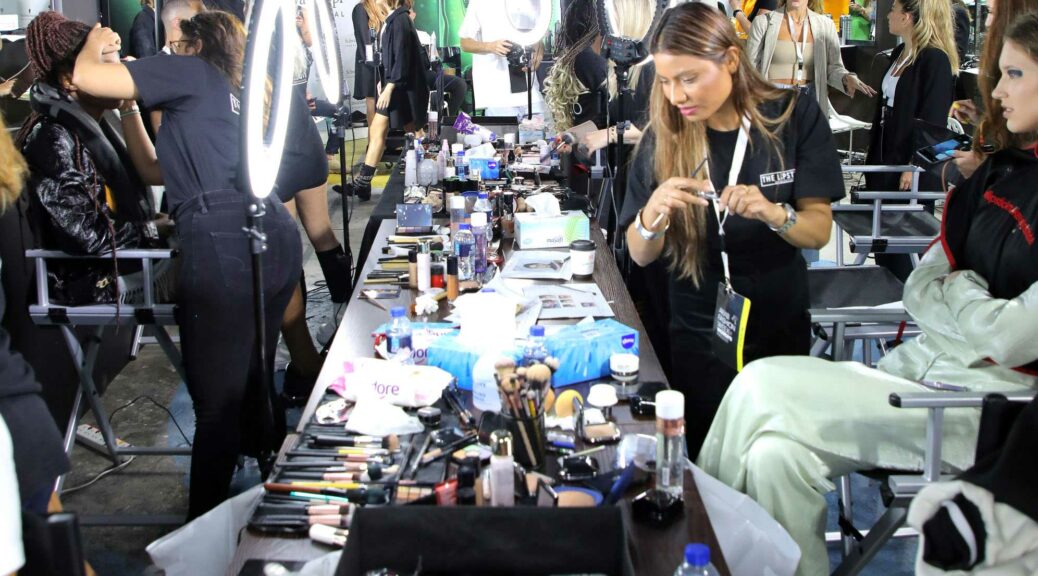
Student Work
At The Lipstick Makeup Institute, our teachers are simply the best. We also hire our ex graduates as they know how we work. They also understand how students want to be taught.
All our works can be seen on our Instagram & Facebook pages.
Look at our students at work k, don’t they look busy?
Platinum Makeup Diploma Started
Join our next diploma, don’t miss the chance its 3 week diploma you can learn many thing in this diploma while learning you can work with us on our clients and practice on our models create different looks our sister company YH STUDIOS did professional photos for your portfolio so you get 5 high end photos after complete the diploma.
Makeup Educators in the world of Dubai. Becoming a makeup educator takes a lot of practice, experience, and holding pride to your own work. The Lipstick makeup institute has an exciting opportunity for all talented people to come and learn makeup skills. We’re going to run through all of the skills and characteristics you need to become a professional MUA. At the institute we will be covering:
The makeup theory
Basic makeup skills
Advanced makeup skills
Creative makeup
SFX makeup
Editorial makeup
Basic hair skills
Makeup is an art form that presents the makeup artistry world. Therefore, our makeup educator ensures that all students benefit from every class with a full understanding of the material. Moving on to makeup skills and application, our students vary in their makeup application knowledge. As a makeup educator, it’s my role to put all my students on the same level and give them confidence to move forward.
At The lipstick makeup institute, we run the course for five weeks with intensive learning and practice. We ensure that all our graduates have a full understanding of all types of makeup application, and they are ready to become professional makeup artists in the makeup artistry world.
The International Platinum Course This course is for 3 weeks. Timing is from 10AM to 4PM Sun-Thurs.
Get in touch.
We’ll always advice you and we’ll find the best option for you.
Contact number & WhatsApp: +971 52 8497972
Don’t miss your chance
The Lipstick Makeup Institute giving BIG DISCOUNT on our Professional Makeup Course.
Don’t miss such a great opportunity and book your seat now 6 students in a group.
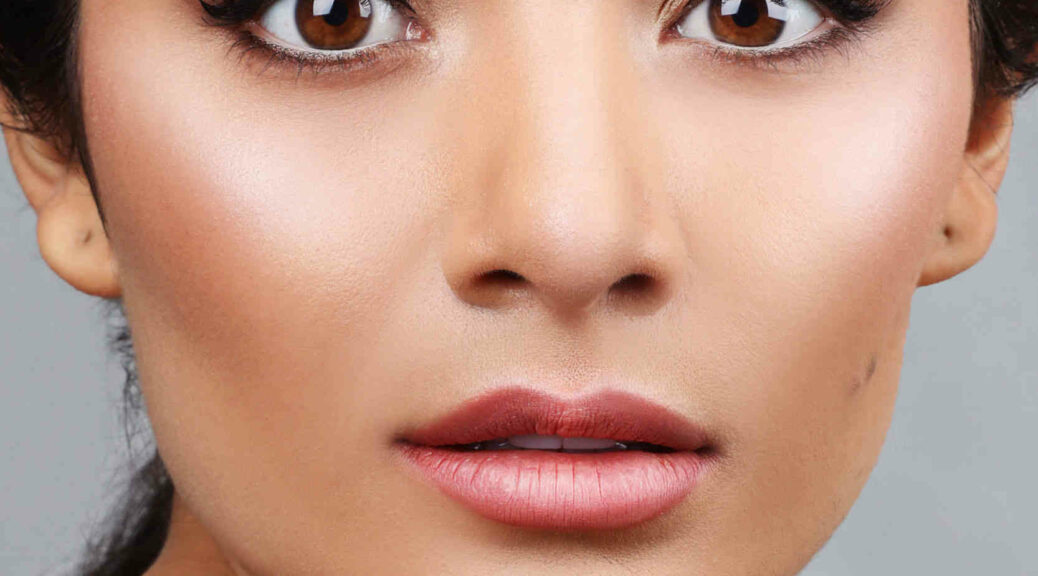
Beginner Steps to Applying Makeup Before you even reach for makeup, it’s crucial that you prep your skin with skincare. “Always cleanse and moisturize for your skin type,” “Makeup will never lay properly without it.” When your skin isn’t properly prepped, you won’t be able to achieve an even flawless finish. Instead, your foundation will look heavy and gravitate toward the dry parts of your complexion while your concealer gets cake-y.
2. Apply Primer
Not all primers are created equal, so to achieve the best results, it’s best to select the right primer for your skin type. If you need help picking the perfect primer. If you use a heavy hand, the primer will start to ball or pill (not the look we’re going for). Instead, focus a thin coat on your forehead, cheeks, and chin. “This will allow it to blur and mattify in these areas (a.k.a. the T-zone), which are usually the areas that are the oiliest.”
3. Grab Your Foundation and Concealer
Now that your skin is prepped and primed, you can start applying your makeup. While typically you should start with foundation first and then concealer, there are certain instances where you’ll want to reach for concealer first.
Dab a few dots of foundation on your T-zone, focusing on your forehead, nose, cheeks, and chin. Next, use a foundation brush to blend it in. While you can also certainly use a makeup sponge or even your fingers, using a foundation brush is quick and easy, making it a great option for beginners (and anyone who’s looking to simplify their makeup routine). To achieve a natural finish, start with a small amount of product and blend up and out.
Now that your foundation is applied, you’re ready to apply concealer. Focus on any areas you want to conceal: under the eyes, around the nostrils, and any blemishes or dark spots. When it comes to covering up, it’s important to dab, never drag.
Spot apply on blemishes and lightly dab, using either your ring finger, a concealer brush, or sponge. To conceal under the eyes, draw two inverted triangles under your eyes and blend the edges into your foundation by lightly dabbing. Not only is the upside-down triangle technique pretty foolproof, but it also brightens up the entire face, contributing to a gorgeous glow.
4. Set Your Base
Swipe a brush or velvet puff into your setting powder, and tap it to remove any excess. You want to ensure it’s evenly covered before you apply it to your complexion. Next, press it into your face to ensure you don’t move your makeup around in the application process. Focus on areas that often seem to need a touch-up throughout the day (typically the T-zone). If you have a special occasion ahead of you or you just want to create a more airbrushed finish, you can also “bake” your makeup.
5. Create Dimension
Contour comes in powder, liquid, and cream formulas, with powder being the most foolproof, making it ideal for beginners. Using an angled brush, focus on the areas you want to create dimension. Next, place contour under the cheekbones, around your hairline, and on the sides of your nose.
When it comes time to apply highlighter, focus on the “high” points of your face that the sun would naturally hit. “Adding highlighter above cheekbones, by the eyebrow arch, down the bridge of the nose and blending very well will give the most realistic dimension,” While highlighter comes in a variety of forms, a powder highlighter is easiest to use if you’re a beginner. To apply, dip your brush in the powder and tap it to remove excess powder. Next, lightly glide it over the high points mentioned above.
6. Add Back Some Color
When selecting the right bronzer, be sure not to go more than a shade or two darker than your regular complexion. Once you have selected your shade, you’re ready to begin bronzing. Using a fluffy brush, blend bronzer around your hairline, on your cheekbones, and on your jawline. The easiest way to remember this? Just think of the number three. For a flawless application, draw a number three on your face, starting at your hairline and then continuing down to your cheekbones before rounding it out under your jawline. Blend in circular, sweeping motions for a flawless finish, and dust some on the bridge of your nose to complete your sun-kissed glow.
When it comes to blush, it’s best to select a hue that brings out your skin’s natural undertone. Next, using a brush, apply blush to the apples of your cheeks to create a subtle, natural-looking flush, moving your brush in circular motions to blend as you go. If you’re unsure where the apples of your cheeks lie, simply smile!
7. Focus on Your Eye Makeup
When it comes time to apply eye makeup, the choice is really up to you. Do you want to create a natural makeup look for the day? A smoky eye for date night? Do you feel like trying your hand at the edgy negative space liner for drinks with friends? Depending on where you’re headed and what you plan on wearing, you can tailor your eye makeup to match your mood. Rely on your eyeshadow, eyeliner, and mascara to create the perfect glam.
Once you’ve applied your eyeshadow, you can move on to your eyeliner.
Brows deserve attention all on their own. You can either make your brows look fuller or enhance your natural shape using a variety of products, like brow pencils, powders, or gels. If you aren’t sure which product is right for you, stick to these guidelines: Use a pencil for the most natural-looking approach that mimics your real hair. Use a brow powder if you want to fill in sparse spots. And finally, whip out the brow gel when you need to keep unruly brows in place.
8. Swipe on Your Lip Products
If using a lip primer, prep lips before you begin. Next, use your lip liner to outline your mouth. This is where you can also contour and create the illusion of a larger pout by simply lining slightly over your lips. Next, fill in your lips with your liner. Use this as an outline and apply your lipstick.
With these expert tips, the right products, and a little practice you’re ready to take your makeup routine to the next level.
Beginner Steps to Applying Makeup
We’ll always advice you and we’ll find the best option for you.
Contact number & WhatsApp: +971 52 8497972
Don’t miss your chance
The Lipstick Makeup Institute giving BIG DISCOUNT on our Professional Makeup Course.
Don’t miss such a great opportunity and book your seat now 6 students in a group.
Prosthetic makeup (also called Special make-up effects and FX prosthesis) is the process of using prosthetic sculpting, moulding and casting techniques to create advanced cosmetic effects.
Prosthetic makeup revolutionise by John Chambers in such lms as Planet of the Apes and Dick Smith in Little Big Man.
TECHNIQUE
The process of creating a prosthetic appliance begins with life casting, the process of taking a mould of a body part (often the face) to use as a base for sculpting the prosthetic.
Life cast moulds made from prosthetic alginate or more recently, from skin-safe silicone rubber.
This initial mould is relatively weak and exible. A hard mother mould typically made by plaster or breglass bandages is creating overtop the initial mould to provide support.
Once a negative mould has been create, it is promptly led with gypsum cement, most commonly a brand called “Ultracal-30”, to make a “positive” mould. The form of prosthetic sculpted in clay on top of the positive.
The edges of the clay should made thin as possible, for the clay is stand-in for what will eventually prosthetic piece.
Along the edges of mould,
“keys” or mould points sculpted or carved into the life cast, make sure the two pieces of the mould will together correctly.
Once sculpting is complete, a second mould made
This gives two or more pieces of a mould a positive of the face,
and one or more negative mould pieces of the face with prosthetic sculpted in.
All clay carefully remove and prosthetic material cast into mould cavity.
The prosthetic material can be foam latex, gelatine, silicone or other similar materials. The prosthetic is cure within two part mould creating beginning of a makeup effect.
One of the hardest parts of prosthetic make-up is keeping the edges as thin as possible. They should be tissue thin so they are easy to blend and cover giving a flawless look.
The use of prosthetic makeup create wounds or trauma is called moulage.
its is used by the military and medical schools to educate and lessen psychological trauma when exposed to the real thing.
Want to learn Hairstyling Hair Styling at The Lipstick Makeup Institute
Hair styling is taught at the beginning of the makeup course so that students get to practice all the basics.
Students learn how to section, straighten and curl the hair first so that they are prepared to work on all types of bridal hair, glamorous ups do’s and fashion hairstyling. Throughout the course they learn how to apply these skills creating beautiful hairstyles alongside their makeup looks
Basic hairstyling is taught everyday, because becoming good at the basics is key to learning more complex looks. Being professional in both hair styling and make up skills is top priority at The Lipstick Makeup Institute.
Students must think about the complete look so that they can calculate how much time they will need to complete both hair and make up.
To become effortlessly good they must practice, as a result they will get booked time and time again.
Students master the basics in period hairstyling throughout the Platinum Course for instance, 1940’s pin up girl, 60’s beehive and Marilyn Monroe curls.
The pictures and videos you can find on our Instagram & Facebook pages.
The Lipstick Makeup Institute giving HUGE DISCOUNT on our Professional Makeup Course. Don’t miss such a great opportunity and book your seat now 6 students in a group.
Next course starts on 12th September 2022
With lots love your Lipstick Makeup Institute Team.