
Continue reading More about choosing the correct Blusher for your skin tone. (part 2)
Category Archives: #eyeliners
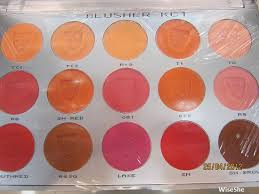
Blusher application and the right colour for you
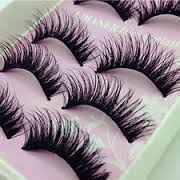
Hi guys welcome back. Yesterday we talked about False Lashes!
Today we talk about blushes!
We have all seen those people that were far too much blusher and look a bit like a clown. This often causes many of us to stay away from blusher and not use it for fear of looking like a fool. The aim of this article is to explain the benefits of using blusher and how to apply it to get the right effect.
When Blusher is used correctly it will add a natural glow to the skin as well as adding contours to the face. It is a great tool and should appear in any woman’s makeup bag.
What Type of Blusher?
When looking for blusher you will find you can get it as a powder, cream of even a gel. They all have different qualities and it is a good idea to pick one that you feel comfortable using. The creams and gels will stay on the longest but the powders will come with more choice of colour. Powder must be applied over foundation whereas other types can be applied on bare skin.
What Colour should You Choose?
When choosing the colour of your blusher, you should first consider your skin tone and then, the look that you want to achieve. Now let’s consider the types of colours and how they work.
Cool colours – These are colours that tend to have a blue undertone and will add freshness and a healthy glow to your face. For light skin go for a pink and a plum or similar will work for darker skin. If you are wearing a brown or orangey lipstick don’t use a cool colour for your blusher.
Warm Colours – These will normally have orange undertones and they work best for contouring the cheeks and adding definition to the face. If you have a light complexion then you should think about using a light apricot whereas a burnt orange may be better for those with darker skin. Don’t use a warm blusher if you are going to wear a cool lipstick or a lip colour that has a blue undertone.
Universal Colours – These are those shades that generally come in between the cool and warm colours. The advantage of these is that they suit everyone and go with any share of lipstick. For light skin you are best to go with a peach, for medium skin rosewood works well and red is best for darker skin.
Natural Colours – These are the neutral beiges and browns. These have very little red in them and are best used as a bronzer rather than a blusher and can in fact be use alongside your usual blusher.
TIP for the day:If you were at all worried about blusher you should not be now. Experiment, try different colours, just remember that blusher should be subtle and look natural
Stay with us tomorrow as we will share some awesome tips about your makeup steps and how to do them in a right way. This will save you some time and money of course!
Don’t miss it!
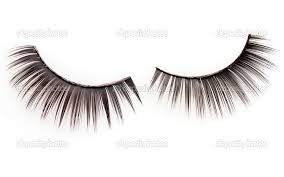
All about false lashes and how to apply it
1
Size the lashes. Before gluing the lashes on, you will need to make sure they are not too wide for your eye. Hold the lash strips up against your eyelid, and trim them down on the sides if necessary.
- If the lashes are too long for your personal taste, consider trimming the individual lashes down to achieve a more natural look. Lashes should be longer toward the outer corner of the eye
2
Apply the lash glue to the outer seam of the eyelash strip with an applicator or small brush. Allow the glue to dry for a moment before applying it to your lashes.
- Alternatively, you can squeeze a thin line of lash glue onto the back of your non-dominant hand. Then, gently run the outer seam of the eyelash strip along it.
3
Place the strip on your eyelid, positioning it as close as possible to your natural lashes. Bring the strip down from above, not from the front. This is to ensure that you get as close as possible to your lashline.[1]
4
Allow the glue to dry naturally. Once the strip is in place, you do not need to press or hold it.
5
Apply mascara to your lashes. This will help blend your natural lashes with the false ones, achieving a more natural look. You can use black, brown, or dark gray mascara.
6
Apply liquid eyeliner along your upper lids. Be sure to fill in any gaps between the false lashes and your own to make them look more natural. Use black, brown, or dark gray liner.
7
Use makeup remover to remove false lashes. Dip a q-tip in eye makeup remover and gently rub it along your lash line. Allow the remover to sit for a minute, and gently pull off the strip.
Thats all for today my ladies!
Tomorrow will learn about blusher application
Don’t miss it!
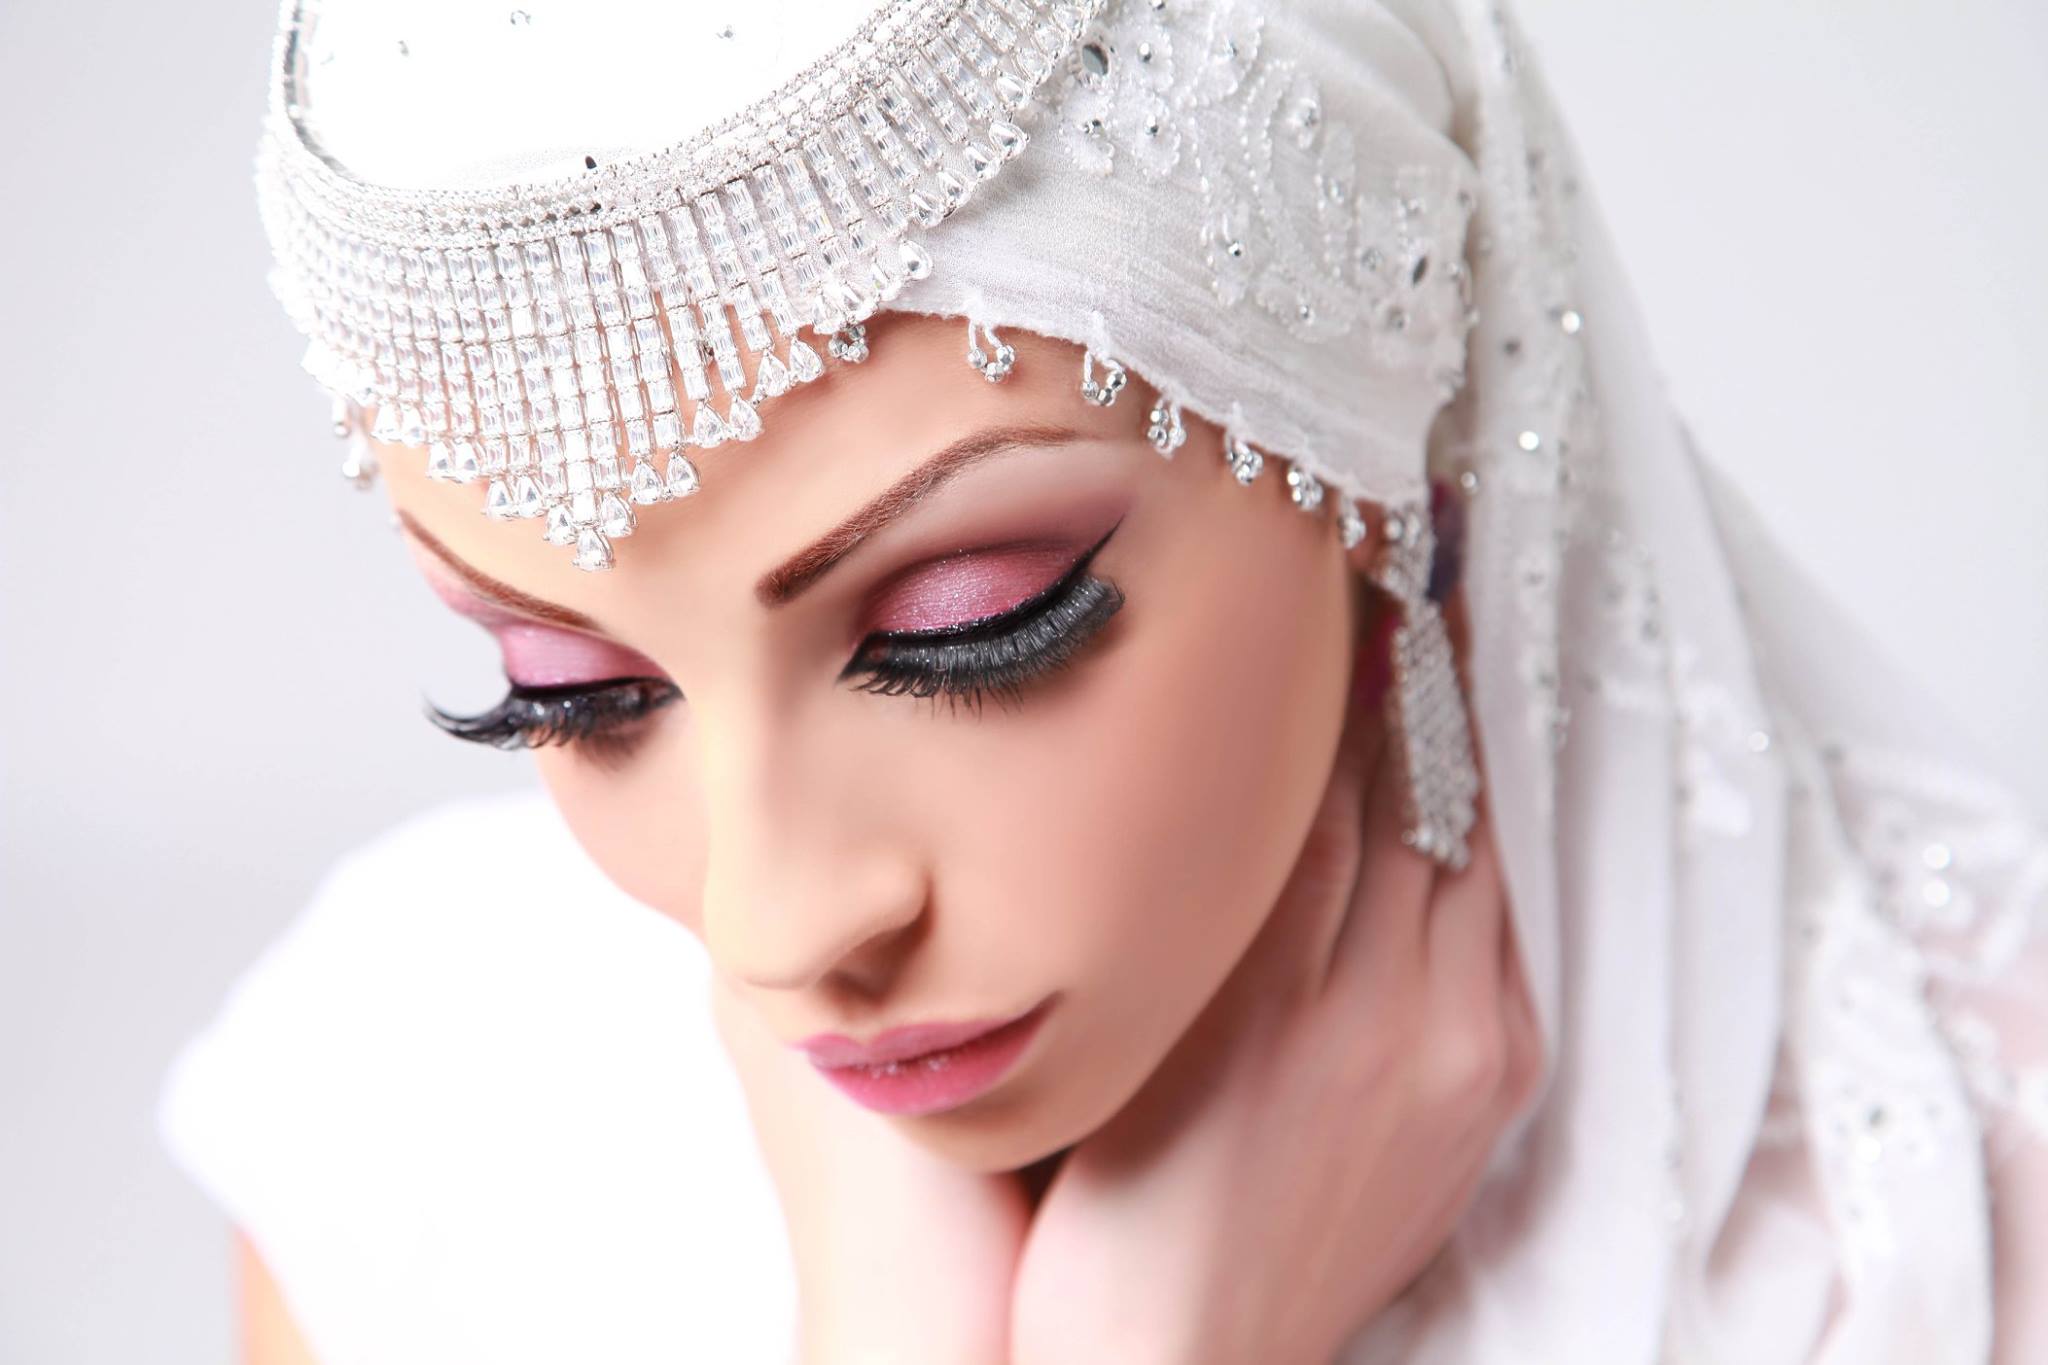
Perfect Smokey Eyes look part 2
Your smokey eye style makeup is comprised of a collection of different looks you create. Each element of makeup is characterised by its colour, finish, and performance. If your makeup is chosen correctly and your looks are skilfully combined, you are a woman with makeup sense.
The application

Outline your eye contour with a black eye pencil, all the way around. Make the line thicker along the upper lashes.

With a brush or a sponge applicator, apply your base colour eyeshadow on the mobile eyelid and above the crease, about halfway to the eyebrows, blending slightly.

With a pointy sponge applicator, apply contour colour eyeshadow all the way around your eyes, blending it well with the pencil line.

Half-close your eyes and apply contour colour in the crease.

You will now need to define the outside corners of your eyes using a horizontal “V” shape. The position of the pointy end of the “V” will control the apparent shape of your eyes.

With a medium-sized soft round brush (you can also use a flat one, holding it sideways), blend the eyeshadows on the upper eyelid. With a flat brush, blend the eyeshadows on the lower eyelid.
Repeat your contour colour application with a sponge, as many times as needed to achieve a deep shade. Blend again with brushes after every application.
Apply highlight colour eyeshadow or facial powder under your eyebrows to ease the blending of the dark contour and add some volume to your eye makeup.
For an irresistible deep regard, outline the inside contour of your eyes with eye pencil. Use darker-than-usual eyebrows and lots of mascara to finish the look. Your eyes should now be smokier then ever before!
To keep your bright eye makeup in balance, try a stronger blush, and keep your lips pale with a light gloss application.
Don’t forget the perfect smokey eyes are all about blending and practice.
See you all tomorrow as we discuss about Lipsticks and will give you amazing tips how to get perfect lips by applying the lipstick in a correct way
How to get the perfect Smokey Eyes. Tips and tricks from The Lipstick make Up institute
Smokey Eyes
Smokey eyes have become a classic party eye makeup look. The secret of this trend’s popularity is that smoky eyes can change your face dramatically, transforming the girl-next-door into a stylish diva.
Once you learn and master these application and blending techniques, the transition will take you only a few minutes. You can then have irresistible-looking eyes, even if they are not big or bright.
In this article you will learn:
- how to choose the texture of your eye makeup.
- which are the most flattering shades.
- easy and mess-free application techniques.
Colour

You will need one black eye pencil, at least two colours of powder eyeshadow, and dark mascara to produce a fantastic smoky eyes effect. Once you have mastered how to do this your confidence will go through the roof and when your friends see what you have done on your eyes they will ask you every time you are going out with them if you will do their eyes too. I promise, just see!!
You will know what I am talking about!
The base colour should be a rich shimmery (not metallic) powder texture. Choose a shade slightly darker than your skin tone. You may choose neutral beige or grey colours for a soft and sophisticated look; or use a bright base for a dramatic look.
The contour colour must be a dark, matte, or slightly shimmery colour. Choose between dark brown, blue, green, or purple, depending on the colour of your attire. Use black with any outfit for a stunning effect.
You may add a third shade to your smoky eyes: a slightly shimmery highlight colour applied just under the eyebrows. This will enlarge the eye area and also soften any demarcation lines that remain after blending. Your normal facial powder can produce the same result if you are aiming for a more sophisticated look.
Choose soft black eye pencil or kohl for an enhancing all-around contour. Never use liquid eyeliner; it is for crisp lines, not the soft and sultry look we are aiming for here.
Black thickening mascara and stronger-than-usual eyebrows are in tune with smoky eyes makes.
Stay tuned tomorrow as we discuss on the right application for smokey eyes.
