All posts by Yasmin

Makeup for blue eyes

We would say its easy when it comes to the light eye colour.

If you have blue eyes be sure to use the right colours to bring out the eyes more  and make you look fresh and glowing.

In case you are  using the wrong  colours,  your eyes can look tired and the purpose of using makeup  is to enhance our beauty so its time to talk about the  colours to enhance your eyes.

Blue eyes and neutrals as on the green eyes always looks good.

The darker the colour the eyes will look more dramatic when it comes to the eye colour.

Strong dark grey or black contours can make you look the drama queen of the night in a gorgeous edition.

Don’t go over the top, make sure that your are using your blending brush enough and not leaving harsh lines in your eye makeup.

10171614_10153163720030027_5019177814438280041_n


You like it more natural?

You can’t go wrong with some cream and brown colours with a dash of dark brown or black in the outer corner of he eye.

10623302_10153046727555027_1657178163259097445_o


Dark blue or dark grey can look awesome on the blue eyes

10953281_10153129523785027_7322214368265362253_o

Don’t forget the colour wheel  and our complimentary colours if you want to enhance your blue eyes even more.

Oranges, copper and peach… work perfectly on blue eyes will make the colour really vibrant.

_MG_6031

Lets put all these infos together and check the colours we can apply for the  blue eyes:

-champagne

-peach

-rose

-orange

-copper

-grey

-dark blue

-dark brown

-navy

-black


Now we have all the colours together so we can start experimenting.

Good luck ladies


Don’t forget  to visit us tomorrow as we will talk about the most universal eye colour… the brown eyes


Makeup for Green Eyes

223f69218047ffbaee826e08a958e02d


Hi everyone! We will talk about today are all green, Yes!

When you see this you can’t help but be mesmerised with it.

Lets see these pictures and the colours you can use on the green eyes.

If you love drama on your green eyes…. go with dark and strong colours. Green eyes are going great with dark brown, dark purple, dark grey and black.

These dark colours will bring out the eye colour and they will look more shiny.

11952046_10153610714804233_1720017868965789183_n

With neutrals you can’t go wrong. Just for a review neutrals are cream, beige, browns, white, grey and black.

In the case you don’t know what you are going to wear or just want to go soft on the eyes go with neutrals.

12491808_10153897305099233_7660532480398561167_o


Smokey eyes – it will be always our favourite and most wanted look. You can apply a bit of black on your lids and smudge it with a brown eye shadow to make your green eyes pop.

11114181_10153523295544233_2098878582232816287_o


Black eyeliner is one of our favourites and with a bit of gold or bronze shimmer can make your eyes more green. 12705357_10153934218144233_5858685785543443982_n

After talking about the different colour combinations lets summarize the colours suitable for green eyes:

  • beige
  • bronze
  • gold
  • brown
  • taupe
  • grey
  • pink
  • purple
  • dark green
  • black
  • silver
  • peach

Now there is nothing to left than to try out these colours on your wonderful green eyes. Be playful and don’t be afraid to experiment.

Stay tuned tomorrow as we talk about what best makeup colours for Blue Eyes 

Congratulations to Our Student who just completed The Silver Make Up Course.

We are so proud of our Leila who progressed so much in her 5 days with us. She achieved An International Certificate and 3 amazing images for her Portfolio which is all included as part of the Makeup  Course. We have our sister company , YH Studios DXB who are always very involved with the students explaining just how the lights react with make up. Media Make Up is  completely diffrent makeup just for events, parting or just going out.

This is the great advantage that having a professional photography studio as part of the package. The students on the courses gain such a great advantage as they understand and can apply all the tips and techniques to their working life once they leave the comfort of our Institute.

We are like a family here with knowledge and experience to share!

Just look at the images that Leila left The Lipstick Makeup Institute with. I am very proud of her achievements.

There are so many makeup Artists who do not have any professional images. Com e and join us and get the best of everything!


_MG_4643s_MG_7260e_MG_7887s

All about the Eye Makeup


Most of us would agree that in the beauty world, eye makeup is the Holy Grail. While the problem often lies in finding the perfect eye shadow look, mascara wand and/or brow shaping method, once all these components are in place, you reach a state of beauty nirvana that can only be described as FABULOUS. However, reaching this place of perfection can be tricky because no two pairs of eyes (or brows!) are the same, so what works for one does not always work for another.

 We are always on the hunt for the latest eye shadow looks, brow tips and and tricks and eye makeup products that can be passed on to our readers and further support the cause for a better beauty world. To show our dedication and devotion to eye makeup, we compiled a list of our best tutorials that cover everything from eyeliner and cat eye tricks to brow-shaping how tos and neutral eye shadow looks. Get ready to play up those peepers!

8d88bc6e47050e03f581d73093fbb056

IMG_0230b#

Stay tuned tomorrow as we begin discussing all about Eye Make Up

See Yah!

Dos and don’ts in contouring and highlighting

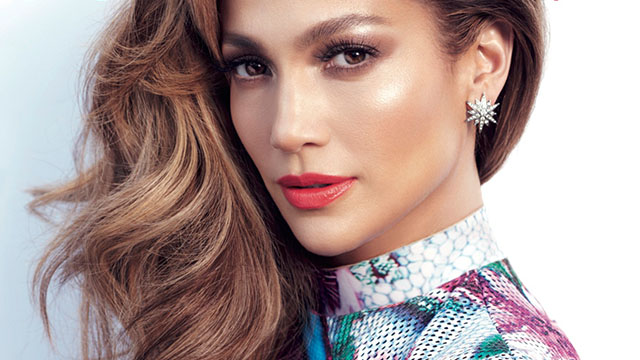
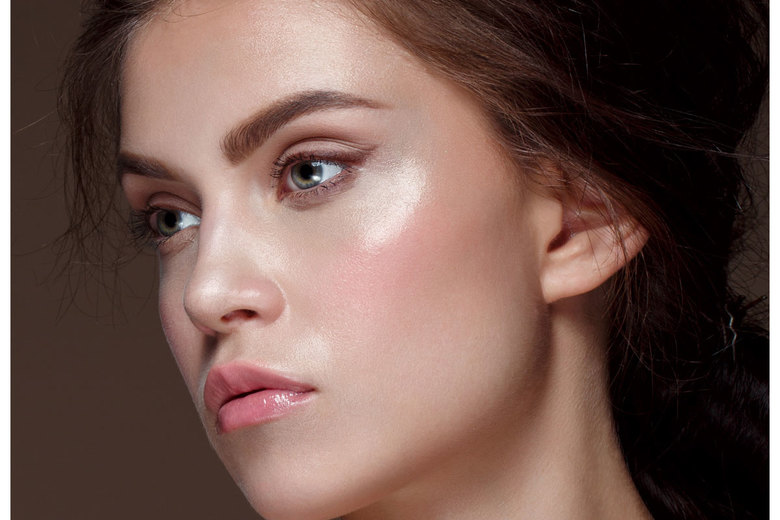
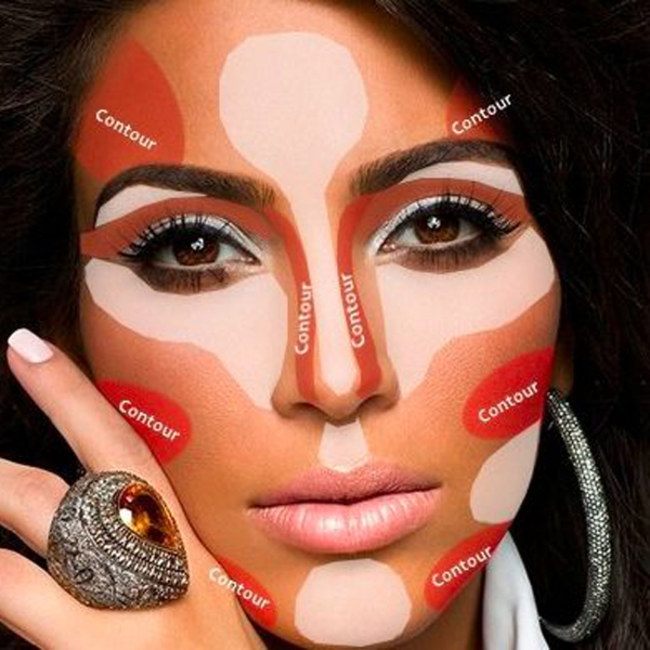
Highlighting and contouring can provide great dimensions to the face allowing you to add cheek bones you never knew you had, while slenderizing the forehead you always felt was a little too big. Celebrity makeup artist have been using these techniques for years to give celebs the perfect red carpet face. Kim Kardashian is known for her super highlighted and contoured makeup and has inspired many YouTube videos on achieving her look. Like any good makeup technique, it takes practice and the right tools to achieve the perfect highlights and contours. Here are a few of the do’s and dont’s in highlighting and contouring:

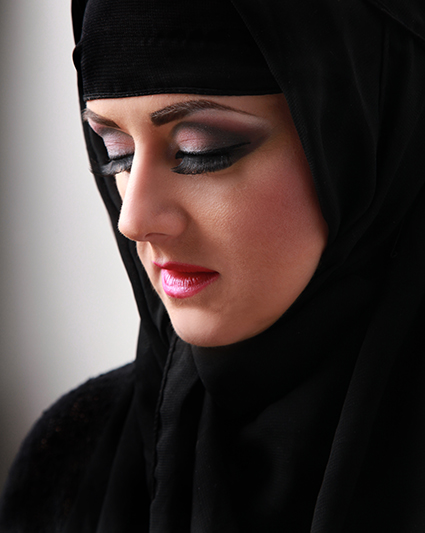
1. Do choose a highlight that is not too far off from your natural complexion, the goal is to add dimension and accentuate the skin not create a whole new skin complexion. If you have yellow undertones and are a complexion close to Kim Kardashian’s or even a few shades darker, yellow highlights work really well. If you are closer to a Gabrielle Union brown complexion, try choosing something in the brown family that is a few shades lighter than your natural complexion.

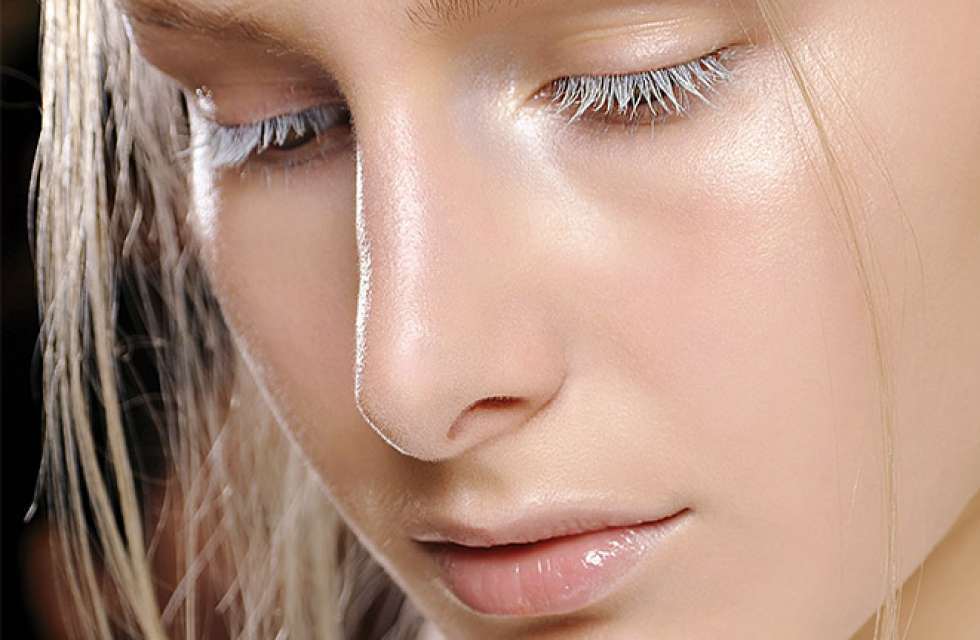
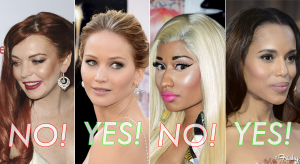
2. Don’t apply too much. Whether you are using a foundation, concealer, or powder you do not want it to be too thick. If the product is applied too thick, it will be harder to blend it in and will not look natural. Highlighted and contoured  makeup should look effortless and blend naturally, not be cakey and thick.

3. Do ask for a second opinion. Sometimes what looks great in our mirrors doesn’t always look great in natural light or in person. Ask a friend if everything looks well blended and even take a photo of yourself to make sure you don’t have that tell-tell white cast under your eyes.

4. Don’t go crazy buying products. You don’t need a million and one different products to achieve a beautiful highlight and contour look, even makeup artist have a few staple products that are their go to. Select a shade close to your complexion in either a foundation, concealer or powder and stick with that. As you get better you can always add a few more products to your collection but there is no need to break the bank.

5. Do go to a makeup counter and get help. If you need a little extra assistance with learning how to perfect the highlight and contour method or even need a little help with selecting the right product or shade for you go see a makeup artist. It is their job to help you and most makeup artist love sharing their secrets and giving out tips. To get the most time and attention possible from your artist, try going during a week day where there is usually less traffic and your lesson won’t be as rushed.

6. Do practice. Practice makes perfect and the more you practice at this look the better you will become. YouTube has a plethora of every day women and beauty gurus who have mastered this look, watch as many videos as you can until you find the method that works best for you.


Tip of the day: The ultimate tip of the day

The less is more !

022613-Contouring-Good-Bad-600x328


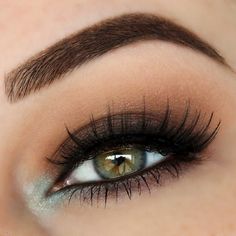
New week new topic from tomorrow..all about the eye makeup …stay tuned


Congratulations to our Platinum Make Up Course Student

We are just so proud of our student who absorbed the information on all aspects of make up from Make Up Course and gained , The International “Platinum Media Make Up Course Diploma” Certificate with world wide recognition from , “The Lipstick make Up Institute”

On the Course we covered all aspects Make up one could need to become an outstanding make up Artist. 

We covered the most famous beauty looks:

Daytime Makeup

Cocktail Makeup

Evening glamour look

Smokey eyes

Arabic makeup

Bollywood Glamorous look

Red Carpet Makeup

Bridal Makeup

And of course the creative looks:

High fashion

Creative  makeup.

Just check Out Naomi’s  Portfolio that she left the Course with. The Complete Bonus That The Lipstick Make Up institute has a sister company on site, “YH Studios” where the students get to work with photographers and learn all aspects of Media and Media make up sets Lipstick miles above any other Make Up School in Dubai. 

Look for yourself. You agree? I am sure you do. We interview so many make up artists and they come here with no professional pictures at all but just look what you get with us after 6 weeks and not only that the talent to be able to do such work.

IMG_0601e IMG_0717z IMG_1094z IMG_4896z IMG_5328x IMG_6502z IMG_6535z IMG_7698s IMG_9247s IMG_9474e


How to contour and highlight like the Hollywood Celebrities do

Want to look like a Hollywood Celebrity?

With these tips you can easily look like a million dollar woman.

Lets start:

Contoured cheeks and glowing skin add that extra something to a typical, everyday makeup look. A little highlighter can give you that celebrity glow and a little extra bronzer will give you that chiseled, model face that most of the celebrities  loves to rock.

Add a little sparkle to your makeup routine with highlighter. A light dusting of highlighter on the top of the apples of your cheeks will make your skin look more radiant and will make you look more awake!

Take a bit of the lightest color on a fan brush, and gently sweep this highlighter right above where you would apply blush.

Don’t put highlighter too close to your under eye area as this can help highlight, or pinpoint, any under eye darkness! Also, be careful not to use too much highlighter. You want to avoid looking like a disco ball! Brush a translucent powder on top if you need to soften.

For contouring the face, you should go for a matte bronzer. Use an angled brush and start by deepening your temples. After that, find your cheekbones with a finger and apply bronzer directly under your cheekbones in a slant. Lastly, bronze up under the chin — and you will have a structured, contoured face.

 Tip of the day: Build up your makeup, apply step by step and little by little in this case you can control the amount of the products you are applying to your face.
640_jennifer_lopez_ocean_drive_nov15
kendall-jenner5
Dos and don’t in contouring and highlighting is our tomorrows topic…dont miss it!

Strobing

What is strobing, you ask? It’s a fun term for highlighting, basically. Forget everything you learned about contouring (it was hard to master, anyway). Extra highlighting will give you a dewy, shimmery, more youthful glow. But because “dewy” can turn into “sweaty” super-quick, here are a few tips to keep you on the right track.

  1. Prep your skin with a hydrating moisturizer. Strobing is all about getting the perfect glow, so you’ll need to replenish dull, dry skin with a good moisturizer first. If you have naturally oily skin, use one that’s oil-free.
  2. Use a highlighter shade that best matches your skin tone. To avoid the frosted ’90s look, make sure the highlighter you’re using complements your skin tone for a subtle sheen.
  3. Only use the highlighter in spots that catch light: on your cheekbones, along your temples, down the bridge of your nose, below your brow bone, in the corners of your eyes, and above your cupid’s bow. This will enhance your natural features. Don’t spread the product all over your face, or else your glow will turn into a greasy mess. If you have oily skin, skip areas like your forehead or chin, which have a little shine already.
  4. After you’ve applied the highlighter, blend it out with your fingers, a fan brush, or a damp makeup sponge. To avoid blobs of product and obvious makeup lines, make sure you blend any harsh edges of highlighter so it fades into the rest of your skin.

5. If you have oily skin, opt for matte bronzer, blush, or other facial     products, and only use a shimmery highlighter. To avoid looking like a disco ball, choose a matte formula for most of your makeup (primer, foundation, bronzer, powder). Avoid highlighting areas on your face that have breakouts — unless you want to spotlight your blemish.

Tip of the day:  make sure that your skin is prepared on a right way for strobing. Clean it properly and make sure that its moisturised.

Use face scrub monthly once or twice to refresh the skin and remove the dead skin. The strobing is all about illuminators and highlighters it will show every imperfection on the skin.


strobing-iluminador

strobing-1

strobing1_1129-780x520

Don’t forget to click on our blog tomorrow to learn more about the makeup steps!


Dry Contouring

If you’re a contouring newbie, powder is the way to go. Powder is also easier to blend. If you’re hoping to achieve a matte look, powder contouring will help you define your features. You can most definitely be a contouring pro and go this route–it’s really more about ease and desired look. Powder on dry skin can enhance creases and make you look more chalky and less fab, so best to use this method if you have oily skin.

These are simply guidelines. You can mix and match product textures if you have different needs or combination skin.

The dry contouring gives you a soft and natural look. It works perfectly for daytime and high fashion looks.

Tip of the day: use greyish brown eyeshadows for contours it will give you a natural look.


tips-for-gorgeous-skin-600x400


Stay with us tomorrow as we will give you tips how to contour and highlight like the Hollywood Celebrities do.

What is full contouring and when are we using it


For the full contouring and highlighting we can use liquid foundations or cream products.

The queen of all contouring  and highlighting is Kim Kardashian and she is sharing her tips and trick with us:

  1. Don’t be afraid to contour more of your nose than you think is necessary. Not only is Kim’s nose shaded from the browbone all the way down, but most of the skin on her nostrils is shaded as well. This will create a serious slimming effect.
  2. Always highlight down the center of your nose. A perfect contour is nothing without a highlight! You should create a stripe of light color down your nose, starting from between your brows down to the tip. Keep the line steady and symmetrical, but feel free to play with the width (depending on how narrow you want your nose to appear).
  3. Add subtle shade to the tip of your nose. You have to look very closely to see this, but the end of Kim’s nose has a bit of contour on it. This will prevent your nose from looking too long. However, you should skip this step if you have a short button nose.
  4. Use matching contouring colors in the hollows of your cheekbones and around your forehead. Everything should look natural and seamless — using the same products and shades will prevent any weird mismatching issues while balancing your overall look.
  5. Finish your contouring look with a bit of shading along your eye sockets. This will complete the illusion of goddess-level bone structure.
  6. Don’t forget to blend! While you do want to maintain the integrity of the lines you’ve created as you buff them out, they should not look like actual lines drawn on your face.

header-211719_w650


Tip of the Day: Use your beauty blender or sponge to blend the contours and highlights