All posts by Yasmin

Do’s and don’t in daytime makeup


Hi everyone!Here we are again to teach you on what is the best do wear and not in daytime makeup.

Do’s

*do use a foundation that matches your skin tone exactly

*do softer colour for the lower lash line.Lining all the way around   your eye in blacks an extreme look that’s best saved for nighttime.

*do use matte eyeshadows

*soft peachy and soft orange shade blusher

*dry contouring

*light fresh color lipstick


b5851a7b7201dea6bac7fa36aa1dd50b

bright_makeup_for_fall-400x400

Don’t

*no to heavy eyeliner

*no to dark Eyeliner

*no to dark lipstick

*not too much contouring

*no to dark mascara

*dark and bold eyebrows


TIP: Keep it simple and less and more.

Thanks for reading the topic for today

See you tomorrow and we will talk about on how to do makeup in 10 minute daytime look.


Tricks and tips on how to do Ombre Lips


Hi there! Today we will talk about how to create and define ombre lipstick!

Ombre means having two different colours that are monochromatic.

a96820ee46c5c8df1645ff32033a81a6

Ombre isn’t just for your hair! The sexy, ombré  lip look is one you’re going to want to wear always, and shout to the world about it. Be creative and bold with your makeup and try out this ombre lip look.

Ombre lips can look awesome, but if not done correctly they can make you look very tacky! The secret to doing ombre lips is to first try it out with your regular lip colors. Play around with different hues that merge well together and once you are satisfied with the results only then step out into the open.

25-OmbreLips

Step by Step Ombre Lips:

Apply concealer over your lips to hide the natural colour.

Use the dark lip liner to create a line around the edge of your lips as you would normally. Add more of this dark colour lip liner to the corner of your lips bringing this dark colour in towards the middle, but do not colour all of your lips with this shade. You can also extend this line and thicken it at the top and bottom of your lip if you wish.

Apply your pale colour to the middle of your lips that do not have the darker lip liner on them. Press your lips together once or twice but do not smear the colours together by rubbing your lips side to side or back and forth. Simply press your lips together and pull apart again in one smooth motion.

At this stage you can use your lip brush or cotton bud to blend the edges of your colours together to create a fading effect.

Thank you guys in tuning in.

Tomorrow we will talk about do’s and don’t about day time makeup!


About Matte lips

Glossy VS Matte

maxresdefault-3

Yesterday we were talking about the luscious, glossy lips.

Todays topic is The Velvety Matte Lips.

MATTE-LIPS

The matte lips can be tricky.

Why?

Because if your lips are dry and cracked the matte lipstick will look really bad and cheap.

The same rules are on when you are prepping the lips for the matte lipstick.

  1. use a scrub to remove the dead skin
  2. lip balm or vaseline is a must
  3. remove the lip balm and make sure your lips are product free
  4. apply a bit of concealer to make sure your lipstick will last all night long
  5. apply lipliner! Its essential, because it defines the lips, you can be more precise and making your lipstick long lasting.
  6. fill up the lips with your matte lipstick. Use a lip brush in this case you will be more precise with lines and the lipstick will look rich and full. Also the lipstick will last  more longer. Do long and clean strokes with your lip brush. The texture of the matte lipsticks are more dry then the creamy ones its obvious because of the matte finish. We can suggest you the new Kryolan Matte Lipsticks. They are giving you the perfect matte velvety finish but at the same time the texture is not so dry.

Now its time to get on practicing.

The more you practice the better you will be in application the right lipstick colour and your lips will be perfectly defined.

lipstick-make-up

Thank you guys in tuning in!

Tomorrow we will talk about ombre lips stay with us to know more tips and tricks!

Lipgloss when and where to wear it!

Apply-Lip-Gloss-Perfectly

Glossy lips yes or no?

Some girls simply love shiny and glossy lips – and lip gloss is their best friend! But overdoing the lip gloss can give a tacky effect. So, today we will show you how to perfectly use a lip gloss to get pretty, pouty, kissable lips.

Some of our friends are crazy about matte lips.

Is there the right occasion to wear gloss? or we can wear it anytime?

The answer is Yes!

There are some different occasions when its the best to wear gloss and when its better to keep it semi matte or matte.

When is it?

  1. Daytime – for daytime look you can use only a gloss just keep it natural.
  2. For photo shoots if the concept is not saying to use matte lipstick you can always go for glossy, shiny lips.
  3. If you just like your lips to be shiny and glossy you can always go  for the gloss.


When is not the best to use it?

  1. On corporate photoshoots
  2. When you want your lips to look smaller
  3. You just don’t like glossy lips

Things You Need

1. Lip Scrub
2. Lip Balm/Lip Conditioner
3. Lip Liner
4. Lipstick
5. Lip gloss

What is important before we are starting with the lip gloss application?

  1. Make sure you don’t have any dead skin on your lips. Start by prepping your lips. If you have dead skin cells or chapped/cracked lips, then scrub your lips before you start prepping. Massage the lip scrub all over your lips for about two to three minutes. Rinse it off.

prepping-your-lips


2. The next step is to use a lip balm or lip conditioner to get rid of the dryness. It will make your lips more soft and supple. Let the lip balm rest on the lips for about one to two minutes.

lip-balm-or-lip-conditioner

3.Once you are done with applying the lip balm, take a tissue and blot the excess. This prevents the lipstick from bleeding and makes the application of the other products easier.

applying-the-lip-balm

4.Start by analyzing your lip shape. Using a lip pencil in the color of your choice, start the application from the center of the upper lip and follow the natural lip line till the corners of the lip. Follow the same procedure with the lower lip. You can also fill the entire lip with the same lip pencil as that works as a great base and helps the lip color to stay put for longer. Refer to the picture above.

lip-pencil-in-the-color


5.Quick tip

You can also apply a little bit of foundation/concealer in the shade that matches your natural lip color. This would even out the lips in one go and provide an even base to work on.

6.Now it’s time for the lipstick. Apply the lipstick with a lip brush using short strokes and fill the entire lips. Using a brush while applying lipstick adds precision to the application. Here, I have used a bright red lipstick.

lipstick-with-a-lip-brush

7.Start applying the lip gloss from the center of the lips and drag the sponge applicator along the length of the lips. Avoid applying the gloss above the natural lip line. You can blot the excess lip gloss on a tissue paper. This will prevent the color from bleeding.

applying-the-lip-gloss-from-the-center

Final look

Doesn’t it look amazing? Glosses are a must at parties – they really boost your hotness quotient. Give it a try and let us know about the compliments you received! We would love to hear from you.

rossettorossoselez10


 Don’t forget to follow us every day as we are helping you to build up your makeup knowledge day by day.

Stay with us tomorrow as we show you how to get gorgeous matte lips.

Stay tuned!

Lipstick do’s and don’t


Lipstick is an essential part of almost every woman’s daily makeup routine. However, many women shy away from the red tones they find in the cosmetic aisle. Fortunately, you can pull off those brave shades with a little lipstick know-how. Here are ten dos and don’ts of wearing red lipstick:


images-1


1. WEAR DARKER FOUNDATION.

If you’re going to go bold with your lip color, you’ve got to have a complementary backdrop for your face. For those with lighter skin tones, it’s a good idea to choose foundations that will provide darker, olive bases. Red lips can be too much of a contrast against pale skin. The darker your lips are, the darker your foundation should be.

2.DON’T BE AFRAID TO BLEND COLOURS.

Do you like the look of red lipstick, but think it might be too loud for you? There’s an easy solution: customize your shade. Simply take a lighter hue like coral or mauve and blend it with that rose or burgundy you’ve been eyeing. The result will be a more muted tone that nearly anyone will be comfortable wearing.

3. USE IT FOR THE RIGHT OCCASION.

While everyone loves red, luscious lips, the look isn’t appropriate for every social situation. Some of the deeper shades can be a little jarring to people you run into at the gym or the kids’ soccer game. Likewise, you want everyone to be listening to your business proposal at that morning office meeting, not staring at your lips. Only paint your kisser red when you know you’re dealing with a fun, playful atmosphere, such as a night out with the girls. Then, you’ll be one step ahead in painting the town red!

4. DON’T OVER DO IT.

If you want to avoid all the lipstick smudges and stains, you can start by only applying a light coating to your lips. This is especially important for red lipstick since it’s easier to spot on teeth and collars. Rolling once or twice around your lips should be sufficient to achieve the desired effect. For even more control of your coverage, spread the lipstick using a lip brush. Just remember that a little dab will do you.


_MG_4759


Thank you! for your time on reading the tips and tricks for today!

Tomorrow we will talk about the lipgloss when and where to wear it!


Lip liner application

Lead_lipstick1
The Perfectly applied lipstick


Perfect lips?

Thats the dream of most of us.

How to achieve lips like this?

  1. First of all make sure that your lips are moisturised.
  2. Apply foundation or concealer on your lips to make the colour more intensive

5_steps_to_apply_lipstick_3v

3.Apply lipliner! If you are happy with your lips then just line the lips on the natural lip line. If you want to make them bigger then you will outline the lips just a bit above the natural lip line. Don’t go too high as it will look fake and we don’t want that. If you want to make your lips smaller, then line the lips from the inner side of the natural lip line.

lipliner_0

4.When you are done with the lip liner then you can fill up the lips  with lipstick.

5.The colour of the lip liner is usually the same colour as your lipstick. Don’t apply lighter liner as it won’t give any definition to your lips, go with a shade or 2 darker.

6.Make sure that you are applying your lipstick with a lip brush. Why? Because in this case your lipstick will last much longer, the lip brush will give you more precision in the application.

Sharon-Hart-Makeup-Lipstick-Application

7. Make sure you will blend the liner with the lipstick. No harsh outline on the lips is trendy anymore except you are doing a fantasy, high fashion  or lip art.

8.Be precise and clean. The ultimate must is to make your lips perfectly shaped and contoured, especially when you are working with dark and bold colours.

9.Apply gloss on the lips. You can apply coloured gloss or transparent to give a high shine to your lips.

lipstainvslipstick

10.Now you need to make sure that your lips are perfectly shaped.

11.Take your foundation brush or latex sponge and straighten the lines

12.For additional definition you can take a bit of a concealer and line perfect the lip lines.

13.To avoid runny lips because of the lip gloss use a bit of a translucent powder on your latex sponge and place it to the corners of the lips.

14.To make sure that your lipstick will last all night long use Kryolan Lip Fix

5216-500x500
Kryolan lip fix

pink-lipstick


lips-and-lipstick-clipart-1


All you need to do now is to practice, practice and practice!

My teacher told me you have to do at least 100 red lips to master it!

So its time for practice 🙂


Don’t forget to click on our blog tomorrow as we will talk about  dos and donuts in the lipstick application

Stay tuned see you!

How to make your lipstick stay for long hours


Hi everyone today we will talk about on how to make your lipstick stay for long hours.

Rocking red lips is the fastest way to look glam and festive for the holidays. But with so many yummy treats to snack on and maybe a few smooches under the mistletoe, that red lipstick could end up everywhere but your lips if you’re not careful. To avoid clown mouth, follow these super-easy steps to keep your lipstick where it belongs—on your gorgeous pout!


IMG_4248c


1. Exfoliate. Scrub your lips with the rest of your face while you’re in the shower in the morning. A gentle exfoliator will smooth over the flakes that come with winter’s chapped lips.

2. Moisturize. With the temperatures dropping faster than you can say “pumpkin spice latté,” moisturizing everything, including your lips is key. Stock up on a long-lasting chapstick to keep your pucker from getting chapped and use it before applying lipstick to help it go on smoothly.

3. Prime & Line. Use an easy-to-apply lip primer to set the stage for the bold color. Once it’s absorbed, outline you lips in a liner that’s the same shade of your natural lip color.

4. Add Your Red. Apply your red lipstick of choice in two swipes. Blot a couple times on a tissue and repeat with another swipe of lipstick, followed by another blot. Do this until you score your desired color strength.

5. Set with Powder. You heard us, powder—on your lips. A light, transulescent powder will help keep the color in place even after you enjoy a huge mug of hot chocolate!

 Tips

  • Always make sure that your lip liner is freshly sharpened so that you’re not transferring any bacteria from it onto your lips.
  • If you want a special touch, just add lip gloss in the center of your lips to create a bright glossy effect.
  • Blotting excess moisturizer prevents lipstick from sliding off.
  • It is a good idea to use a nude lip liner since it goes with most lipsticks and doesn’t create a harsh line.
  • It might sound a tad radical but throwing your make-up pencil sharpener in the dishwasher or washing by hand can also be very efficacious in removing bacteria. If you have a twist-up pencil it never hurts to break off the tip and wipe with alcohol before using.


Tomorrow we will talk about the proper way to apply lipliner

Hope to see you again tomorrow!


Moisturising the Lips

Hi everyone today we will talk about lips, here are the first thing to do is to moisturised your lips:
Lips!
1
Exfoliate your lips. Mix together petroleum jelly (such as Vaseline), sugar and honey; Rub your lips with the mixture for 2-3 minutes later. Gently wipe the mixture from your lips with a clean, damp washcloth.
2
Next, apply a lip balm (such as Blistex or Carmex) to your lips. Don’t use flavored or scented lip balms because that will just make you lick your lips which will cause dryness.
3
Drink water. Water keeps lips moisturized. Your lips need moisture. Not only is water good for your lips but it is good for most everything in the human body. You should try drinking 8 glasses of water every day depending on your age.
4
Don’t pick your chapped lips. This will only make them sore, and even more dry. Making your lips dry and sore will slow down the moisture process. Also if you peel the skin off them it hurts and burns when you apply lip balm. Sometimes it even bleeds!
5
Don’t lick your lips. In fact, don’t even rub your lips together unless there is lip balm on them, don’t bite them, or rub your teeth against them. Not only does this dry out your lips, it even makes them bigger. Trust me that’s not very pretty!
6
Stay away from sticky foods. Sticky foods will make your lips rub against each other and stick together, damaging and drying out your lips.
7
Overnight, apply a heavy coat of lip balm to your lips. The next morning your lips will be moisturized and smooth!
1_1384507824_640x640
There you go guys! The tips to have a smooth and moistured lips.
I hope you got some tricks from the topic today.
Stay tuned tomorrow as we talked about on how to make your lipstick to last for long hours.

Look gorgeous in 10 minutes

Rush, rush all the time.

We never have hours to spend in front of the mirror to do our makeup.

We are here today to give you some awesome tips how to enhance your beauty in only 10 minutes for daytime look

1. Use Kryolan Supra or Derma foundation  to get a perfect coverage yet natural look. Apply the foundation with wet latex sponge, dab into your skin to get a flawless look. This will take you 2 minutes.

2. Our foundation is super good so for daytime no need to correct and conceal. In the case you have extremely dark circles then you can dab a bit of corrector under your eyes and conceal it in 1 minute.

3. Daytime look is all about natural appearance don’t forget this while you are filling up your eyebrows! Don’t over do them! Use 2 or 3 shades lighter eye shadow to fill up your eyebrows it will take you 1,5 minute

4.Eyes. The same situation is with the eye makeup. Keep the eye makeup simple and fresh. Use light, matte colours. Avoid shiny base for daytime. Creams, beige, sand, browns are perfect for daytime makeup.

Use your all over brush to add a matte base to your lid.

With your fluffy blending brush swipe a bit of brown in your crease line and soften it just to add a bit of definition to your crease.

Take your angled brush, wet it and draw a very thin line on top and bottom lash line with a dark brown eyeshadow. Take the smudge brush and smudge that thin line.

Apply 2 layers of mascara

If you are a really experienced makeup lover this will take you 5 minutes!

5. Cheeks. Blusher is one of the most important elements of the fresh daytime look. Get a peachy – orange blush on your blusher brush and swipe it over on your cheek bones. Gently just with a very soft touch. With this step you will give more glow and live to your face and you will looks fresh immediately. 1 minute of your time

6.Lips. Apply gloss over your  lips. The gloss will make your lips look full and juicy it will take 1 minute of your time!


And here you go … you look fresh and flawless in just 10 minutes!

article-0-152E6976000005DC-500_306x423


maxresdefault-2

Practice your daily routine 10 minutes makeup and you will never be late to your work.

These steps are useful, easy and practical.

Stay with us  tomorrow as we will talk about the lipsticks and their different application techniques

Stay tuned


Dos and don’ts in your makeup routine

How does your makeup routine look like?

I believe all of us we have some different habits about makeup application.

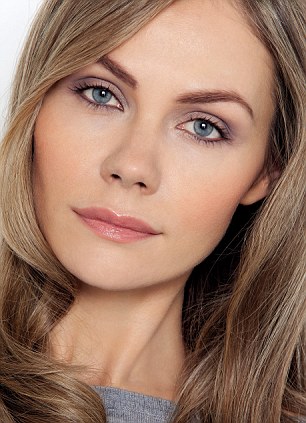
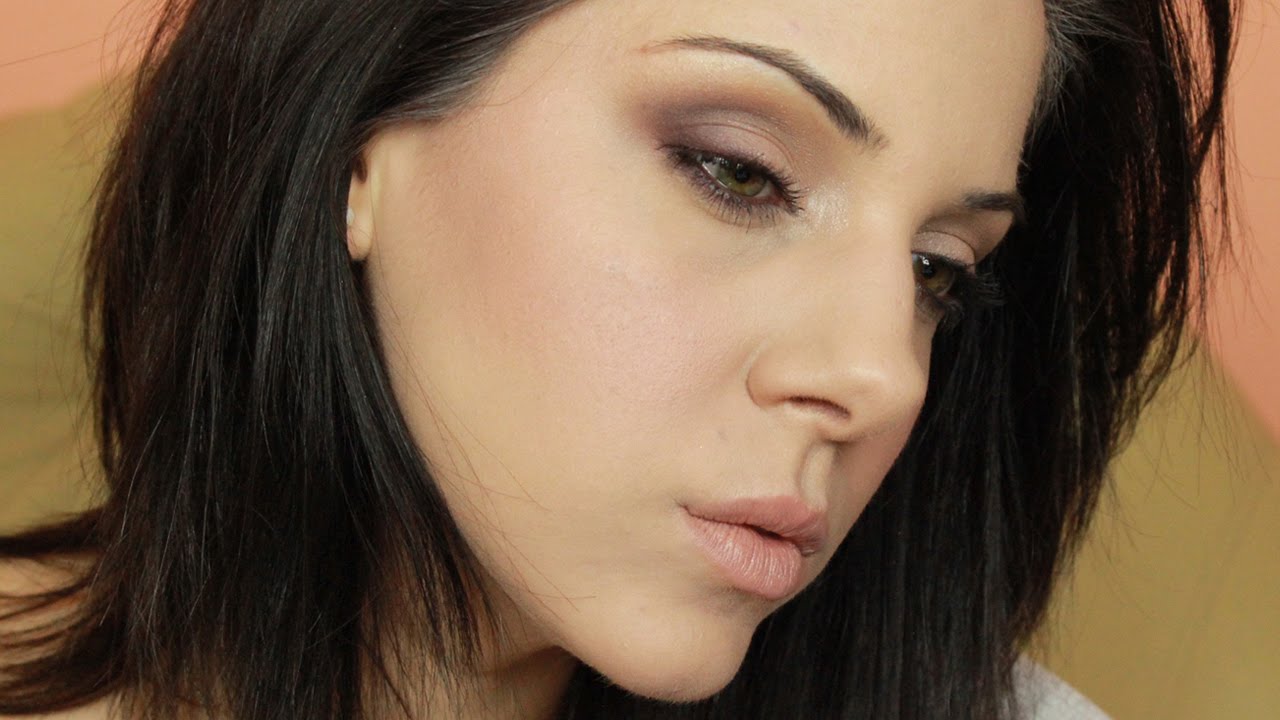
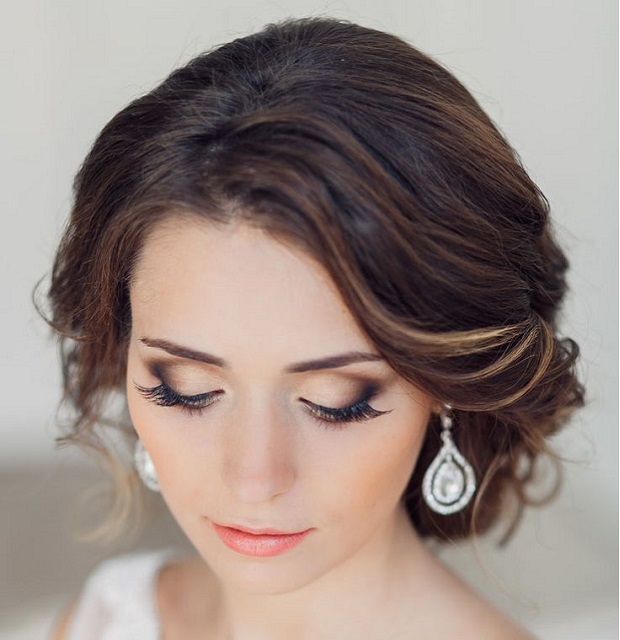
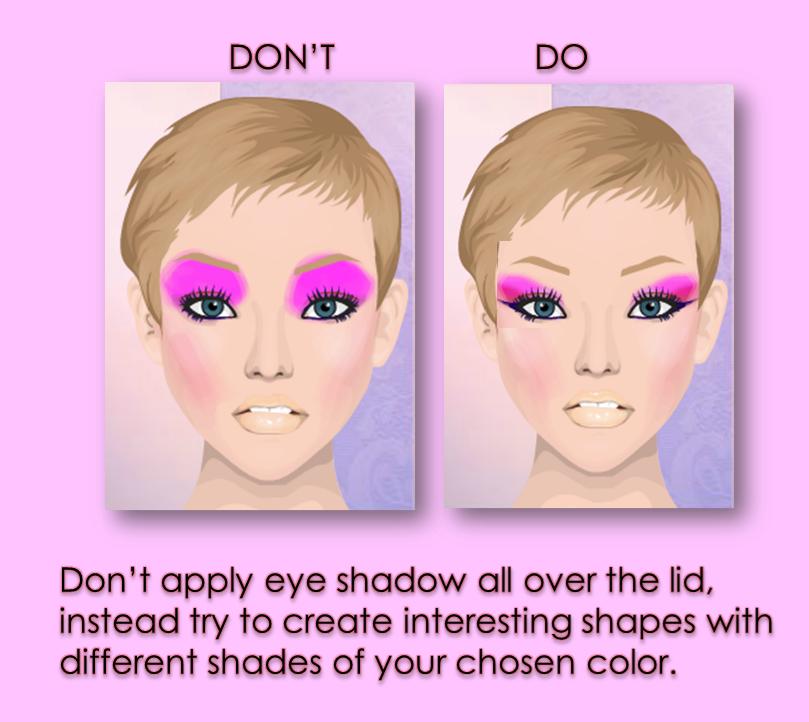
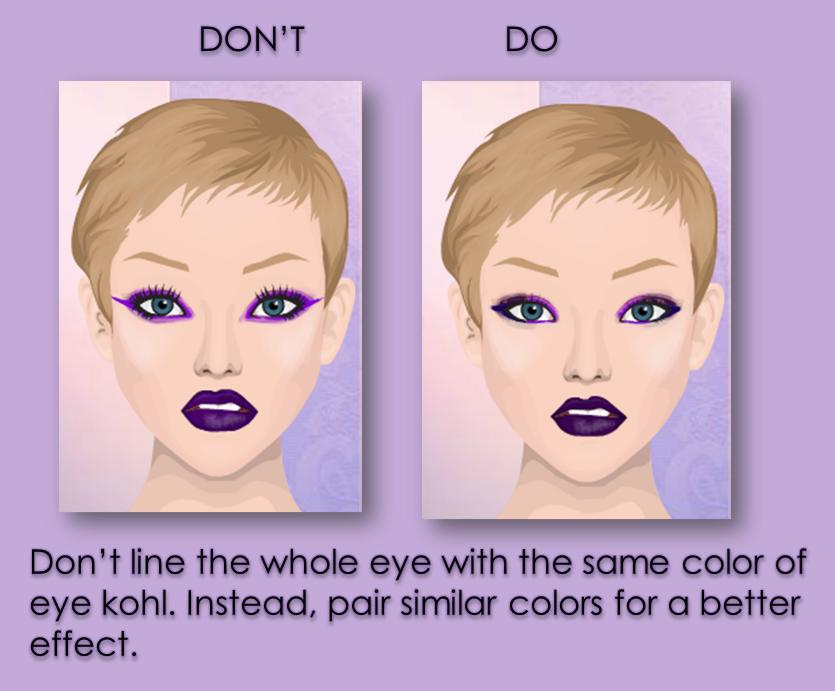
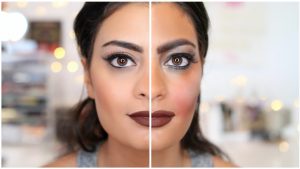
Basically there are no rules in makeup. All you need is a clean makeup, stylish and well blended!

Lets start with the Dos:

1.Make sure you take care of your skin. This is the first DO!

Use a scrub monthly once or twice, face cleaning gel or foam, toner every day and moisturising cream.

2. Start your makeup on a clean and moisturised skin.

3. Always try the foundation on your face near to the jawline area to check the colour.

4.Apply the foundation in thin layers

1_1384507824_640x640

10-Makeup-Dos-and-Donts-6

bridal-makeup

daf0b7845d6a7ae22c5984d7be4e2ecf


5.Try to use thin layers if you use cream contours and highlights

6.Use Translucent powder instead of pressed powder

7.Use 3 shades lighter shadow on your brows than your brow colour

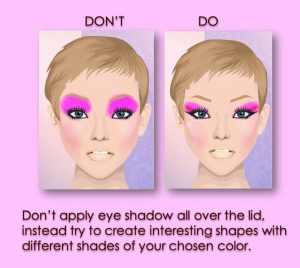
8.Use matte eye shadows for daytime look

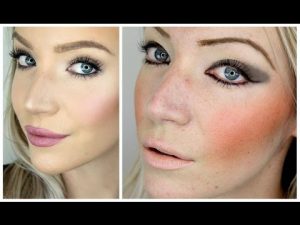
9.Apply peach-orange tones on your cheeks giving you immediate fresh look

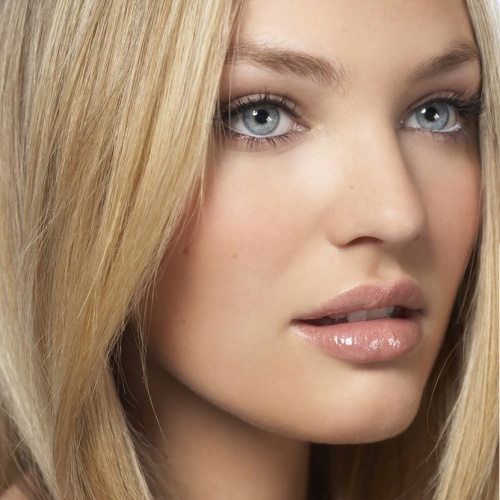
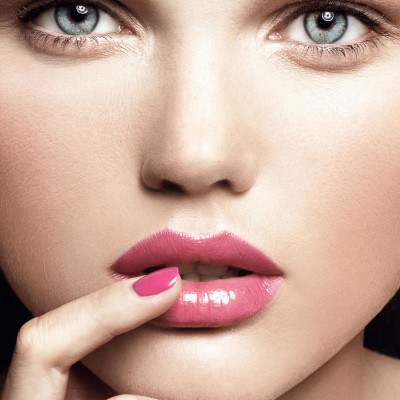
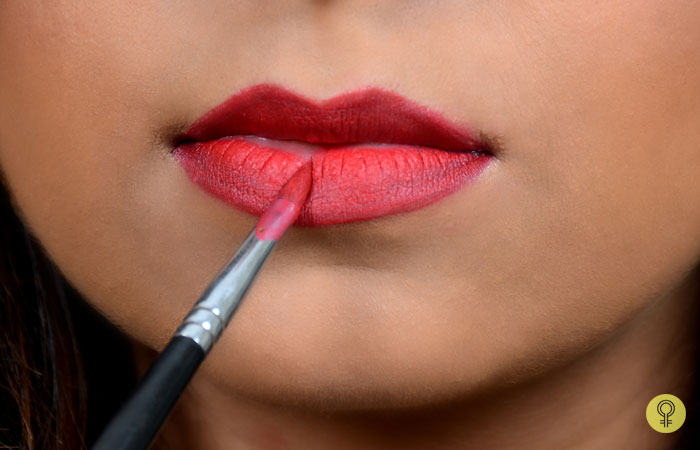
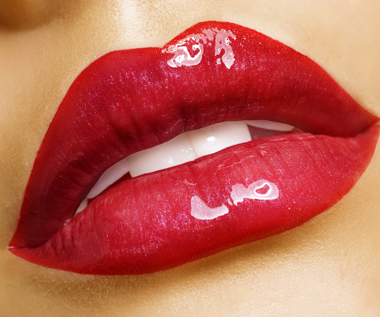
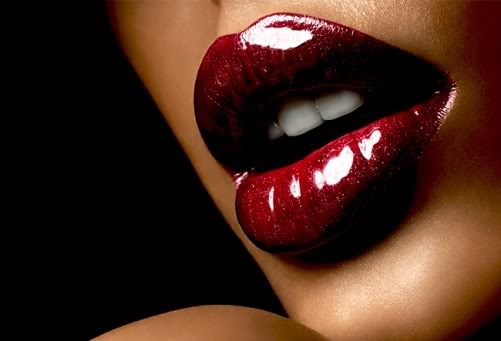
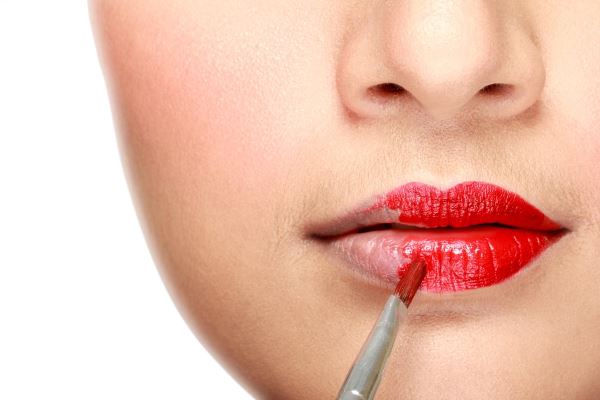
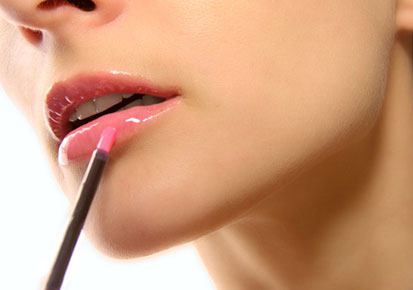
10. Glossy lips look more healthy than matte ones, don’t forget to apply a lipgloss for the nice finishing

Now lets see the DON’TS

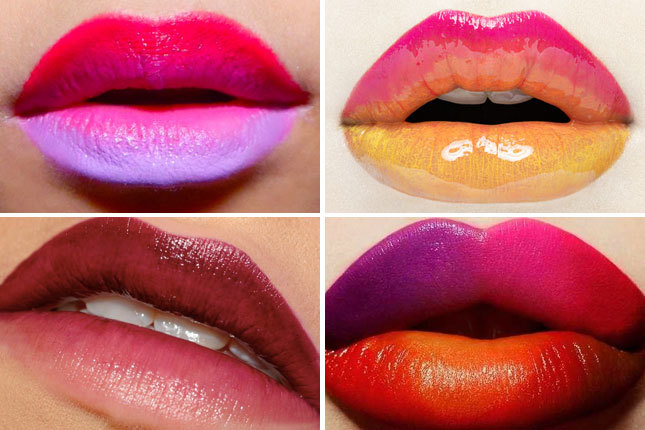
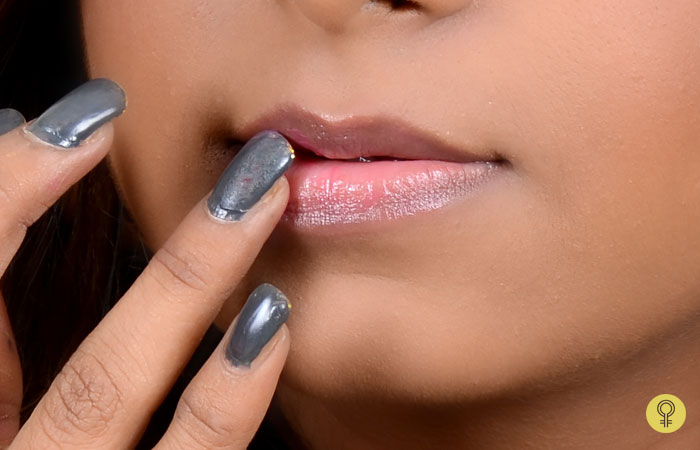
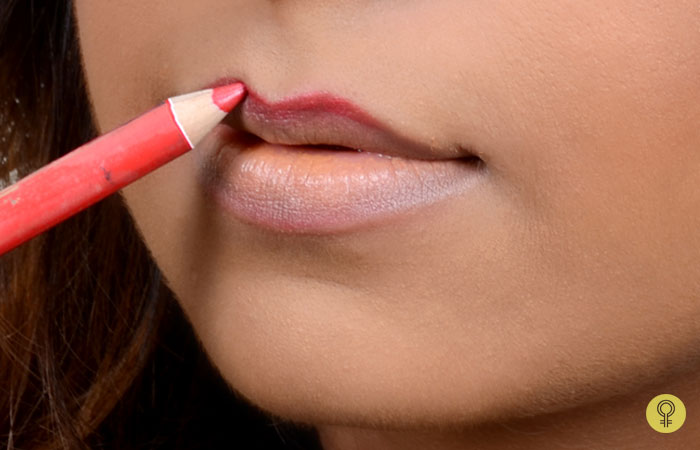
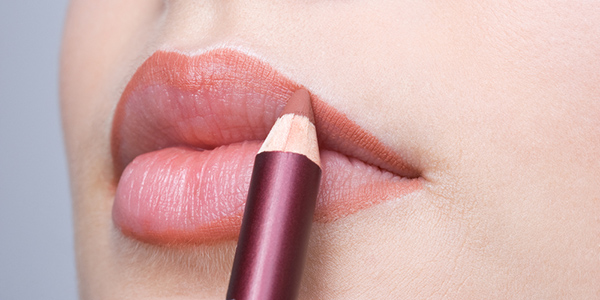
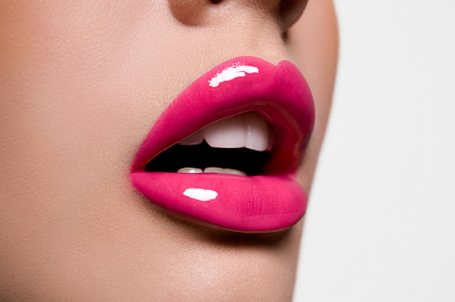
1. Don’t over draw your natural lips.

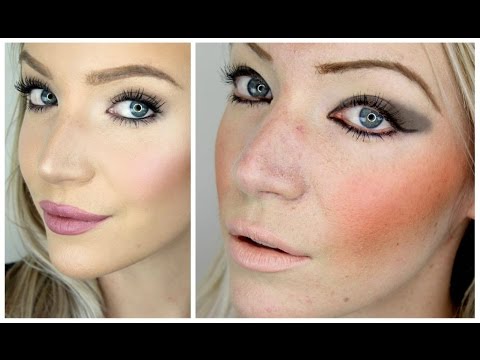
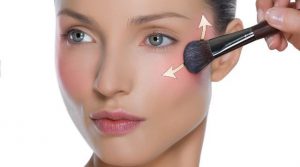
2.Don’t apply blush to your cheeks without blending

hqdefault

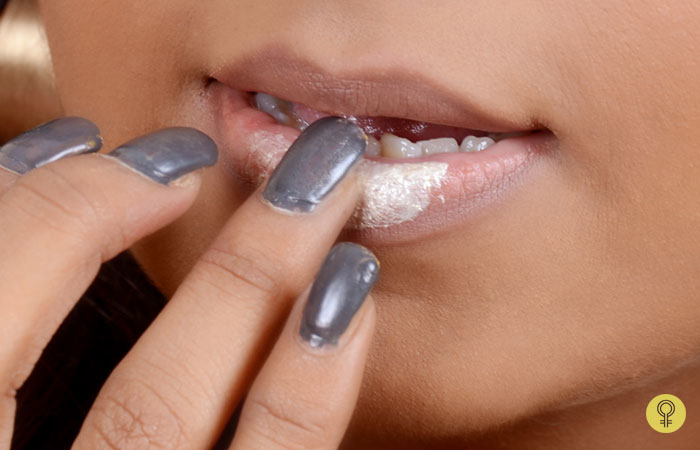
3.Don’t forget to wash your makeup off at night

4.Don’t go crazy with drawn-in-eyebrows

5.Don’t be afraid of a little sparkle and glitter.

dd1

dd2

6.Don’t be extreme with your concealer shade.

7.Don’t wear clumpy mascara

8.Don’t get stuck in a rut with your makeup routine

maxresdefault

9.Dont be afraid to experiment with different colours

10.Dont panic if you made mistakes you can always work with mistakes and fix them but if not you will take off the makeup and start again. Makeup is not a plastic surgery you can always start to apply it again and again!

After the tips what and how to do the conclusion is

-Less is always more

-Keep your makeup simple

-The right foundation colour is one of the most important things in makeup

– Blend, blend and blend

-Always keep your makeup clean. No mascara smudges and dark patches under the eyes because of the dark eyeshadows


Practice makes perfect so don’t give up after the first or second fail! The makeup can always be better!


Click on our blog tomorrow as we will give you some awesome tips how to look gorgeous just with 10 minutes makeup

See you