All posts by Yasmin

The Lipstick Make Up Institute on set of Tv Show!

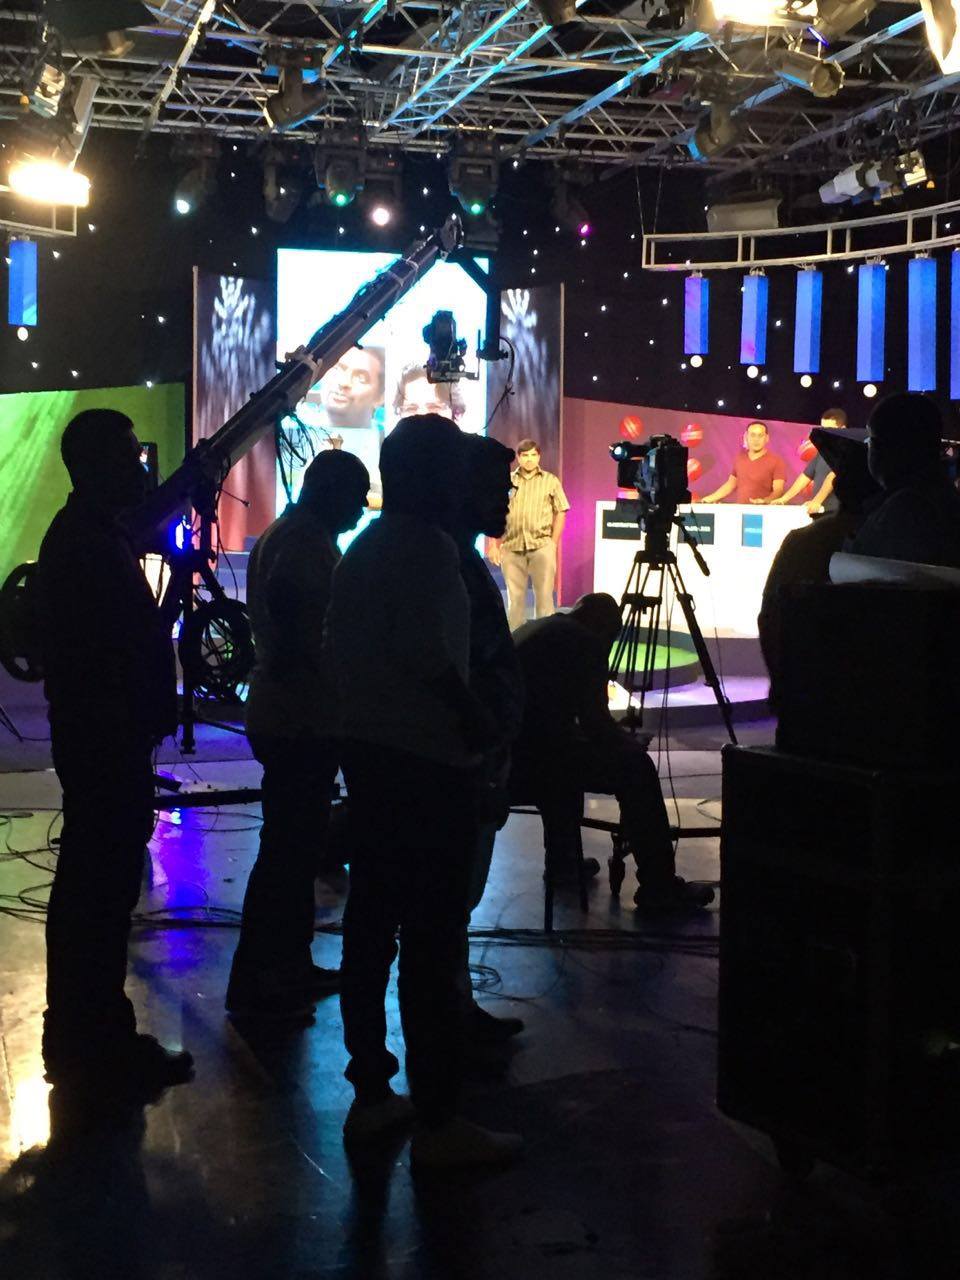
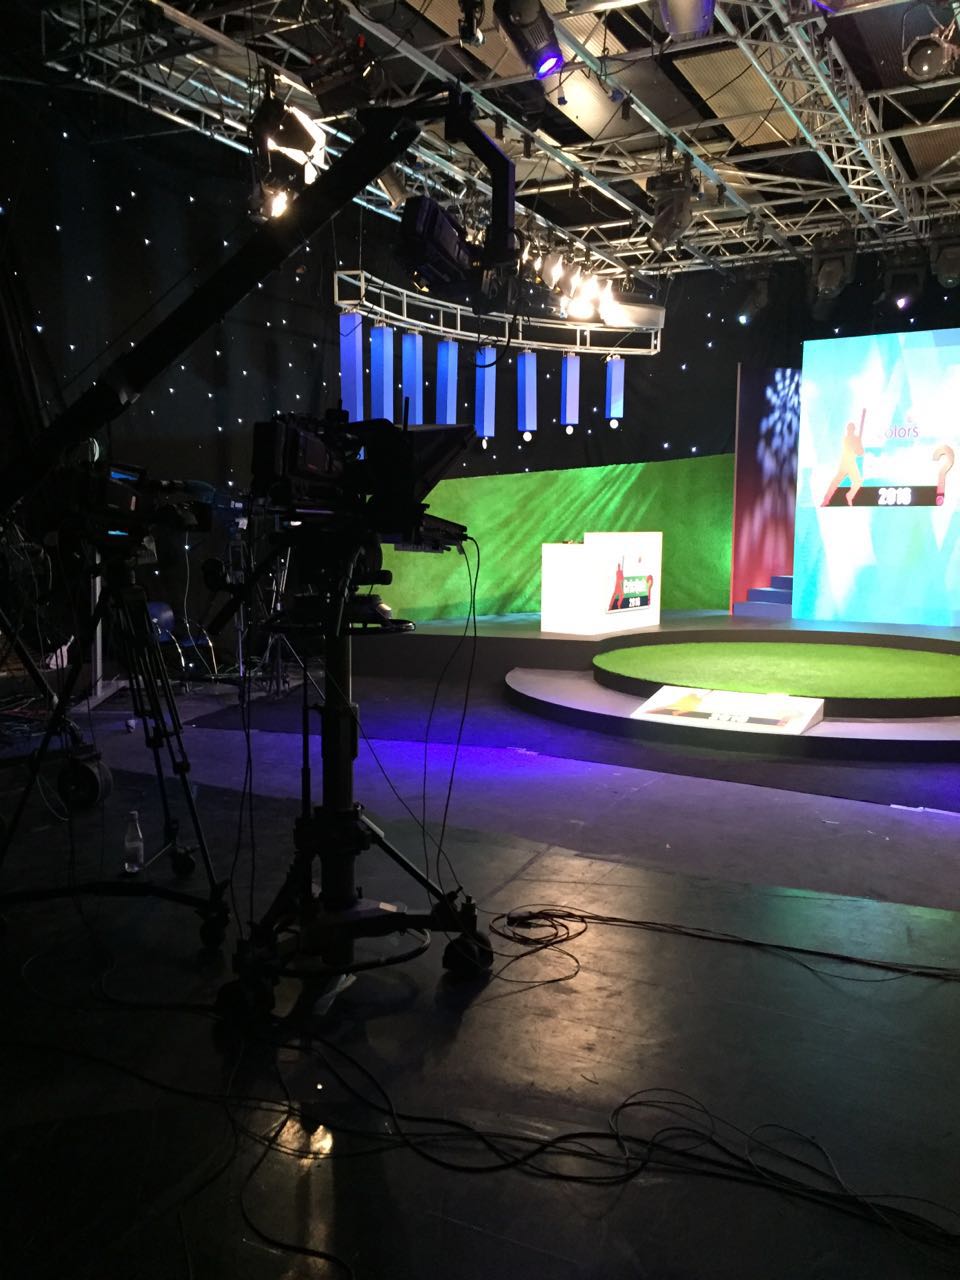
The Lipstick Make Up institute Team are on set for the next 3 days of TV show Colors Cric Quiz 2016 In asspocaition with Studio House Video Domination. Proud of what we are achieving!

Today Studio House tomorrow Azerbaijan !! We are trying our best for all the girls who form our Teams. Lets see where it gets us guys!


We are trying to branch out and do everything we can to show case case our skills so from teaching make up and make up artists to fashion shows, models portfolios, advertising adverts, documentaries, tv shows, tv quizzes, you tube videos, real life fly on the wall shows to anything and everything that involves media , make up and photography.


If you like what we do and we are about then please apply to come on one of our courses or even come one of the team.


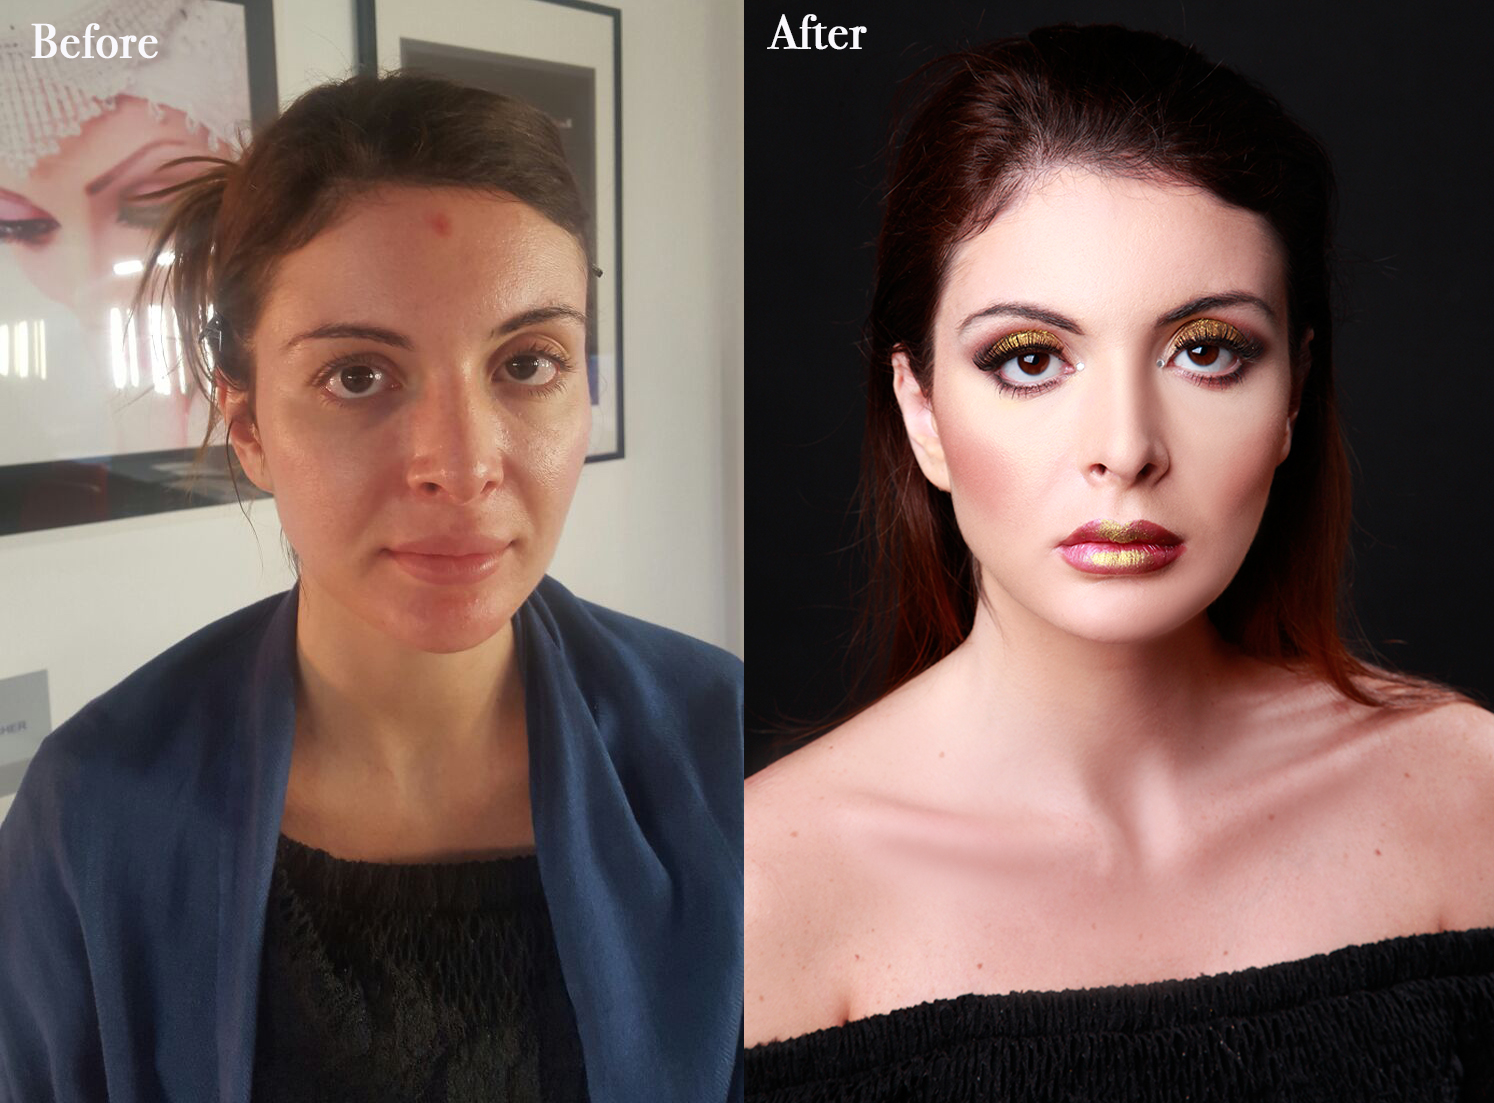
We are always looking to expand our network of great make up artists as there are a lot out there who claim to be and are not! People know that when the book a lipstick Team that we only have the best and all through my life I knew that Quality speaks for itself!


Only yesterday we  were contacted by the Director of Oriental Fashion Week which will take place in Paris, Europe in July to see if I could bring my Team over to look after the models! Great compliment! She said that she has seen what we have been doing and would love for us to take this role!


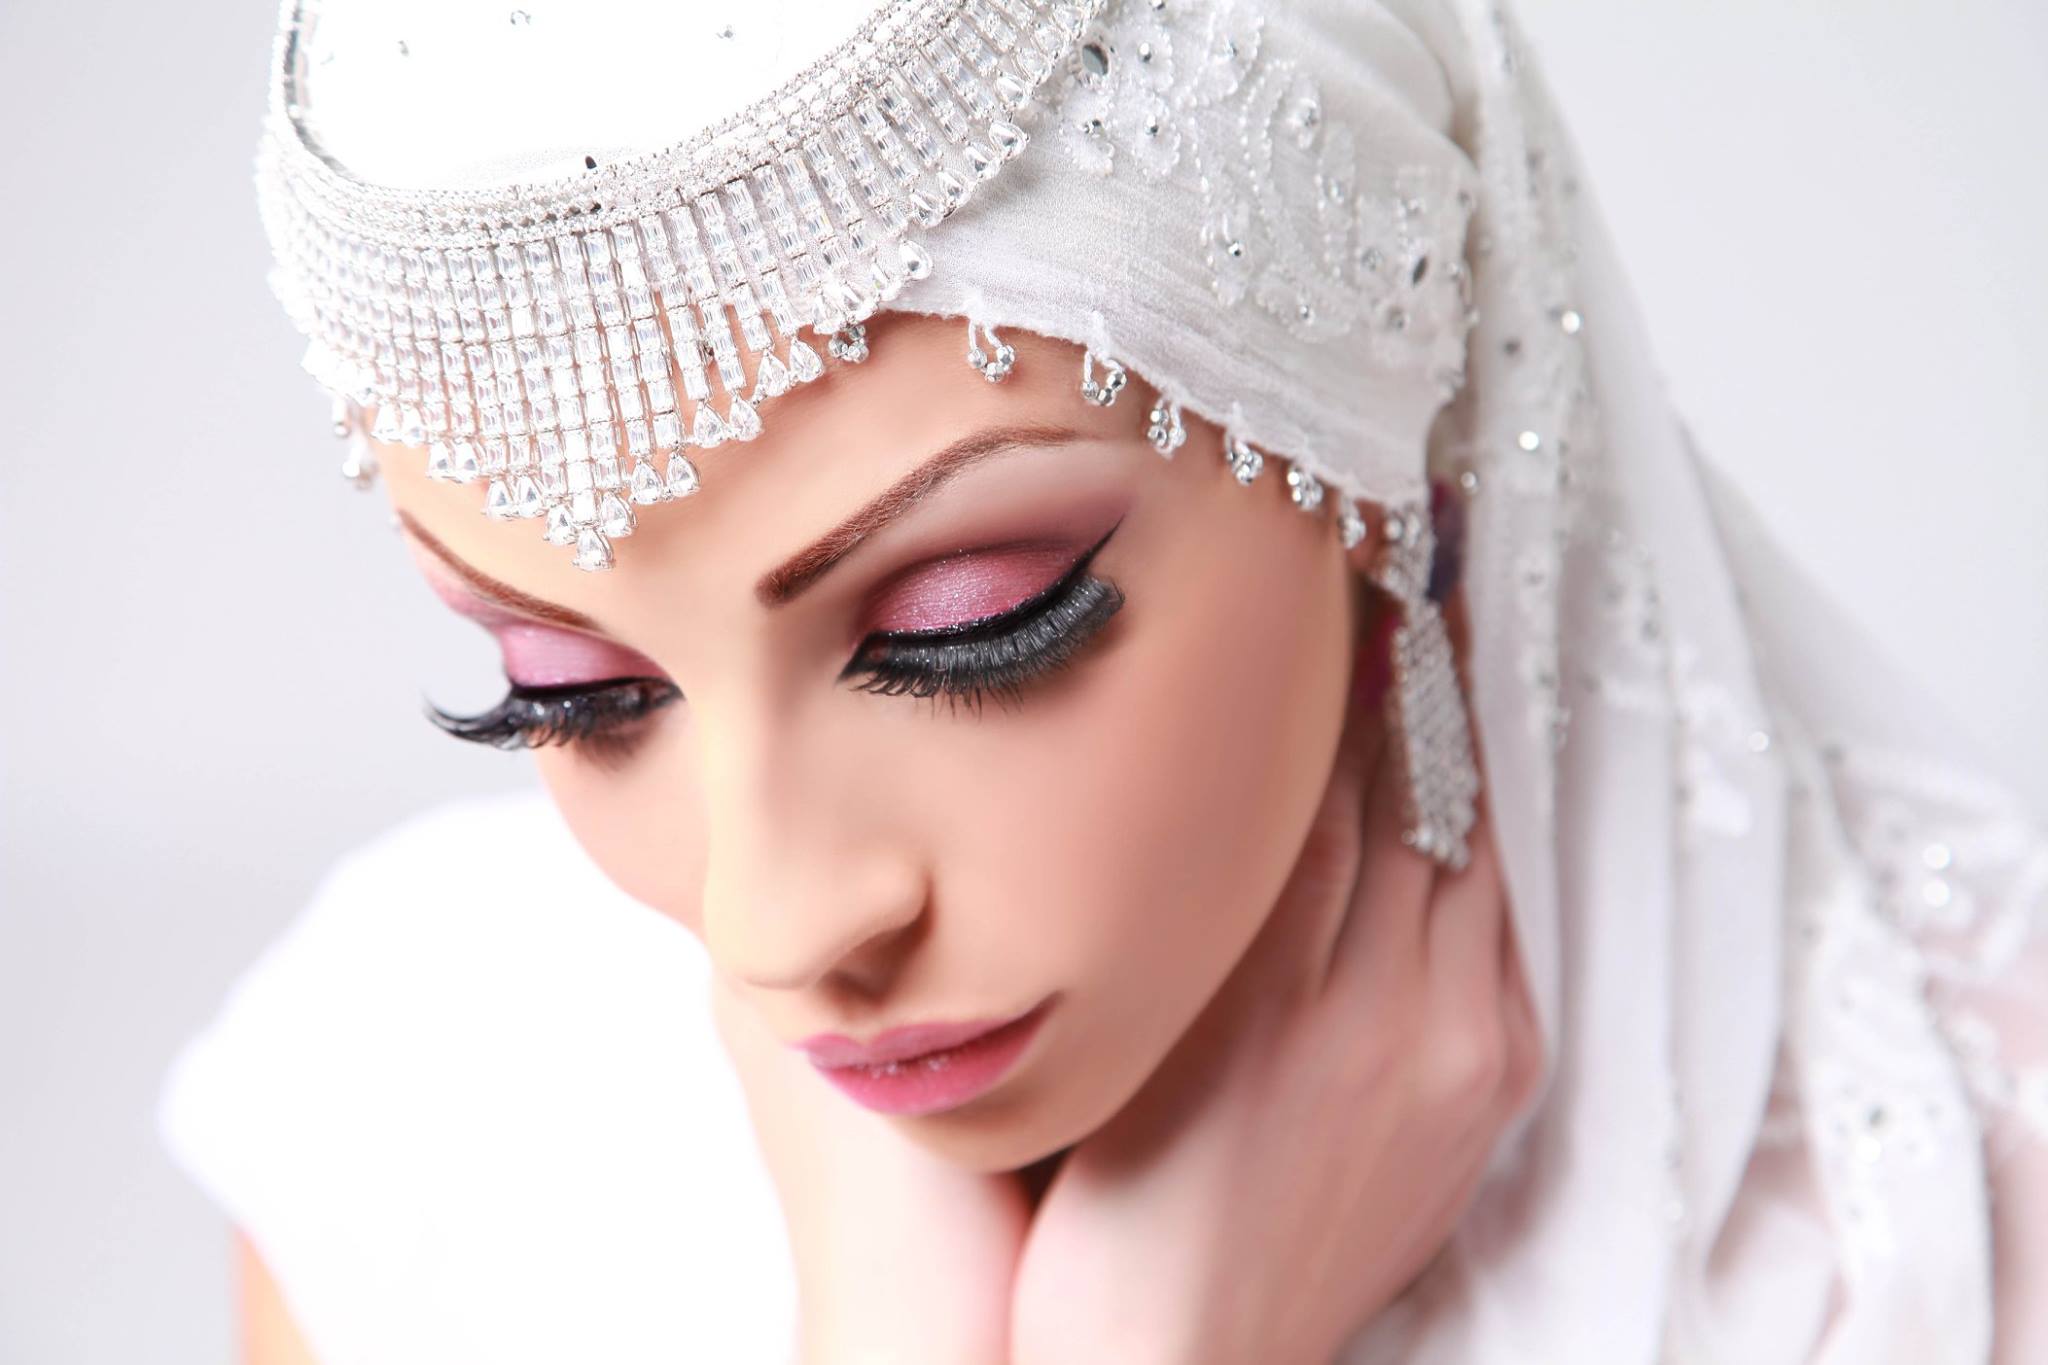
This is what being professional, efficient and great at your job does for you and all the girls that are selected to be in our teams are just that! True Professional and there is nothing more pleasing to know that in whatever walk of life you are in the hands of a professional!


We certainly have standard at Lipstick!


13235107_10154211592275789_148198425445806387_o 13305207_10154211592280789_8689856941649206974_o 13321871_10154211592765789_6041766278936437625_n IMG_0390 IMG_0399


Makeup steps

How to start your makeup application?

Foundation first or eye makeup?

As you are checking the You Tube videos you will see so many different makeup application techniques and definitely you will be confused.

Makeup-tips-for-beginners
makeup steps

We are here to help you sorting out this confusion.

So lets see the makeup steps:

  1. Make sure your face is clean, the makeup will look much better on a clean skin than to add some makeup on to the existing makeup.
  2. Use a toner, the toner cleans up your skin perfectly, refreshing it and closing the pores, basically preparing your skin for the makeup application.
  3. Moisturise, especially if you have a dry skin!
  4. Depending on a foundation type apply primer. The primer will  prepare your skin for a foundation and will make your makeup lasting longer.
  5. Apply foundation, all over the face, eyelids, under the eyes, blend it to the neck area also.
  6. When is the foundation perfect? When you can’t see it because none wants to see the foundation just the flawless skin, forget about the caked up, mask effect foundation! That is out of trend for a long time.
step-by-step-makeup-tutorial
makeup application


7. Correct the skin imperfections. Most of the time we are mixing up the correctors with concealers. The correctors are in colours (yellow, peach, green and orange) and are useful in correcting the dislocations on  our face.

8.Then conceal it! Because of the concealers your skin will be green or orange depends what colours are you applying you have to conceal  it. That means the concealers are skin colours.

9.Contour and highlight and of course blend it!

make-up-tips-to-conceal-double-chin
contours and highlights

10.Set your base with a translucent powder

The-Ultimate-Steps-to-do-Your-Makeup-Flawlessly6
translucent powder

11.Start with your eyebrows in this case you can make sure that you won’t miss any part of your face

Perfect-Makeup-in-10-steps-by-Bobbi-Brown7
eyebrow correction

12.Apply the eye makeup

Make-up artist applying white eyeshadow in the corner of model's eye and holding a case with eyeshadow on background close up
eye makeup application

13. Blusher

beauty-tips-for-applying-makeup
blusher application

14.Lipstick

maxresdefault
lipstick application


Now you have a question why in this order?

There is a logical explanation for this.

When you start with a foundation you do 60% of the job and you will have a flawless canvas to work on. All the eyeshadow colours will show much better on the already corrected skin. Even if you do a smokey look or working with dark colours you can easily avoid the fall outs by applying translucent powder under the eye area before starting with eye makeup.

This technique is faster and more efficient all you need is to practice

Stay with us tomorrow as we will talk about dos and donuts in your makeup routine !

Have a nice day ladies

Highlighter

 Hi Everyone!

Our topic for today is all about highlighting!
You can learn what is the effect and how to apply
Before beginning your highlighting and contouring, you must first determine your face shape.  Faces can be oval, rectangular, round, heart-shaped, oblong, diamond-shaped, or triangular (including inverted triangular).  To determine your face shape,  pull all of your hair back tightly and examine your face in the mirror, looking for the following attributes.  A measuring tape may be used to measure the length and width of the face for a more precise determination.
OVAL: Oval-shaped faces have a length equal to 1.5 times the width of the face, with forehead and jaw equal widths.
RECTANGULAR: Rectangular faces are 1/3 longer than the width of the face and have strong angles on the forehead and at the jawline.
ROUND: Round faces are as wide as they are long, but with soft, rounded edges.
HEART-SHAPED: Heart-shaped faces have the most width at the cheek, eye, and forehead areas, with a narrow to pointy chin.  Sometimes they will also have a high forehead.
OBLONG: Oblong faces are as long as it is wide.  Straight sides, a high forehead, and larger than average distance between the bottom of the lip and the tip of the chin are common attributes of the oblong face.
DIAMOND-SHAPED: Diamond-shaped faces are characterized by a narrow forehead and a narrow chin with the widest point at the cheeks.
TRIANGULAR (and INVERTED TRIANGULAR): Triangular faces are wide at the forehead and narrowest at the jawline; inverted triangular faces are widest at the jawline and narrowest at the forehead.Determining your face shape will help you decide where to place your highlights and contours and what features you’d like to define or downplay.
images

Highlighting certain features of the face can be super flattering for the spring time, if done properly. By illuminating specific areas of the face, you’re putting them in the spotlight, but don’t think taking a face powder with tons of shimmer and applying it all over will give you a flattering look. All good things must come in moderation (even glitter).When it comes to brightening any part of the skin, it’s always a good idea to stick with the “less is more” mindset. Features like cheek bones, under the brow and cupids bow, nose area, chin and forehead are all prime targets to apply some sort of illuminator. We put together every highlighter tip for your face, from where to put a brightener to which products you should be using. Take a look through the slideshow above to see some of our favorite celebrities exemplifying the highlighted.

IMG_5794

Tip for the day: “Less is more”

More about choosing the correct Blusher for your skin tone. (part 2)

Continue reading More about choosing the correct Blusher for your skin tone. (part 2)

Blusher application and the right colour for you

Hi guys welcome back. Yesterday we talked about False Lashes!


Today we talk about blushes!


We have all seen those people that were far too much blusher and look a bit like a clown. This often causes many of us to stay away from blusher and not use it for fear of looking like a fool. The aim of this article is to explain the benefits of using blusher and how to apply it to get the right effect.

When Blusher is used correctly it will add a natural glow to the skin as well as adding contours to the face. It is a great tool and should appear in any woman’s makeup bag.

What Type of Blusher?

When looking for blusher you will find you can get it as a powder, cream of even a gel. They all have different qualities and it is a good idea to pick one that you feel comfortable using. The creams and gels will stay on the longest but the powders will come with more choice of colour. Powder must be applied over foundation whereas other types can be applied on bare skin.

What Colour should You Choose?

When choosing the colour of your blusher, you should first consider your skin tone and then, the look that you want to achieve. Now let’s consider the types of colours and how they work.

Cool colours – These are colours that tend to have a blue undertone and will add freshness and a healthy glow to your face. For light skin go for a pink and a plum or similar will work for darker skin. If you are wearing a brown or orangey lipstick don’t use a cool colour for your blusher.

Warm Colours – These will normally have orange undertones and they work best for contouring the cheeks and adding definition to the face. If you have a light complexion then you should think about using a light apricot whereas a burnt orange may be better for those with darker skin. Don’t use a warm blusher if you are going to wear a cool lipstick or a lip colour that has a blue undertone.

Universal Colours – These are those shades that generally come in between the cool and warm colours. The advantage of these is that they suit everyone and go with any share of lipstick. For light skin you are best to go with a peach, for medium skin rosewood works well and red is best for darker skin.

Natural Colours – These are the neutral beiges and browns. These have very little red in them and are best used as a bronzer rather than a blusher and can in fact be use alongside your usual blusher.

Unknown-3


TIP for the day:If you were at all worried about blusher you should not be now. Experiment, try different colours, just remember that blusher should be subtle and look natural

Stay with us tomorrow as we will share some awesome tips about your makeup steps and how to do them in a right way. This will save you some time and money of course!

Don’t miss it!


IMG_8457email

_MG_4946

All about false lashes and how to apply it

12605495_1751012468451004_8182255944933402758_o
 1
 Size the lashes. Before gluing the lashes on, you will need to make sure they are not too wide for your eye. Hold the lash strips up against your eyelid, and trim them down on the sides if necessary.
  • If the lashes are too long for your personal taste, consider trimming the individual lashes down to achieve a more natural look. Lashes should be longer toward the outer corner of the eye

2

Apply the lash glue to the outer seam of the eyelash strip with an applicator or small brush. Allow the glue to dry for a moment before applying it to your lashes.

  • Alternatively, you can squeeze a thin line of lash glue onto the back of your non-dominant hand. Then, gently run the outer seam of the eyelash strip along it.
3
Place the strip on your eyelid, positioning it as close as possible to your natural lashes. Bring the strip down from above, not from the front. This is to ensure that you get as close as possible to your lashline.[1]
4
Allow the glue to dry naturally. Once the strip is in place, you do not need to press or hold it.
5
Apply mascara to your lashes. This will help blend your natural lashes with the false ones, achieving a more natural look. You can use black, brown, or dark gray mascara.
6
Apply liquid eyeliner along your upper lids. Be sure to fill in any gaps between the false lashes and your own to make them look more natural. Use black, brown, or dark gray liner.
7
Use makeup remover to remove false lashes. Dip a q-tip in eye makeup remover and gently rub it along your lash line. Allow the remover to sit for a minute, and gently pull off the strip.
images-2
images-1

Thats all for today my ladies!

Tomorrow will learn about blusher application

Don’t miss it!

Perfect Smokey Eyes look part 2

Your smokey eye style makeup is comprised of a collection of different looks you create. Each element of makeup is characterised by its colour, finish, and performance. If your makeup is chosen correctly and your looks are skilfully combined, you are a woman with makeup sense.

The application


Smoky eyes application 1

Outline your eye contour with a black eye pencil, all the way around. Make the line thicker along the upper lashes.

Smoky eyes application 2

With a brush or a sponge applicator, apply your base colour eyeshadow on the mobile eyelid and above the crease, about halfway to the eyebrows, blending slightly.

Smoky eyes application 3

With a pointy sponge applicator, apply contour colour eyeshadow all the way around your eyes, blending it well with the pencil line.

Smoky eyes application 4

Half-close your eyes and apply contour colour in the crease.

Smoky eyes application 5

You will now need to define the outside corners of your eyes using a horizontal “V” shape. The position of the pointy end of the “V” will control the apparent shape of your eyes.

Smoky eyes application 6

With a medium-sized soft round brush (you can also use a flat one, holding it sideways), blend the eyeshadows on the upper eyelid. With a flat brush, blend the eyeshadows on the lower eyelid.

Repeat your contour colour application with a sponge, as many times as needed to achieve a deep shade. Blend again with brushes after every application.

Apply highlight colour eyeshadow or facial powder under your eyebrows to ease the blending of the dark contour and add some volume to your eye makeup.

For an irresistible deep regard, outline the inside contour of your eyes with eye pencil. Use darker-than-usual eyebrows and lots of mascara to finish the look. Your eyes should now be smokier then ever before!

To keep your bright eye makeup in balance, try a stronger blush, and keep your lips pale with a light gloss application.


Don’t forget the perfect smokey eyes are all about blending and practice.

Smokey Eye
Smokey Eyes

See you all tomorrow as we discuss about Lipsticks and will give you amazing tips how to get perfect lips by applying the lipstick in a correct way

How to get the perfect Smokey Eyes. Tips and tricks from The Lipstick make Up institute

Smokey Eyes

Smokey eyes have become a classic party eye makeup look. The secret of this trend’s popularity is that smoky eyes can change your face dramatically, transforming the girl-next-door into a stylish diva.

Once you learn and master these application and blending techniques, the transition will take you only a few minutes. You can then have irresistible-looking eyes, even if they are not big or bright.

In this article you will learn:

  • how to choose the texture of your eye makeup.
  • which are the most flattering shades.
  • easy and mess-free application techniques.

Colour

Smoky eyes colour

You will need one black eye pencil, at least two colours of powder eyeshadow, and dark mascara to produce a fantastic smoky eyes effect. Once you have mastered how to do this your confidence will go through the roof and when your friends see what you have done on your eyes they will ask you every time you are going out with them if you will do their eyes too. I promise, just see!!

You will know what I am talking about!

The base colour should be a rich shimmery (not metallic) powder texture. Choose a shade slightly darker than your skin tone. You may choose neutral beige or grey colours for a soft and sophisticated look; or use a bright base for a dramatic look.

The contour colour must be a dark, matte, or slightly shimmery colour. Choose between dark brown, blue, green, or purple, depending on the colour of your attire. Use black with any outfit for a stunning effect.

You may add a third shade to your smoky eyes: a slightly shimmery highlight colour applied just under the eyebrows. This will enlarge the eye area and also soften any demarcation lines that remain after blending. Your normal facial powder can produce the same result if you are aiming for a more sophisticated look.

Choose soft black eye pencil or kohl for an enhancing all-around contour. Never use liquid eyeliner; it is for crisp lines, not the soft and sultry look we are aiming for here.

Black thickening mascara and stronger-than-usual eyebrows are in tune with smoky eyes makes.

Stay tuned tomorrow as we discuss on the right application for smokey eyes.

Smokey Eye
Smokey Eye

How to apply Kryolan Eyeliner the best possible way.


All about eyeliner!  What’s that you say? You already know all there is to know? We thought so too. That is until we learned these 8 unique tips, tricks, and facts.


We will guide you as to what is the best eyeliner to use and for what occasion.


Get it right and you will look amazing but get it wrong and an in perfect line or application then it will spoil the whole look!

1. White eyeliner can make your eyes look more awake. Swap your regular black pencil for white when you’re looking a tad on the tired side and say good morning to brighter eyes.

2. Dark eyeliner was actually created, in part, to protect people from the harsh rays of the sun. So, if anything, you have an excuse for owning ten identical similar shades of black eyeliner. But don’t forget: there’s no substitute for SPF!

3. Winged eyeliner can be worn on both top and bottom lash lines—at the same time! Choose two contrasting colors for an edgy makeover and read this tutorial for instructions.

4. Ever mess up on your liner look (hello, eyes that are suddenly two different sizes)? No worries, simply apply makeup remover to a Q-tip to erase the error without smudging or starting over.

5. Connect the dots instead of sweeping liner on for more precise results. Just dot with cream liner and connect with a smudge brush for perfect liner, every time.

6. You can use more than one eyeliner color at once—trust us. In our Rock Doll makeup tutorial, Emma Willis shows us how to rock three liners at once for a dramatic evening look. Try it out and report back!

7. Purchase a less-than-effective eye pencil? Instead of returning it, take a cue from ladies of the 80s: swipe it over an open flame to heat it up and it will glide right on. Quick tip: this trick works well for dramatic liner looks, too.

8. Getting a winged eyeliner look is way easier than you think. Choose which two-step process is right for you and voila—pro eyes in seconds!

9. Waterproof Mascaras.

Waterproof liquid liner enables you to create a variety of eye-opening effects—from thin, precise lines to thick, dramatic looks. The formula glides on with ease, dries quickly and won’t smudge or run day-into-night.

The fine marker-like tip offers precise application for everyone from novices to pros and results in beautifully defined eyes that will leave a lasting impression.

Benefits:

  • Waterproof and easy-to-use
  • Goes on smoothly without skipping, smudging, or pulling
  • Lasts all day long!


images
Eyeliner Pencils
images-1
Eye Make Up palette
Unknown
Perfect Eye Liner


Stay tuned for tomorrow as we discussed all about Smokey Eyes!


Eye makeup for brown eyes

With brown eyes basically you can apply any colour whatever you have in your mind, eye make up for brown eyes leaves so much room for neural colours to be explored.

The magic  is in mixing up the right colours when using any sort of make up.

You can’t go wrong with neutrals.

Going for a dinner but you donate know what colour of a dress you will be wearing?

Preparing yourself in the morning for a business meeting and you want to look just perfectly made up for this occasion?

Use neutral colours

-cream

-white

-beige

-champagne

-brown

-grey

-black

These colours will always look good on you and will suit to any skin colour.

Natural shades

_MG_4946


Strong eye makeup on brown eyes will make them look more shiny and lighter.

Use:

-dark brown

-black

-dark grey

With a nice dramatic smokey look your eyes will look wider, more shiny and lighter. Perfect wear for parties and going outs.

IMG_7246


If you don’t want to stick to neutrals just go for some crazy colours on your beautiful brown eyes.

A quick tip for mixing up the colours:

whatever colours you have in your mind to use you can always add beige, cream or brown  to your eye makeup. Now there is a question why? These neutrals are perfect for mixing in to the other colours like pink, purple, green, blue, peach etc.

All the brown eyed beauties can experiment with colourful makeup, don’t be afraid of trying out different colours.

On brown eyes the following colours can look really good when you are mixing them up with the right colours:

-peach

-pink

-purple

-green

-navy

-blue

-grey

If you want to go for some crazy creations:

-red

-yellow

-orange

last copy

All these colours are not the only colours on your eyelid, you will mix them up with a bit of black and brown and with some creams and champagnes.


Tip of the day:

The more colours you will mix in your eye makeup the more unique look will you get.


Don’t forget to click on us tomorrow…. will be sharing tips and tricks of the mascara application and fake lashes


Stay tuned!!