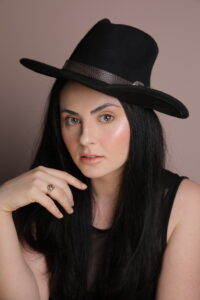
Cocktail Makeup Look
A Cocktail makeup application can be completed in 20 to 30 minutes. Why cocktail? This makeup look is perfect for dinner time, weddings or any occasion where we would like to have a little bit stronger makeup on. Its between the daytime and evening makeup look, but stronger then the daytime look but lighter and softer than the evening look.
Cocktail Makeup Look
Lets see the steps:
- Cleanse, tone and moisturize: Wait a few minutes for moisturizer to be absorbed. Use primer if needed.
- Foundation: Dab liquid foundation over the entire face with your fingertips or sponge. For cream foundation use a wet sponge for a better and smoother coverage. Apply in thin layer over the entire face.
When you applying the foundation, you must ensure that you got the right colour. Choose 3 colours which are close to your skin colour. Apply a line on the face from each colour near to the jaw line. The colour which blends into your skin colour and its invisible that is the right foundation for you. Don’t try the foundations on the hands, its not helpful about choosing the right colour, because the skin on the hands are not the same as on your face, its not the same colour as your face and the skin on the face is more sensitive.
Make sure that the entire face is well blended and covered. Dont stop at the jaw line extend the foundation under it also and on the neck. If your first coat of foundation does not cover well, apply a second or third. Layering is always better in the makeup artistry than an initial heavy application.
- Corrector / concealer : Cover blemishes and dark areas with orange, yellow or peach-toned
corrector. The concealer will conceal the corrector colour, what is in skin colours. Application with fingertips or concealer brush.
- Powder: Use a loose pale yellow-based powder or translucent dusting powder to set the makeup. Apply with a brush, for dry skin dust only around the nose and forehead since these areas t to be a little richer in oils.
- Eyebrows: Shape the brows with a small amount of brow powder or pencil. If you have a dark hair, using a colour that is one or two tones lighter than the hair colour. Use a golden brown or light brown shade if you have a fair skin complexion.
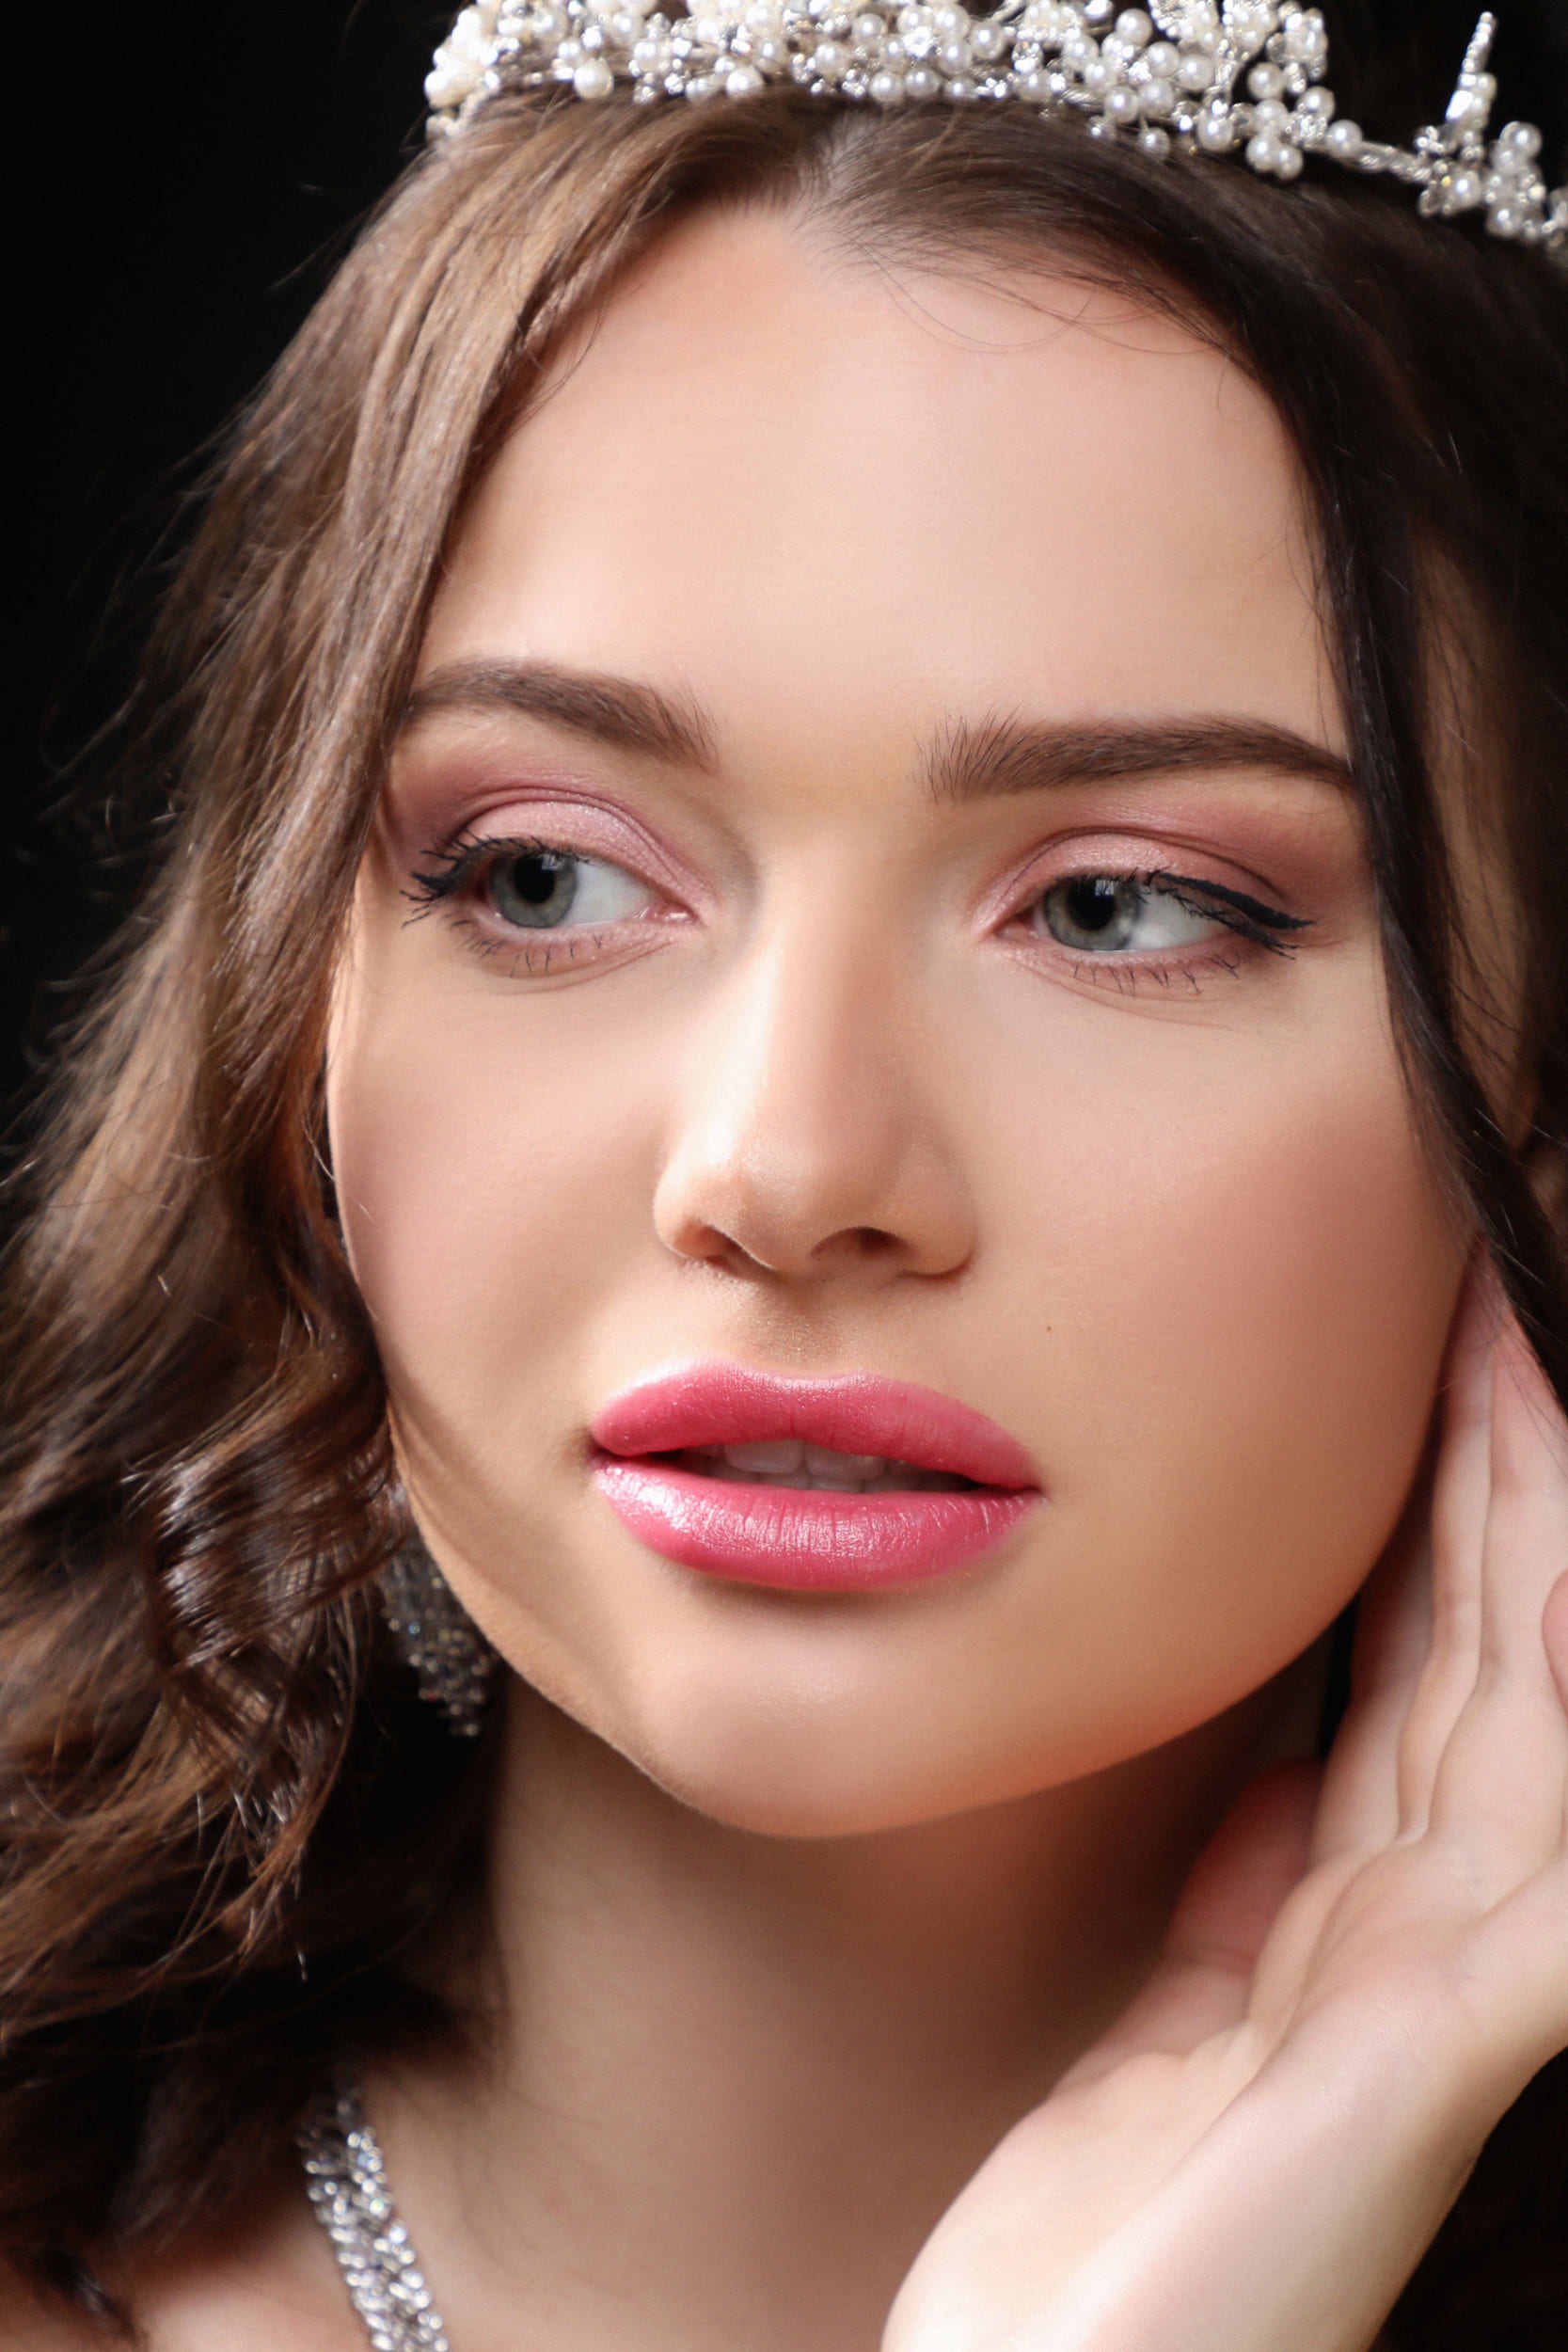
- Eye shadow: Choose three shades of eye shadow: light, medium and dark. Use the dark to line the upper lid, thinly, along the lash edge. Use medium shade to cover the remaining part of the eye lid up to the crease. Use the lightest shade for the area between the crease and the brow. You can highlight the eyes by using the darkest shade in the crease of the eye, and/or to stretch the eye shadow along the lid out toward the temple and blend the colour.
In this makeup look we can go with a stronger eye makeup. By applying a touch of black in the outer corner of the eye will give deepness to our look. The highlighter can be pearl shine (shimmer) to give a bit of glamour to our eye makeup look.
- Eyeliner: Use cake liner and apply with an angled or fine liner brush, or use a sharpened eyeliner pencil. In general apply a black, dark brown, dark grey/black, eyeliner in a thin line at the base of the lashes. Start at the edge of the upper lashes.
- Mascara: Black mascara is the best to highlight your lashes. Apply in two thin coats rather than one heavy one. If you are deciding to curl your lashes do it before you applying mascara.
- Blush: Apply the blush directly on the cheekbones and blend it to the hairline. You can add a little shimmer on the top of the cheekbones if you want to emphasize them.
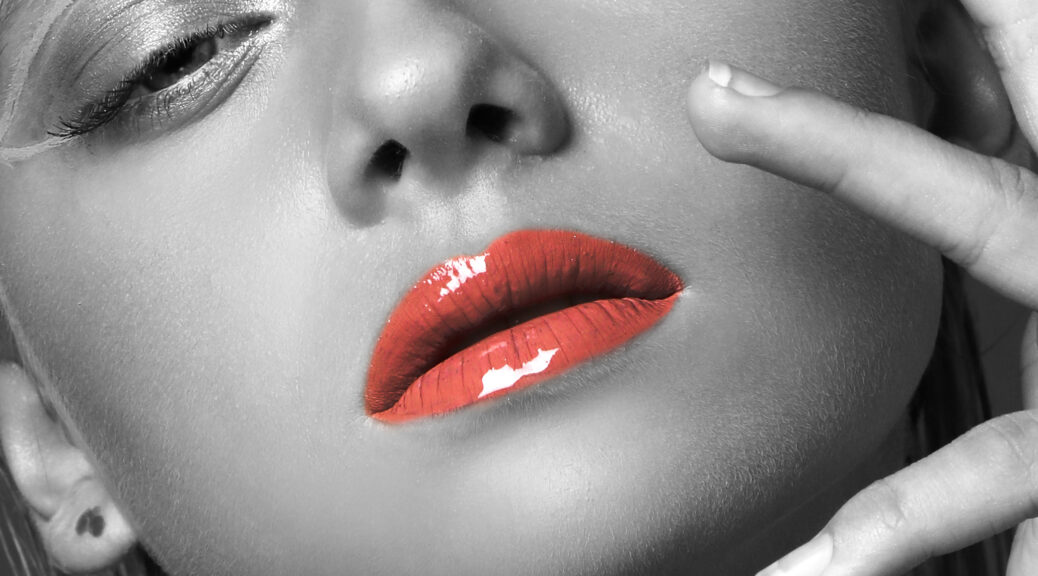
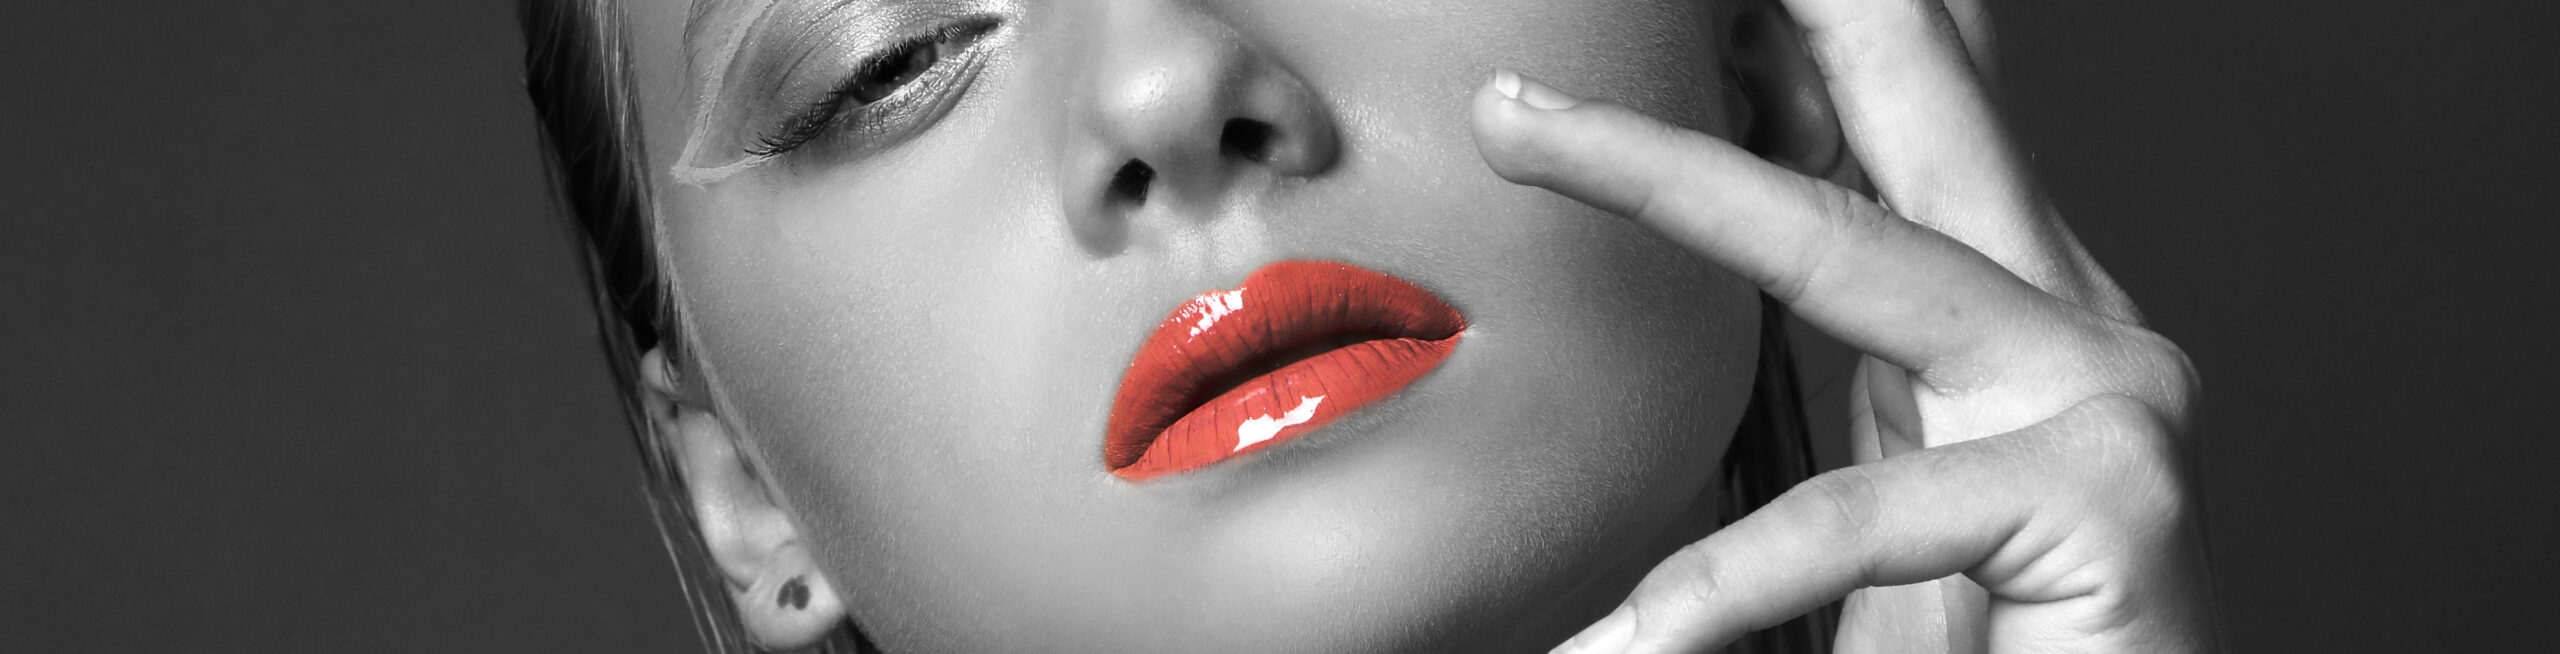
- Lip liner: Apply lip liner in advance of lip colour as the lip liner helps contain the lipstick, keeps it from feathering, and makes it more durable. Remember that symmetry is beauty. Use your lip liner to improve the symmetrical look of the lips with the right side being the mirror image of the left. Try also to make upper and lower lips appear to be equal thickness.
- Lipstick: Neutral shades and sheer formulas are perfect for a daytime look. Use a lip brush to apply dark or bright colour’s since these require very precise application. Add a dot of a gloss to the centre of the bottom lip and then blot. Make sure no lipstick sticks to the teeth.

Learn Makeup with Lipstick Makeup Institute
Cocktail Makeup Look and many more…