Tag Archives: lipstick

Free Creative Demonstration Day

Here at Lipstick we always love to keep the team spirit going and keep the teams as tight as possible and learn together.

You can always advance yourself in any are of make up.

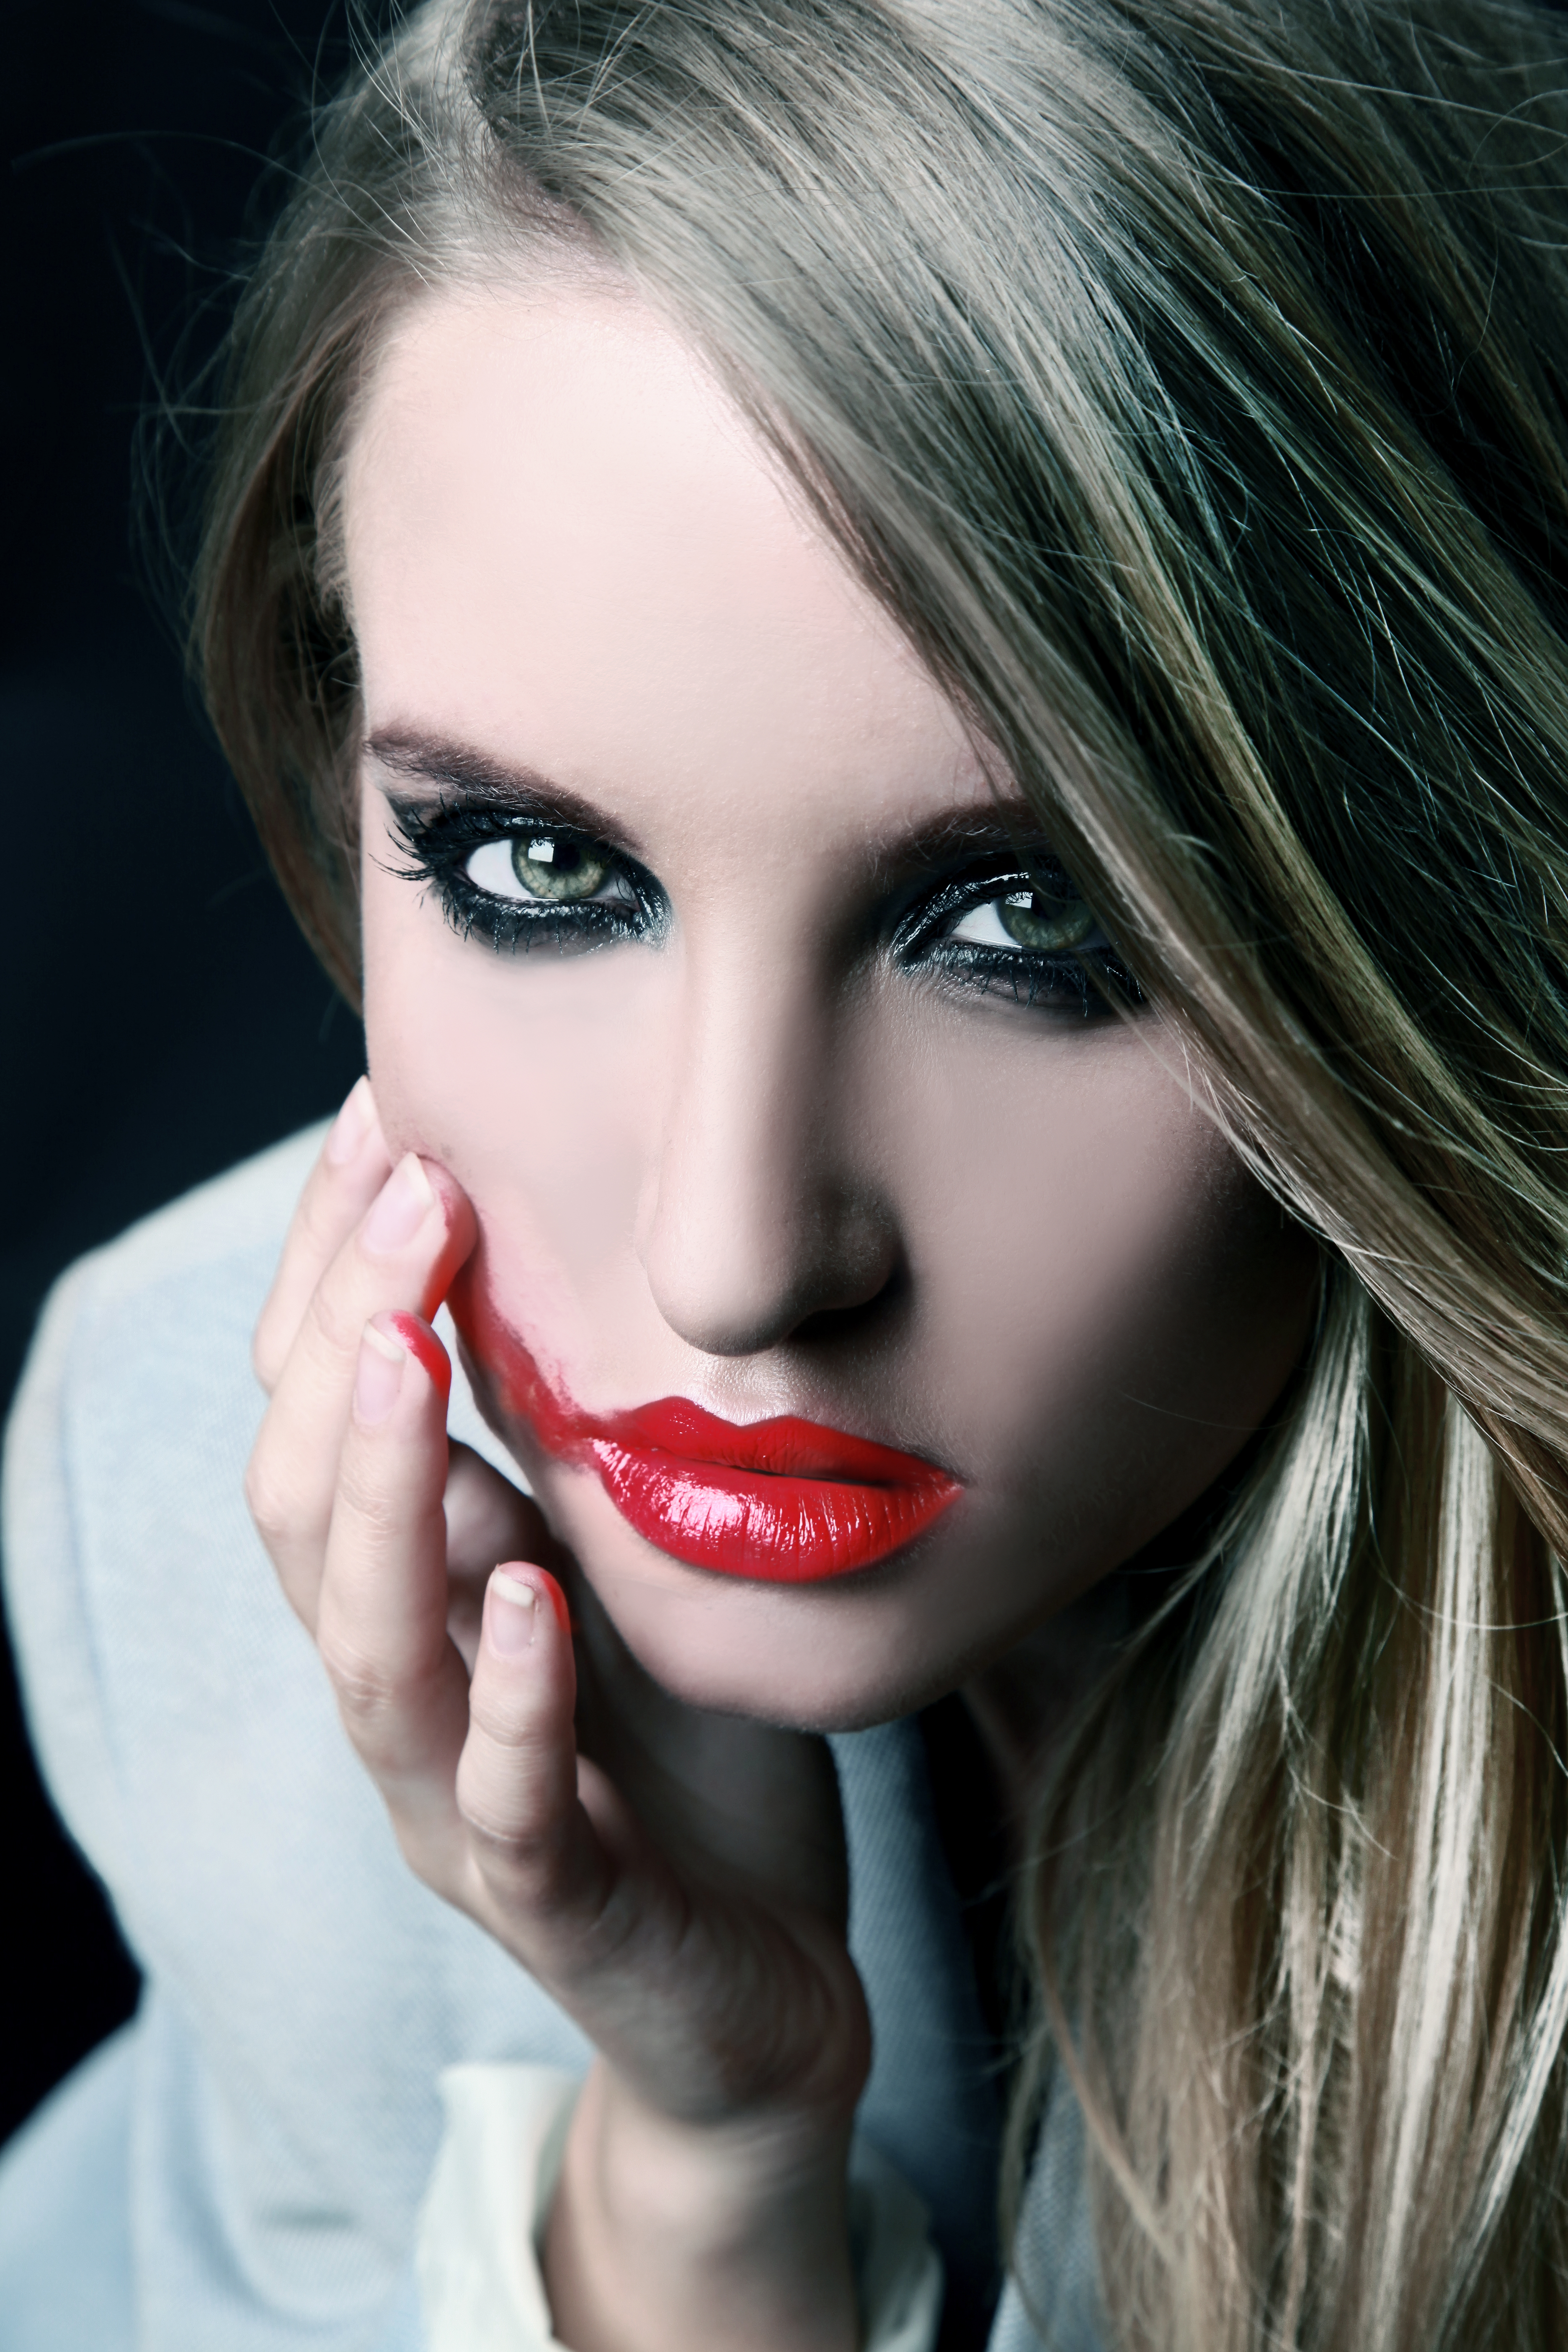
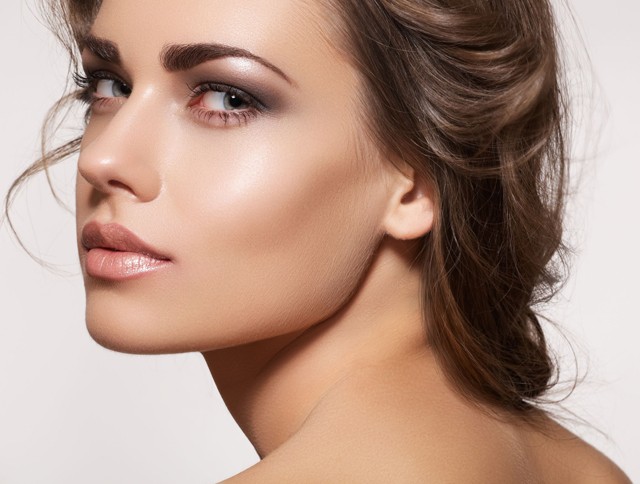
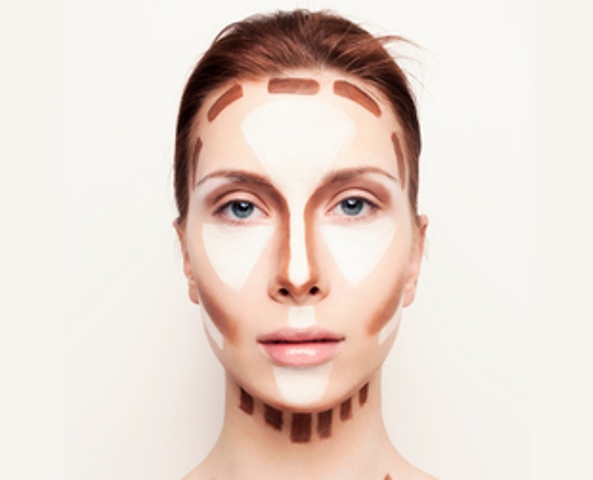
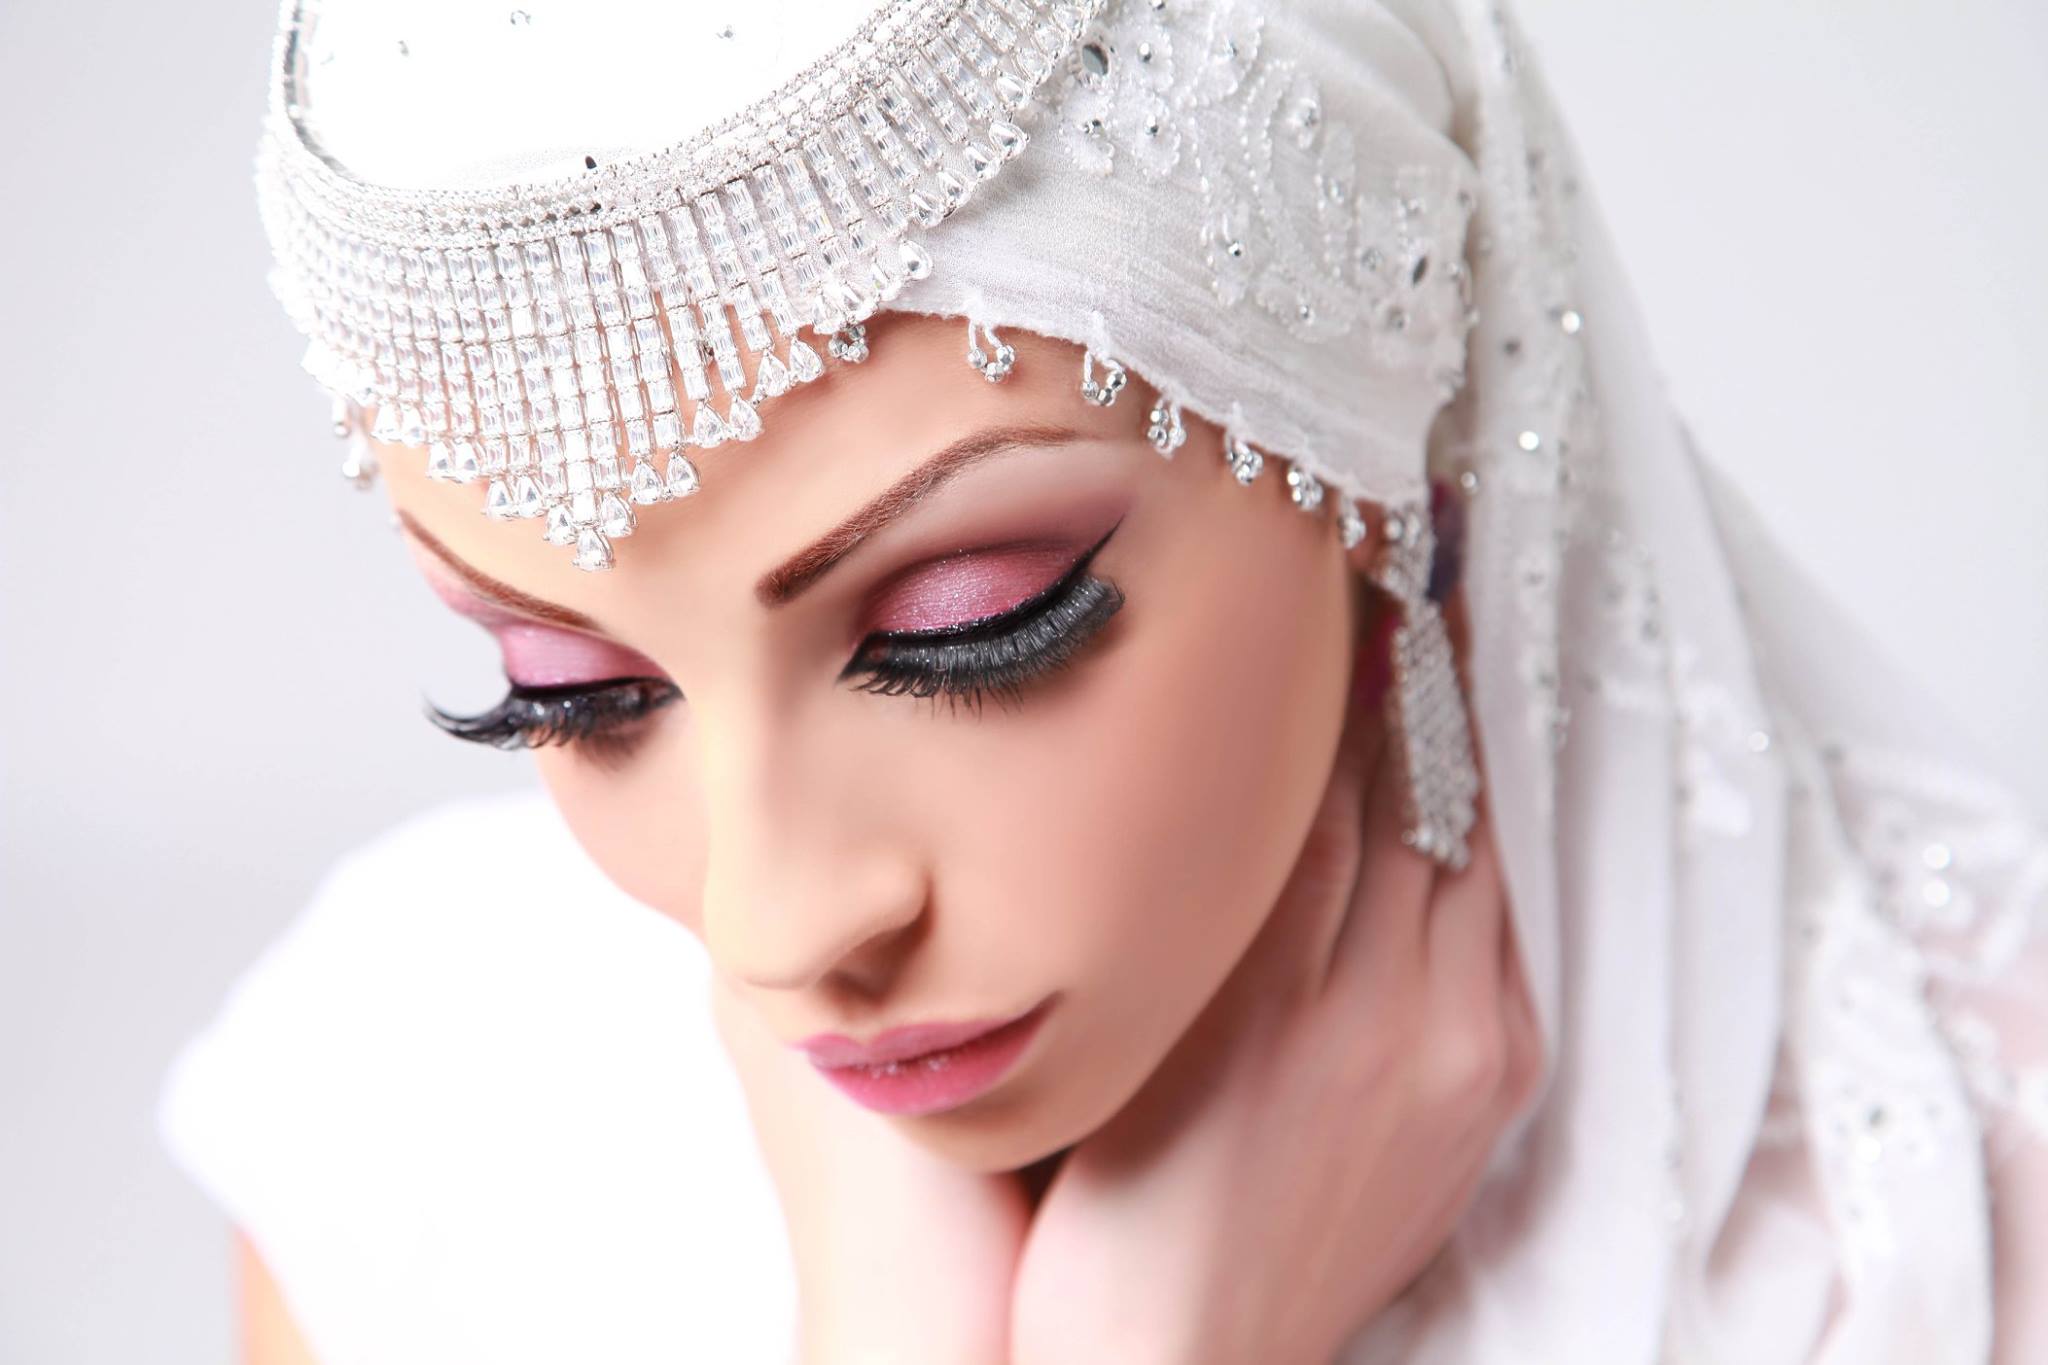
Contouring is really popular right now but what make up artists can learn more from is the creative applications.

This is all covered in Our Platinum Course that lasts for 6 weeks and you also leave with an International Diploma that will carry you through to start your journey  into the world of Make Up. We teach you not only how to apply make up but teach you to open your mind to the endless possibilities that you can do with make up and the amazing unique effects that can be produced.

Please just come in and see us to discuss anything or just for advice, we are always here to help and love to talk! Especially Liv about make up, she can talk for England.

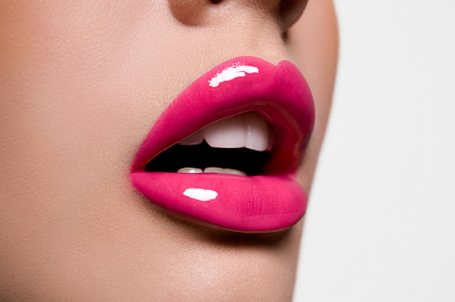
Talk about passion, this girl was born with a mascara in her hand I think. I have never known anyone be so passionate about a shade of eye shadow or lipstick!

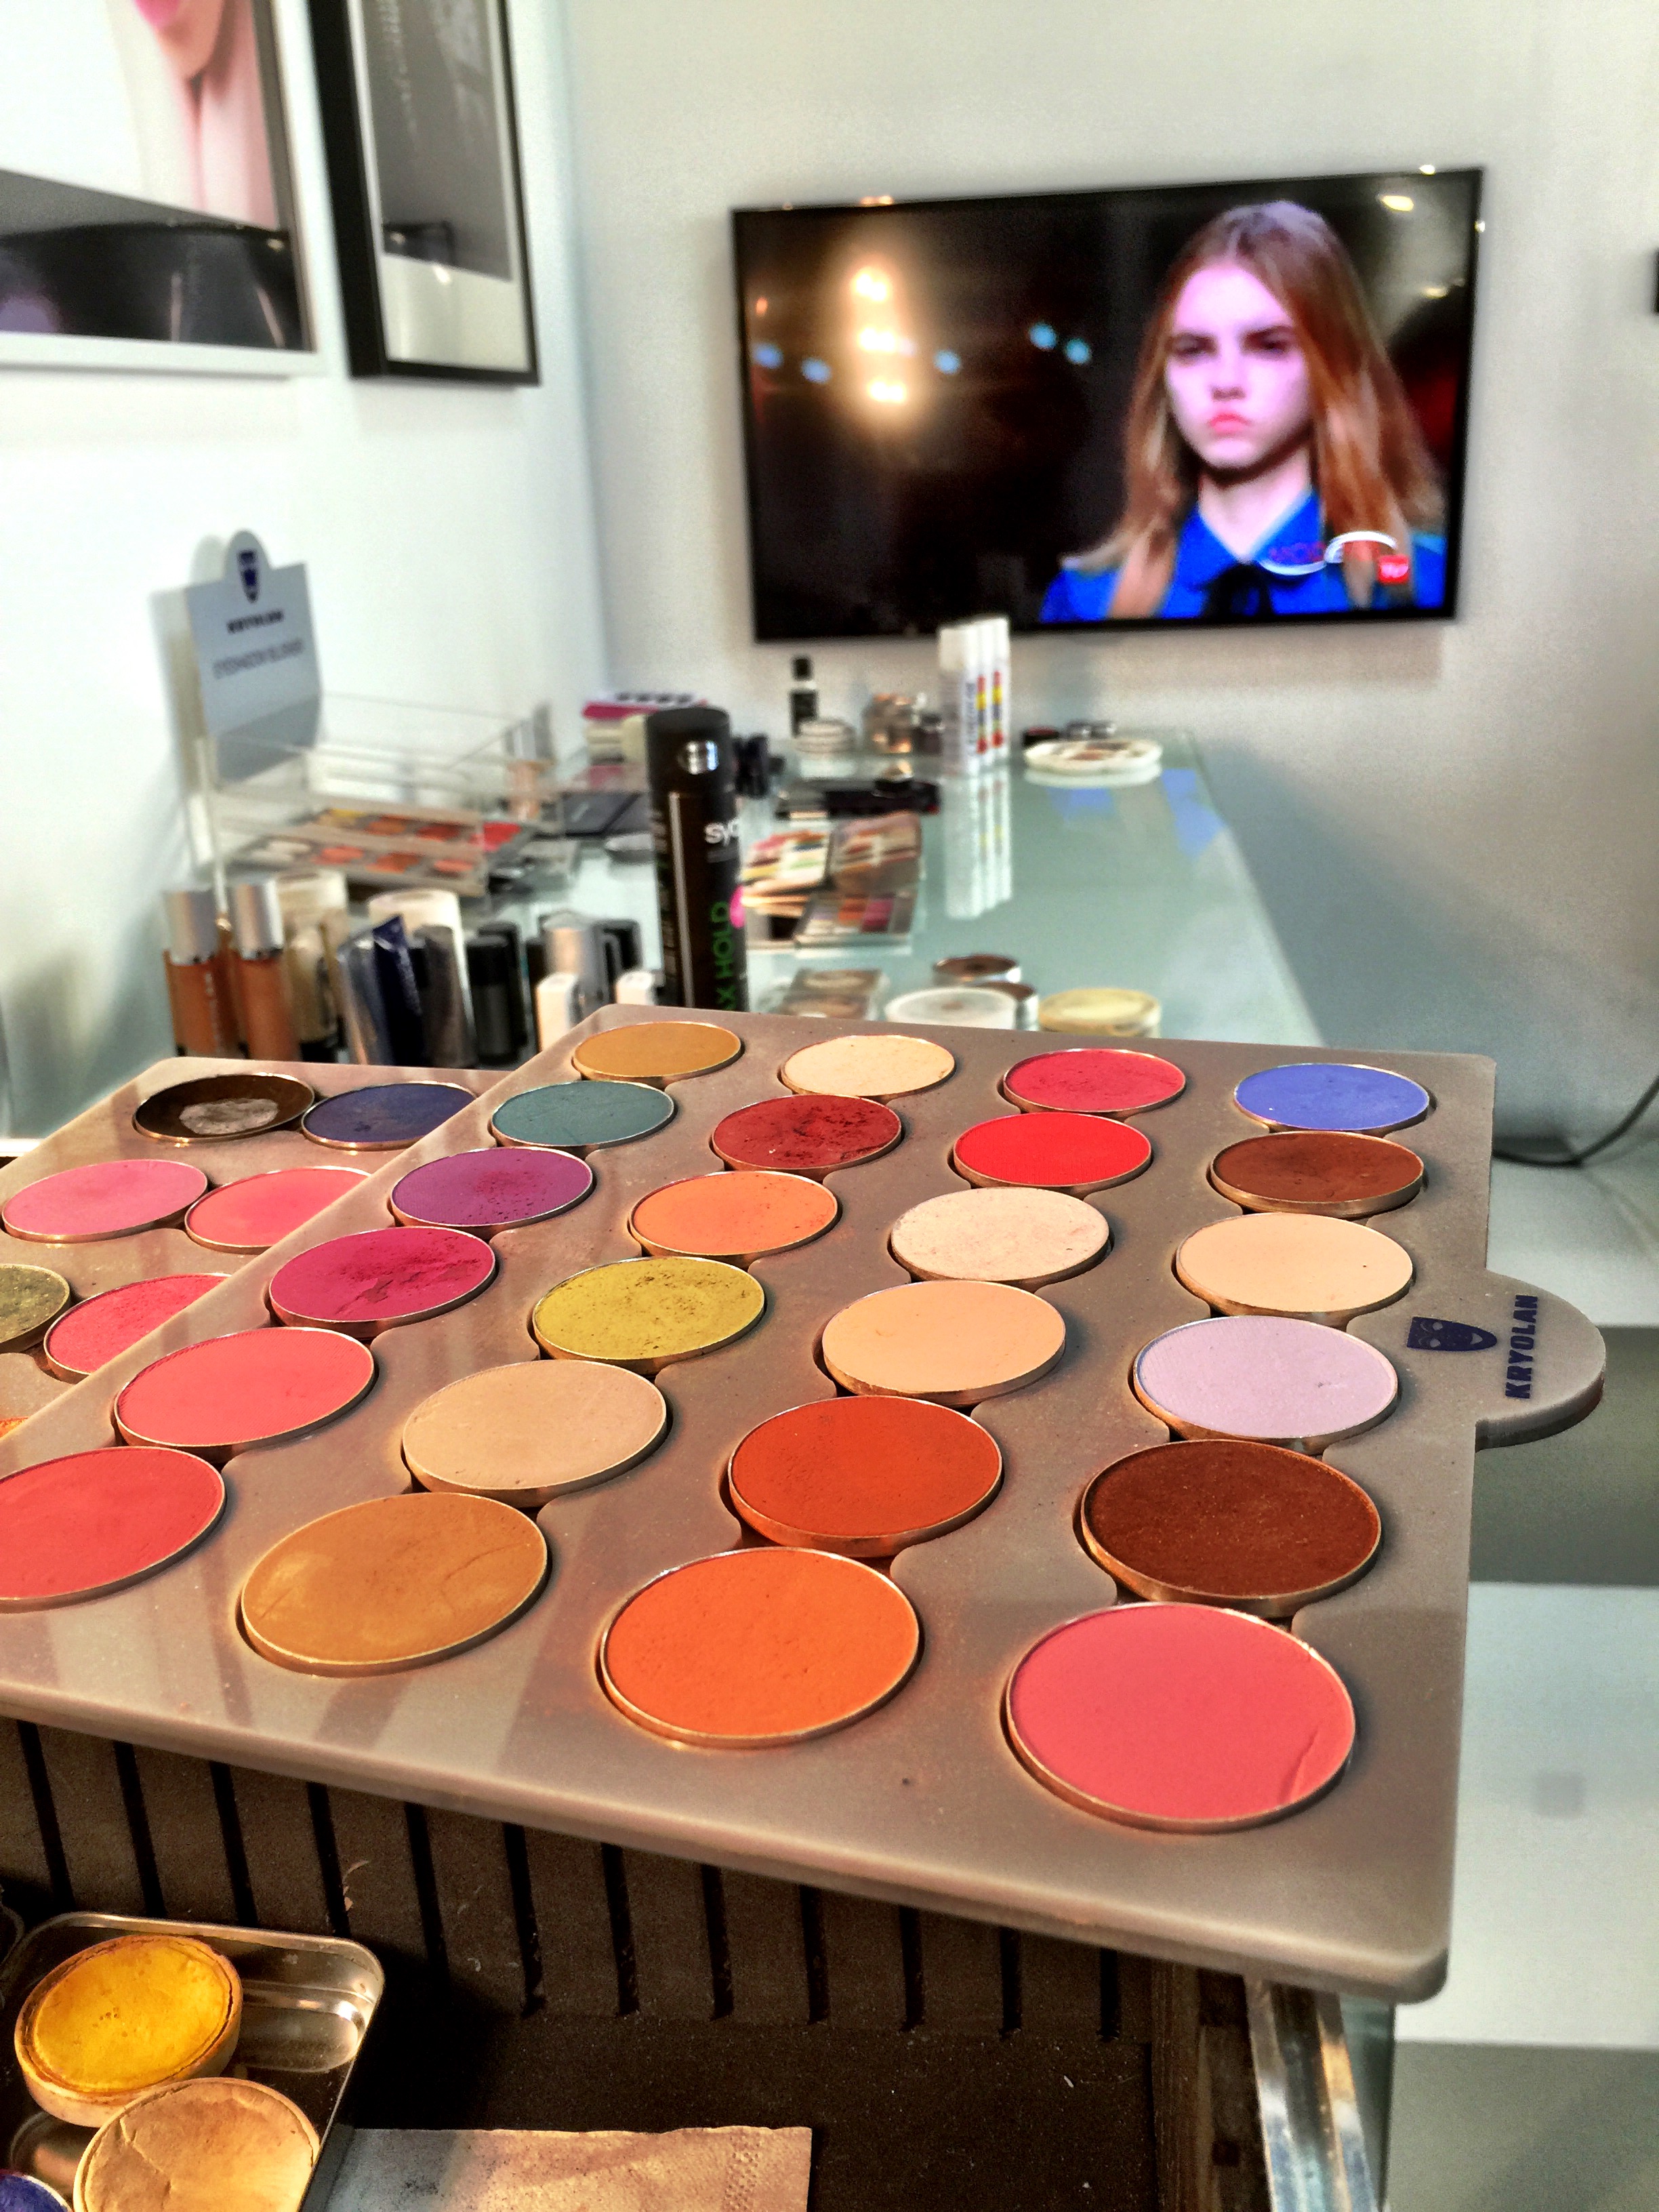
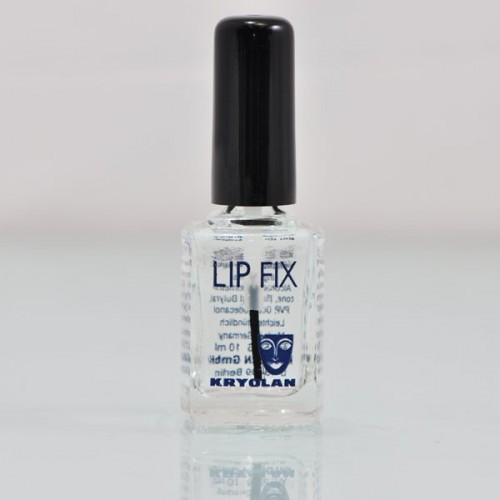
Once we went to a company to discuss using their Hollywood products in the school before we eventually decided on Kryolan, there was never really any competition with really but we had to be open to suggestions.

They showed us some  samples and I had to leave her there as it was just not exciting enough for me, 3,5 hours later she calls me to pick her up!

So that Liv, The Eurasian Number one in the world for Fashion Hair And Make Up. Liv is our main teacher in the school so you will be taught by the best to be the best!.

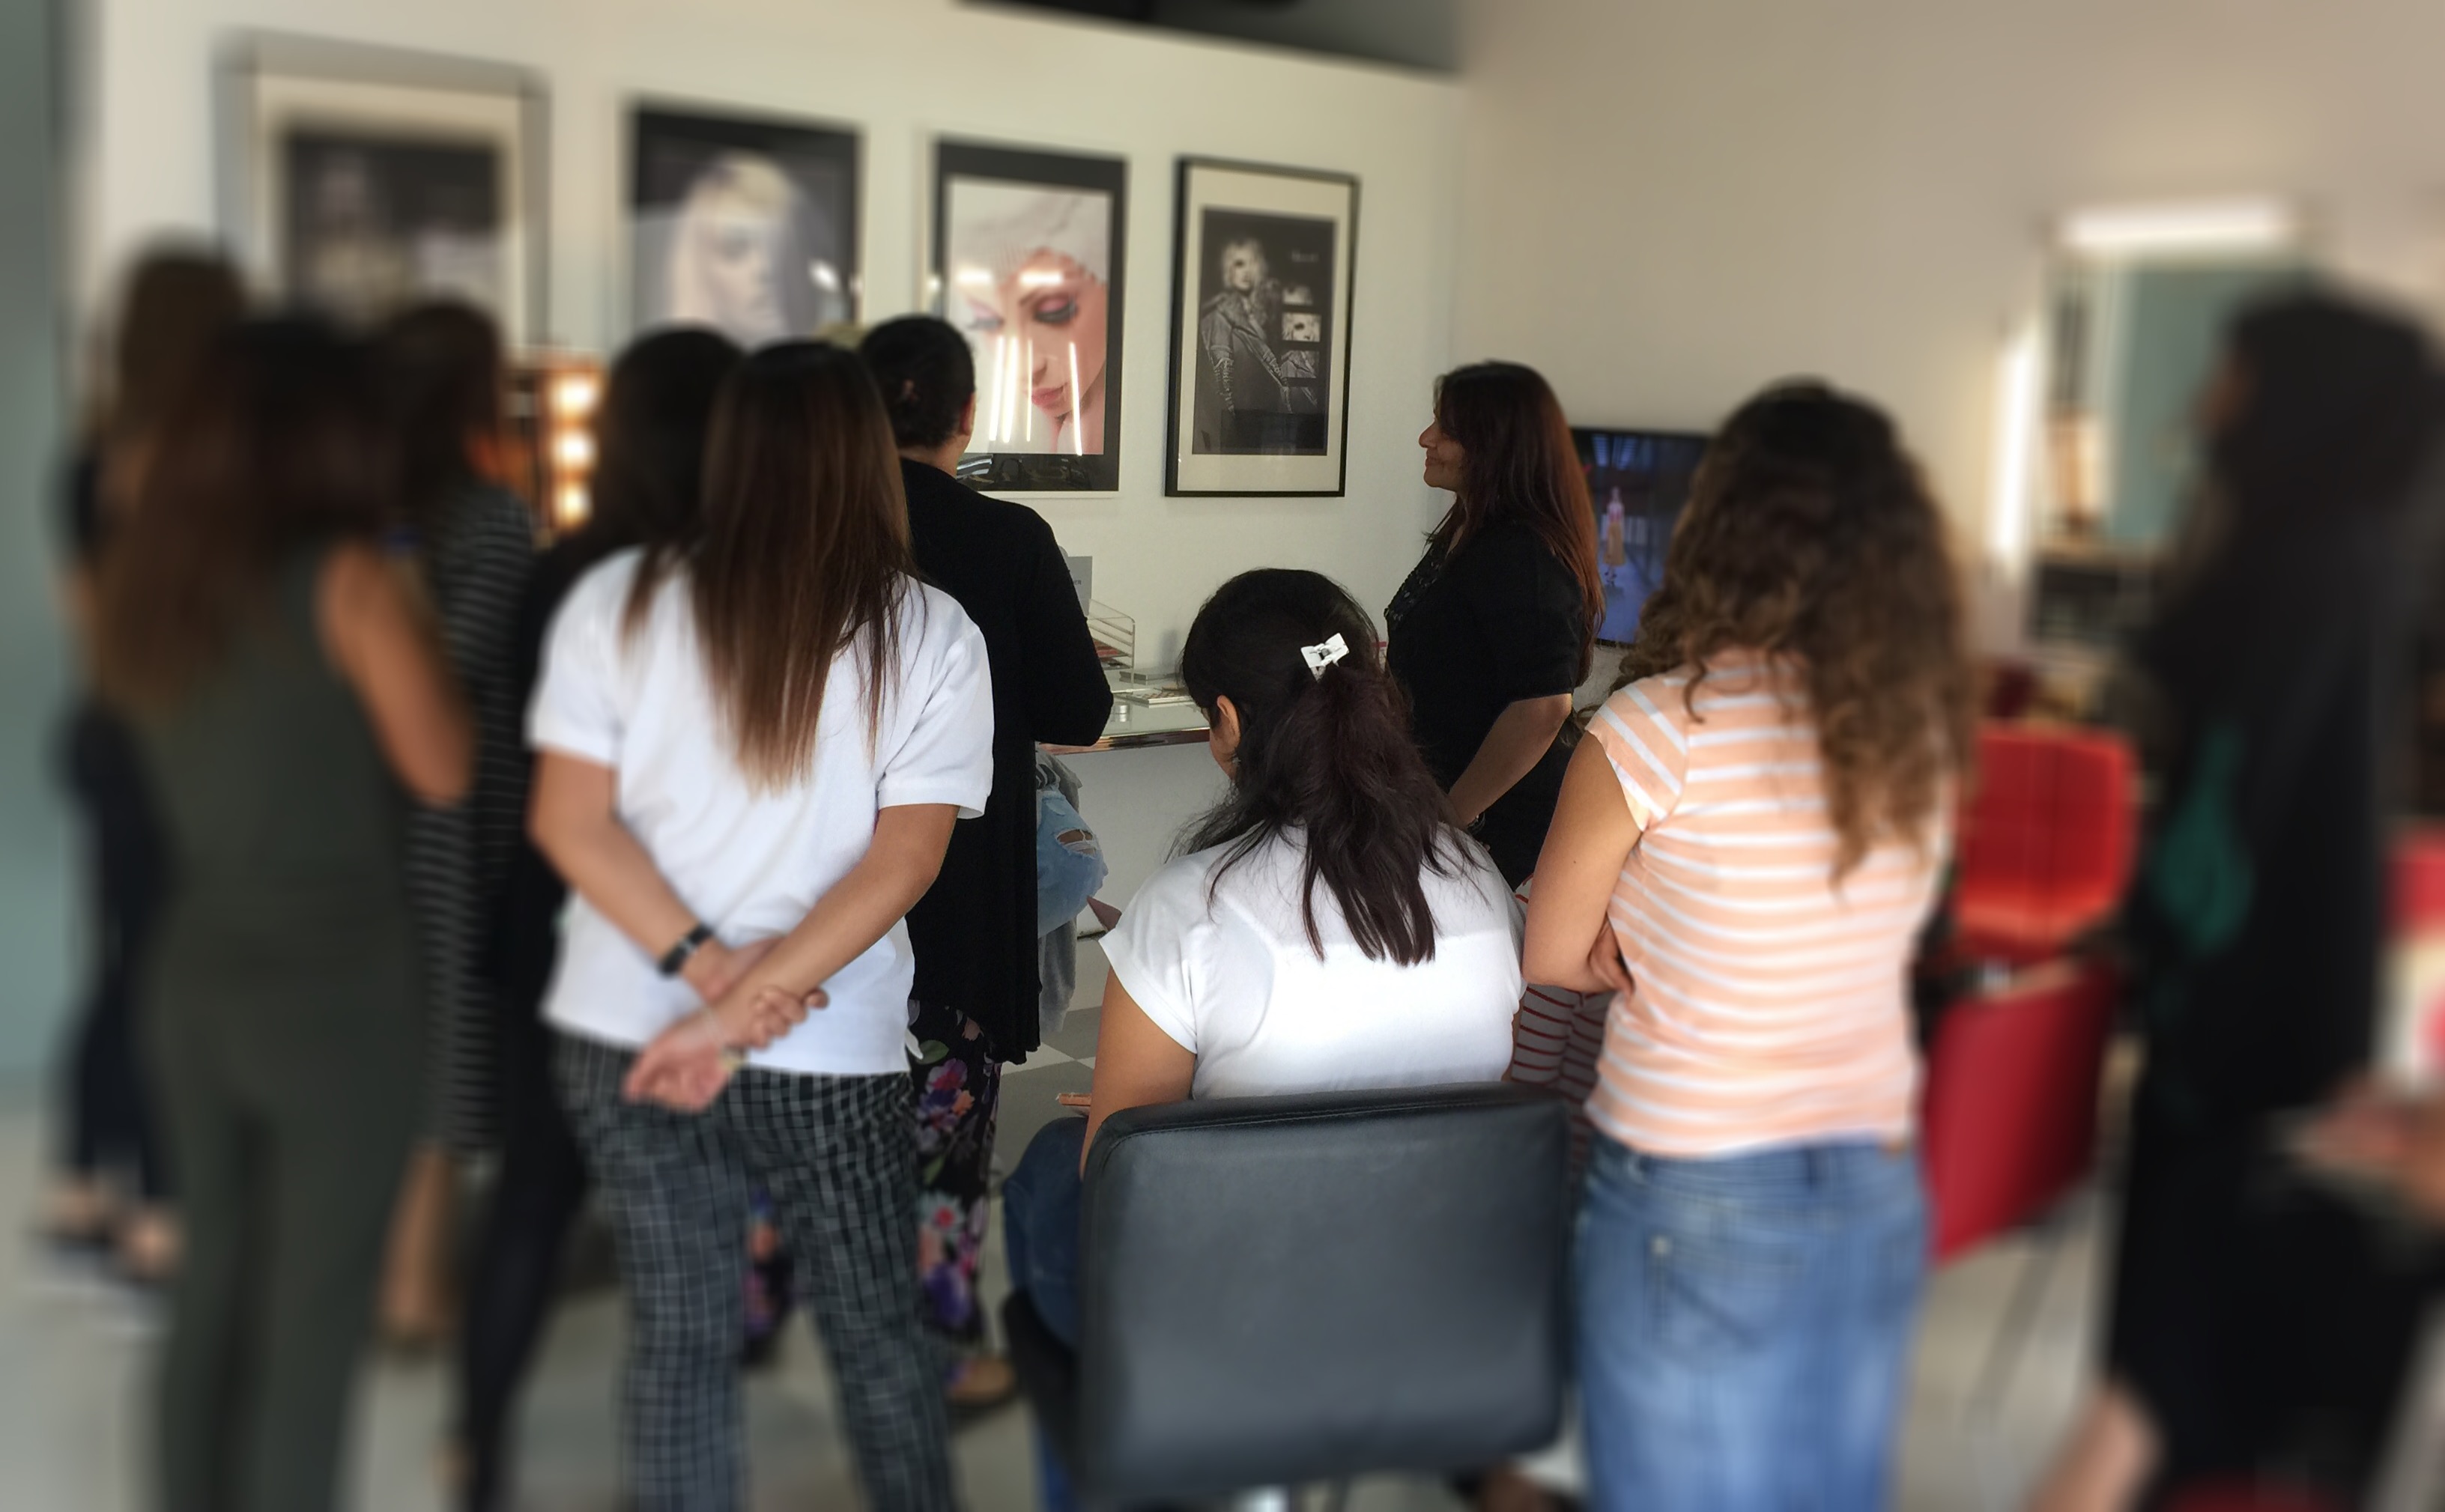
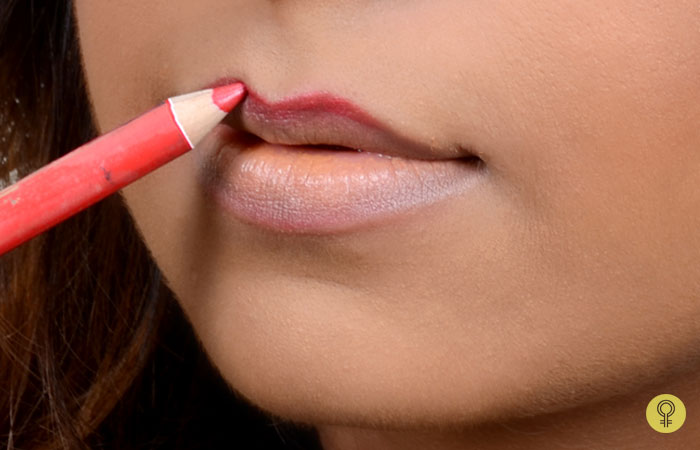
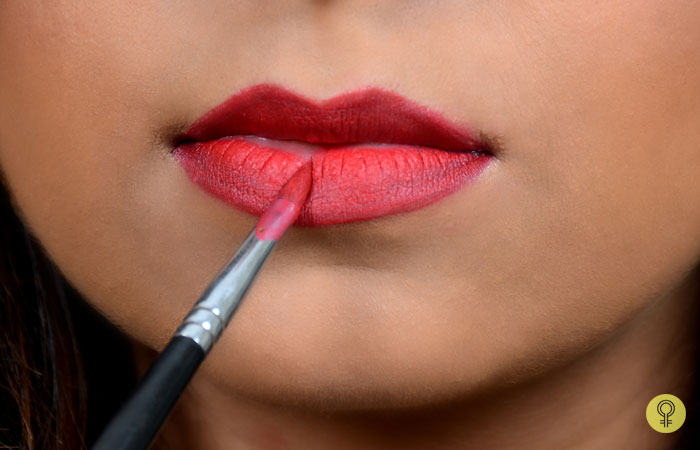
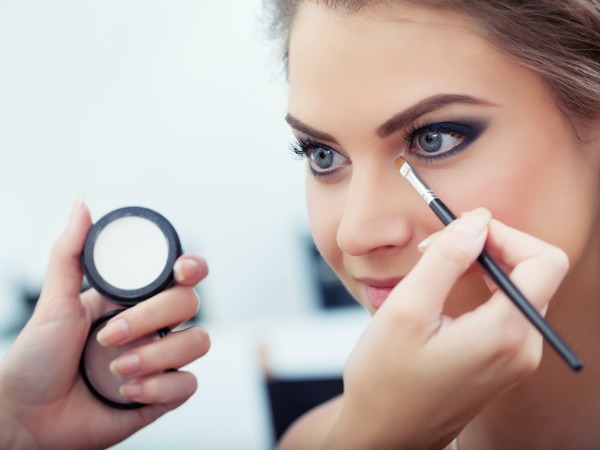
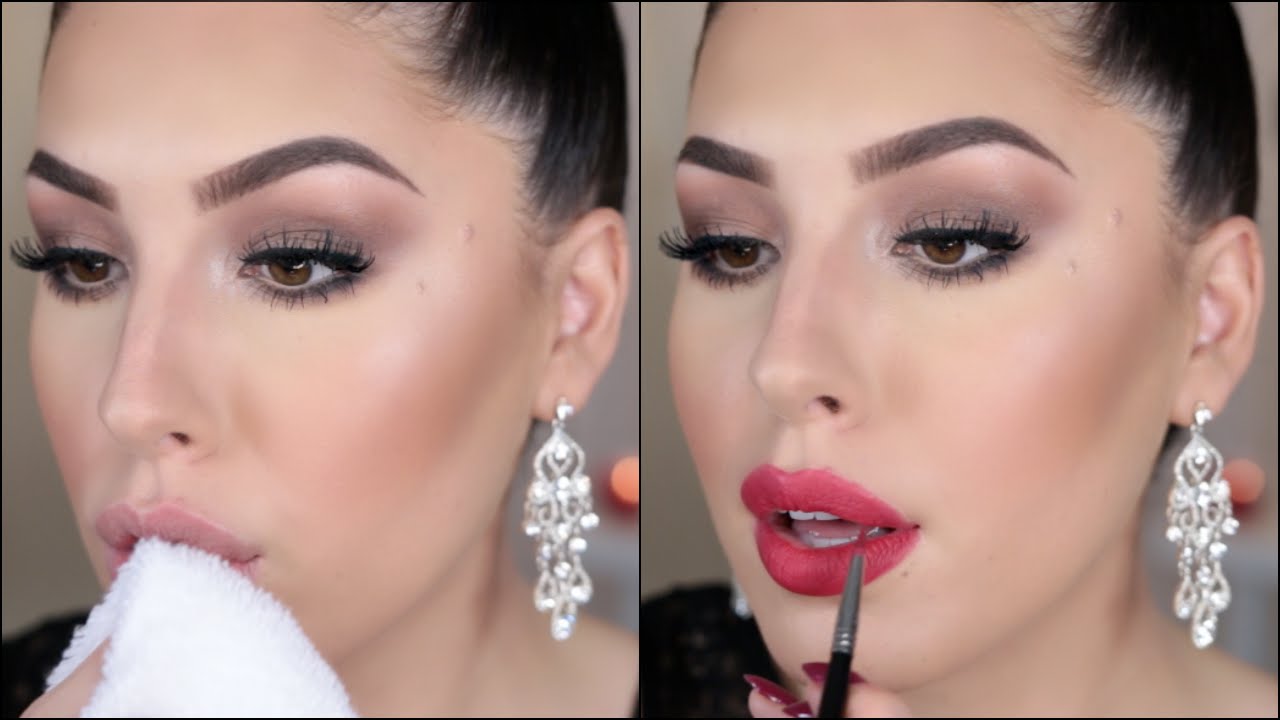
This is why all the girls love the demonstrations and they learn so much from it. Call us on +971 52 83 49964

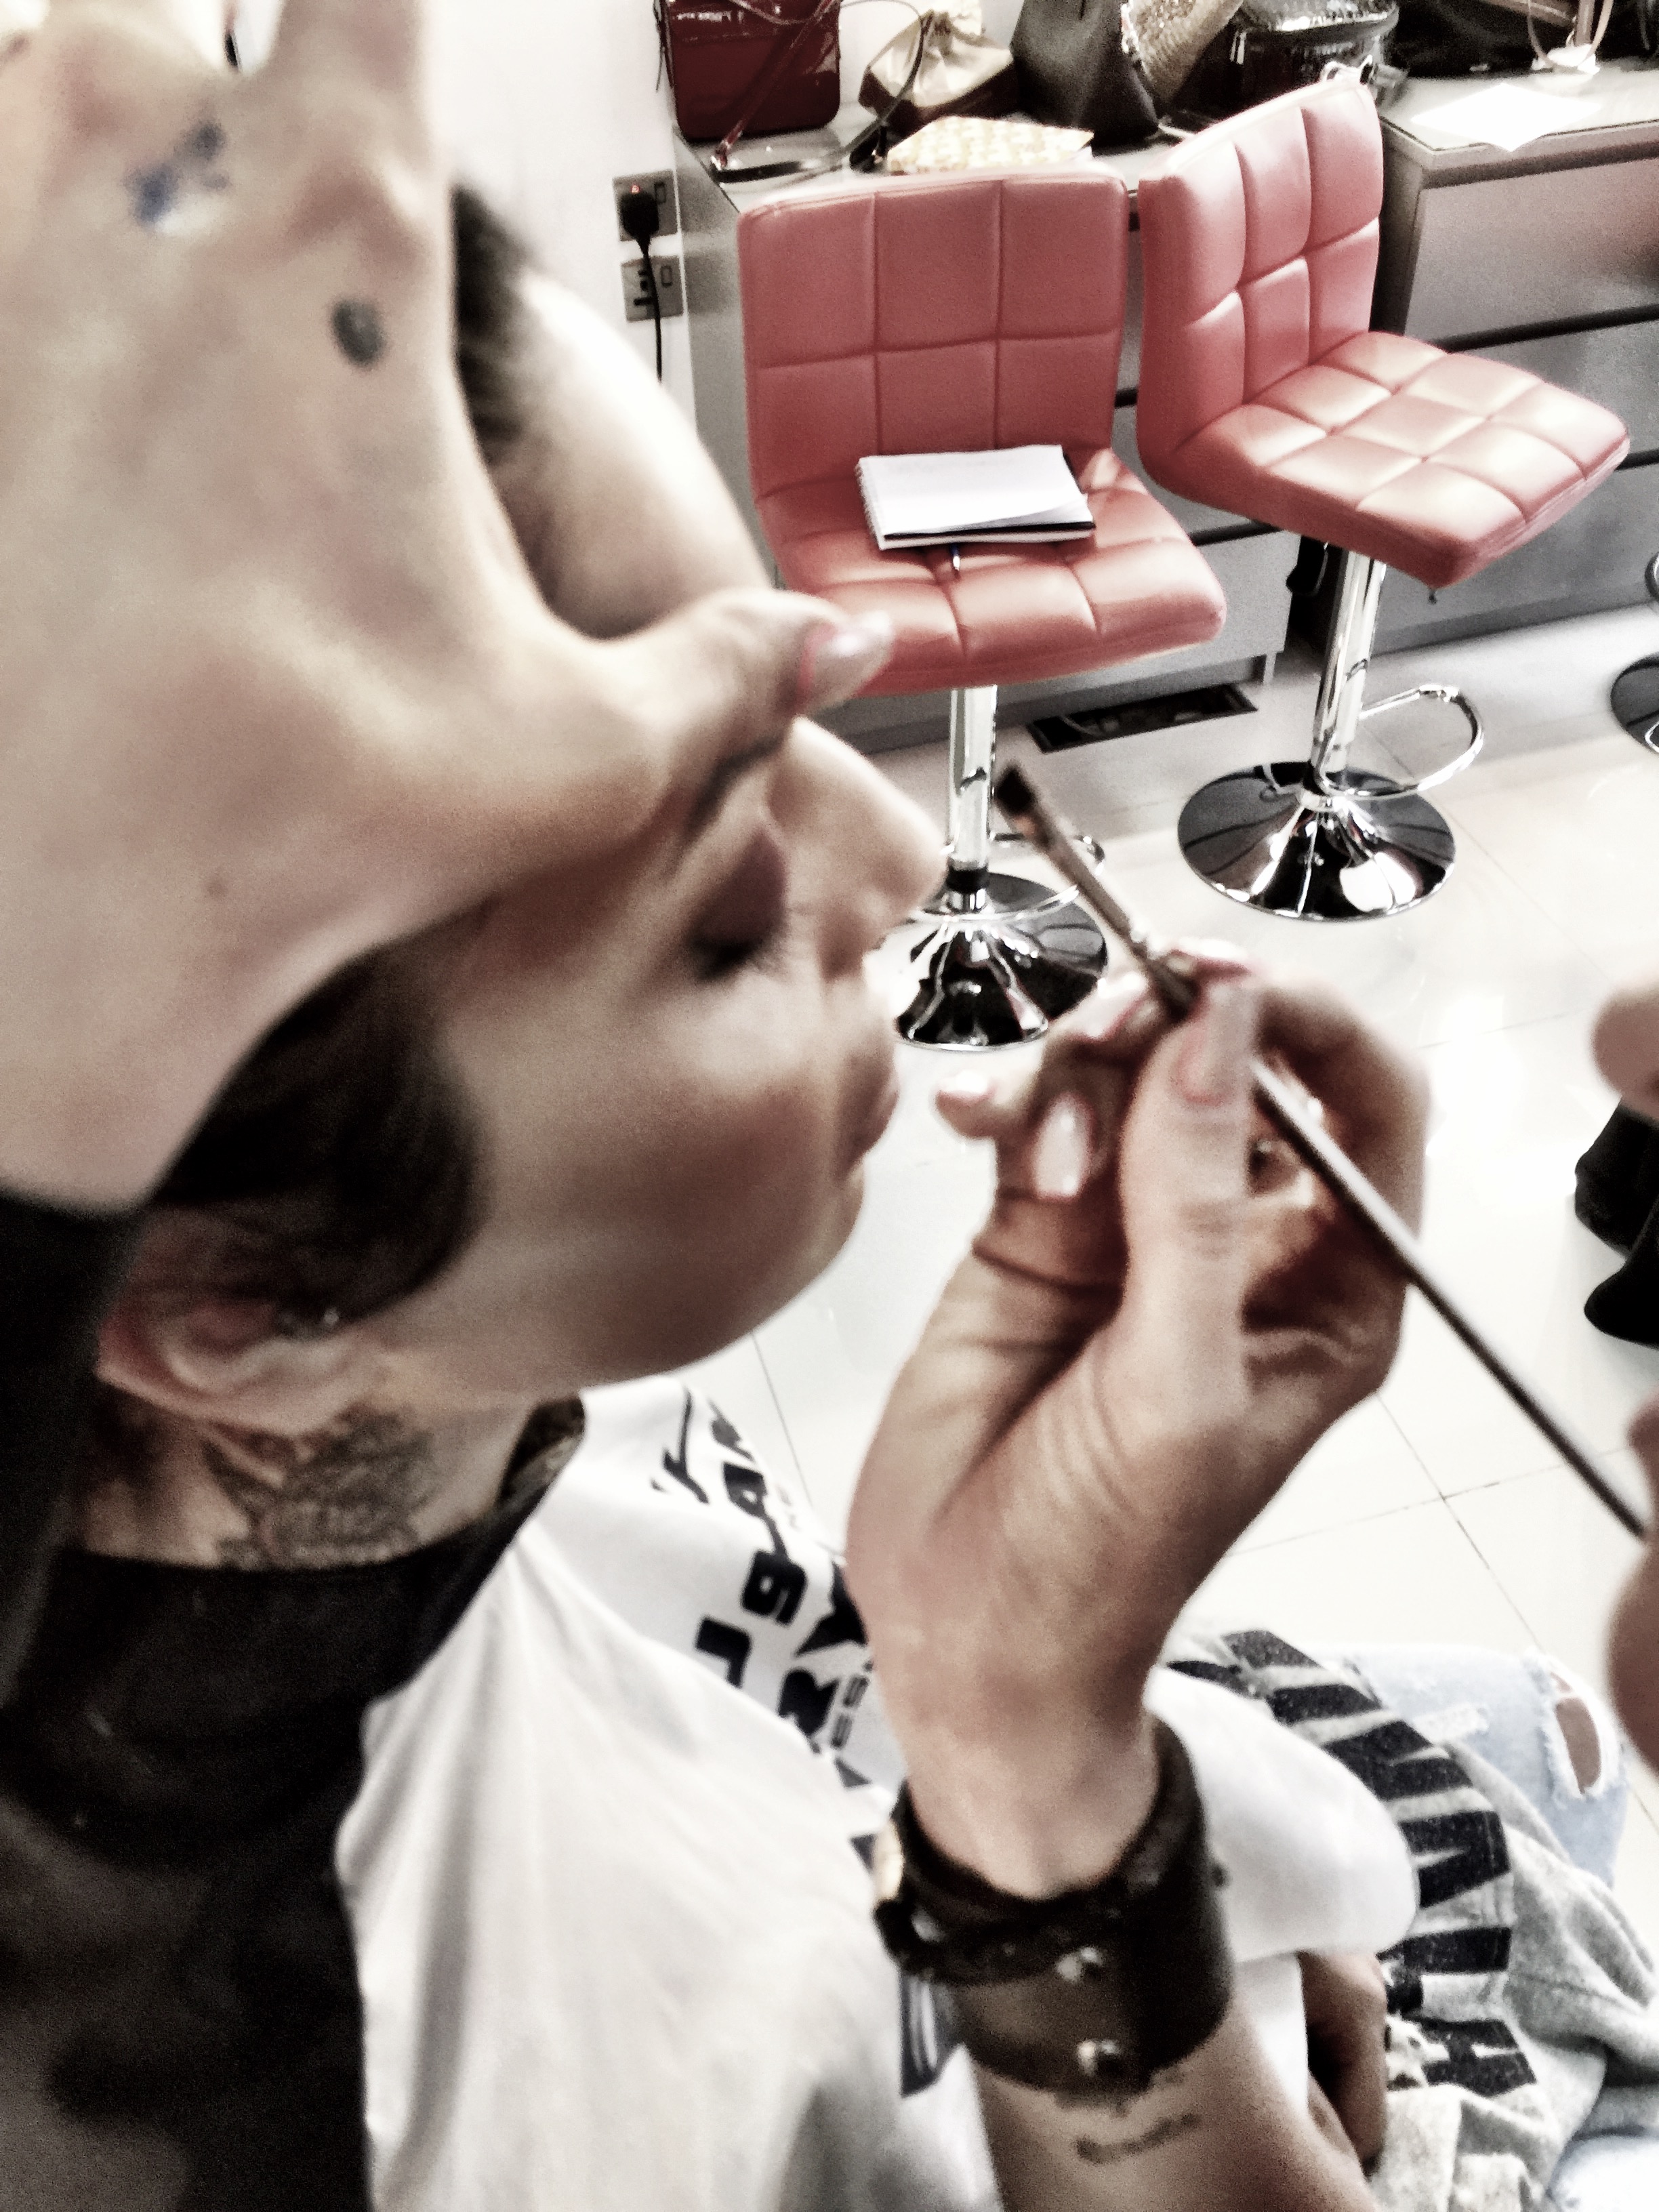
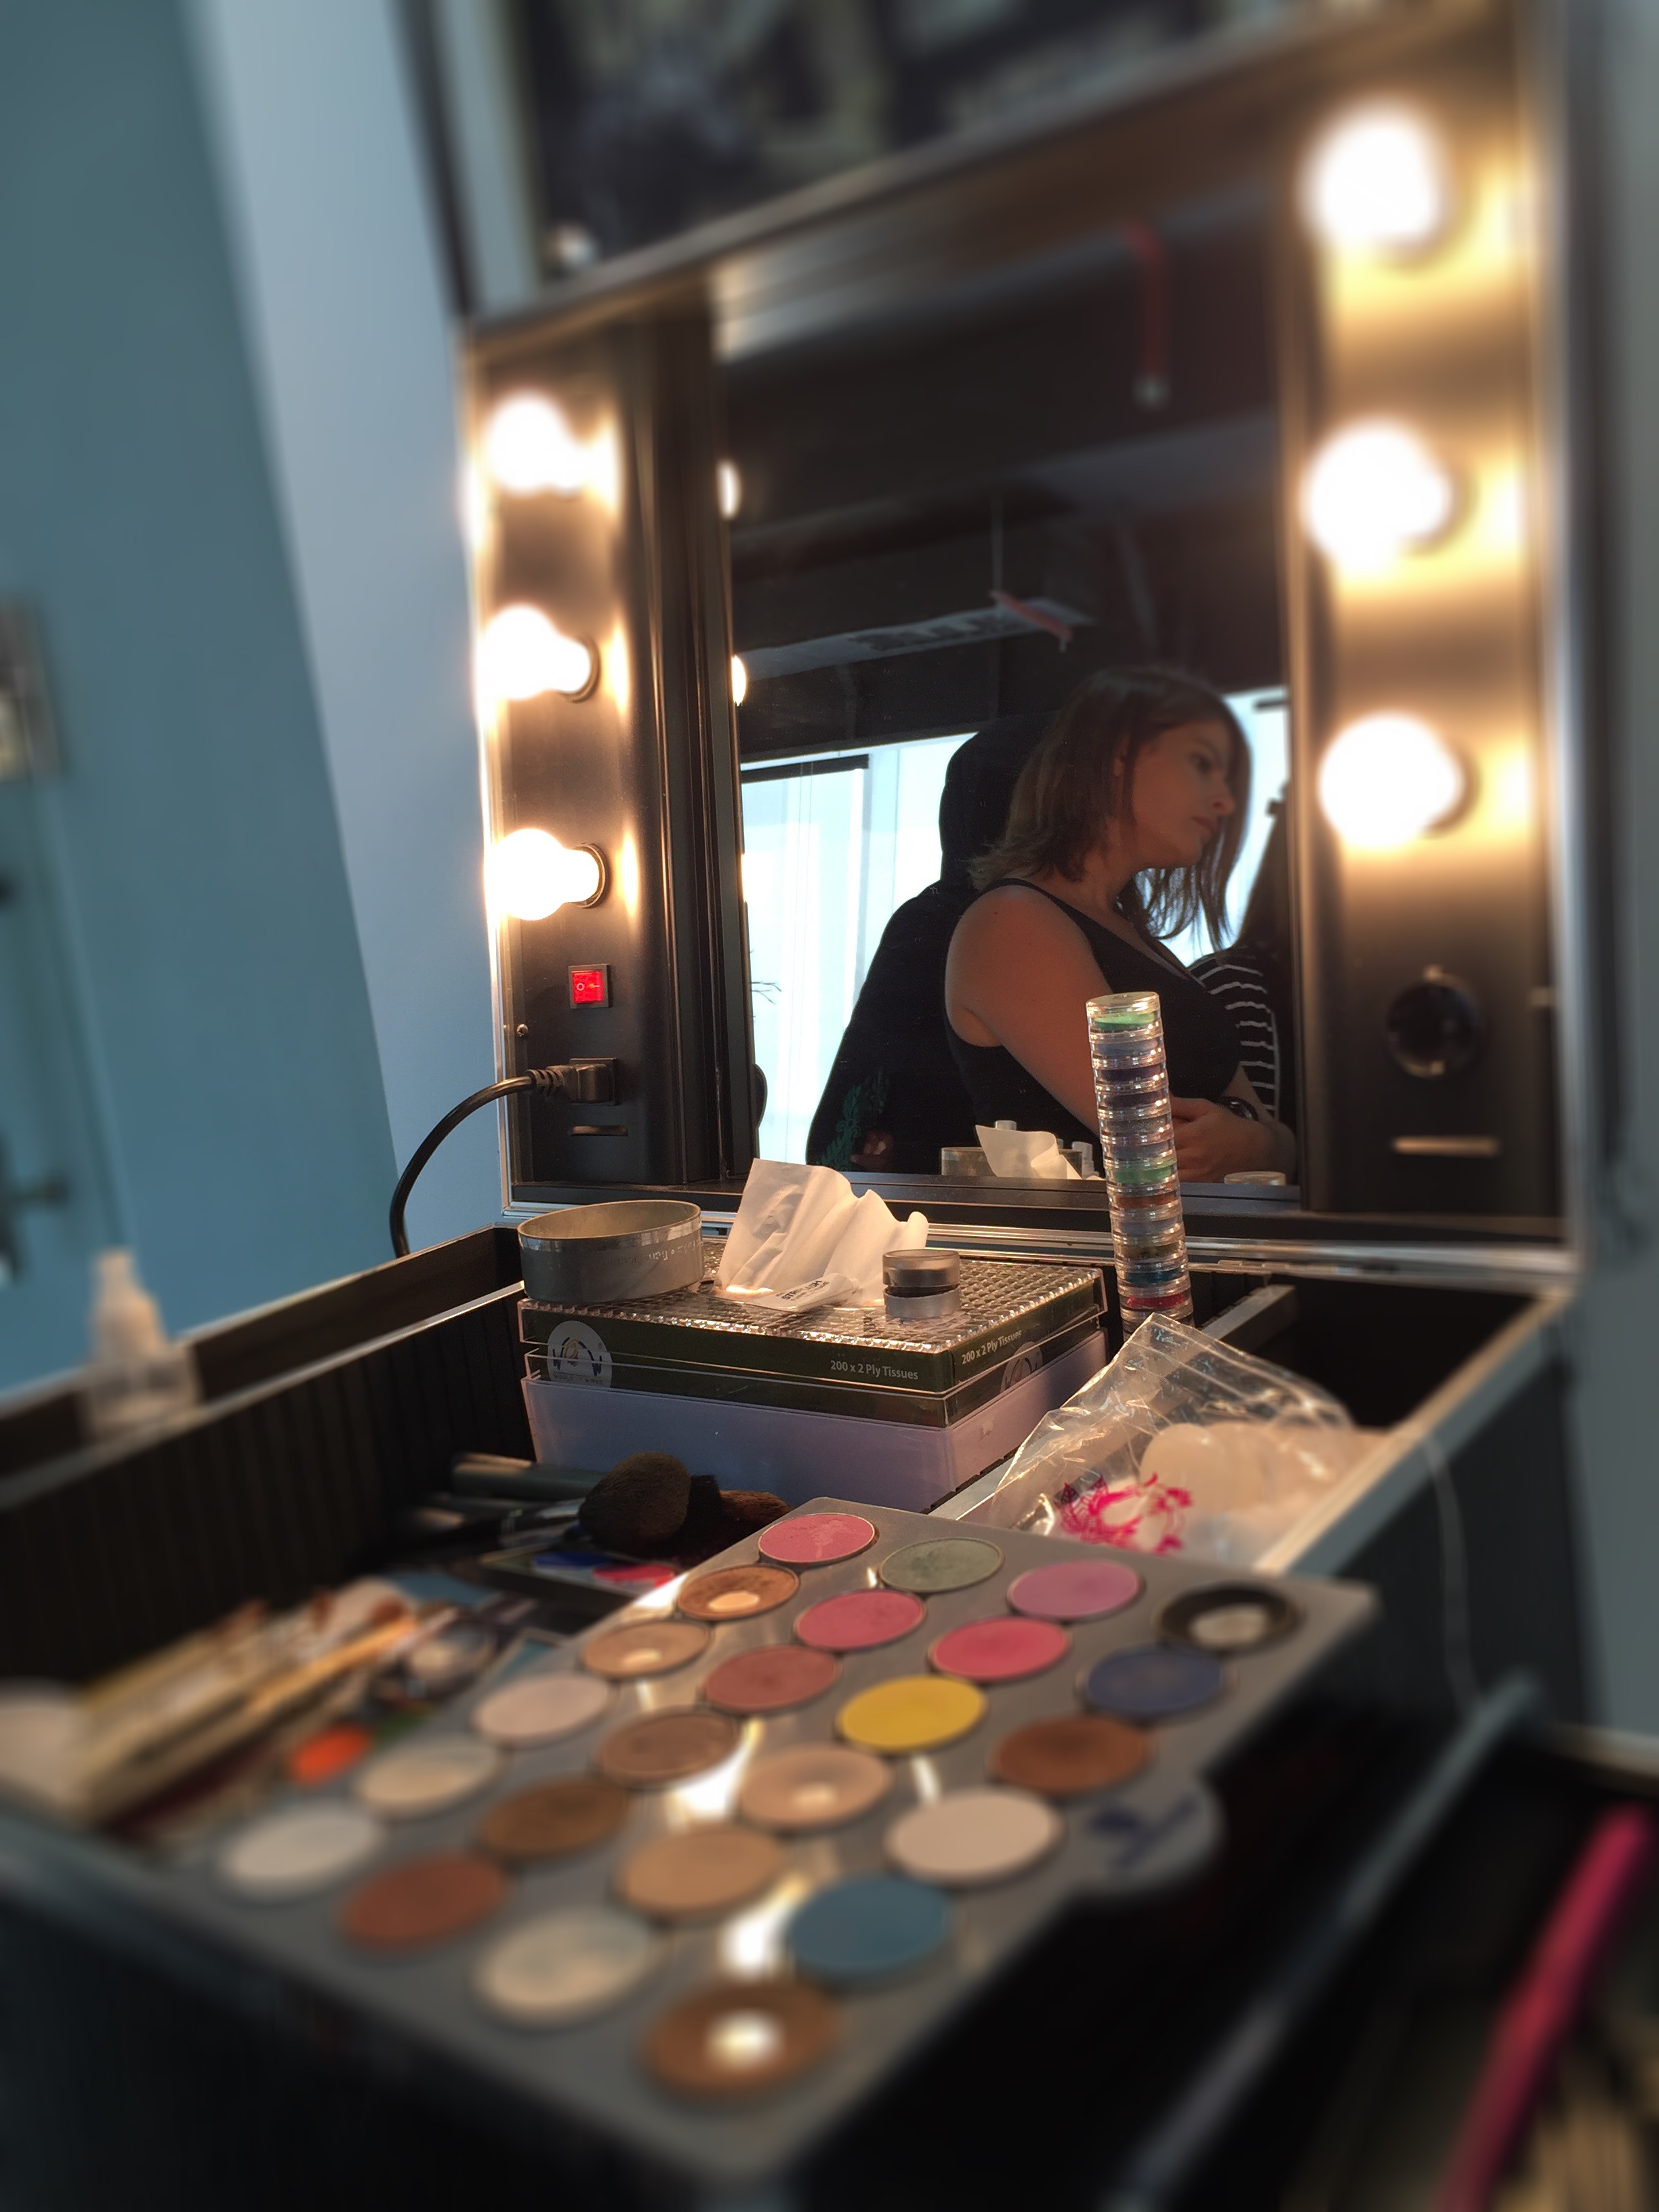
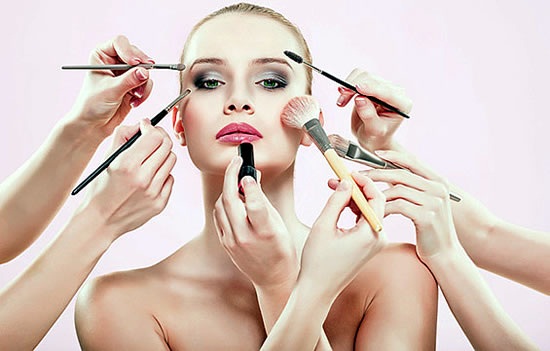
Here are some shots of the Demonstrations today. The girls get up close to watch each and every stroke.

IMG_1404 IMG_1405 IMG_1406 IMG_1407 IMG_1408 IMG_1409


About Matte lips

Glossy VS Matte

maxresdefault-3

Yesterday we were talking about the luscious, glossy lips.

Todays topic is The Velvety Matte Lips.

MATTE-LIPS

The matte lips can be tricky.

Why?

Because if your lips are dry and cracked the matte lipstick will look really bad and cheap.

The same rules are on when you are prepping the lips for the matte lipstick.

  1. use a scrub to remove the dead skin
  2. lip balm or vaseline is a must
  3. remove the lip balm and make sure your lips are product free
  4. apply a bit of concealer to make sure your lipstick will last all night long
  5. apply lipliner! Its essential, because it defines the lips, you can be more precise and making your lipstick long lasting.
  6. fill up the lips with your matte lipstick. Use a lip brush in this case you will be more precise with lines and the lipstick will look rich and full. Also the lipstick will last  more longer. Do long and clean strokes with your lip brush. The texture of the matte lipsticks are more dry then the creamy ones its obvious because of the matte finish. We can suggest you the new Kryolan Matte Lipsticks. They are giving you the perfect matte velvety finish but at the same time the texture is not so dry.

Now its time to get on practicing.

The more you practice the better you will be in application the right lipstick colour and your lips will be perfectly defined.

lipstick-make-up

Thank you guys in tuning in!

Tomorrow we will talk about ombre lips stay with us to know more tips and tricks!

Lipgloss when and where to wear it!

Apply-Lip-Gloss-Perfectly

Glossy lips yes or no?

Some girls simply love shiny and glossy lips – and lip gloss is their best friend! But overdoing the lip gloss can give a tacky effect. So, today we will show you how to perfectly use a lip gloss to get pretty, pouty, kissable lips.

Some of our friends are crazy about matte lips.

Is there the right occasion to wear gloss? or we can wear it anytime?

The answer is Yes!

There are some different occasions when its the best to wear gloss and when its better to keep it semi matte or matte.

When is it?

  1. Daytime – for daytime look you can use only a gloss just keep it natural.
  2. For photo shoots if the concept is not saying to use matte lipstick you can always go for glossy, shiny lips.
  3. If you just like your lips to be shiny and glossy you can always go  for the gloss.


When is not the best to use it?

  1. On corporate photoshoots
  2. When you want your lips to look smaller
  3. You just don’t like glossy lips

Things You Need

1. Lip Scrub
2. Lip Balm/Lip Conditioner
3. Lip Liner
4. Lipstick
5. Lip gloss

What is important before we are starting with the lip gloss application?

  1. Make sure you don’t have any dead skin on your lips. Start by prepping your lips. If you have dead skin cells or chapped/cracked lips, then scrub your lips before you start prepping. Massage the lip scrub all over your lips for about two to three minutes. Rinse it off.

prepping-your-lips


2. The next step is to use a lip balm or lip conditioner to get rid of the dryness. It will make your lips more soft and supple. Let the lip balm rest on the lips for about one to two minutes.

lip-balm-or-lip-conditioner

3.Once you are done with applying the lip balm, take a tissue and blot the excess. This prevents the lipstick from bleeding and makes the application of the other products easier.

applying-the-lip-balm

4.Start by analyzing your lip shape. Using a lip pencil in the color of your choice, start the application from the center of the upper lip and follow the natural lip line till the corners of the lip. Follow the same procedure with the lower lip. You can also fill the entire lip with the same lip pencil as that works as a great base and helps the lip color to stay put for longer. Refer to the picture above.

lip-pencil-in-the-color


5.Quick tip

You can also apply a little bit of foundation/concealer in the shade that matches your natural lip color. This would even out the lips in one go and provide an even base to work on.

6.Now it’s time for the lipstick. Apply the lipstick with a lip brush using short strokes and fill the entire lips. Using a brush while applying lipstick adds precision to the application. Here, I have used a bright red lipstick.

lipstick-with-a-lip-brush

7.Start applying the lip gloss from the center of the lips and drag the sponge applicator along the length of the lips. Avoid applying the gloss above the natural lip line. You can blot the excess lip gloss on a tissue paper. This will prevent the color from bleeding.

applying-the-lip-gloss-from-the-center

Final look

Doesn’t it look amazing? Glosses are a must at parties – they really boost your hotness quotient. Give it a try and let us know about the compliments you received! We would love to hear from you.

rossettorossoselez10


 Don’t forget to follow us every day as we are helping you to build up your makeup knowledge day by day.

Stay with us tomorrow as we show you how to get gorgeous matte lips.

Stay tuned!

Lipstick do’s and don’t


Lipstick is an essential part of almost every woman’s daily makeup routine. However, many women shy away from the red tones they find in the cosmetic aisle. Fortunately, you can pull off those brave shades with a little lipstick know-how. Here are ten dos and don’ts of wearing red lipstick:


images-1


1. WEAR DARKER FOUNDATION.

If you’re going to go bold with your lip color, you’ve got to have a complementary backdrop for your face. For those with lighter skin tones, it’s a good idea to choose foundations that will provide darker, olive bases. Red lips can be too much of a contrast against pale skin. The darker your lips are, the darker your foundation should be.

2.DON’T BE AFRAID TO BLEND COLOURS.

Do you like the look of red lipstick, but think it might be too loud for you? There’s an easy solution: customize your shade. Simply take a lighter hue like coral or mauve and blend it with that rose or burgundy you’ve been eyeing. The result will be a more muted tone that nearly anyone will be comfortable wearing.

3. USE IT FOR THE RIGHT OCCASION.

While everyone loves red, luscious lips, the look isn’t appropriate for every social situation. Some of the deeper shades can be a little jarring to people you run into at the gym or the kids’ soccer game. Likewise, you want everyone to be listening to your business proposal at that morning office meeting, not staring at your lips. Only paint your kisser red when you know you’re dealing with a fun, playful atmosphere, such as a night out with the girls. Then, you’ll be one step ahead in painting the town red!

4. DON’T OVER DO IT.

If you want to avoid all the lipstick smudges and stains, you can start by only applying a light coating to your lips. This is especially important for red lipstick since it’s easier to spot on teeth and collars. Rolling once or twice around your lips should be sufficient to achieve the desired effect. For even more control of your coverage, spread the lipstick using a lip brush. Just remember that a little dab will do you.


_MG_4759


Thank you! for your time on reading the tips and tricks for today!

Tomorrow we will talk about the lipgloss when and where to wear it!


Lip liner application

Lead_lipstick1
The Perfectly applied lipstick


Perfect lips?

Thats the dream of most of us.

How to achieve lips like this?

  1. First of all make sure that your lips are moisturised.
  2. Apply foundation or concealer on your lips to make the colour more intensive

5_steps_to_apply_lipstick_3v

3.Apply lipliner! If you are happy with your lips then just line the lips on the natural lip line. If you want to make them bigger then you will outline the lips just a bit above the natural lip line. Don’t go too high as it will look fake and we don’t want that. If you want to make your lips smaller, then line the lips from the inner side of the natural lip line.

lipliner_0

4.When you are done with the lip liner then you can fill up the lips  with lipstick.

5.The colour of the lip liner is usually the same colour as your lipstick. Don’t apply lighter liner as it won’t give any definition to your lips, go with a shade or 2 darker.

6.Make sure that you are applying your lipstick with a lip brush. Why? Because in this case your lipstick will last much longer, the lip brush will give you more precision in the application.

Sharon-Hart-Makeup-Lipstick-Application

7. Make sure you will blend the liner with the lipstick. No harsh outline on the lips is trendy anymore except you are doing a fantasy, high fashion  or lip art.

8.Be precise and clean. The ultimate must is to make your lips perfectly shaped and contoured, especially when you are working with dark and bold colours.

9.Apply gloss on the lips. You can apply coloured gloss or transparent to give a high shine to your lips.

lipstainvslipstick

10.Now you need to make sure that your lips are perfectly shaped.

11.Take your foundation brush or latex sponge and straighten the lines

12.For additional definition you can take a bit of a concealer and line perfect the lip lines.

13.To avoid runny lips because of the lip gloss use a bit of a translucent powder on your latex sponge and place it to the corners of the lips.

14.To make sure that your lipstick will last all night long use Kryolan Lip Fix

5216-500x500
Kryolan lip fix

pink-lipstick


lips-and-lipstick-clipart-1


All you need to do now is to practice, practice and practice!

My teacher told me you have to do at least 100 red lips to master it!

So its time for practice 🙂


Don’t forget to click on our blog tomorrow as we will talk about  dos and donuts in the lipstick application

Stay tuned see you!

How to make your lipstick stay for long hours


Hi everyone today we will talk about on how to make your lipstick stay for long hours.

Rocking red lips is the fastest way to look glam and festive for the holidays. But with so many yummy treats to snack on and maybe a few smooches under the mistletoe, that red lipstick could end up everywhere but your lips if you’re not careful. To avoid clown mouth, follow these super-easy steps to keep your lipstick where it belongs—on your gorgeous pout!


IMG_4248c


1. Exfoliate. Scrub your lips with the rest of your face while you’re in the shower in the morning. A gentle exfoliator will smooth over the flakes that come with winter’s chapped lips.

2. Moisturize. With the temperatures dropping faster than you can say “pumpkin spice latté,” moisturizing everything, including your lips is key. Stock up on a long-lasting chapstick to keep your pucker from getting chapped and use it before applying lipstick to help it go on smoothly.

3. Prime & Line. Use an easy-to-apply lip primer to set the stage for the bold color. Once it’s absorbed, outline you lips in a liner that’s the same shade of your natural lip color.

4. Add Your Red. Apply your red lipstick of choice in two swipes. Blot a couple times on a tissue and repeat with another swipe of lipstick, followed by another blot. Do this until you score your desired color strength.

5. Set with Powder. You heard us, powder—on your lips. A light, transulescent powder will help keep the color in place even after you enjoy a huge mug of hot chocolate!

 Tips

  • Always make sure that your lip liner is freshly sharpened so that you’re not transferring any bacteria from it onto your lips.
  • If you want a special touch, just add lip gloss in the center of your lips to create a bright glossy effect.
  • Blotting excess moisturizer prevents lipstick from sliding off.
  • It is a good idea to use a nude lip liner since it goes with most lipsticks and doesn’t create a harsh line.
  • It might sound a tad radical but throwing your make-up pencil sharpener in the dishwasher or washing by hand can also be very efficacious in removing bacteria. If you have a twist-up pencil it never hurts to break off the tip and wipe with alcohol before using.


Tomorrow we will talk about the proper way to apply lipliner

Hope to see you again tomorrow!


Moisturising the Lips

Hi everyone today we will talk about lips, here are the first thing to do is to moisturised your lips:
Lips!
1
Exfoliate your lips. Mix together petroleum jelly (such as Vaseline), sugar and honey; Rub your lips with the mixture for 2-3 minutes later. Gently wipe the mixture from your lips with a clean, damp washcloth.
2
Next, apply a lip balm (such as Blistex or Carmex) to your lips. Don’t use flavored or scented lip balms because that will just make you lick your lips which will cause dryness.
3
Drink water. Water keeps lips moisturized. Your lips need moisture. Not only is water good for your lips but it is good for most everything in the human body. You should try drinking 8 glasses of water every day depending on your age.
4
Don’t pick your chapped lips. This will only make them sore, and even more dry. Making your lips dry and sore will slow down the moisture process. Also if you peel the skin off them it hurts and burns when you apply lip balm. Sometimes it even bleeds!
5
Don’t lick your lips. In fact, don’t even rub your lips together unless there is lip balm on them, don’t bite them, or rub your teeth against them. Not only does this dry out your lips, it even makes them bigger. Trust me that’s not very pretty!
6
Stay away from sticky foods. Sticky foods will make your lips rub against each other and stick together, damaging and drying out your lips.
7
Overnight, apply a heavy coat of lip balm to your lips. The next morning your lips will be moisturized and smooth!
1_1384507824_640x640
There you go guys! The tips to have a smooth and moistured lips.
I hope you got some tricks from the topic today.
Stay tuned tomorrow as we talked about on how to make your lipstick to last for long hours.

Makeup steps

How to start your makeup application?

Foundation first or eye makeup?

As you are checking the You Tube videos you will see so many different makeup application techniques and definitely you will be confused.

Makeup-tips-for-beginners
makeup steps

We are here to help you sorting out this confusion.

So lets see the makeup steps:

  1. Make sure your face is clean, the makeup will look much better on a clean skin than to add some makeup on to the existing makeup.
  2. Use a toner, the toner cleans up your skin perfectly, refreshing it and closing the pores, basically preparing your skin for the makeup application.
  3. Moisturise, especially if you have a dry skin!
  4. Depending on a foundation type apply primer. The primer will  prepare your skin for a foundation and will make your makeup lasting longer.
  5. Apply foundation, all over the face, eyelids, under the eyes, blend it to the neck area also.
  6. When is the foundation perfect? When you can’t see it because none wants to see the foundation just the flawless skin, forget about the caked up, mask effect foundation! That is out of trend for a long time.
step-by-step-makeup-tutorial
makeup application


7. Correct the skin imperfections. Most of the time we are mixing up the correctors with concealers. The correctors are in colours (yellow, peach, green and orange) and are useful in correcting the dislocations on  our face.

8.Then conceal it! Because of the concealers your skin will be green or orange depends what colours are you applying you have to conceal  it. That means the concealers are skin colours.

9.Contour and highlight and of course blend it!

make-up-tips-to-conceal-double-chin
contours and highlights

10.Set your base with a translucent powder

The-Ultimate-Steps-to-do-Your-Makeup-Flawlessly6
translucent powder

11.Start with your eyebrows in this case you can make sure that you won’t miss any part of your face

Perfect-Makeup-in-10-steps-by-Bobbi-Brown7
eyebrow correction

12.Apply the eye makeup

Make-up artist applying white eyeshadow in the corner of model's eye and holding a case with eyeshadow on background close up
eye makeup application

13. Blusher

beauty-tips-for-applying-makeup
blusher application

14.Lipstick

maxresdefault
lipstick application


Now you have a question why in this order?

There is a logical explanation for this.

When you start with a foundation you do 60% of the job and you will have a flawless canvas to work on. All the eyeshadow colours will show much better on the already corrected skin. Even if you do a smokey look or working with dark colours you can easily avoid the fall outs by applying translucent powder under the eye area before starting with eye makeup.

This technique is faster and more efficient all you need is to practice

Stay with us tomorrow as we will talk about dos and donuts in your makeup routine !

Have a nice day ladies

More about choosing the correct Blusher for your skin tone. (part 2)

Continue reading More about choosing the correct Blusher for your skin tone. (part 2)

All about false lashes and how to apply it

12605495_1751012468451004_8182255944933402758_o
 1
 Size the lashes. Before gluing the lashes on, you will need to make sure they are not too wide for your eye. Hold the lash strips up against your eyelid, and trim them down on the sides if necessary.
  • If the lashes are too long for your personal taste, consider trimming the individual lashes down to achieve a more natural look. Lashes should be longer toward the outer corner of the eye

2

Apply the lash glue to the outer seam of the eyelash strip with an applicator or small brush. Allow the glue to dry for a moment before applying it to your lashes.

  • Alternatively, you can squeeze a thin line of lash glue onto the back of your non-dominant hand. Then, gently run the outer seam of the eyelash strip along it.
3
Place the strip on your eyelid, positioning it as close as possible to your natural lashes. Bring the strip down from above, not from the front. This is to ensure that you get as close as possible to your lashline.[1]
4
Allow the glue to dry naturally. Once the strip is in place, you do not need to press or hold it.
5
Apply mascara to your lashes. This will help blend your natural lashes with the false ones, achieving a more natural look. You can use black, brown, or dark gray mascara.
6
Apply liquid eyeliner along your upper lids. Be sure to fill in any gaps between the false lashes and your own to make them look more natural. Use black, brown, or dark gray liner.
7
Use makeup remover to remove false lashes. Dip a q-tip in eye makeup remover and gently rub it along your lash line. Allow the remover to sit for a minute, and gently pull off the strip.
images-2
images-1

Thats all for today my ladies!

Tomorrow will learn about blusher application

Don’t miss it!