Wet Smokey Look
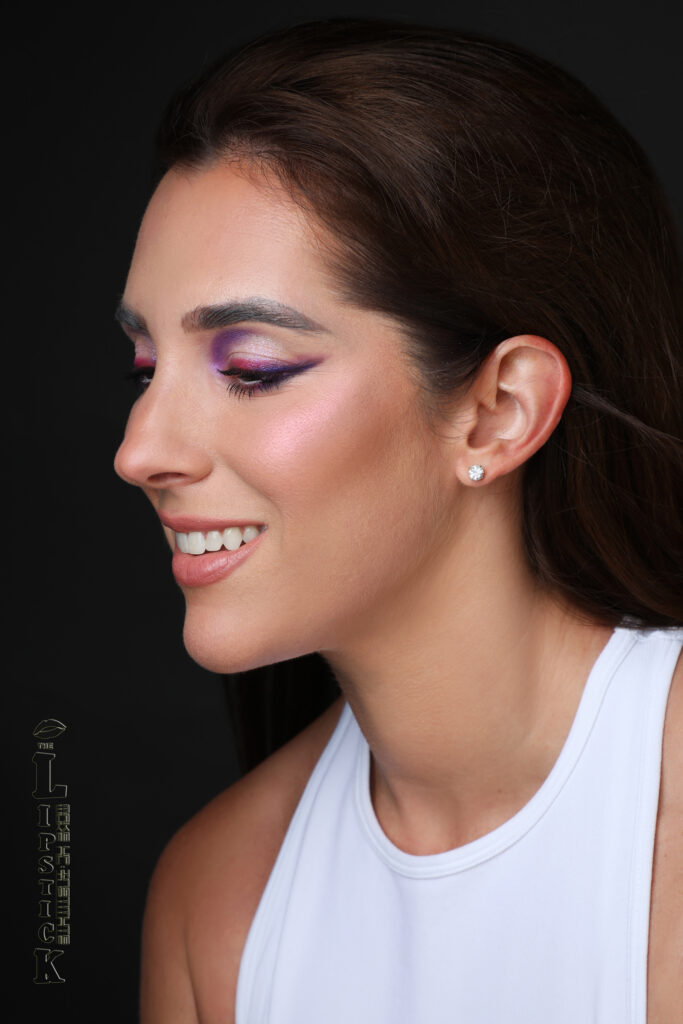
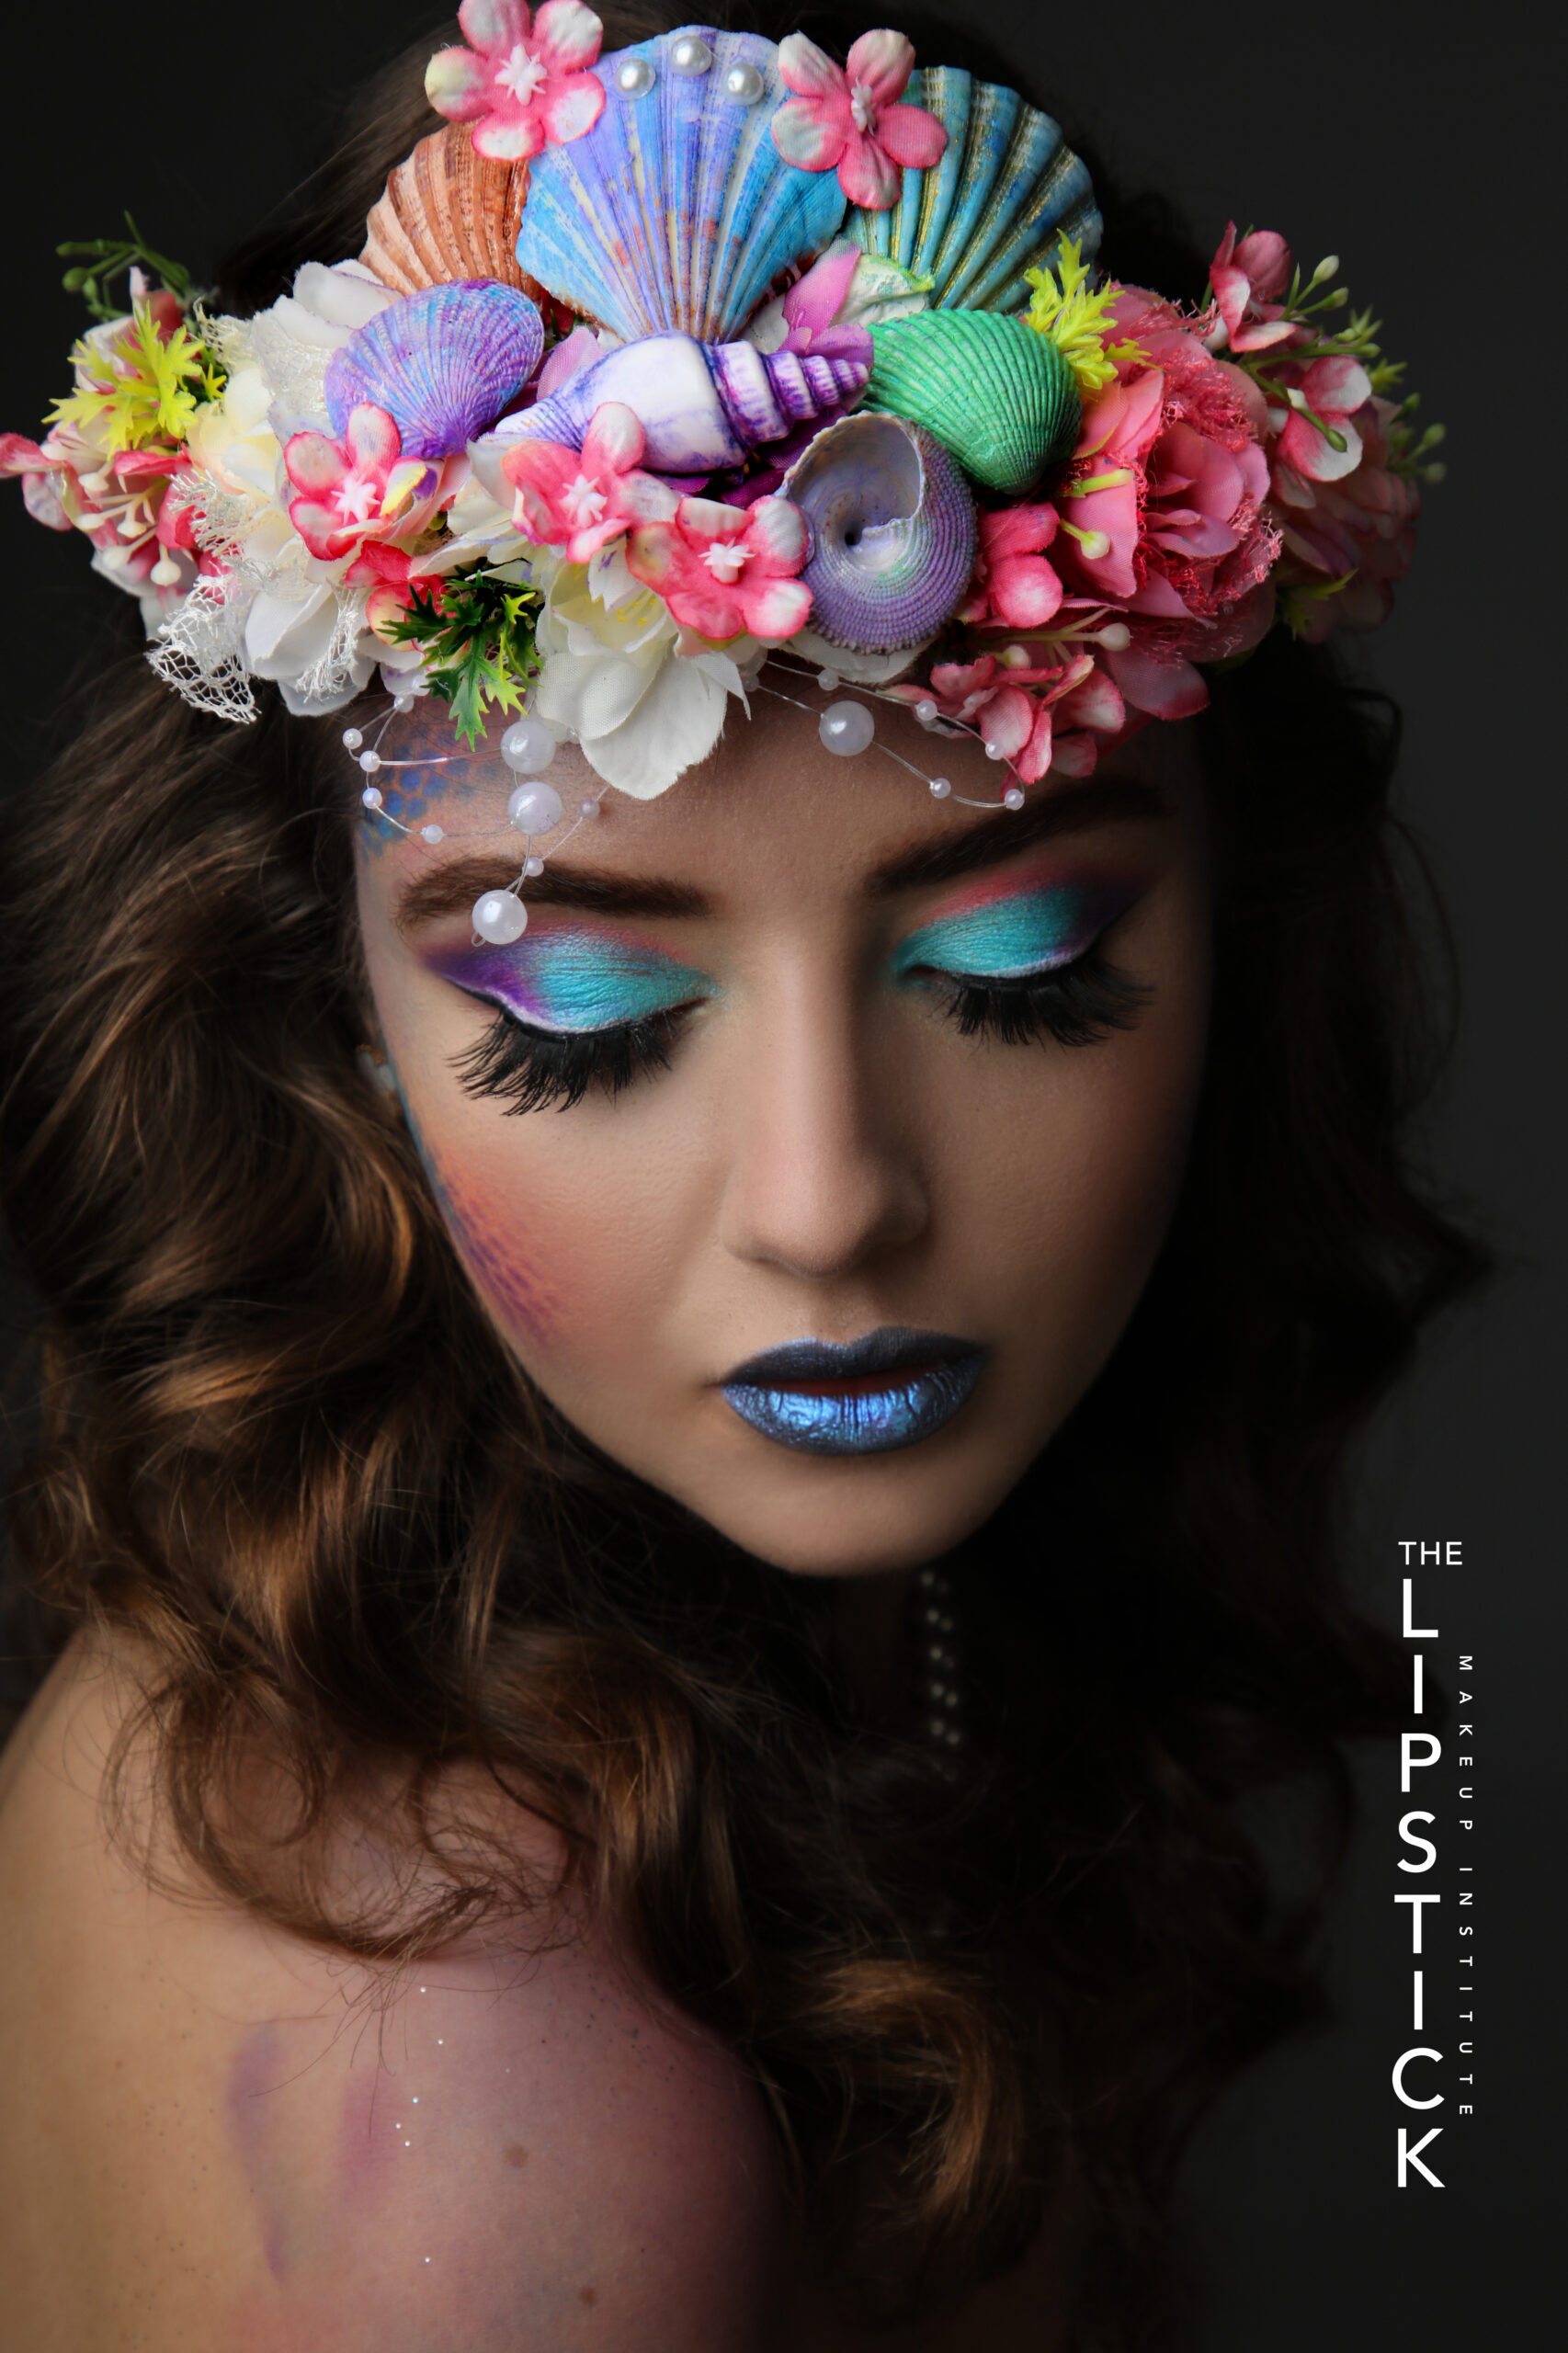
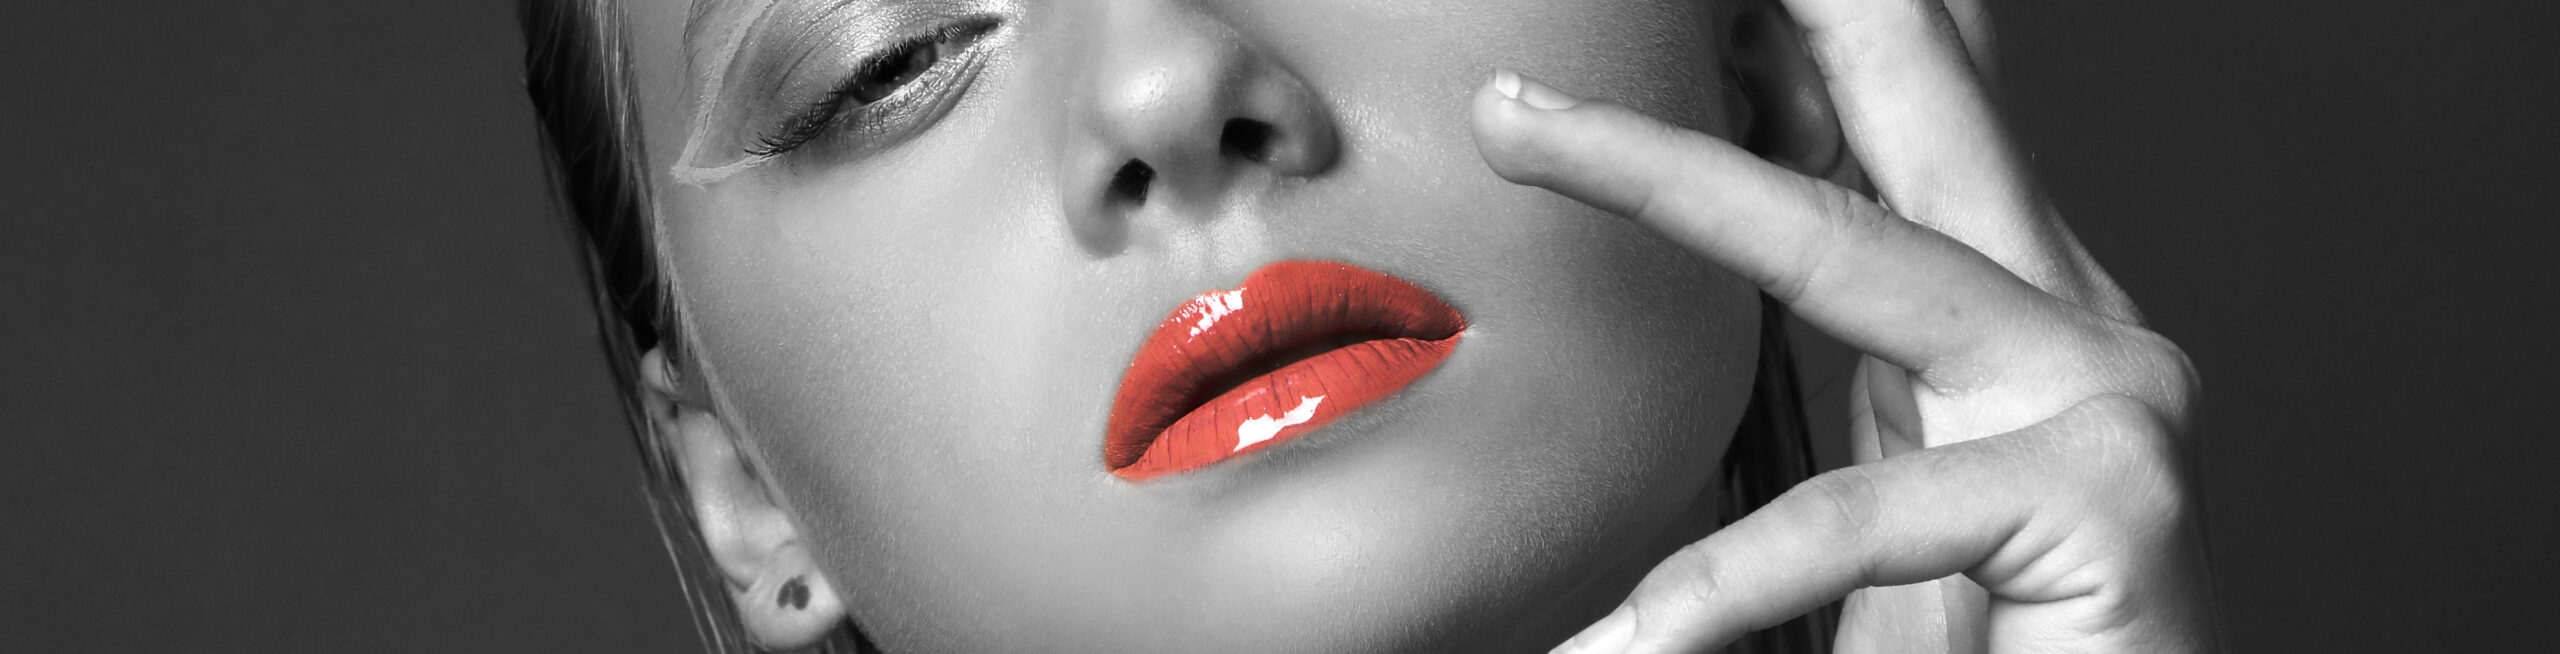
Wet Smokey LookWet Smokey Look Is a perfect makeup look for photo shoots, high fashion looks and for fashion shows. Basically its a simple full smokey look on the top with a transparent lip gloss. The steps of application are the same as the classical one. We need to make sure that the base (eye shadow) is strong ( 2 layers and blended).


Finish the whole makeup and exactly before the photo shooting or stage apply the lip gloss in one thick layer, carefully not to mess up the eye shadows and blending.
Application
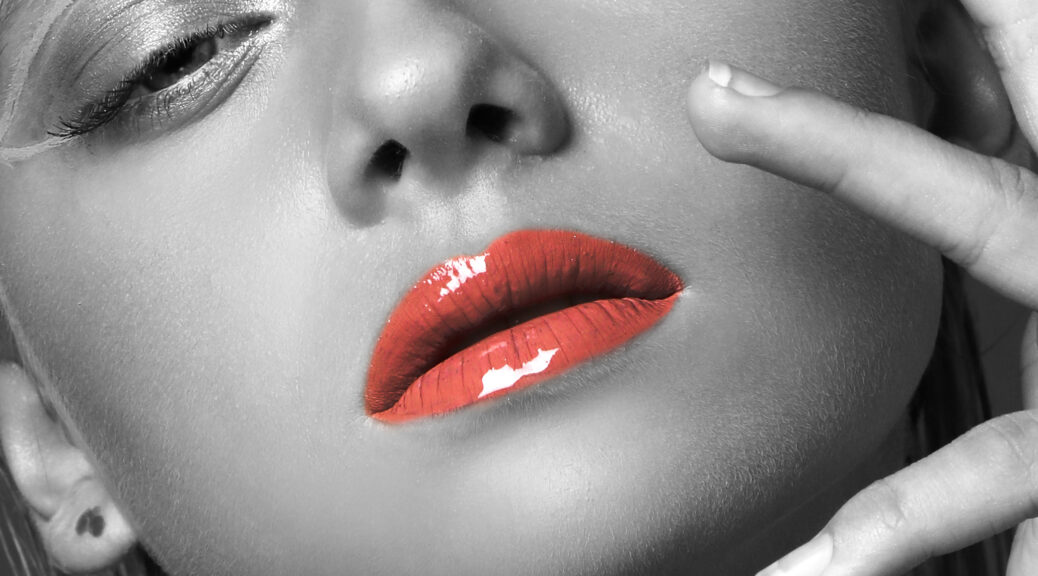
Apply a transparent (clear) lip gloss on the top of eye shadows, especially on the centre of the lid (moving area of the eye) with a flat eye shadow brush. If you want to create a full wet look on the face you can apply the lip gloss on the high point of the face (top of cheekbones, bridge of the nose, chin, centre of the forehead). The look is ready for the shooting or for the stage. This look is not an everyday makeup.
Wet Look
The wet smokey is for fashion shoes or photo shoots. The eye makeup will be spoiled by the lip gloss so make sure that you are in time and quick. The other two ways of creating a wet look is with Vaseline and the 8 hours cream.
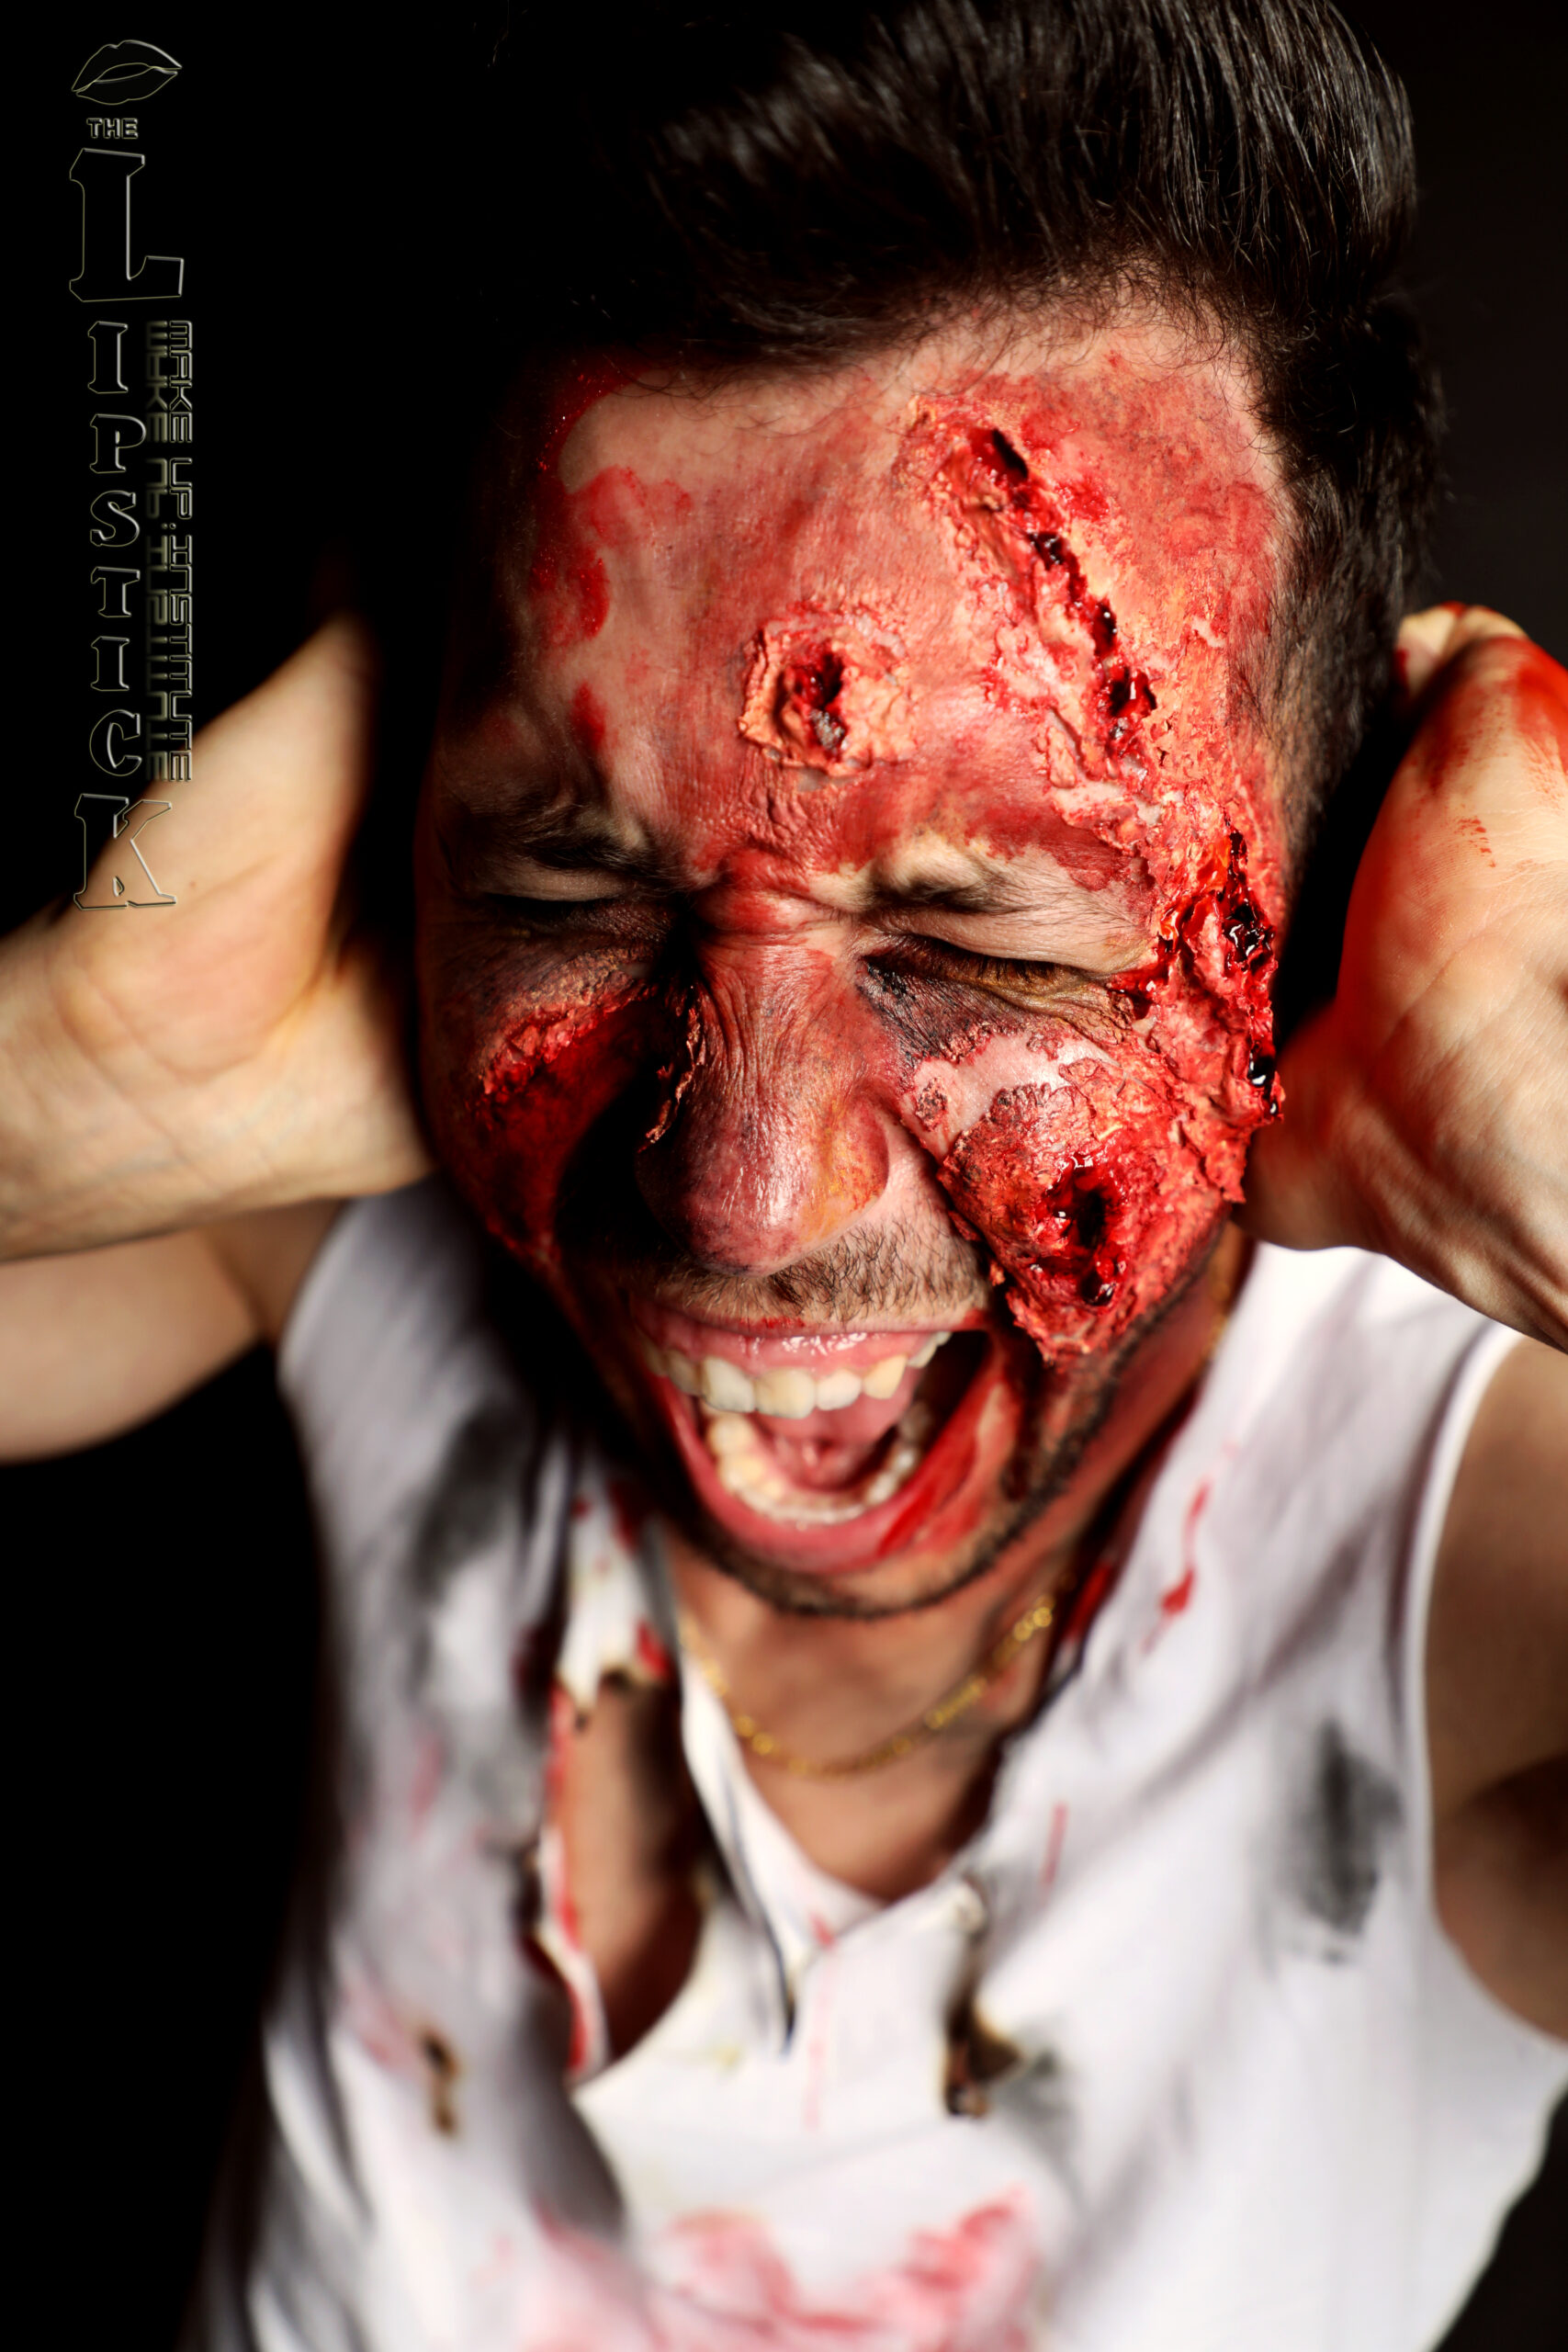
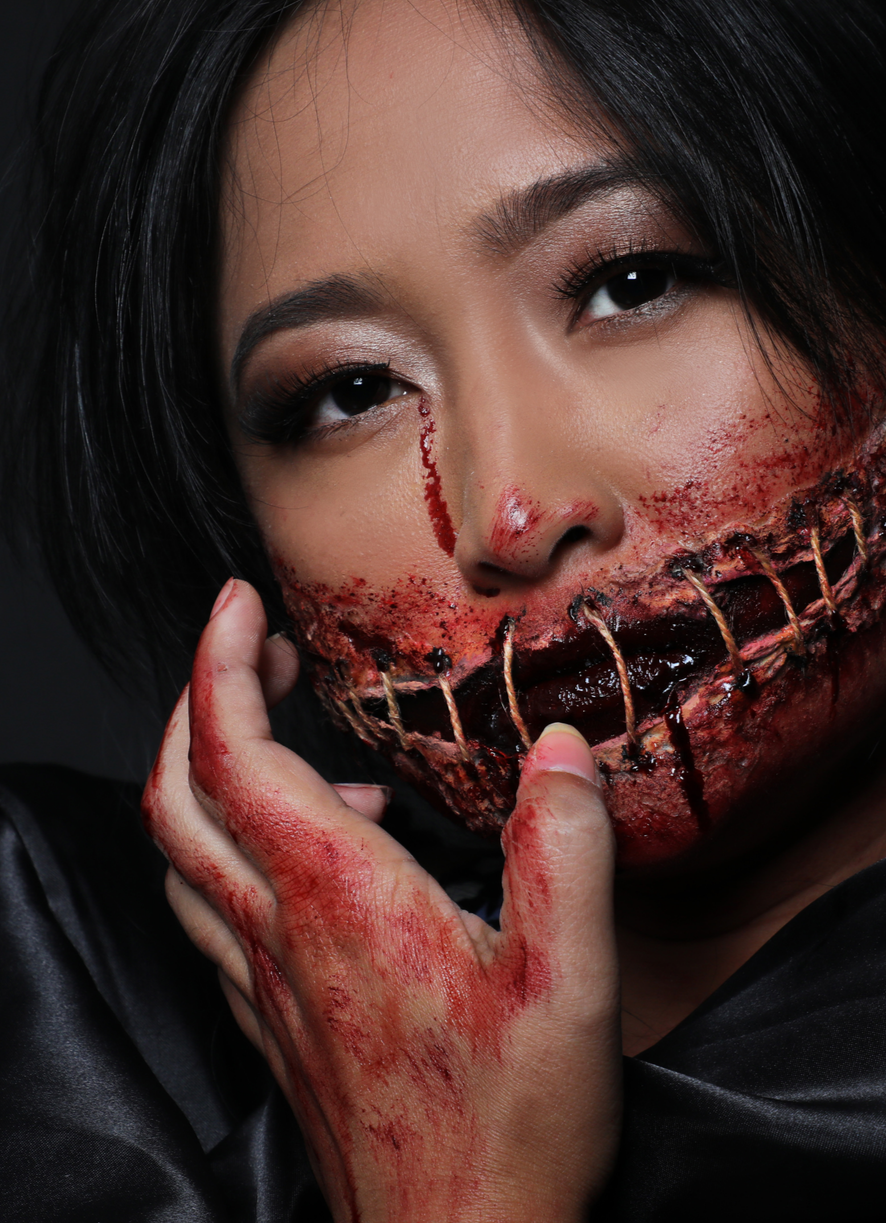
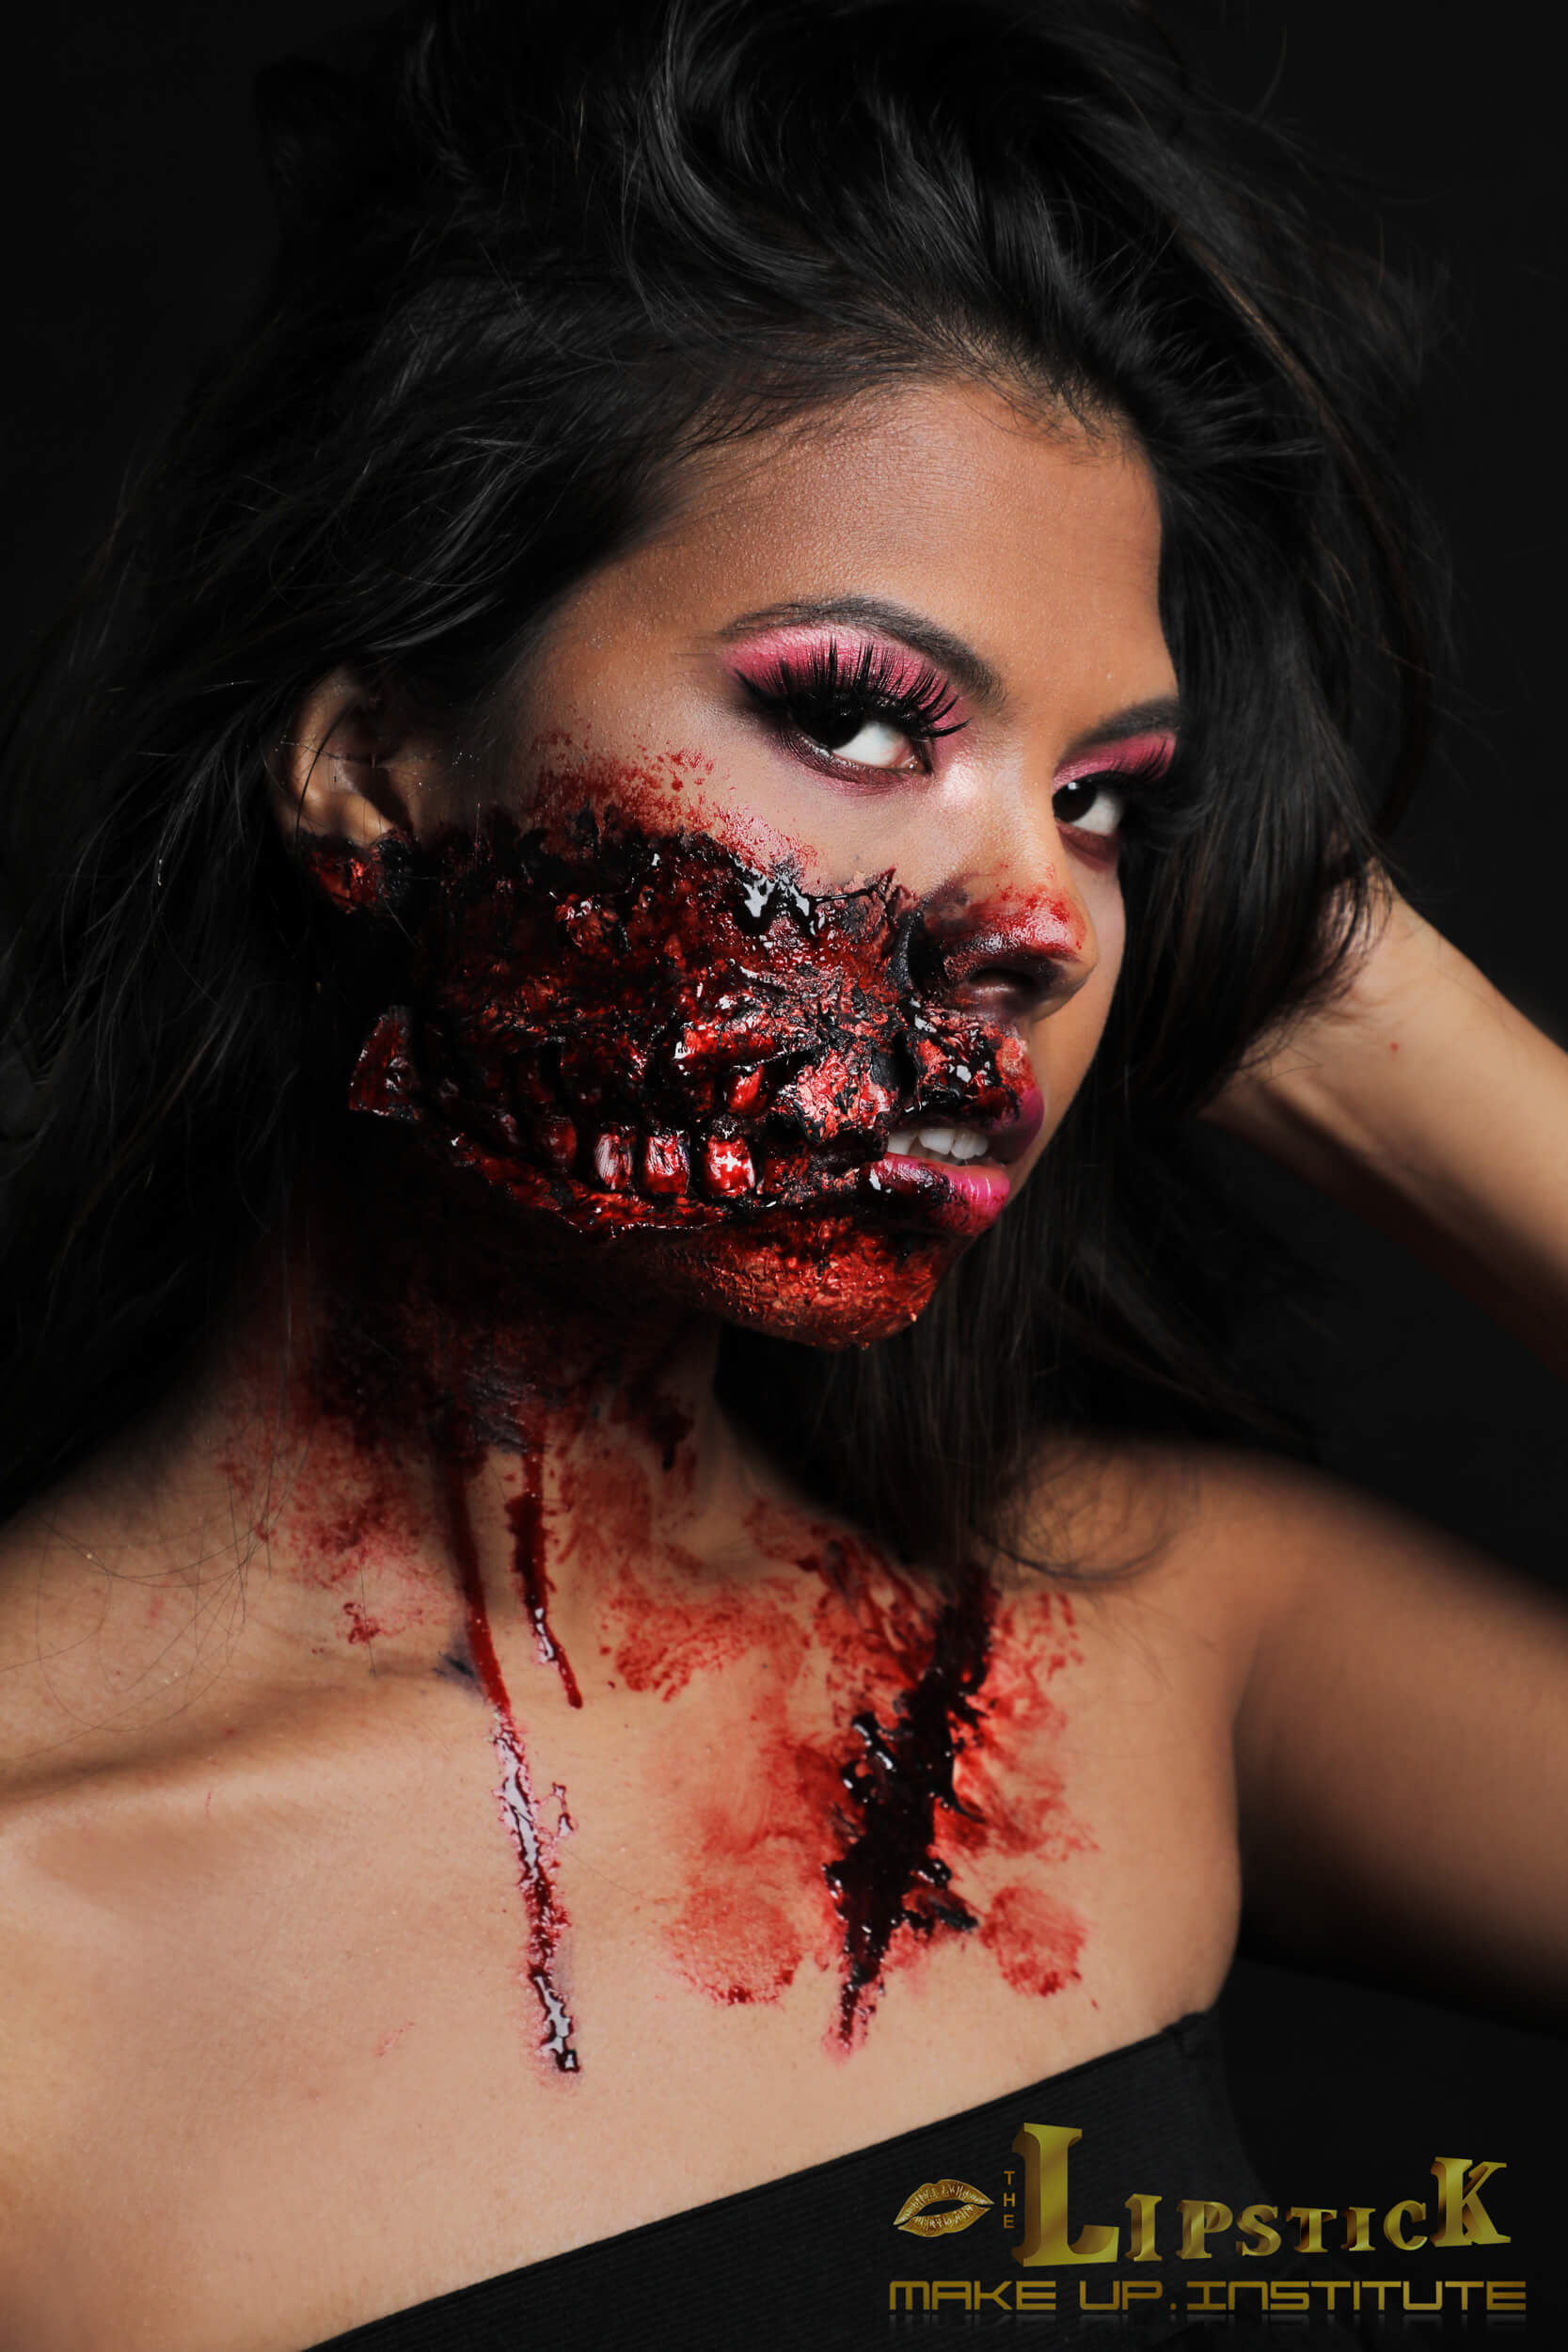
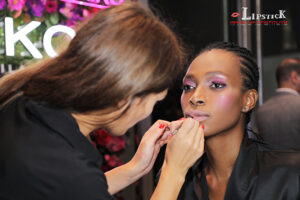
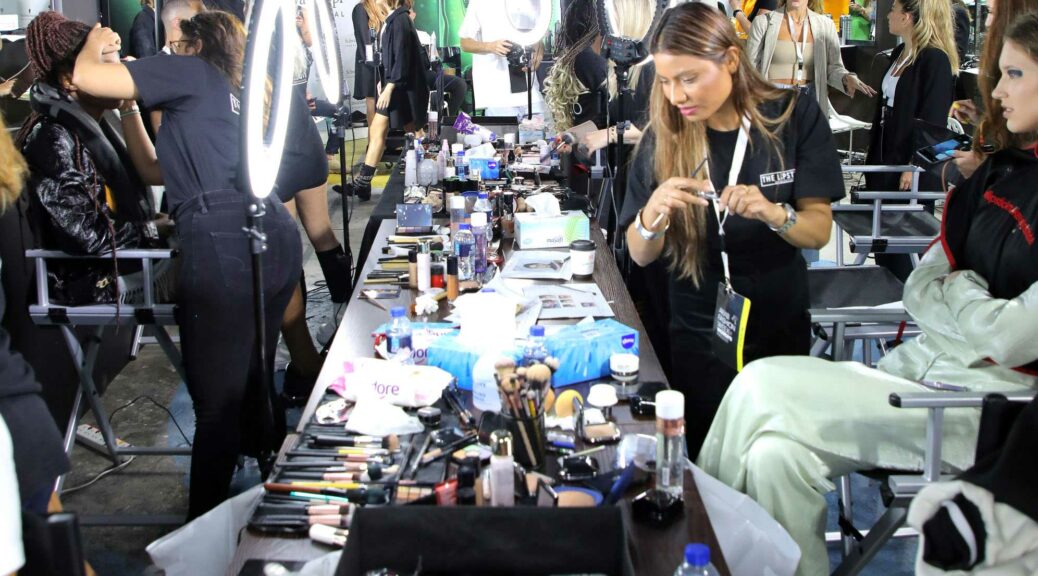
Our Platinum students get a chance to work with us in amazing projects such as this which you won’t find anywhere else in Dubai.
So, what are you waiting for? Our next batch of the Platinum Makeup Course is on January 9, 2022. Together, let’s explore the amazing world of makeup.
If you have any questions, please don’t hesitate to contact us at 052 834 9964 or email us at info@thelipstickmakeup.institute
Check us here
You can also check out or students work at: