Continue reading More about choosing the correct Blusher for your skin tone. (part 2)
Tag Archives: gorgeous
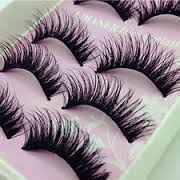
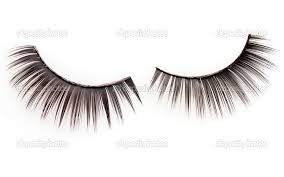
All about false lashes and how to apply it
1
Size the lashes. Before gluing the lashes on, you will need to make sure they are not too wide for your eye. Hold the lash strips up against your eyelid, and trim them down on the sides if necessary.
- If the lashes are too long for your personal taste, consider trimming the individual lashes down to achieve a more natural look. Lashes should be longer toward the outer corner of the eye
2
Apply the lash glue to the outer seam of the eyelash strip with an applicator or small brush. Allow the glue to dry for a moment before applying it to your lashes.
- Alternatively, you can squeeze a thin line of lash glue onto the back of your non-dominant hand. Then, gently run the outer seam of the eyelash strip along it.
3
Place the strip on your eyelid, positioning it as close as possible to your natural lashes. Bring the strip down from above, not from the front. This is to ensure that you get as close as possible to your lashline.[1]
4
Allow the glue to dry naturally. Once the strip is in place, you do not need to press or hold it.
5
Apply mascara to your lashes. This will help blend your natural lashes with the false ones, achieving a more natural look. You can use black, brown, or dark gray mascara.
6
Apply liquid eyeliner along your upper lids. Be sure to fill in any gaps between the false lashes and your own to make them look more natural. Use black, brown, or dark gray liner.
7
Use makeup remover to remove false lashes. Dip a q-tip in eye makeup remover and gently rub it along your lash line. Allow the remover to sit for a minute, and gently pull off the strip.
Thats all for today my ladies!
Tomorrow will learn about blusher application
Don’t miss it!
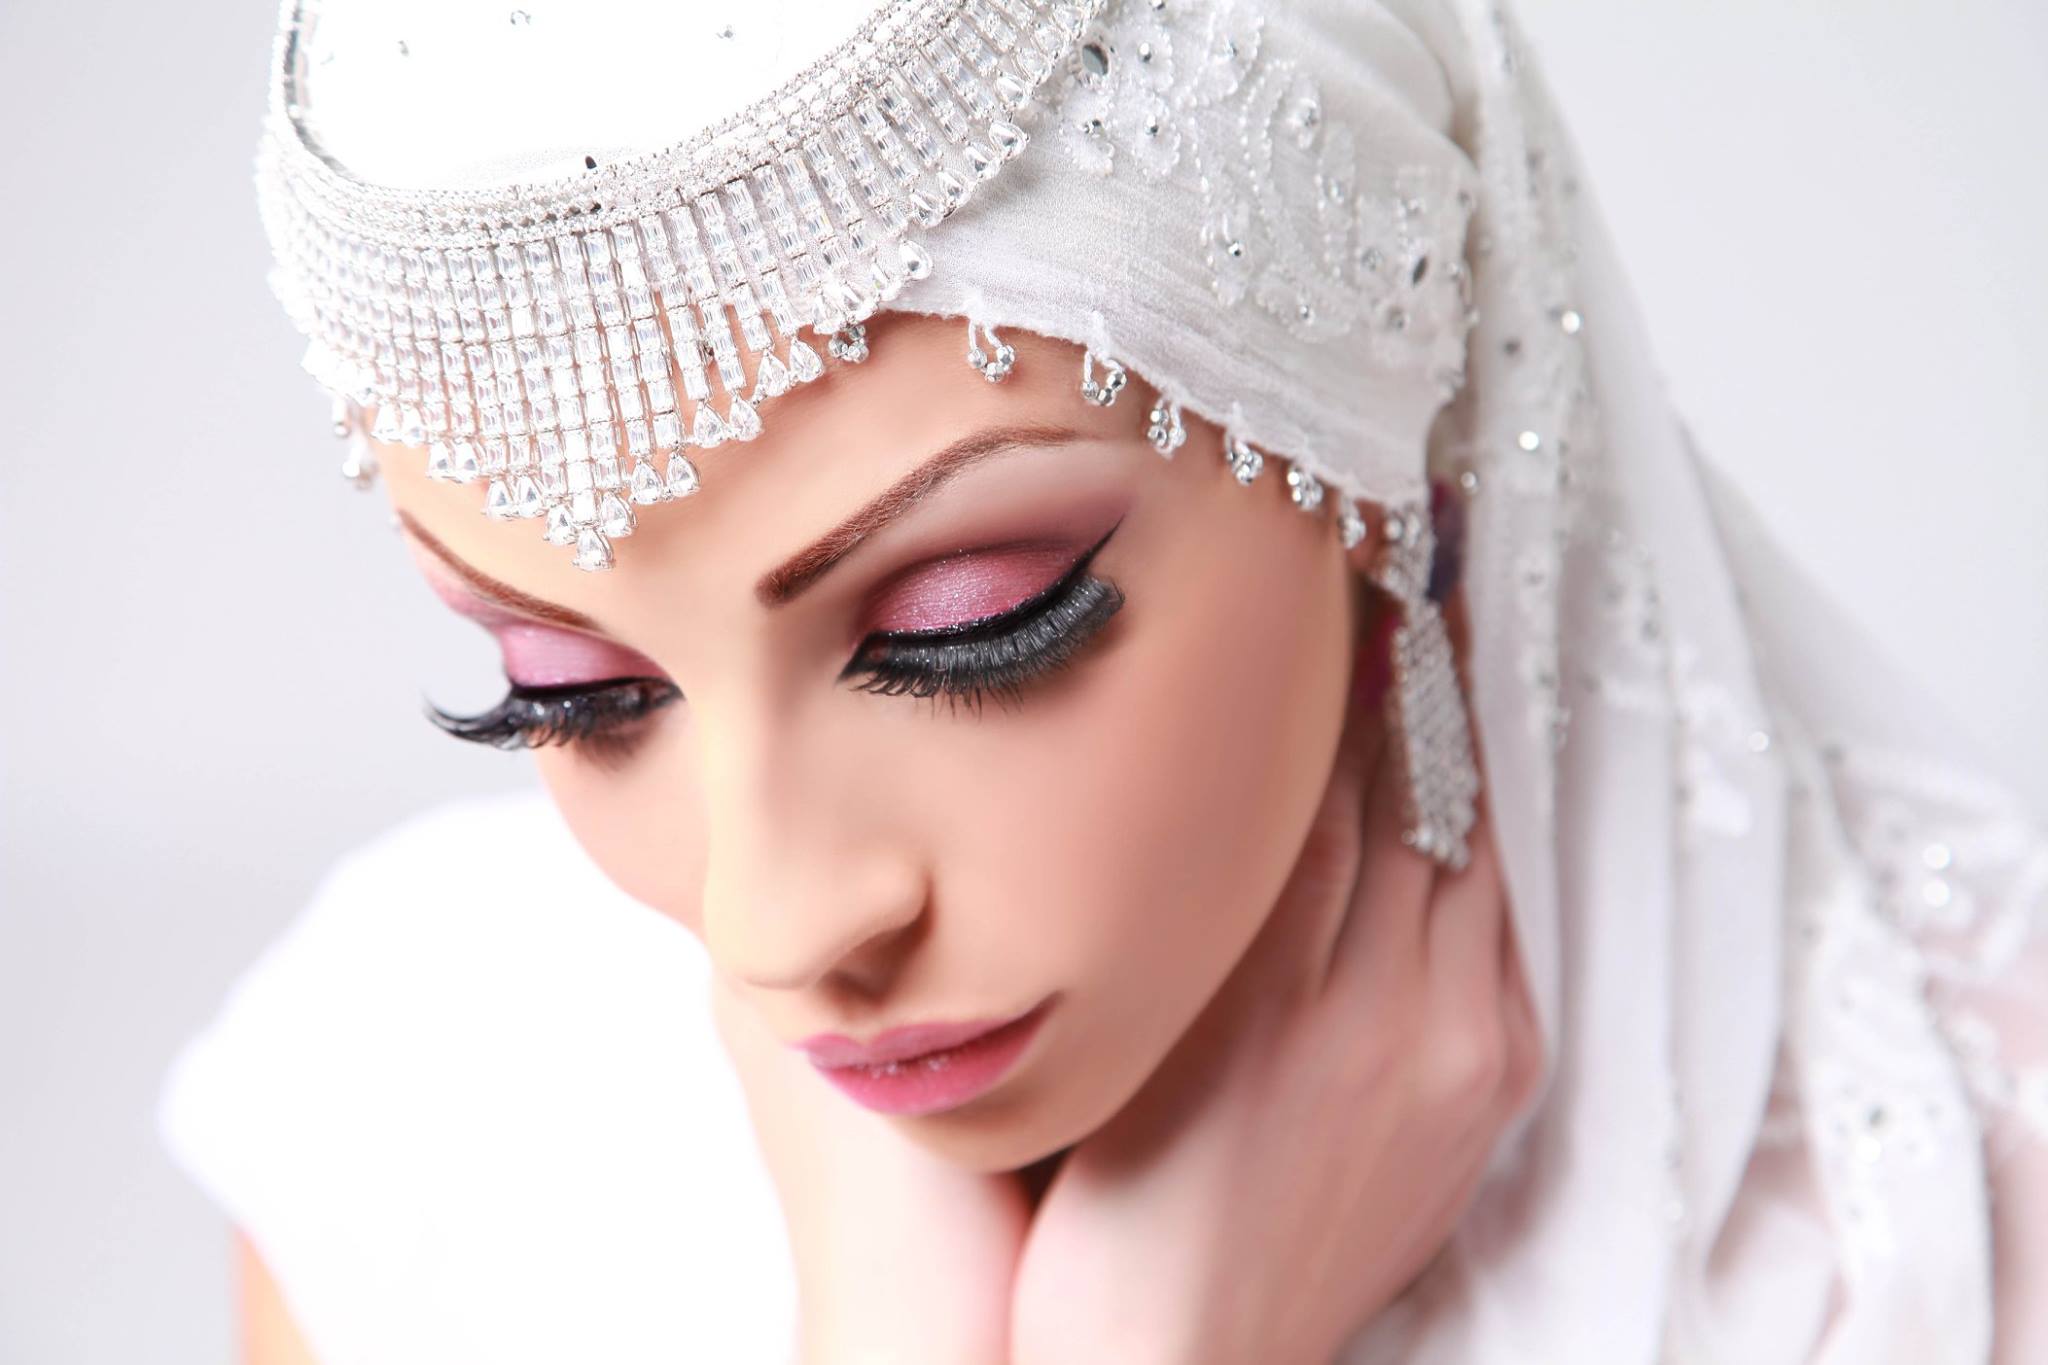
How to get the perfect Smokey Eyes. Tips and tricks from The Lipstick make Up institute
Smokey Eyes
Smokey eyes have become a classic party eye makeup look. The secret of this trend’s popularity is that smoky eyes can change your face dramatically, transforming the girl-next-door into a stylish diva.
Once you learn and master these application and blending techniques, the transition will take you only a few minutes. You can then have irresistible-looking eyes, even if they are not big or bright.
In this article you will learn:
- how to choose the texture of your eye makeup.
- which are the most flattering shades.
- easy and mess-free application techniques.
Colour

You will need one black eye pencil, at least two colours of powder eyeshadow, and dark mascara to produce a fantastic smoky eyes effect. Once you have mastered how to do this your confidence will go through the roof and when your friends see what you have done on your eyes they will ask you every time you are going out with them if you will do their eyes too. I promise, just see!!
You will know what I am talking about!
The base colour should be a rich shimmery (not metallic) powder texture. Choose a shade slightly darker than your skin tone. You may choose neutral beige or grey colours for a soft and sophisticated look; or use a bright base for a dramatic look.
The contour colour must be a dark, matte, or slightly shimmery colour. Choose between dark brown, blue, green, or purple, depending on the colour of your attire. Use black with any outfit for a stunning effect.
You may add a third shade to your smoky eyes: a slightly shimmery highlight colour applied just under the eyebrows. This will enlarge the eye area and also soften any demarcation lines that remain after blending. Your normal facial powder can produce the same result if you are aiming for a more sophisticated look.
Choose soft black eye pencil or kohl for an enhancing all-around contour. Never use liquid eyeliner; it is for crisp lines, not the soft and sultry look we are aiming for here.
Black thickening mascara and stronger-than-usual eyebrows are in tune with smoky eyes makes.
Stay tuned tomorrow as we discuss on the right application for smokey eyes.
Lipstick make Up Team at Mori Sushi
The Lipstick Make Up Team had a fabulous night was had by everyone in Downtown Dubai. The event was t mark the opening of the new restaurant where over 200 people gathered to mark the occasion with amazing gives from the DJ, wonderful sushi, great makeup for the Lipstick make Up Institute Team. Many joined in the theme of the evening by wearing onesies which was just great fun to see.
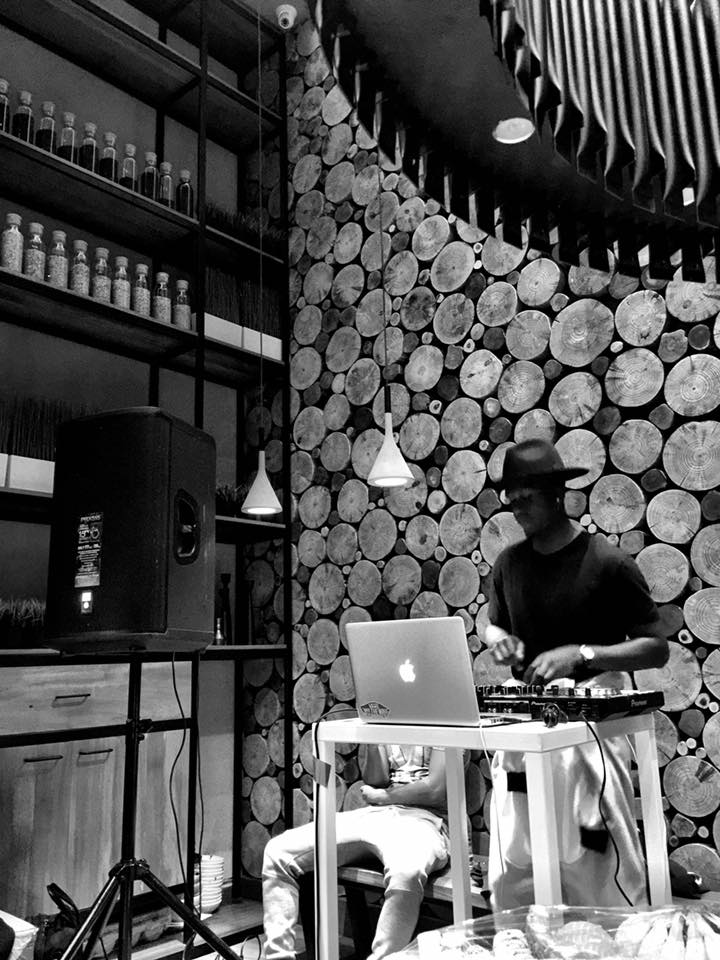

The flow of ladies just kept coming and were great sports and participated in all the nights fun.
Its amazing to see just how make up with the right technique can change a persons attitude and makes everyone feel part of a culture.
At The Lipstick make Up Institute we are always creating and having fun with our students on courses. Check out our Facebook page and see the diverse range of make up looks we do https://www.facebook.com/The-Lipstick-Make-Up-Institute-1660062514212667/
Our sister company : YH StudiosDXB http://yhstudiosdxb.com
Is part of the whole set up and this is why our students get the best of everything, make up, teaching, creativity, location shoots, studio shoots etc.
Check out our images, you will love them.
Our main photographer, Yasmin is from the UK and has been a photographer for over 26 years and works closely with the students so that they understand the relationship between make up and photography.
Please check out our courses. We have a range from 1 hour to 6 weeks. This is our passion too its not just a business, we do what we love and love what we do. Teaching is easy as our students really want to learn even if its just to learn how to apply their make up on themselves. Learn about contouring, Highlighting, how to apply the lipstick correctly. Its very thin line between applying make up correctly and un correctly. Get it wrong and the whole look does not work! You look like a painted doll. Call us on +971 52 83 49964 for advice on our courses.
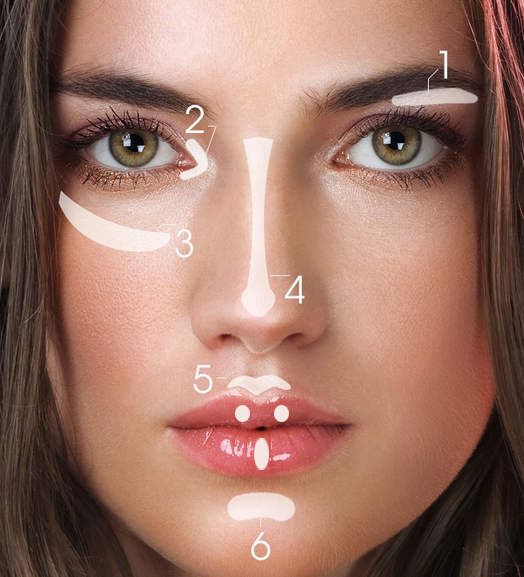
How to contour and highlight like the Hollywood Celebrities do
Want to look like a Hollywood Celebrity?
With these tips you can easily look like a million dollar woman.
Lets start:
Contoured cheeks and glowing skin add that extra something to a typical, everyday makeup look. A little highlighter can give you that celebrity glow and a little extra bronzer will give you that chiseled, model face that most of the celebrities loves to rock.
Add a little sparkle to your makeup routine with highlighter. A light dusting of highlighter on the top of the apples of your cheeks will make your skin look more radiant and will make you look more awake!
Take a bit of the lightest color on a fan brush, and gently sweep this highlighter right above where you would apply blush.
Don’t put highlighter too close to your under eye area as this can help highlight, or pinpoint, any under eye darkness! Also, be careful not to use too much highlighter. You want to avoid looking like a disco ball! Brush a translucent powder on top if you need to soften.
For contouring the face, you should go for a matte bronzer. Use an angled brush and start by deepening your temples. After that, find your cheekbones with a finger and apply bronzer directly under your cheekbones in a slant. Lastly, bronze up under the chin — and you will have a structured, contoured face.
Tip of the day: Build up your makeup, apply step by step and little by little in this case you can control the amount of the products you are applying to your face.
Dos and don’t in contouring and highlighting is our tomorrows topic…dont miss it!
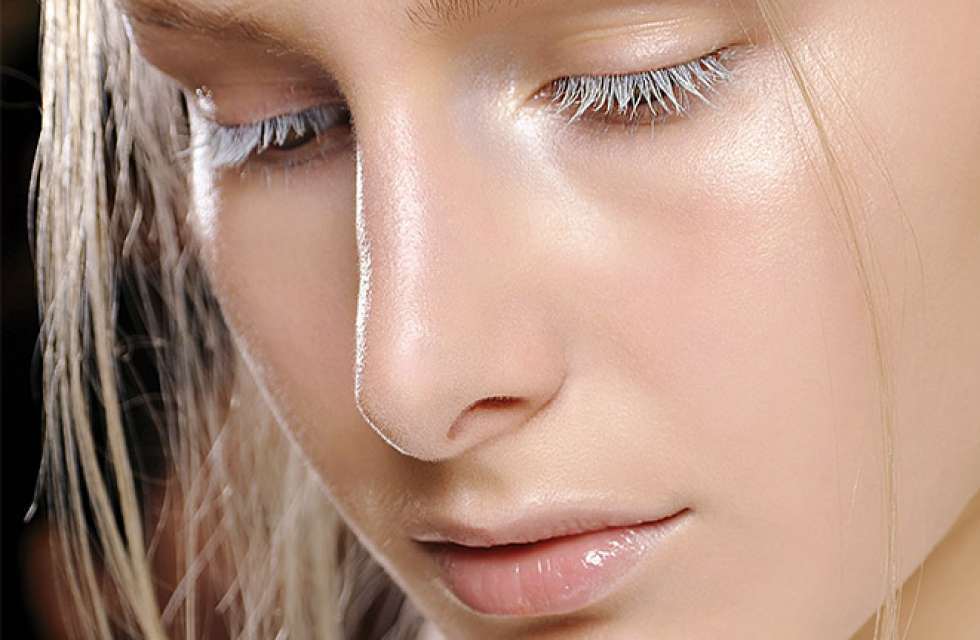
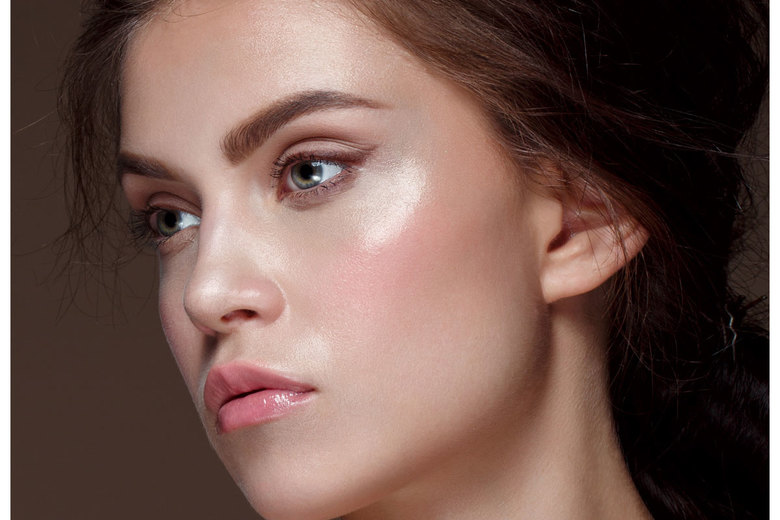
Strobing
What is strobing, you ask? It’s a fun term for highlighting, basically. Forget everything you learned about contouring (it was hard to master, anyway). Extra highlighting will give you a dewy, shimmery, more youthful glow. But because “dewy” can turn into “sweaty” super-quick, here are a few tips to keep you on the right track.
- Prep your skin with a hydrating moisturizer. Strobing is all about getting the perfect glow, so you’ll need to replenish dull, dry skin with a good moisturizer first. If you have naturally oily skin, use one that’s oil-free.
- Use a highlighter shade that best matches your skin tone. To avoid the frosted ’90s look, make sure the highlighter you’re using complements your skin tone for a subtle sheen.
- Only use the highlighter in spots that catch light: on your cheekbones, along your temples, down the bridge of your nose, below your brow bone, in the corners of your eyes, and above your cupid’s bow. This will enhance your natural features. Don’t spread the product all over your face, or else your glow will turn into a greasy mess. If you have oily skin, skip areas like your forehead or chin, which have a little shine already.
- After you’ve applied the highlighter, blend it out with your fingers, a fan brush, or a damp makeup sponge. To avoid blobs of product and obvious makeup lines, make sure you blend any harsh edges of highlighter so it fades into the rest of your skin.
5. If you have oily skin, opt for matte bronzer, blush, or other facial products, and only use a shimmery highlighter. To avoid looking like a disco ball, choose a matte formula for most of your makeup (primer, foundation, bronzer, powder). Avoid highlighting areas on your face that have breakouts — unless you want to spotlight your blemish.
Tip of the day: make sure that your skin is prepared on a right way for strobing. Clean it properly and make sure that its moisturised.
Use face scrub monthly once or twice to refresh the skin and remove the dead skin. The strobing is all about illuminators and highlighters it will show every imperfection on the skin.
Don’t forget to click on our blog tomorrow to learn more about the makeup steps!
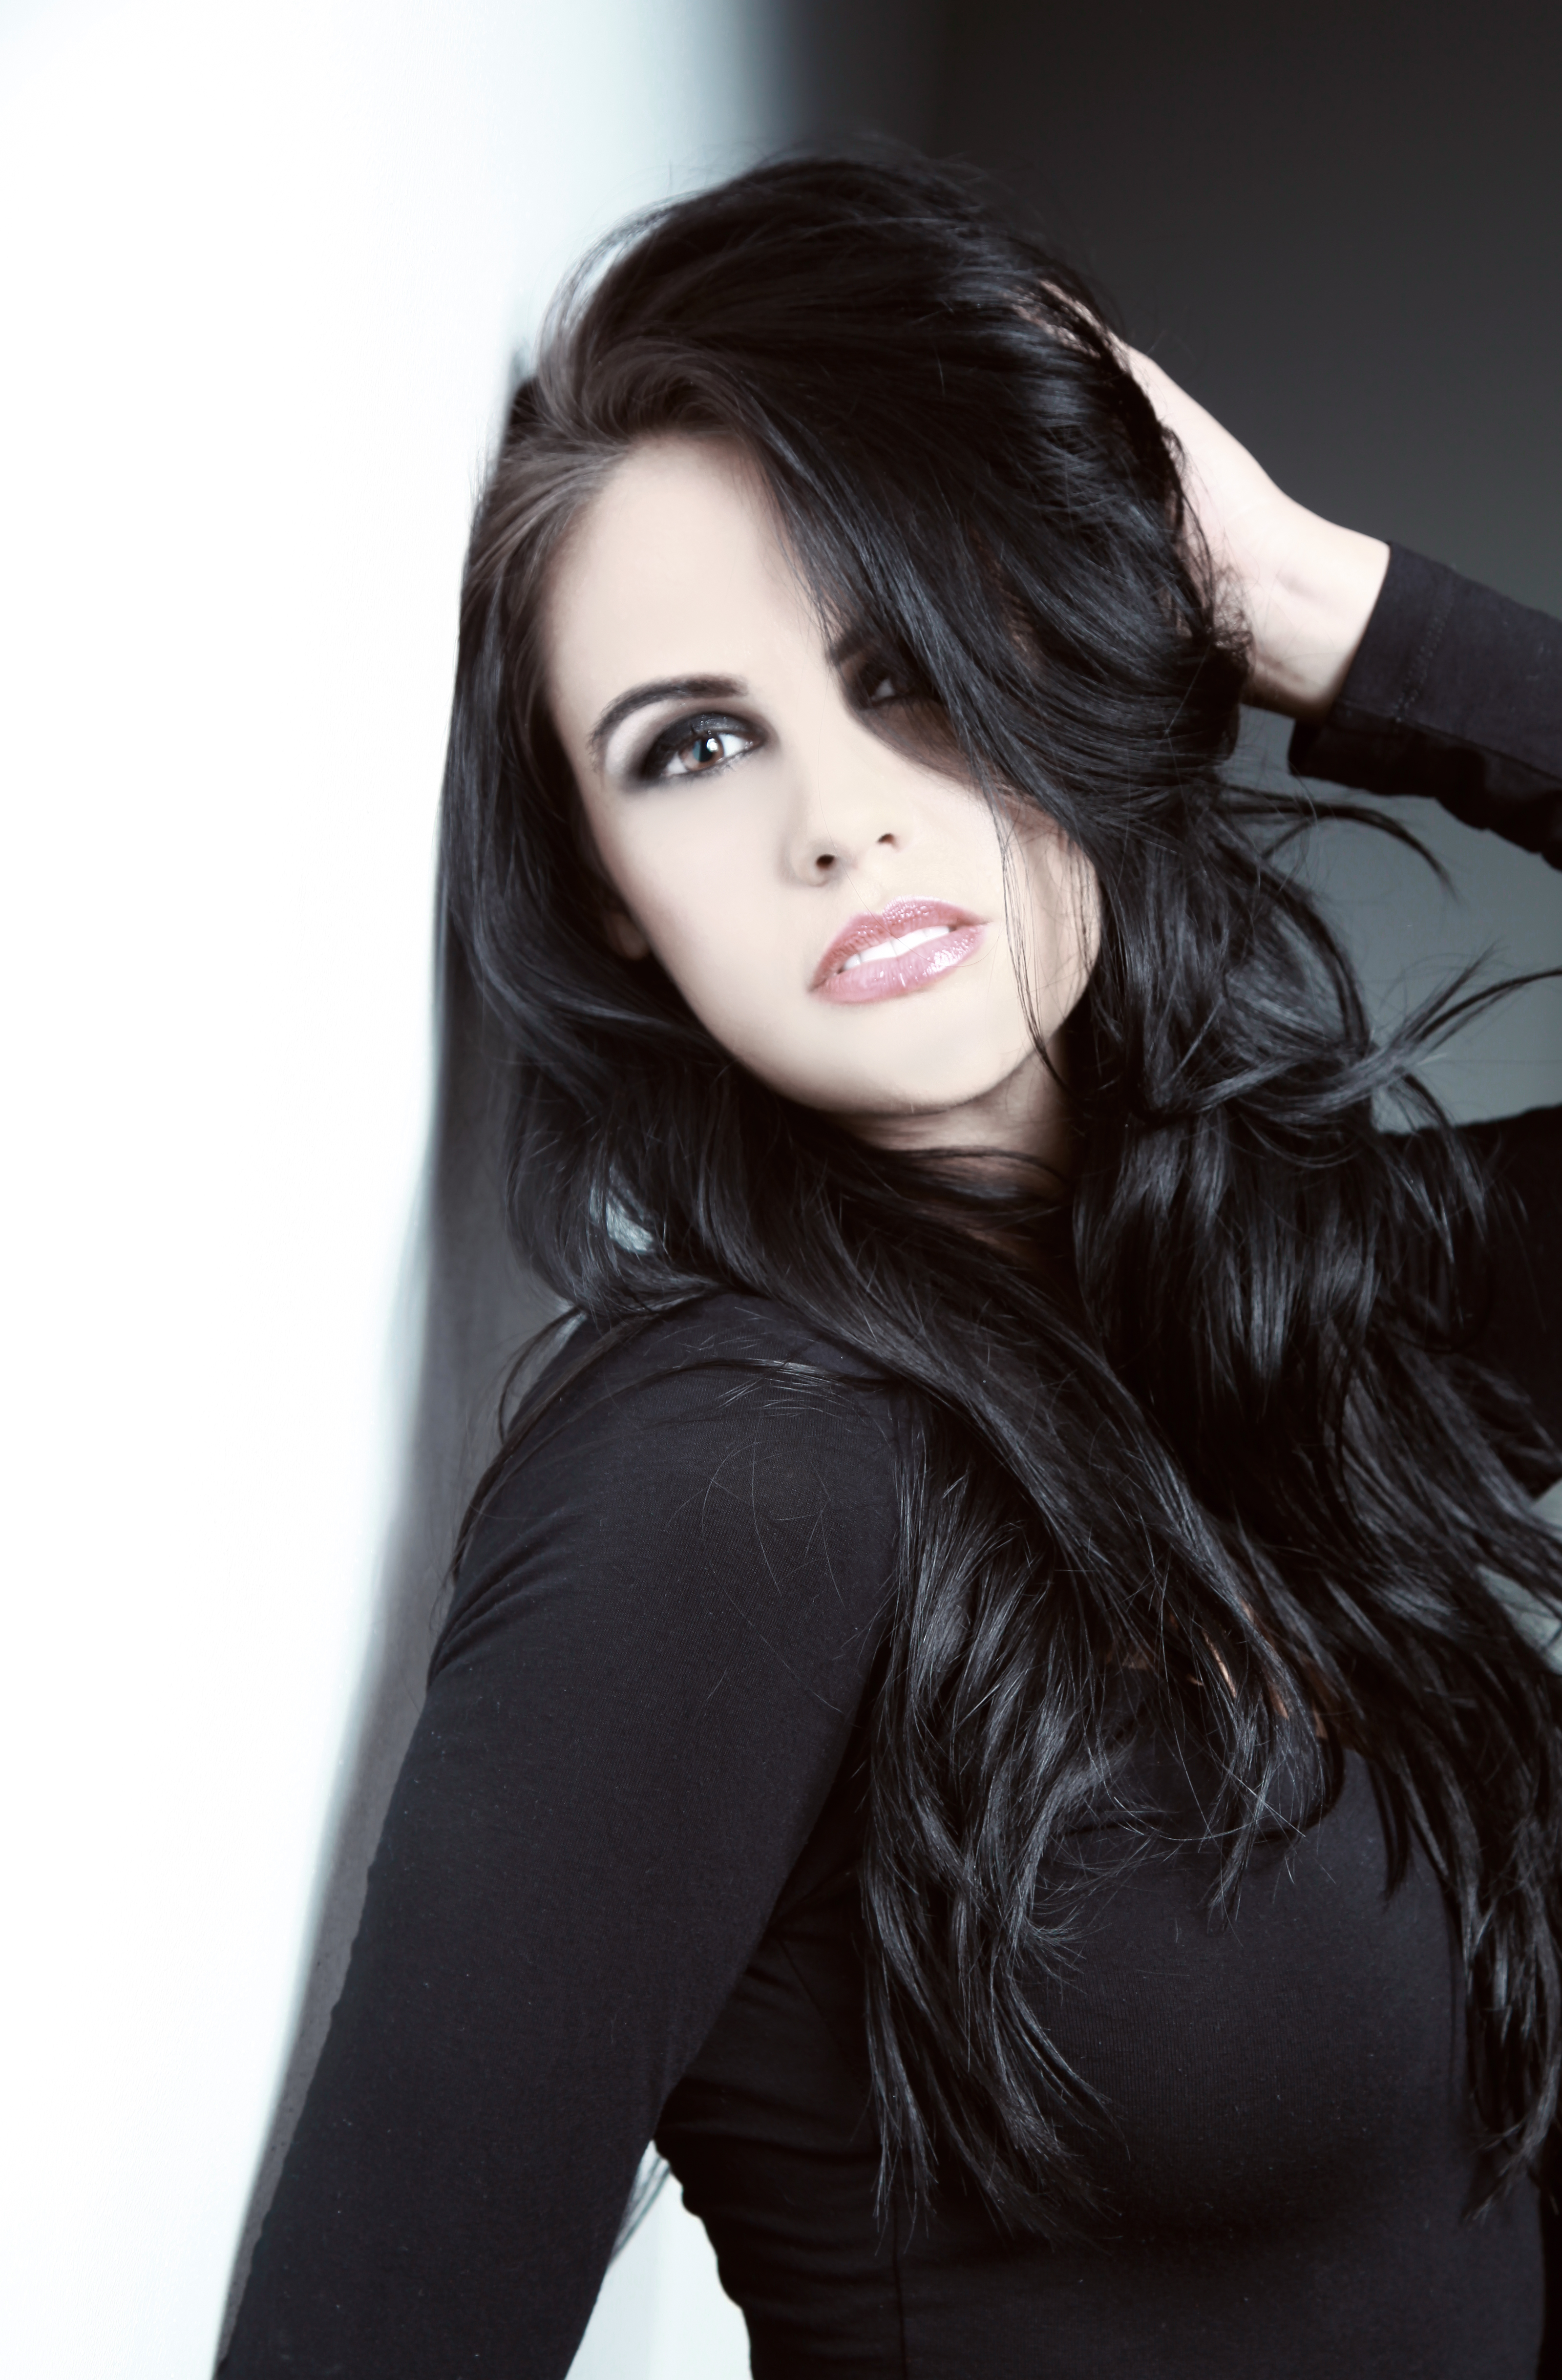
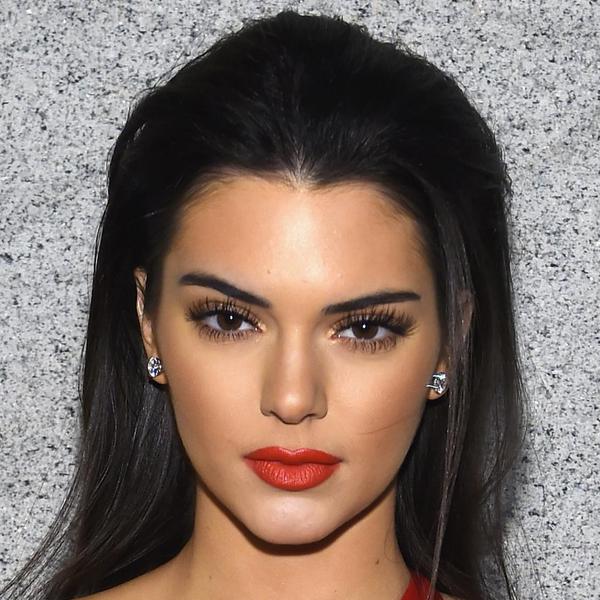
In love with the glamorous style
We all love that glamour its beautiful, bold and feminine.
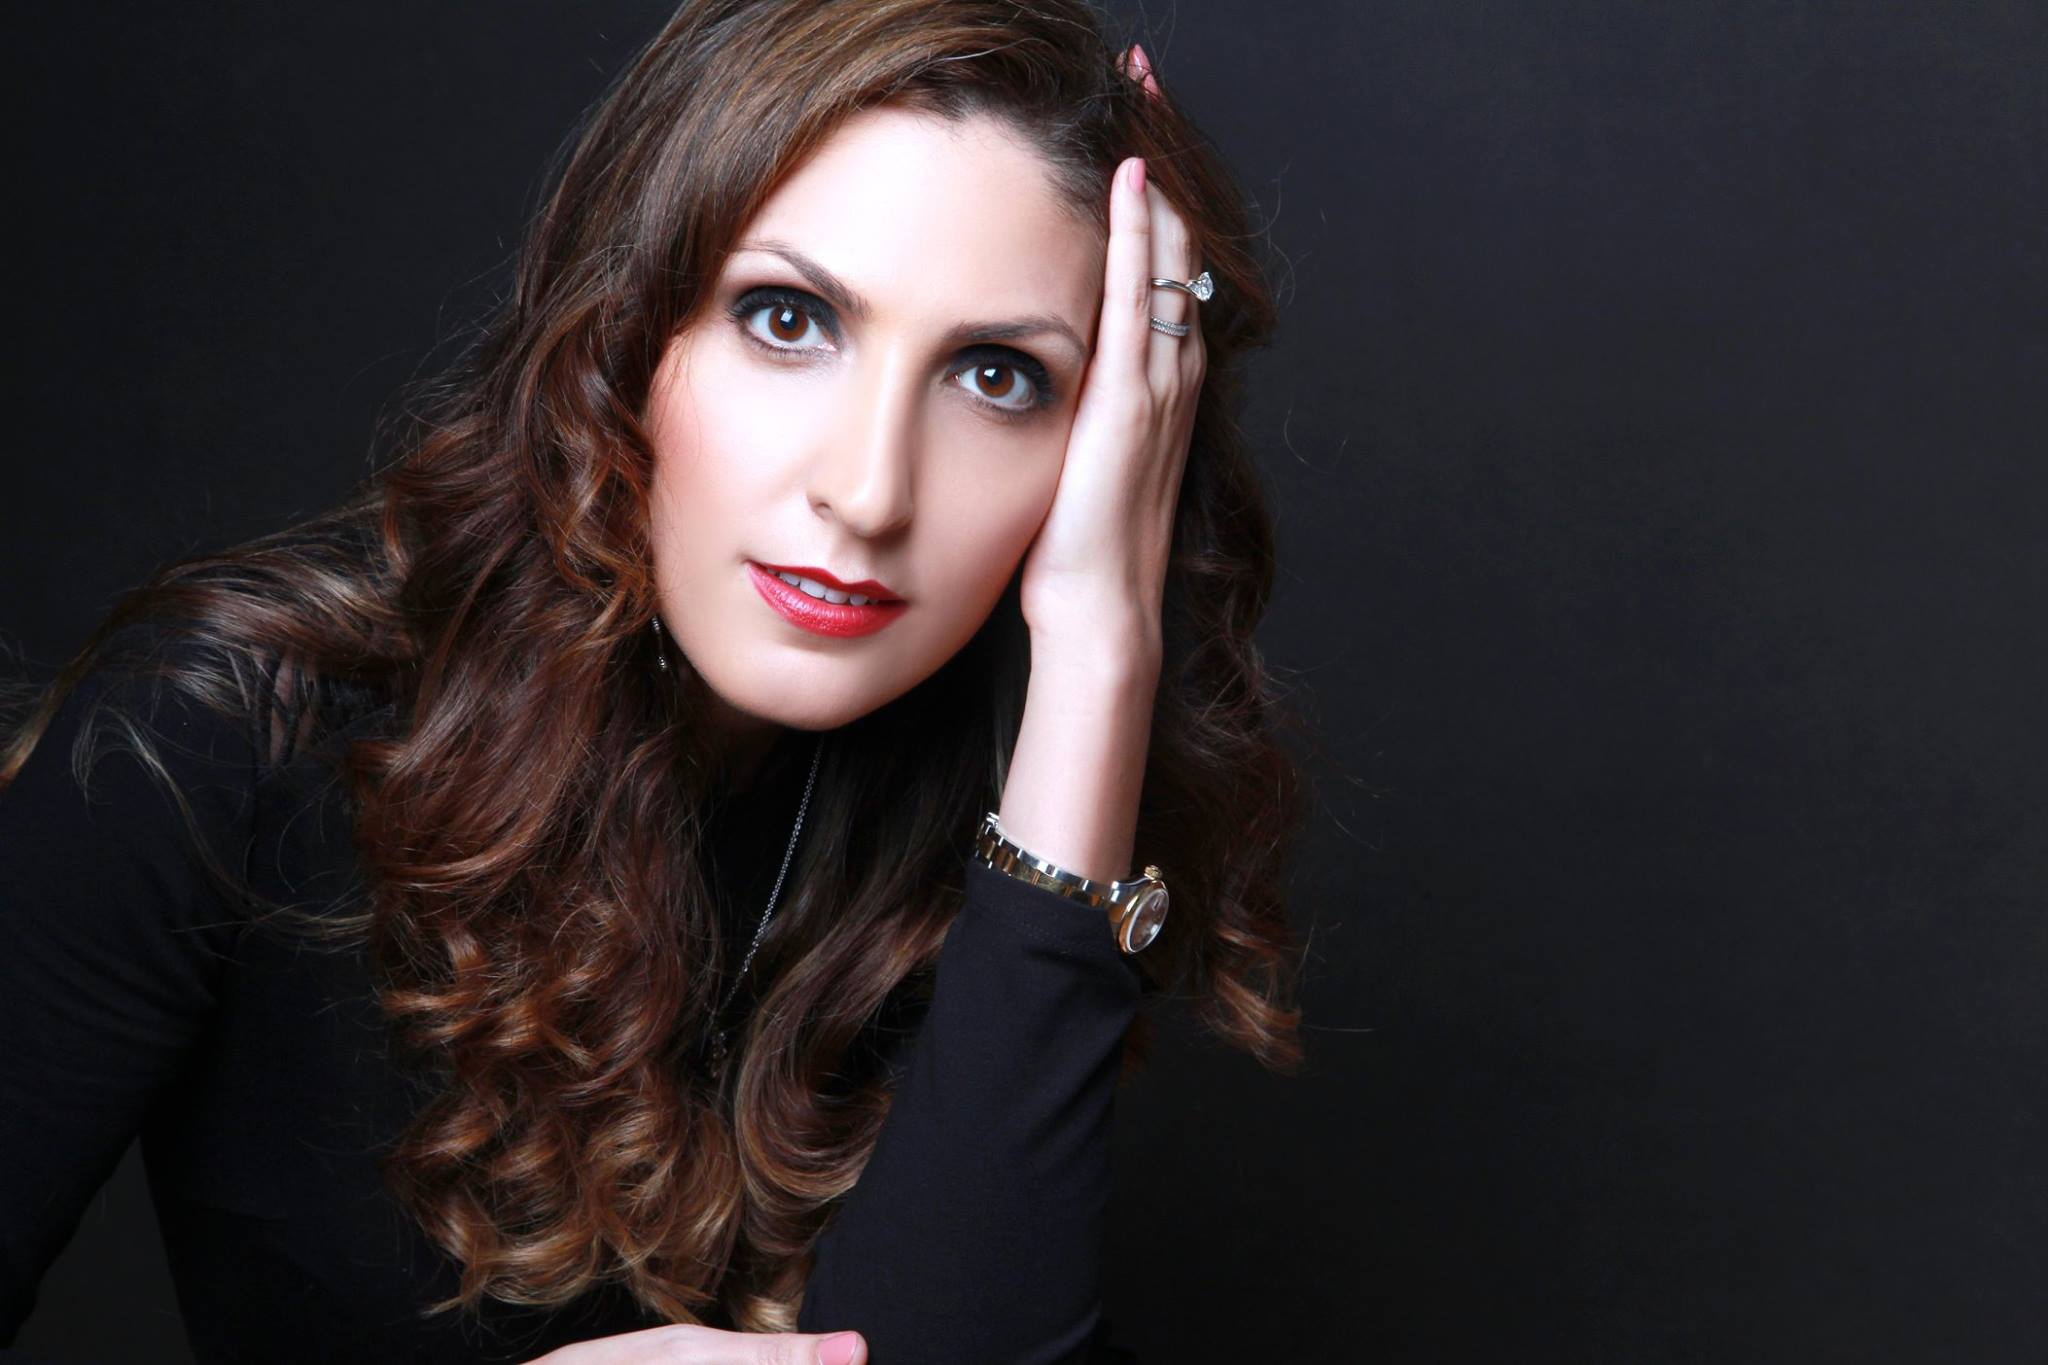
Smokey eyes and red lips??? 10 years ago we would say oh no, you can’t have Smokey eyes with Red lips on. There was a rule before in makeup that if you are working with dark colours on your eyes the lips will be light and if you have a bold lipstick on you will go light with eyes.
Ladies we can tell you its not the case anymore. One of the main style of the glamorous makeup is strong eyes and strong lips. If you know how to wear it and its clean and well blended just go for it.
On this picture we are showing a perfect example of this look black and brown smokey eyes with red lips. She looks gorgeous, classy and glamorous.