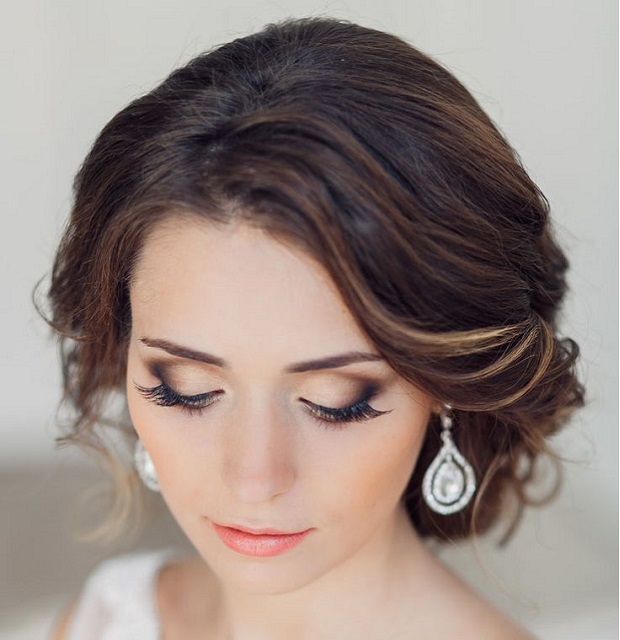
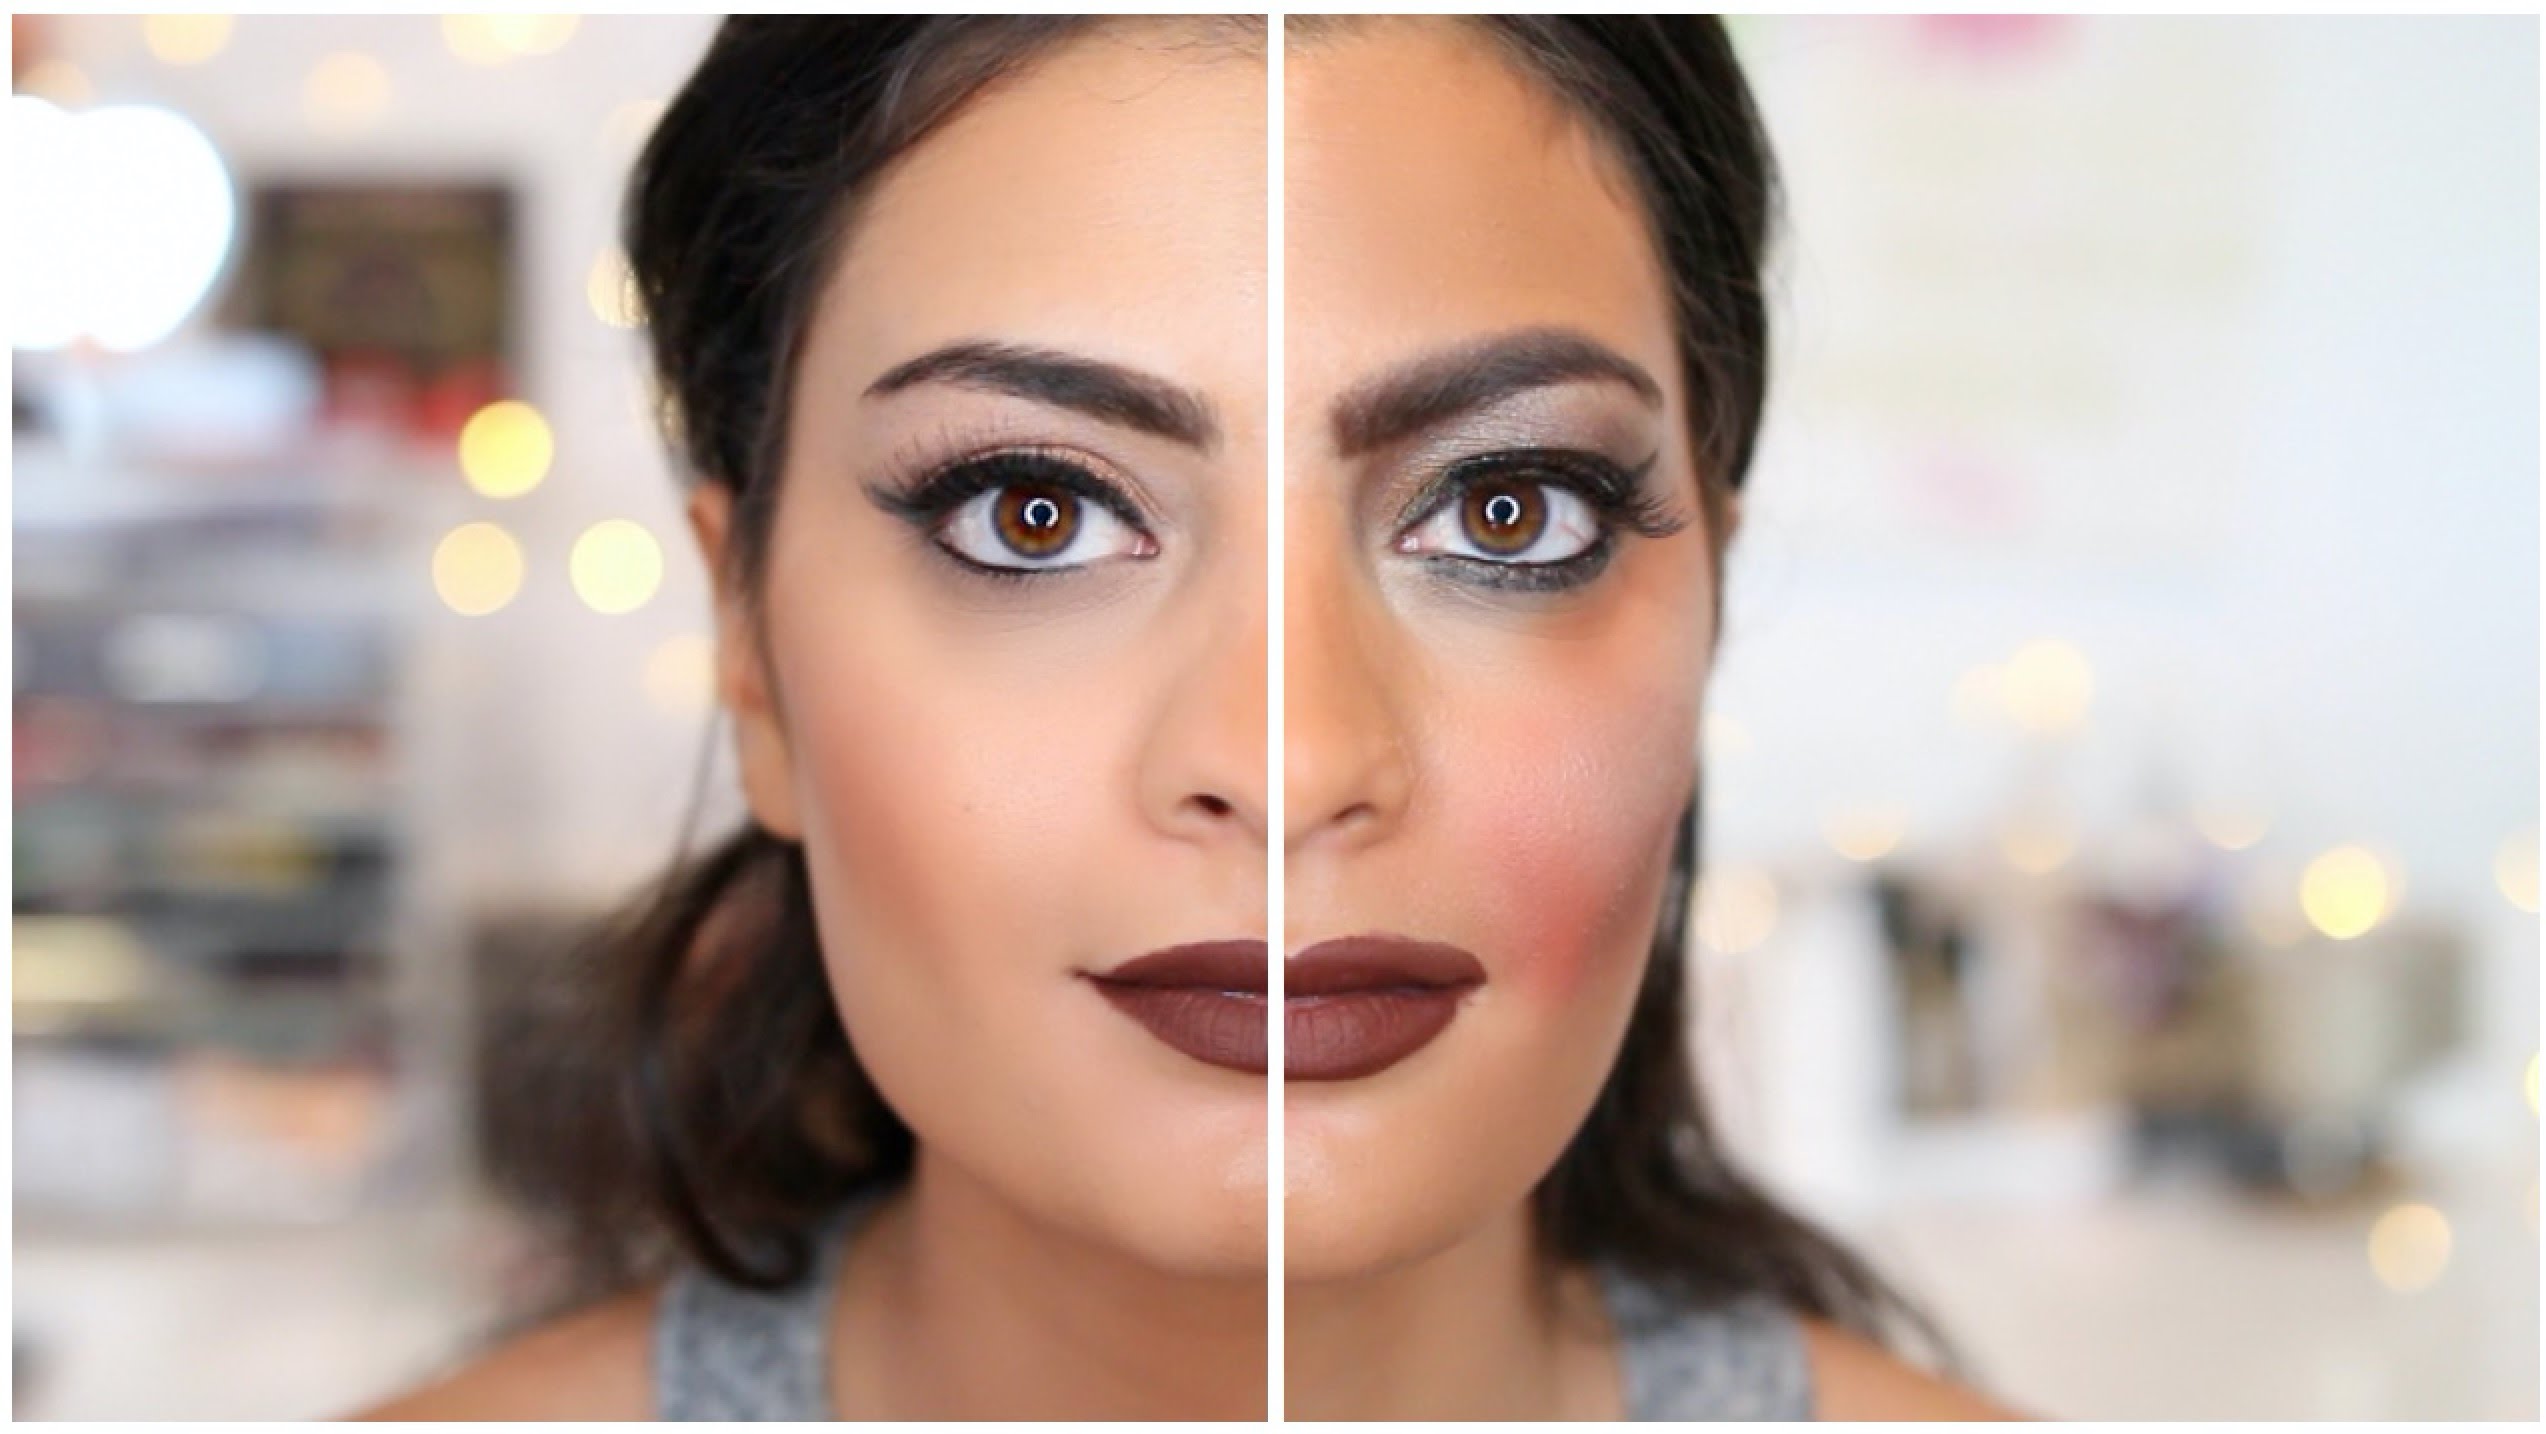
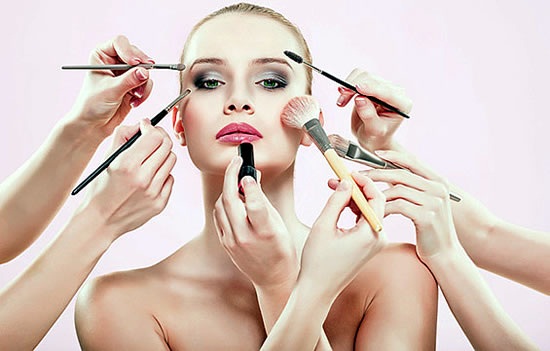
Tag Archives: Foundation

About Matte lips

Glossy VS Matte

maxresdefault-3

Yesterday we were talking about the luscious, glossy lips.

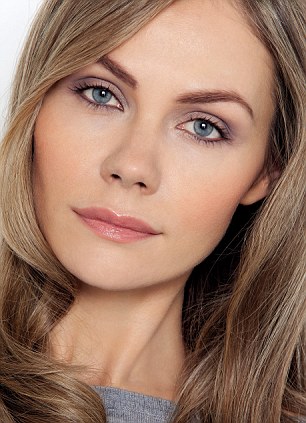
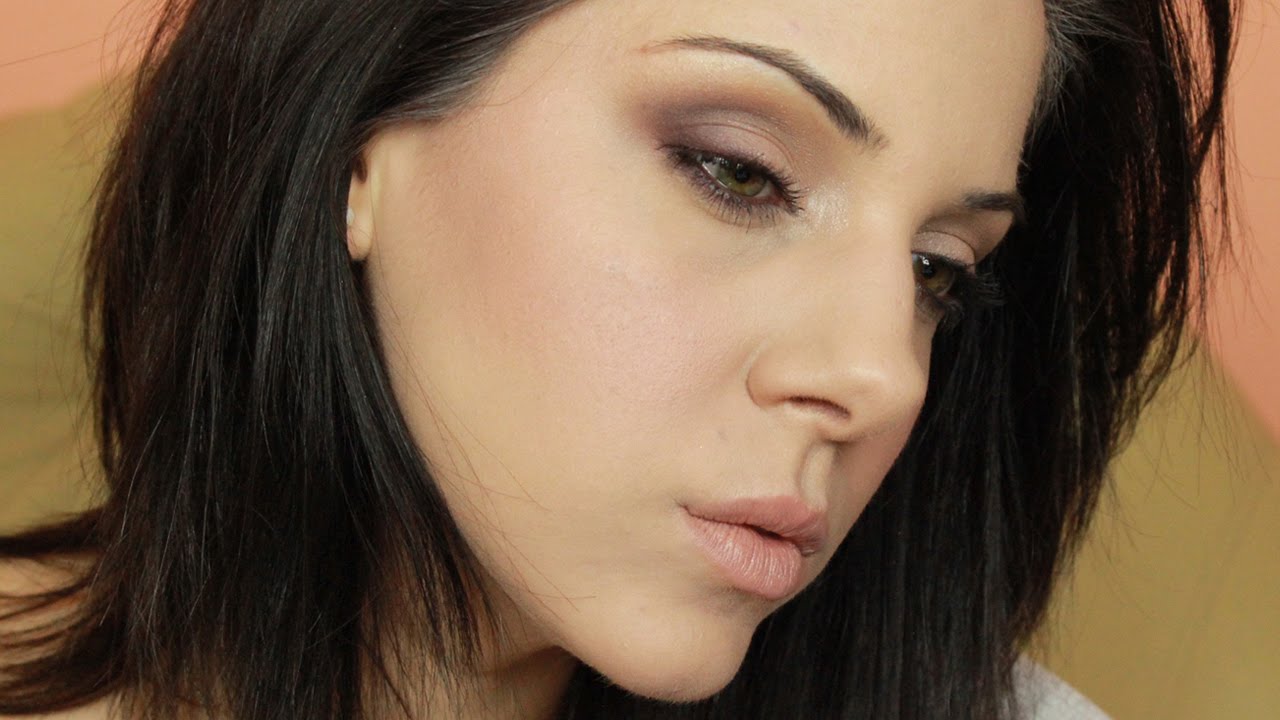
Todays topic is The Velvety Matte Lips.

MATTE-LIPS

The matte lips can be tricky.

Why?

Because if your lips are dry and cracked the matte lipstick will look really bad and cheap.

The same rules are on when you are prepping the lips for the matte lipstick.

  1. use a scrub to remove the dead skin
  2. lip balm or vaseline is a must
  3. remove the lip balm and make sure your lips are product free
  4. apply a bit of concealer to make sure your lipstick will last all night long
  5. apply lipliner! Its essential, because it defines the lips, you can be more precise and making your lipstick long lasting.
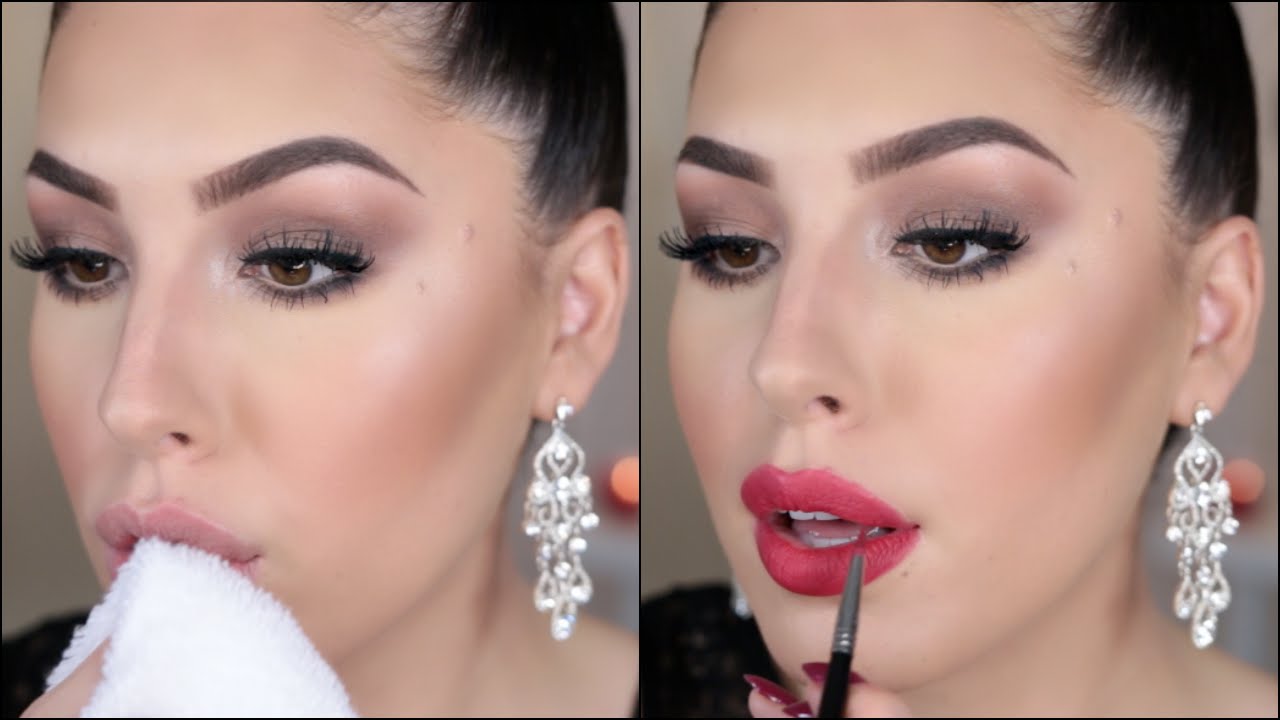
  6. fill up the lips with your matte lipstick. Use a lip brush in this case you will be more precise with lines and the lipstick will look rich and full. Also the lipstick will last  more longer. Do long and clean strokes with your lip brush. The texture of the matte lipsticks are more dry then the creamy ones its obvious because of the matte finish. We can suggest you the new Kryolan Matte Lipsticks. They are giving you the perfect matte velvety finish but at the same time the texture is not so dry.

Now its time to get on practicing.

The more you practice the better you will be in application the right lipstick colour and your lips will be perfectly defined.

lipstick-make-up

Thank you guys in tuning in!

Tomorrow we will talk about ombre lips stay with us to know more tips and tricks!

Lipstick do’s and don’t


Lipstick is an essential part of almost every woman’s daily makeup routine. However, many women shy away from the red tones they find in the cosmetic aisle. Fortunately, you can pull off those brave shades with a little lipstick know-how. Here are ten dos and don’ts of wearing red lipstick:


images-1


1. WEAR DARKER FOUNDATION.

If you’re going to go bold with your lip color, you’ve got to have a complementary backdrop for your face. For those with lighter skin tones, it’s a good idea to choose foundations that will provide darker, olive bases. Red lips can be too much of a contrast against pale skin. The darker your lips are, the darker your foundation should be.

2.DON’T BE AFRAID TO BLEND COLOURS.

Do you like the look of red lipstick, but think it might be too loud for you? There’s an easy solution: customize your shade. Simply take a lighter hue like coral or mauve and blend it with that rose or burgundy you’ve been eyeing. The result will be a more muted tone that nearly anyone will be comfortable wearing.

3. USE IT FOR THE RIGHT OCCASION.

While everyone loves red, luscious lips, the look isn’t appropriate for every social situation. Some of the deeper shades can be a little jarring to people you run into at the gym or the kids’ soccer game. Likewise, you want everyone to be listening to your business proposal at that morning office meeting, not staring at your lips. Only paint your kisser red when you know you’re dealing with a fun, playful atmosphere, such as a night out with the girls. Then, you’ll be one step ahead in painting the town red!

4. DON’T OVER DO IT.

If you want to avoid all the lipstick smudges and stains, you can start by only applying a light coating to your lips. This is especially important for red lipstick since it’s easier to spot on teeth and collars. Rolling once or twice around your lips should be sufficient to achieve the desired effect. For even more control of your coverage, spread the lipstick using a lip brush. Just remember that a little dab will do you.


_MG_4759


Thank you! for your time on reading the tips and tricks for today!

Tomorrow we will talk about the lipgloss when and where to wear it!


Look gorgeous in 10 minutes

Rush, rush all the time.

We never have hours to spend in front of the mirror to do our makeup.

We are here today to give you some awesome tips how to enhance your beauty in only 10 minutes for daytime look

1. Use Kryolan Supra or Derma foundation  to get a perfect coverage yet natural look. Apply the foundation with wet latex sponge, dab into your skin to get a flawless look. This will take you 2 minutes.

2. Our foundation is super good so for daytime no need to correct and conceal. In the case you have extremely dark circles then you can dab a bit of corrector under your eyes and conceal it in 1 minute.

3. Daytime look is all about natural appearance don’t forget this while you are filling up your eyebrows! Don’t over do them! Use 2 or 3 shades lighter eye shadow to fill up your eyebrows it will take you 1,5 minute

4.Eyes. The same situation is with the eye makeup. Keep the eye makeup simple and fresh. Use light, matte colours. Avoid shiny base for daytime. Creams, beige, sand, browns are perfect for daytime makeup.

Use your all over brush to add a matte base to your lid.

With your fluffy blending brush swipe a bit of brown in your crease line and soften it just to add a bit of definition to your crease.

Take your angled brush, wet it and draw a very thin line on top and bottom lash line with a dark brown eyeshadow. Take the smudge brush and smudge that thin line.

Apply 2 layers of mascara

If you are a really experienced makeup lover this will take you 5 minutes!

5. Cheeks. Blusher is one of the most important elements of the fresh daytime look. Get a peachy – orange blush on your blusher brush and swipe it over on your cheek bones. Gently just with a very soft touch. With this step you will give more glow and live to your face and you will looks fresh immediately. 1 minute of your time

6.Lips. Apply gloss over your  lips. The gloss will make your lips look full and juicy it will take 1 minute of your time!


And here you go … you look fresh and flawless in just 10 minutes!

article-0-152E6976000005DC-500_306x423


maxresdefault-2

Practice your daily routine 10 minutes makeup and you will never be late to your work.

These steps are useful, easy and practical.

Stay with us  tomorrow as we will talk about the lipsticks and their different application techniques

Stay tuned


Dos and don’ts in your makeup routine

How does your makeup routine look like?

I believe all of us we have some different habits about makeup application.

Basically there are no rules in makeup. All you need is a clean makeup, stylish and well blended!

Lets start with the Dos:

1.Make sure you take care of your skin. This is the first DO!

Use a scrub monthly once or twice, face cleaning gel or foam, toner every day and moisturising cream.

2. Start your makeup on a clean and moisturised skin.

3. Always try the foundation on your face near to the jawline area to check the colour.

4.Apply the foundation in thin layers

1_1384507824_640x640

10-Makeup-Dos-and-Donts-6

bridal-makeup

daf0b7845d6a7ae22c5984d7be4e2ecf


5.Try to use thin layers if you use cream contours and highlights

6.Use Translucent powder instead of pressed powder

7.Use 3 shades lighter shadow on your brows than your brow colour

8.Use matte eye shadows for daytime look

9.Apply peach-orange tones on your cheeks giving you immediate fresh look

10. Glossy lips look more healthy than matte ones, don’t forget to apply a lipgloss for the nice finishing

Now lets see the DON’TS

1. Don’t over draw your natural lips.

2.Don’t apply blush to your cheeks without blending

hqdefault

3.Don’t forget to wash your makeup off at night

4.Don’t go crazy with drawn-in-eyebrows

5.Don’t be afraid of a little sparkle and glitter.

dd1

dd2

6.Don’t be extreme with your concealer shade.

7.Don’t wear clumpy mascara

8.Don’t get stuck in a rut with your makeup routine

maxresdefault

9.Dont be afraid to experiment with different colours

10.Dont panic if you made mistakes you can always work with mistakes and fix them but if not you will take off the makeup and start again. Makeup is not a plastic surgery you can always start to apply it again and again!

After the tips what and how to do the conclusion is

-Less is always more

-Keep your makeup simple

-The right foundation colour is one of the most important things in makeup

– Blend, blend and blend

-Always keep your makeup clean. No mascara smudges and dark patches under the eyes because of the dark eyeshadows


Practice makes perfect so don’t give up after the first or second fail! The makeup can always be better!


Click on our blog tomorrow as we will give you some awesome tips how to look gorgeous just with 10 minutes makeup

See you


The Lipstick Make Up Institute on set of Tv Show!

The Lipstick Make Up institute Team are on set for the next 3 days of TV show Colors Cric Quiz 2016 In asspocaition with Studio House Video Domination. Proud of what we are achieving!

Today Studio House tomorrow Azerbaijan !! We are trying our best for all the girls who form our Teams. Lets see where it gets us guys!


We are trying to branch out and do everything we can to show case case our skills so from teaching make up and make up artists to fashion shows, models portfolios, advertising adverts, documentaries, tv shows, tv quizzes, you tube videos, real life fly on the wall shows to anything and everything that involves media , make up and photography.


If you like what we do and we are about then please apply to come on one of our courses or even come one of the team.


We are always looking to expand our network of great make up artists as there are a lot out there who claim to be and are not! People know that when the book a lipstick Team that we only have the best and all through my life I knew that Quality speaks for itself!


Only yesterday we  were contacted by the Director of Oriental Fashion Week which will take place in Paris, Europe in July to see if I could bring my Team over to look after the models! Great compliment! She said that she has seen what we have been doing and would love for us to take this role!


This is what being professional, efficient and great at your job does for you and all the girls that are selected to be in our teams are just that! True Professional and there is nothing more pleasing to know that in whatever walk of life you are in the hands of a professional!


We certainly have standard at Lipstick!


13235107_10154211592275789_148198425445806387_o 13305207_10154211592280789_8689856941649206974_o 13321871_10154211592765789_6041766278936437625_n IMG_0390 IMG_0399


Makeup steps

How to start your makeup application?

Foundation first or eye makeup?

As you are checking the You Tube videos you will see so many different makeup application techniques and definitely you will be confused.

Makeup-tips-for-beginners
makeup steps

We are here to help you sorting out this confusion.

So lets see the makeup steps:

  1. Make sure your face is clean, the makeup will look much better on a clean skin than to add some makeup on to the existing makeup.
  2. Use a toner, the toner cleans up your skin perfectly, refreshing it and closing the pores, basically preparing your skin for the makeup application.
  3. Moisturise, especially if you have a dry skin!
  4. Depending on a foundation type apply primer. The primer will  prepare your skin for a foundation and will make your makeup lasting longer.
  5. Apply foundation, all over the face, eyelids, under the eyes, blend it to the neck area also.
  6. When is the foundation perfect? When you can’t see it because none wants to see the foundation just the flawless skin, forget about the caked up, mask effect foundation! That is out of trend for a long time.
step-by-step-makeup-tutorial
makeup application


7. Correct the skin imperfections. Most of the time we are mixing up the correctors with concealers. The correctors are in colours (yellow, peach, green and orange) and are useful in correcting the dislocations on  our face.

8.Then conceal it! Because of the concealers your skin will be green or orange depends what colours are you applying you have to conceal  it. That means the concealers are skin colours.

9.Contour and highlight and of course blend it!

make-up-tips-to-conceal-double-chin
contours and highlights

10.Set your base with a translucent powder

The-Ultimate-Steps-to-do-Your-Makeup-Flawlessly6
translucent powder

11.Start with your eyebrows in this case you can make sure that you won’t miss any part of your face

Perfect-Makeup-in-10-steps-by-Bobbi-Brown7
eyebrow correction

12.Apply the eye makeup

Make-up artist applying white eyeshadow in the corner of model's eye and holding a case with eyeshadow on background close up
eye makeup application

13. Blusher

beauty-tips-for-applying-makeup
blusher application

14.Lipstick

maxresdefault
lipstick application


Now you have a question why in this order?

There is a logical explanation for this.

When you start with a foundation you do 60% of the job and you will have a flawless canvas to work on. All the eyeshadow colours will show much better on the already corrected skin. Even if you do a smokey look or working with dark colours you can easily avoid the fall outs by applying translucent powder under the eye area before starting with eye makeup.

This technique is faster and more efficient all you need is to practice

Stay with us tomorrow as we will talk about dos and donuts in your makeup routine !

Have a nice day ladies

All about false lashes and how to apply it

12605495_1751012468451004_8182255944933402758_o
 1
 Size the lashes. Before gluing the lashes on, you will need to make sure they are not too wide for your eye. Hold the lash strips up against your eyelid, and trim them down on the sides if necessary.
  • If the lashes are too long for your personal taste, consider trimming the individual lashes down to achieve a more natural look. Lashes should be longer toward the outer corner of the eye

2

Apply the lash glue to the outer seam of the eyelash strip with an applicator or small brush. Allow the glue to dry for a moment before applying it to your lashes.

  • Alternatively, you can squeeze a thin line of lash glue onto the back of your non-dominant hand. Then, gently run the outer seam of the eyelash strip along it.
3
Place the strip on your eyelid, positioning it as close as possible to your natural lashes. Bring the strip down from above, not from the front. This is to ensure that you get as close as possible to your lashline.[1]
4
Allow the glue to dry naturally. Once the strip is in place, you do not need to press or hold it.
5
Apply mascara to your lashes. This will help blend your natural lashes with the false ones, achieving a more natural look. You can use black, brown, or dark gray mascara.
6
Apply liquid eyeliner along your upper lids. Be sure to fill in any gaps between the false lashes and your own to make them look more natural. Use black, brown, or dark gray liner.
7
Use makeup remover to remove false lashes. Dip a q-tip in eye makeup remover and gently rub it along your lash line. Allow the remover to sit for a minute, and gently pull off the strip.
images-2
images-1

Thats all for today my ladies!

Tomorrow will learn about blusher application

Don’t miss it!

How to apply Kryolan Eyeliner the best possible way.


All about eyeliner!  What’s that you say? You already know all there is to know? We thought so too. That is until we learned these 8 unique tips, tricks, and facts.


We will guide you as to what is the best eyeliner to use and for what occasion.


Get it right and you will look amazing but get it wrong and an in perfect line or application then it will spoil the whole look!

1. White eyeliner can make your eyes look more awake. Swap your regular black pencil for white when you’re looking a tad on the tired side and say good morning to brighter eyes.

2. Dark eyeliner was actually created, in part, to protect people from the harsh rays of the sun. So, if anything, you have an excuse for owning ten identical similar shades of black eyeliner. But don’t forget: there’s no substitute for SPF!

3. Winged eyeliner can be worn on both top and bottom lash lines—at the same time! Choose two contrasting colors for an edgy makeover and read this tutorial for instructions.

4. Ever mess up on your liner look (hello, eyes that are suddenly two different sizes)? No worries, simply apply makeup remover to a Q-tip to erase the error without smudging or starting over.

5. Connect the dots instead of sweeping liner on for more precise results. Just dot with cream liner and connect with a smudge brush for perfect liner, every time.

6. You can use more than one eyeliner color at once—trust us. In our Rock Doll makeup tutorial, Emma Willis shows us how to rock three liners at once for a dramatic evening look. Try it out and report back!

7. Purchase a less-than-effective eye pencil? Instead of returning it, take a cue from ladies of the 80s: swipe it over an open flame to heat it up and it will glide right on. Quick tip: this trick works well for dramatic liner looks, too.

8. Getting a winged eyeliner look is way easier than you think. Choose which two-step process is right for you and voila—pro eyes in seconds!

9. Waterproof Mascaras.

Waterproof liquid liner enables you to create a variety of eye-opening effects—from thin, precise lines to thick, dramatic looks. The formula glides on with ease, dries quickly and won’t smudge or run day-into-night.

The fine marker-like tip offers precise application for everyone from novices to pros and results in beautifully defined eyes that will leave a lasting impression.

Benefits:

  • Waterproof and easy-to-use
  • Goes on smoothly without skipping, smudging, or pulling
  • Lasts all day long!


images
Eyeliner Pencils
images-1
Eye Make Up palette
Unknown
Perfect Eye Liner


Stay tuned for tomorrow as we discussed all about Smokey Eyes!


Eye makeup for brown eyes

With brown eyes basically you can apply any colour whatever you have in your mind, eye make up for brown eyes leaves so much room for neural colours to be explored.

The magic  is in mixing up the right colours when using any sort of make up.

You can’t go wrong with neutrals.

Going for a dinner but you donate know what colour of a dress you will be wearing?

Preparing yourself in the morning for a business meeting and you want to look just perfectly made up for this occasion?

Use neutral colours

-cream

-white

-beige

-champagne

-brown

-grey

-black

These colours will always look good on you and will suit to any skin colour.

Natural shades

_MG_4946


Strong eye makeup on brown eyes will make them look more shiny and lighter.

Use:

-dark brown

-black

-dark grey

With a nice dramatic smokey look your eyes will look wider, more shiny and lighter. Perfect wear for parties and going outs.

IMG_7246


If you don’t want to stick to neutrals just go for some crazy colours on your beautiful brown eyes.

A quick tip for mixing up the colours:

whatever colours you have in your mind to use you can always add beige, cream or brown  to your eye makeup. Now there is a question why? These neutrals are perfect for mixing in to the other colours like pink, purple, green, blue, peach etc.

All the brown eyed beauties can experiment with colourful makeup, don’t be afraid of trying out different colours.

On brown eyes the following colours can look really good when you are mixing them up with the right colours:

-peach

-pink

-purple

-green

-navy

-blue

-grey

If you want to go for some crazy creations:

-red

-yellow

-orange

last copy

All these colours are not the only colours on your eyelid, you will mix them up with a bit of black and brown and with some creams and champagnes.


Tip of the day:

The more colours you will mix in your eye makeup the more unique look will you get.


Don’t forget to click on us tomorrow…. will be sharing tips and tricks of the mascara application and fake lashes


Stay tuned!!


Lipstick make Up Team at Mori Sushi

The Lipstick Make Up Team had a fabulous night was had by everyone in Downtown Dubai. The event was t mark the opening of the new restaurant where over 200 people gathered to mark the occasion with amazing gives from the DJ, wonderful sushi, great makeup for the Lipstick make Up Institute Team. Many joined in the theme of the evening by wearing onesies which was just great fun to see.


13165838_10154174476410789_2969522255021587379_n 13179283_10154174262770789_347042618329332072_n 13139378_10154174262595789_1018303765613302399_n

The flow of ladies just kept coming and were great sports and participated in all the nights fun.

Its amazing to see just how make up with the right technique can change a persons attitude and makes everyone feel part of a culture.

At The Lipstick make Up Institute we are always creating and having fun with our students on courses. Check out our Facebook page and see the diverse range of make up looks we do https://www.facebook.com/The-Lipstick-Make-Up-Institute-1660062514212667/

Our sister company : YH StudiosDXB                http://yhstudiosdxb.com

Is part of the whole set up and this is why our students get the best of everything, make up, teaching, creativity, location shoots, studio shoots etc.

Check out our images, you will love them.

Our main photographer, Yasmin is from the UK and has been a photographer for over 26 years and works closely with the students so that they understand the relationship between make up and photography.


Please check out our courses. We have a range from 1 hour to 6 weeks. This is our passion too its not just a business, we do what we love and love what we do. Teaching is easy as our students really want to learn even if its just to learn how to apply their make up on themselves. Learn about contouring, Highlighting, how to apply the lipstick correctly. Its  very thin line between applying make up correctly and un correctly. Get it wrong and the whole look does not work! You look like a painted doll. Call us on +971 52 83 49964 for advice on our courses.