Tag Archives: flawless

Our lovely Successful Student from Silver Media Make Up Course.

Another beautiful souland successful student  has just  passed  through, “The Lipstick Makeup Institute” has successfully fulfilled her course and departed armed with knowledge and  skills that will see her through her next phase of life as a successful make up artist.

Our lovely Tatiana was graceful enough to have chosen Lipstick to educate her and fuel her with the knowledge that she will only get from educators who really understand their field.

In this industry there are a lot of so called , “Make Up artists” out there who don’t know anything! That isn’t me just trying to make out that we are better than anyone else I am just stating a fact.

Tatiana just finished , The Silver Media Make Up course.

Here is the description of the Course, if you are interested.

Silver Make Up Course (5 days 30 hours)

Creative make up course:

  1. Fantasy make up
  2. Avant-garde make up
  3. Special visuals make up
  4. Face (body) painting make up
  5. Stage make up

 What the students get:

A course booklet which provides step to step guides

Professional set of brushes to use whislt on the course

All make up will be provided by the school

Set of products worth AED500

Opportunity to work with professional models

The rare chance to work in a professional operating studio

Working with professional photographers

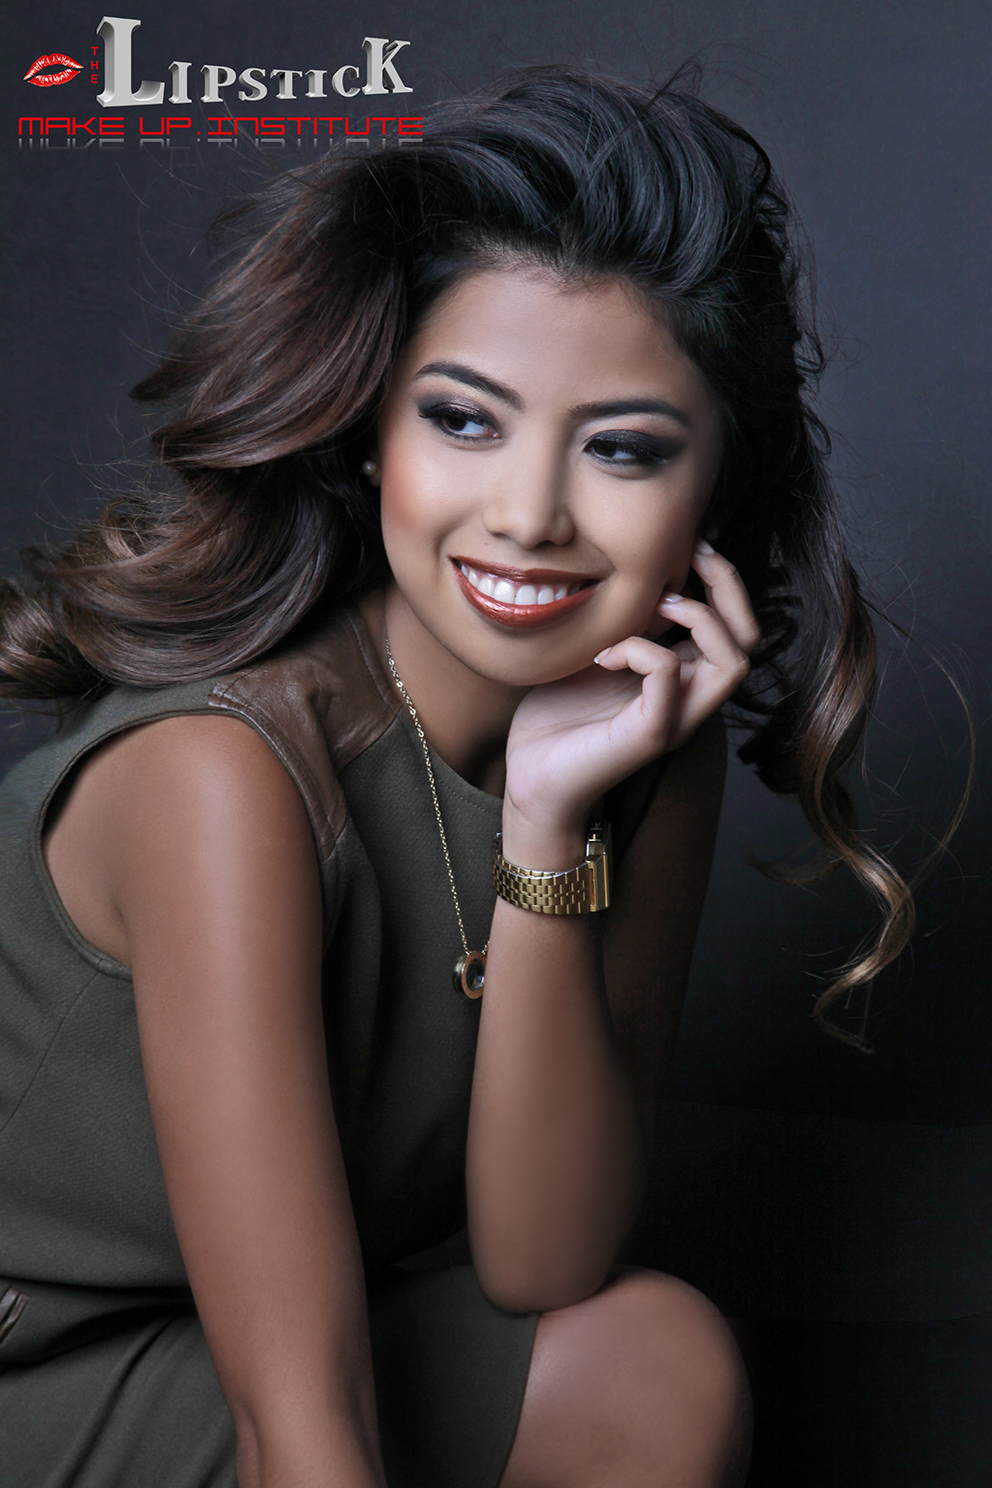
3 professional photo of the students work

After completing the course our students are entitled for huge discounts with different brands

            International Certificate

The Silver make up course is for a make up artist who wants to improve its skills in the creative make up field.

Previous knowledge in make up is required.

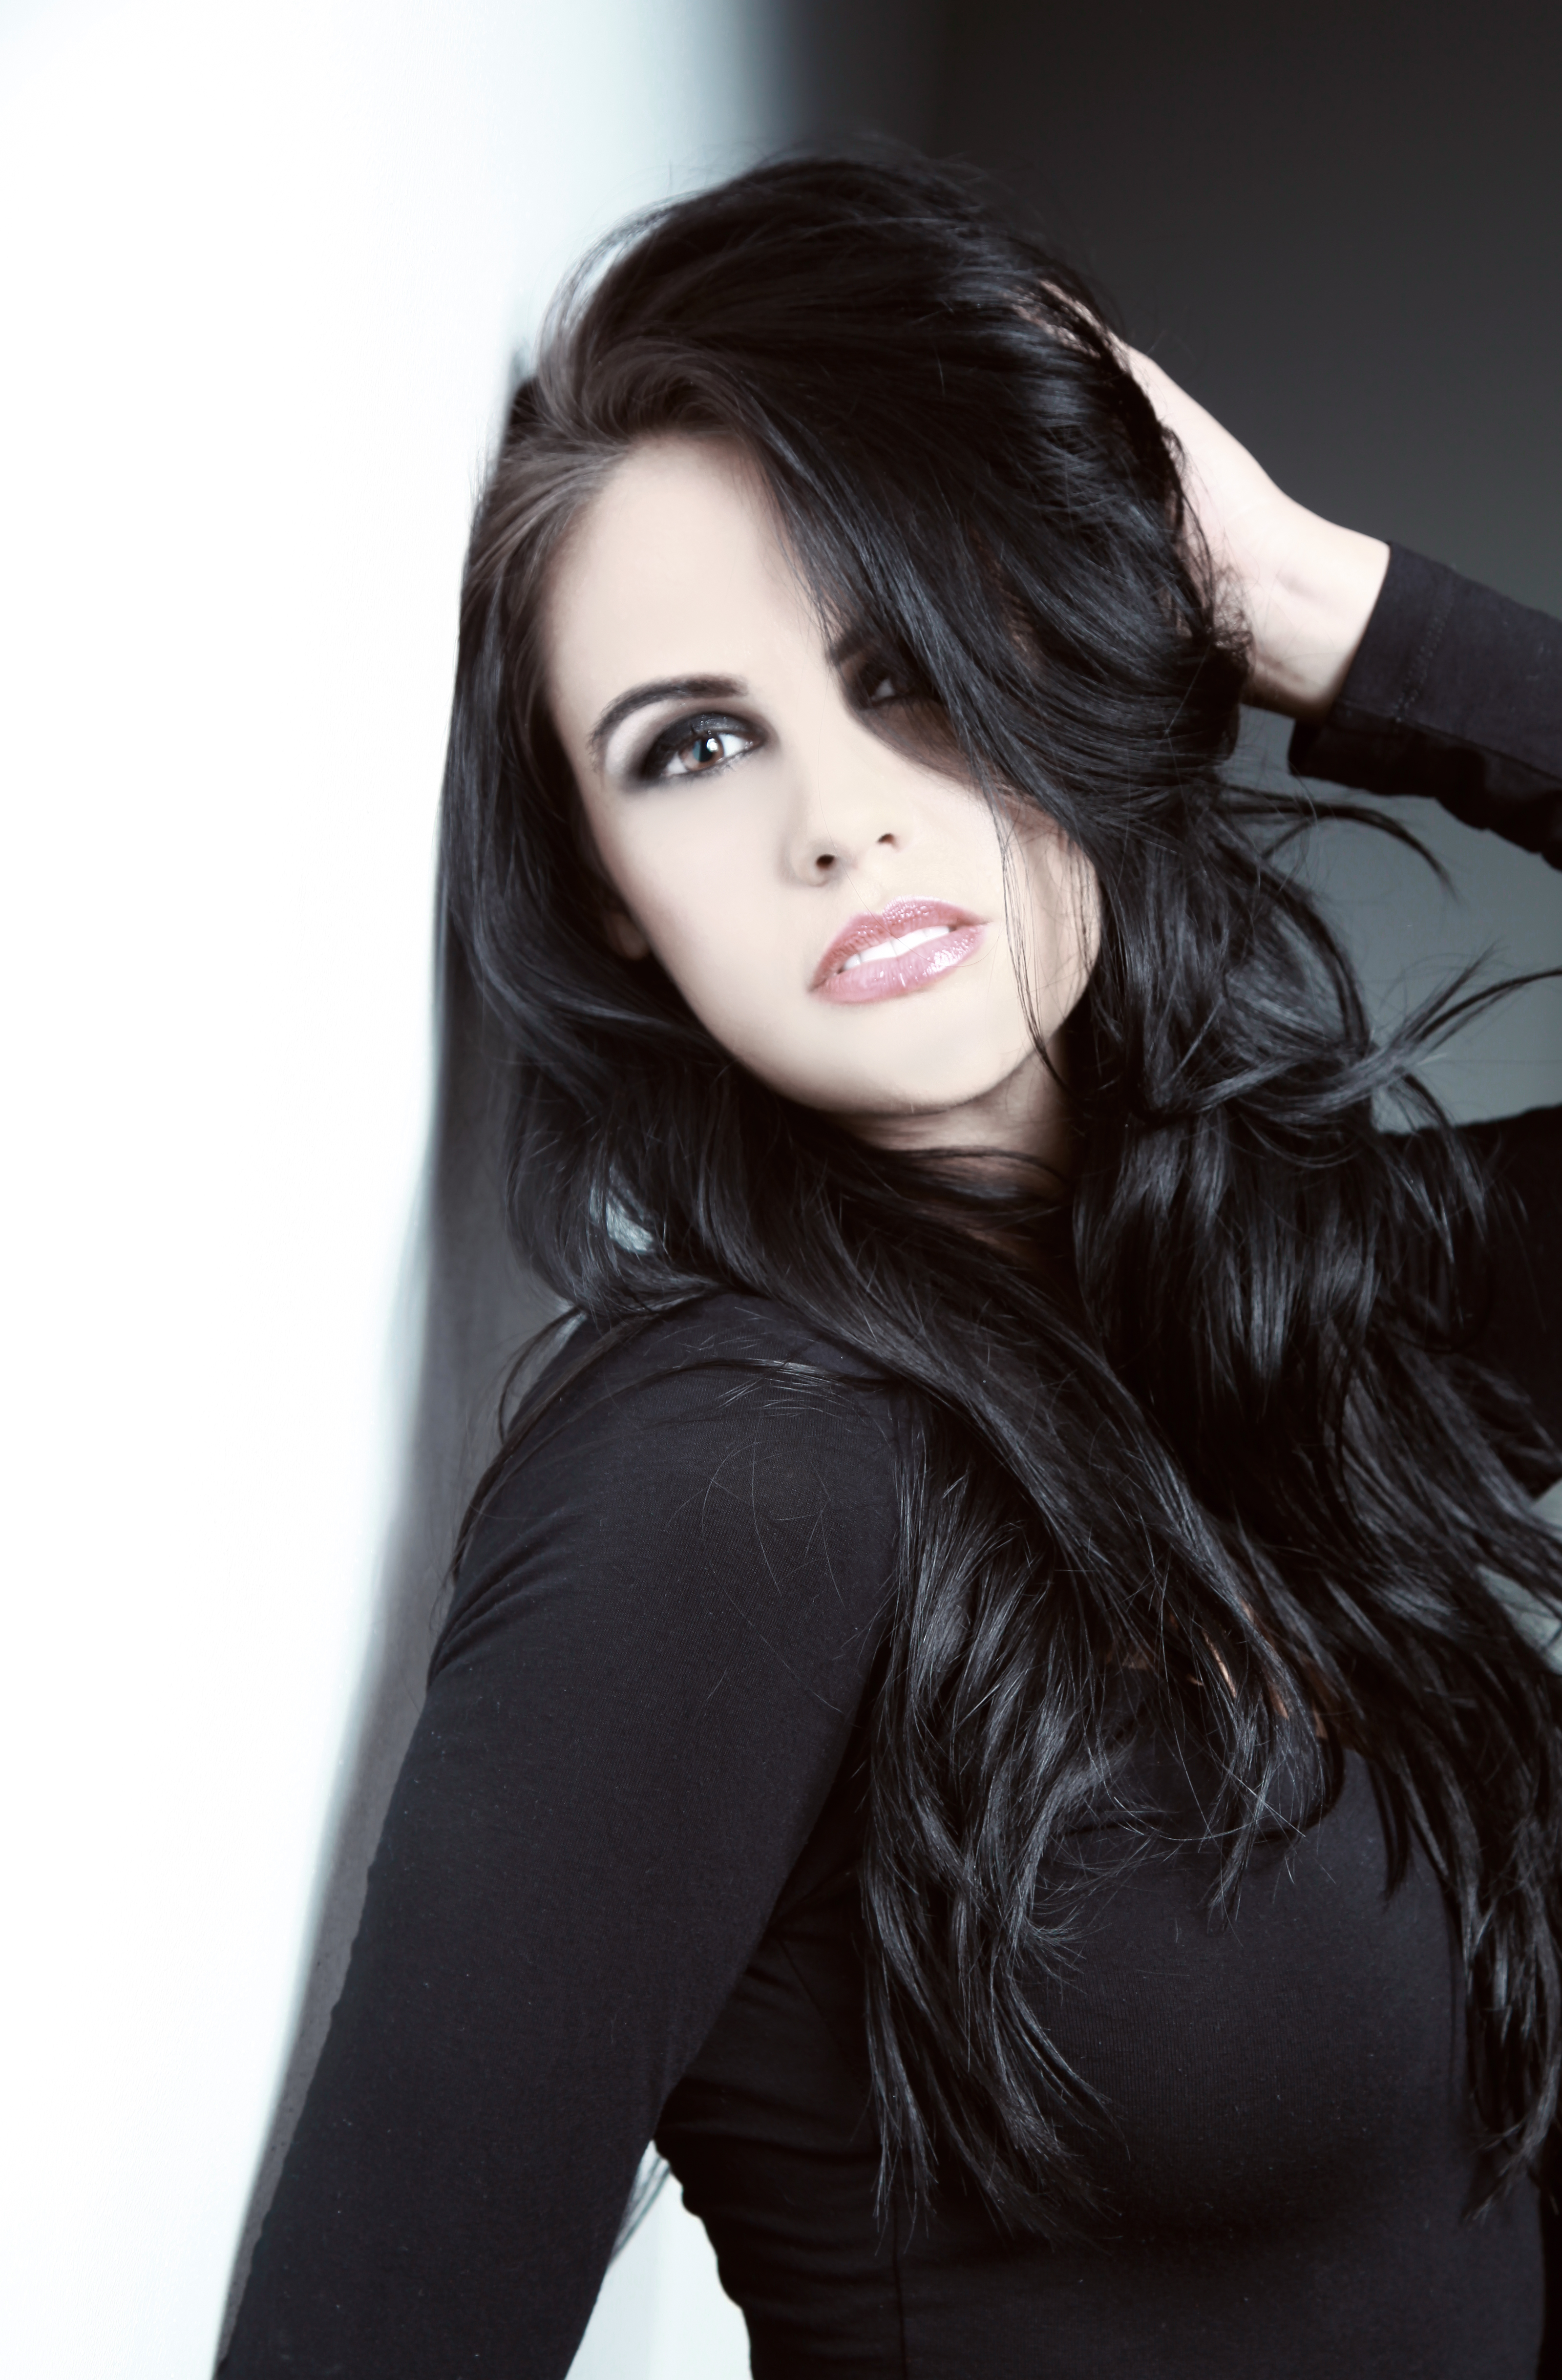
Just take a look at Tatiana’s final Portfolio she left the course with as all students leave with professional images taken by our sister company, YH Studios DXB

_MG_0082e _MG_0952e _MG_1951e

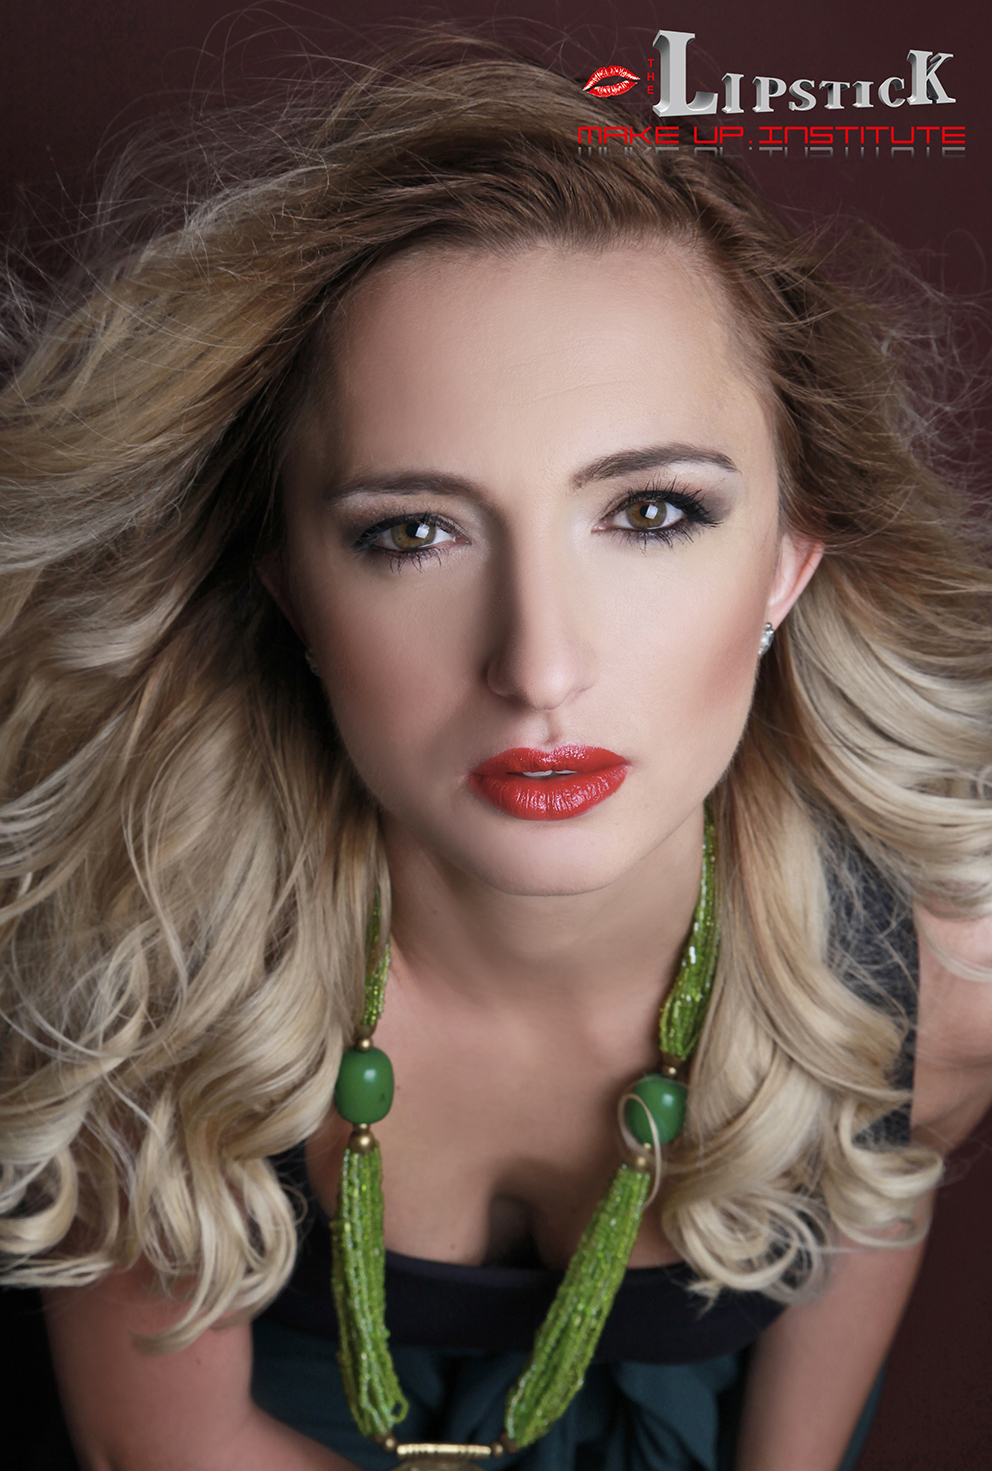
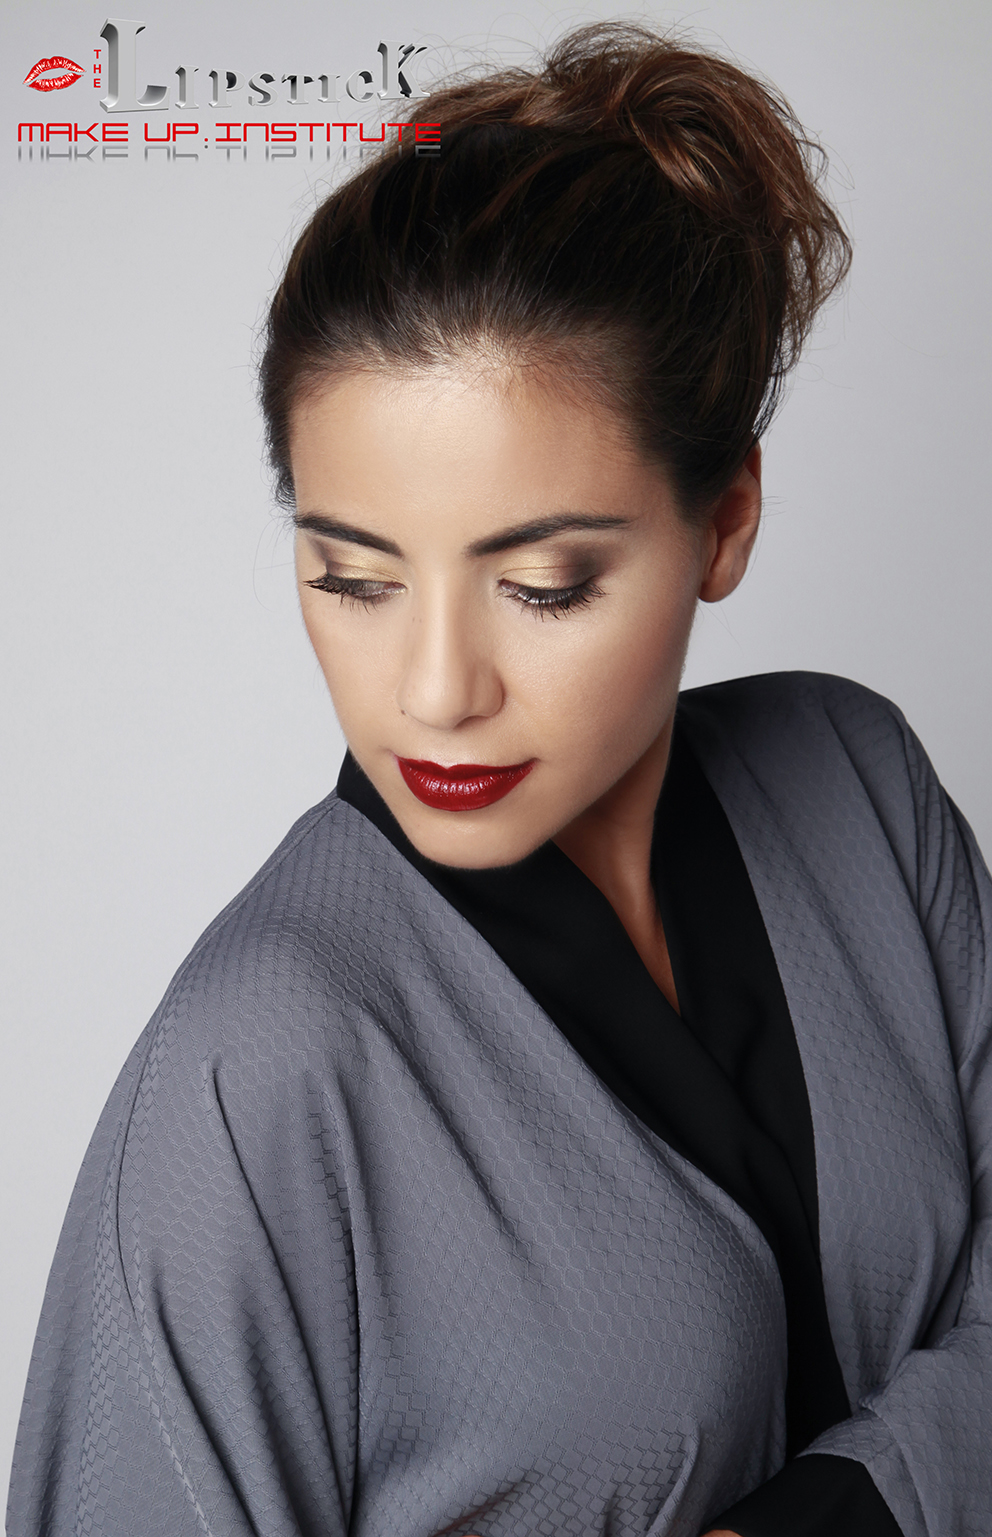
So if you want a Porfolio like this and the best training you could possibly have then contact us. We would would so glad and proud to have you come and join us.


More about choosing the correct Blusher for your skin tone. (part 2)

Continue reading More about choosing the correct Blusher for your skin tone. (part 2)

Perfect Smokey Eyes look part 2

Your smokey eye style makeup is comprised of a collection of different looks you create. Each element of makeup is characterised by its colour, finish, and performance. If your makeup is chosen correctly and your looks are skilfully combined, you are a woman with makeup sense.

The application


Smoky eyes application 1

Outline your eye contour with a black eye pencil, all the way around. Make the line thicker along the upper lashes.

Smoky eyes application 2

With a brush or a sponge applicator, apply your base colour eyeshadow on the mobile eyelid and above the crease, about halfway to the eyebrows, blending slightly.

Smoky eyes application 3

With a pointy sponge applicator, apply contour colour eyeshadow all the way around your eyes, blending it well with the pencil line.

Smoky eyes application 4

Half-close your eyes and apply contour colour in the crease.

Smoky eyes application 5

You will now need to define the outside corners of your eyes using a horizontal “V” shape. The position of the pointy end of the “V” will control the apparent shape of your eyes.

Smoky eyes application 6

With a medium-sized soft round brush (you can also use a flat one, holding it sideways), blend the eyeshadows on the upper eyelid. With a flat brush, blend the eyeshadows on the lower eyelid.

Repeat your contour colour application with a sponge, as many times as needed to achieve a deep shade. Blend again with brushes after every application.

Apply highlight colour eyeshadow or facial powder under your eyebrows to ease the blending of the dark contour and add some volume to your eye makeup.

For an irresistible deep regard, outline the inside contour of your eyes with eye pencil. Use darker-than-usual eyebrows and lots of mascara to finish the look. Your eyes should now be smokier then ever before!

To keep your bright eye makeup in balance, try a stronger blush, and keep your lips pale with a light gloss application.


Don’t forget the perfect smokey eyes are all about blending and practice.

Smokey Eye
Smokey Eyes

See you all tomorrow as we discuss about Lipsticks and will give you amazing tips how to get perfect lips by applying the lipstick in a correct way

How to apply Kryolan Eyeliner the best possible way.


All about eyeliner!  What’s that you say? You already know all there is to know? We thought so too. That is until we learned these 8 unique tips, tricks, and facts.


We will guide you as to what is the best eyeliner to use and for what occasion.


Get it right and you will look amazing but get it wrong and an in perfect line or application then it will spoil the whole look!

1. White eyeliner can make your eyes look more awake. Swap your regular black pencil for white when you’re looking a tad on the tired side and say good morning to brighter eyes.

2. Dark eyeliner was actually created, in part, to protect people from the harsh rays of the sun. So, if anything, you have an excuse for owning ten identical similar shades of black eyeliner. But don’t forget: there’s no substitute for SPF!

3. Winged eyeliner can be worn on both top and bottom lash lines—at the same time! Choose two contrasting colors for an edgy makeover and read this tutorial for instructions.

4. Ever mess up on your liner look (hello, eyes that are suddenly two different sizes)? No worries, simply apply makeup remover to a Q-tip to erase the error without smudging or starting over.

5. Connect the dots instead of sweeping liner on for more precise results. Just dot with cream liner and connect with a smudge brush for perfect liner, every time.

6. You can use more than one eyeliner color at once—trust us. In our Rock Doll makeup tutorial, Emma Willis shows us how to rock three liners at once for a dramatic evening look. Try it out and report back!

7. Purchase a less-than-effective eye pencil? Instead of returning it, take a cue from ladies of the 80s: swipe it over an open flame to heat it up and it will glide right on. Quick tip: this trick works well for dramatic liner looks, too.

8. Getting a winged eyeliner look is way easier than you think. Choose which two-step process is right for you and voila—pro eyes in seconds!

9. Waterproof Mascaras.

Waterproof liquid liner enables you to create a variety of eye-opening effects—from thin, precise lines to thick, dramatic looks. The formula glides on with ease, dries quickly and won’t smudge or run day-into-night.

The fine marker-like tip offers precise application for everyone from novices to pros and results in beautifully defined eyes that will leave a lasting impression.

Benefits:

  • Waterproof and easy-to-use
  • Goes on smoothly without skipping, smudging, or pulling
  • Lasts all day long!


images
Eyeliner Pencils
images-1
Eye Make Up palette
Unknown
Perfect Eye Liner


Stay tuned for tomorrow as we discussed all about Smokey Eyes!


Dry Contouring

If you’re a contouring newbie, powder is the way to go. Powder is also easier to blend. If you’re hoping to achieve a matte look, powder contouring will help you define your features. You can most definitely be a contouring pro and go this route–it’s really more about ease and desired look. Powder on dry skin can enhance creases and make you look more chalky and less fab, so best to use this method if you have oily skin.

These are simply guidelines. You can mix and match product textures if you have different needs or combination skin.

The dry contouring gives you a soft and natural look. It works perfectly for daytime and high fashion looks.

Tip of the day: use greyish brown eyeshadows for contours it will give you a natural look.


tips-for-gorgeous-skin-600x400


Stay with us tomorrow as we will give you tips how to contour and highlight like the Hollywood Celebrities do.

What is full contouring and when are we using it


For the full contouring and highlighting we can use liquid foundations or cream products.

The queen of all contouring  and highlighting is Kim Kardashian and she is sharing her tips and trick with us:

  1. Don’t be afraid to contour more of your nose than you think is necessary. Not only is Kim’s nose shaded from the browbone all the way down, but most of the skin on her nostrils is shaded as well. This will create a serious slimming effect.
  2. Always highlight down the center of your nose. A perfect contour is nothing without a highlight! You should create a stripe of light color down your nose, starting from between your brows down to the tip. Keep the line steady and symmetrical, but feel free to play with the width (depending on how narrow you want your nose to appear).
  3. Add subtle shade to the tip of your nose. You have to look very closely to see this, but the end of Kim’s nose has a bit of contour on it. This will prevent your nose from looking too long. However, you should skip this step if you have a short button nose.
  4. Use matching contouring colors in the hollows of your cheekbones and around your forehead. Everything should look natural and seamless — using the same products and shades will prevent any weird mismatching issues while balancing your overall look.
  5. Finish your contouring look with a bit of shading along your eye sockets. This will complete the illusion of goddess-level bone structure.
  6. Don’t forget to blend! While you do want to maintain the integrity of the lines you’ve created as you buff them out, they should not look like actual lines drawn on your face.

header-211719_w650


Tip of the Day: Use your beauty blender or sponge to blend the contours and highlights

Foundation application techniques

Master the foundation application and be your own makeup artist.

Brush? Sponge? Fingers? what works the best for you?

When its about foundation we are always sceptical what is the best way to apply it.

Well it depends what is the type of your foundation and what works the best for you. You have one main goal to achieve a flawless skin.

  1. Use your fingers if you are not happy with the brush strokes or the sponge.

3

2.Apply your foundation with a foundation brush if you want a strong coverage.

Apply-Foundation-and-Primer

3. Use a buffing brush if you like to keep your foundation dewy 

how-to-apply-foundation-tutorial-7

4.Use latex sponge and dab the foundation in your skin if you are using cream textures.

gallery_big_applying_foundation_with_sponge

5. Apply the foundation  with a foundation brush and use your beauty blender for a fully blended look. Note the beauty blender is for blending the foundation not for application!

shutterstock_118242388QCdjB5HwFOTaWQ8X4xMDoxOjA4MTsiGN

6.For a dewy skin apply water spray on your skin and while is wet start with a foundation.

0354485d-4901-4684-8563-22baf84bd514

7. The most important doesn’t matter what is your foundation texture (cream, liquid or stick) always apply it in thin layers.

tips-for-foundation-application

Tip of the day: for a perfect and flawless skin wet your latex sponge and apply your foundation on the face.  In this way your foundation will blend in more and will stick more to the skin.

Click on our blog tomorrow and get more infos about different foundation types and their best usage on your skin…see you all tomorrow

What is HD foundation and when is it used?

In today’s digital age of Instagram, seven-second videos, and of course, selfies, an HD foundation becomes almost as essential to your social game as a strong Wi-Fi connection and adequate battery life. Long praised for their ability to create an airbrushed effect under the most high-def cameras, most formulas combine the use of coated pigments and ultra-fluid textures to provide a seamless finish, no matter how closely you will zoom in on a picture.

HD Micro Foundation Smoothing Fluid is a soft, micronized foundation with anti-aging complex and protects the skin from harmful environmental influences – for a perfect appearance. Ideally suited for natural looking make-up for high definition camera work in photography, fashion shows, show events, weddings and more. Apply Smoothing Fluid thinly and evenly with a fine-pore make-up sponge or foundation brush. Allow to act briefly and powder if necessary with Micro Finish Powder. ECARF certified.

The-changing-faces-of-Kiwi-women_Kryolan-2

HD Micro Foundation Cream is a micronized foundation with unique light reflection. Optically, it significantly reduces the shadow effects of wrinkles. Which means that it enables natural, youthful appearance especially with make-up for high-definition camera techniques for film, TV and photography. At the same time, special ingredients protect the skin from harmful environmental influences. Thinly and evenly apply HD Micro Foundation Cream with the included very fine-pore make-up sponge or alternatively with a foundation brush and set it with HD Micro Finish Powder. ECARF certified.

base_image_33_3


Tip of the day: the secret of the HD foundations is to layer them while applying on the face. With this application technique you will get a perfect and flawless coverage but invisible on the skin.

Visit our log tomorrow guys to read and learn about different foundation application techniques.

Flawless skin and full coverage with cream foundations

We all know our favourite liquid foundations which are  giving a light to medium coverage.

But what should we do if we are struggling from skin problems, dark circles under the eyes, scars on the face ?

The liquid foundations coverage is not strong enough.

This is the moment when we will choose a cream foundation to cover and correct all these skin problems and correct the skin types.

We will talk about the Kryolan Cream foundations.

For the first time you will say no, Kryolan is a Professional Stage Makeup and its only for stage or TV.

It is for makeup artists but if you know exactly how to use the products you can easily use them on a daily basis.

Lets do a quick and useful review of our amazing foundations:

  1. Supracolor is an oil based moisturising cream foundation also known as greasepaint. Perfect for normal to dry skin and for the mature skin. The best to apply with a wet sponge by dabbing for a full coverage, glossy finish.

12741-kryolan-supracolor-foundation-2-140369844401004_00_prod_1W-12W

2. Dermacolor as a texture is a bit dryer than the Supracolor. Specifically made to cover the different skin problems, discolorations, tattoos and scars. Can be used for all the skin types. Application with wet sponge semi glossy finish with a full coverage.

71006_00_prod_Mediumhqdefault

3. Ultrafoundation is a creamy texture easy to apply and blend. Perfect for the dry skin. Application with a foundation brush with a full coverage and semi glossy finish.


ultra_foundation


Tip of the day: for a flawless skin and full coverage apply thin layers of the cream foundation. Build it up from very thin layers rather than applying a thick layer creating a mask effect on the skin.


Visit our blog tomorrow we will share with you some lovely infos about the TV Stick foundations and their usage on a bad skin.