Category Archives: Uncategorized

Lipstick make Up Team at Mori Sushi

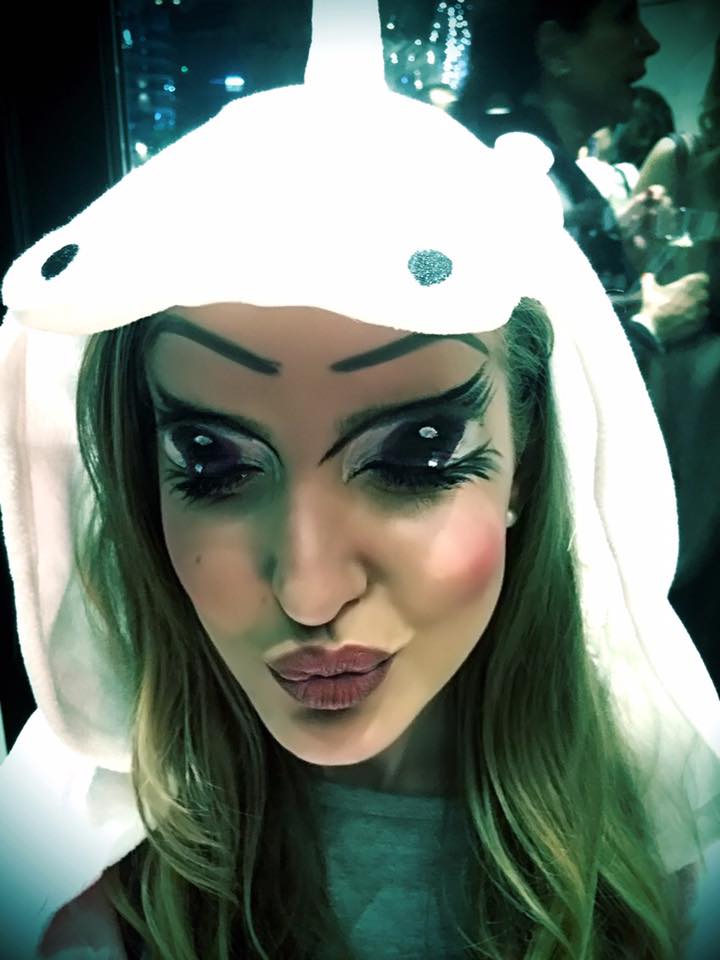
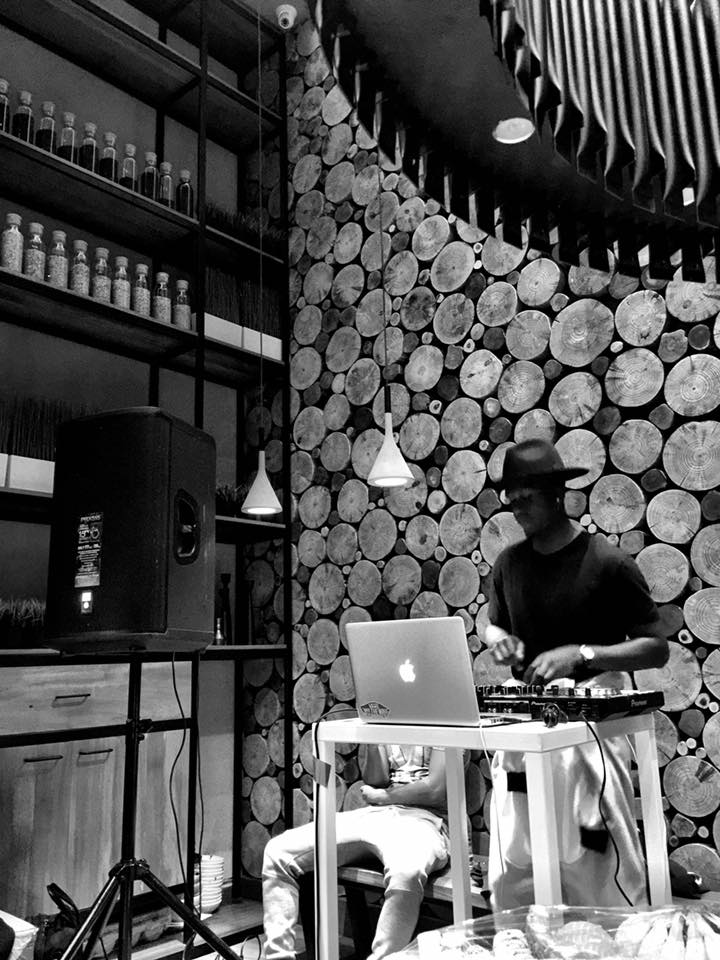
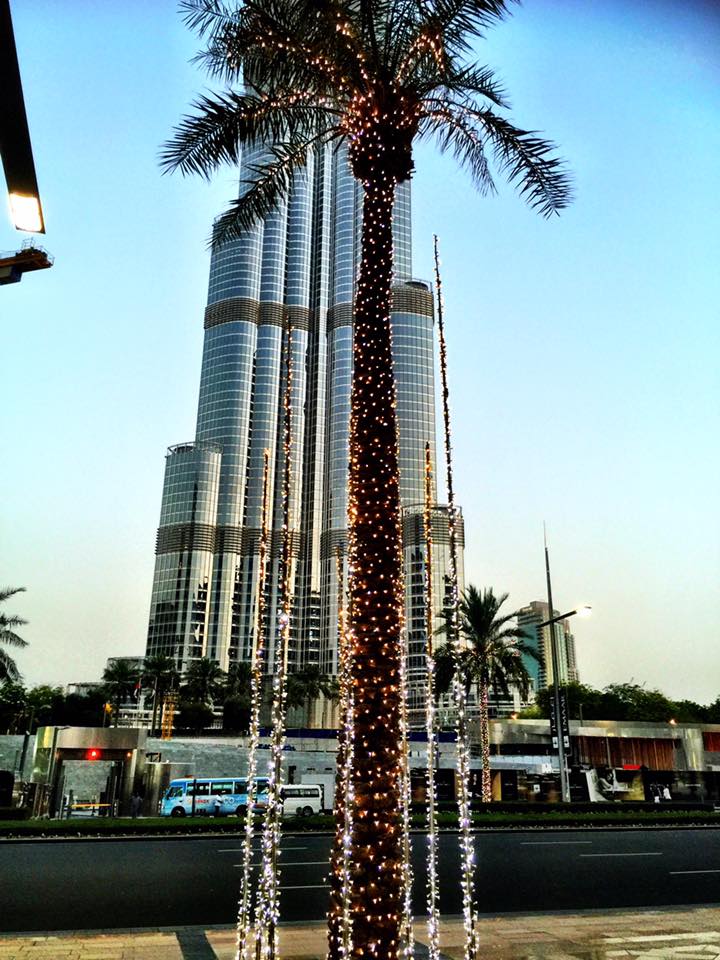
The Lipstick Make Up Team had a fabulous night was had by everyone in Downtown Dubai. The event was t mark the opening of the new restaurant where over 200 people gathered to mark the occasion with amazing gives from the DJ, wonderful sushi, great makeup for the Lipstick make Up Institute Team. Many joined in the theme of the evening by wearing onesies which was just great fun to see.


13165838_10154174476410789_2969522255021587379_n 13179283_10154174262770789_347042618329332072_n 13139378_10154174262595789_1018303765613302399_n

The flow of ladies just kept coming and were great sports and participated in all the nights fun.

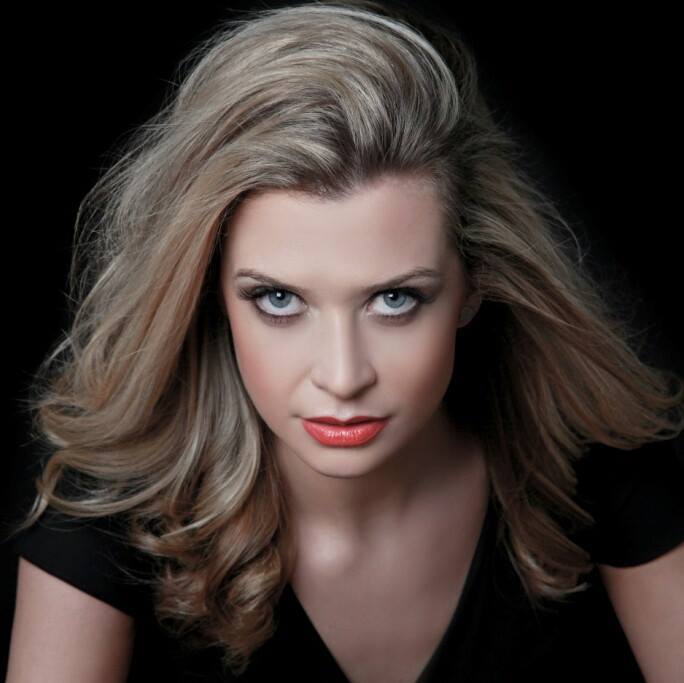
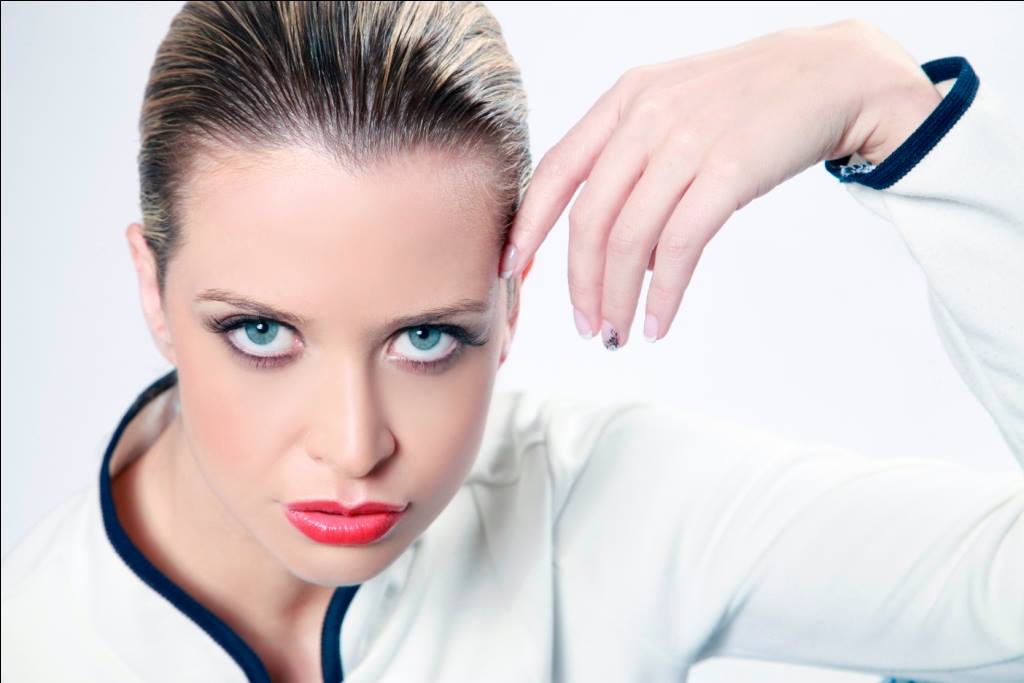
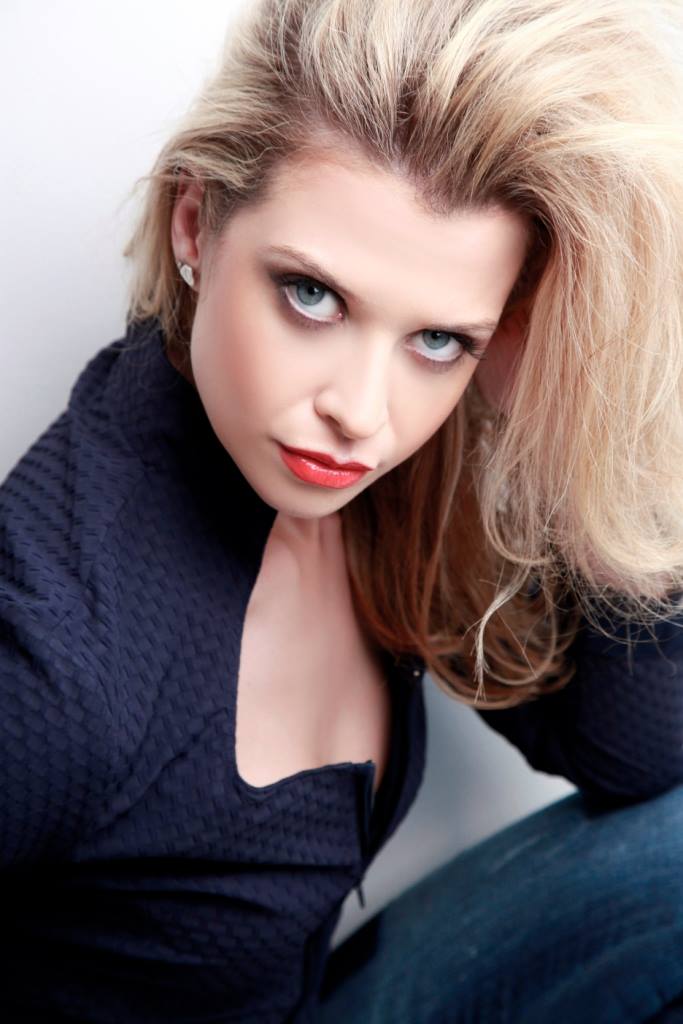
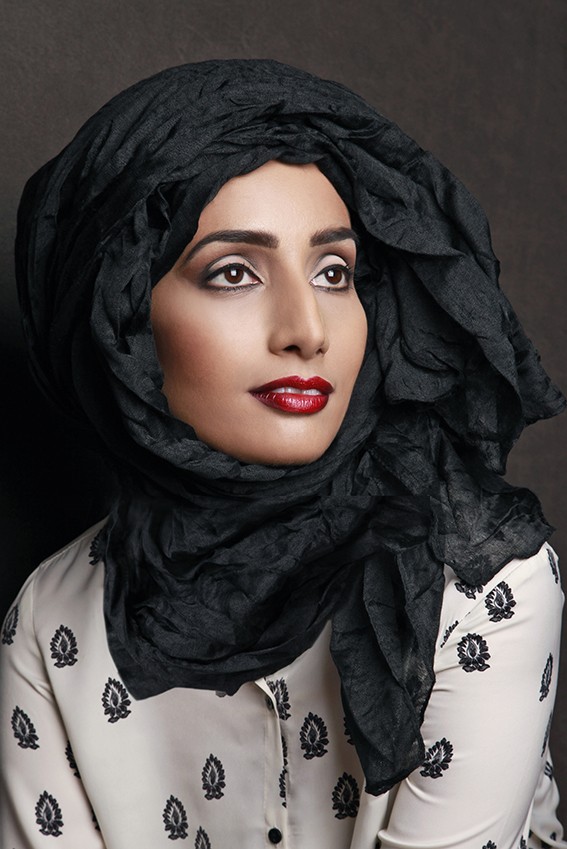
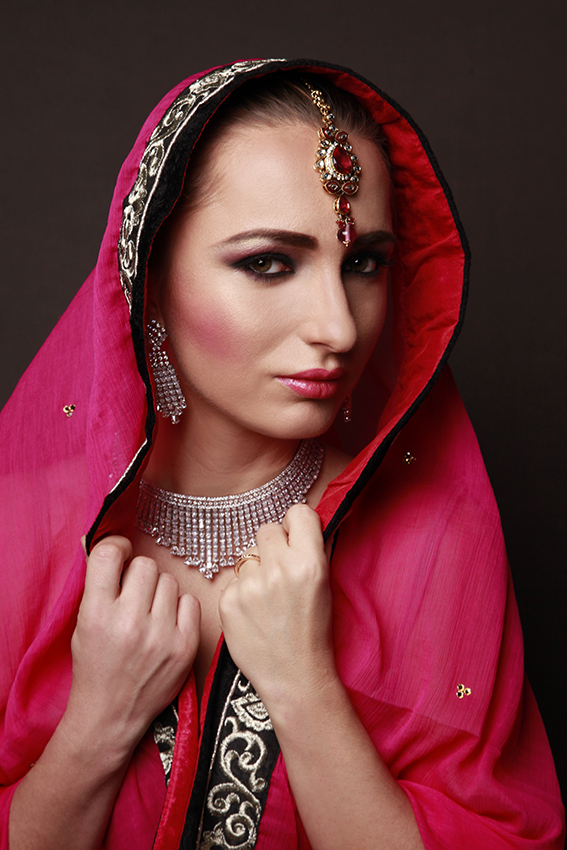
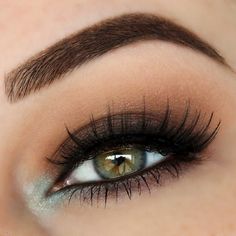
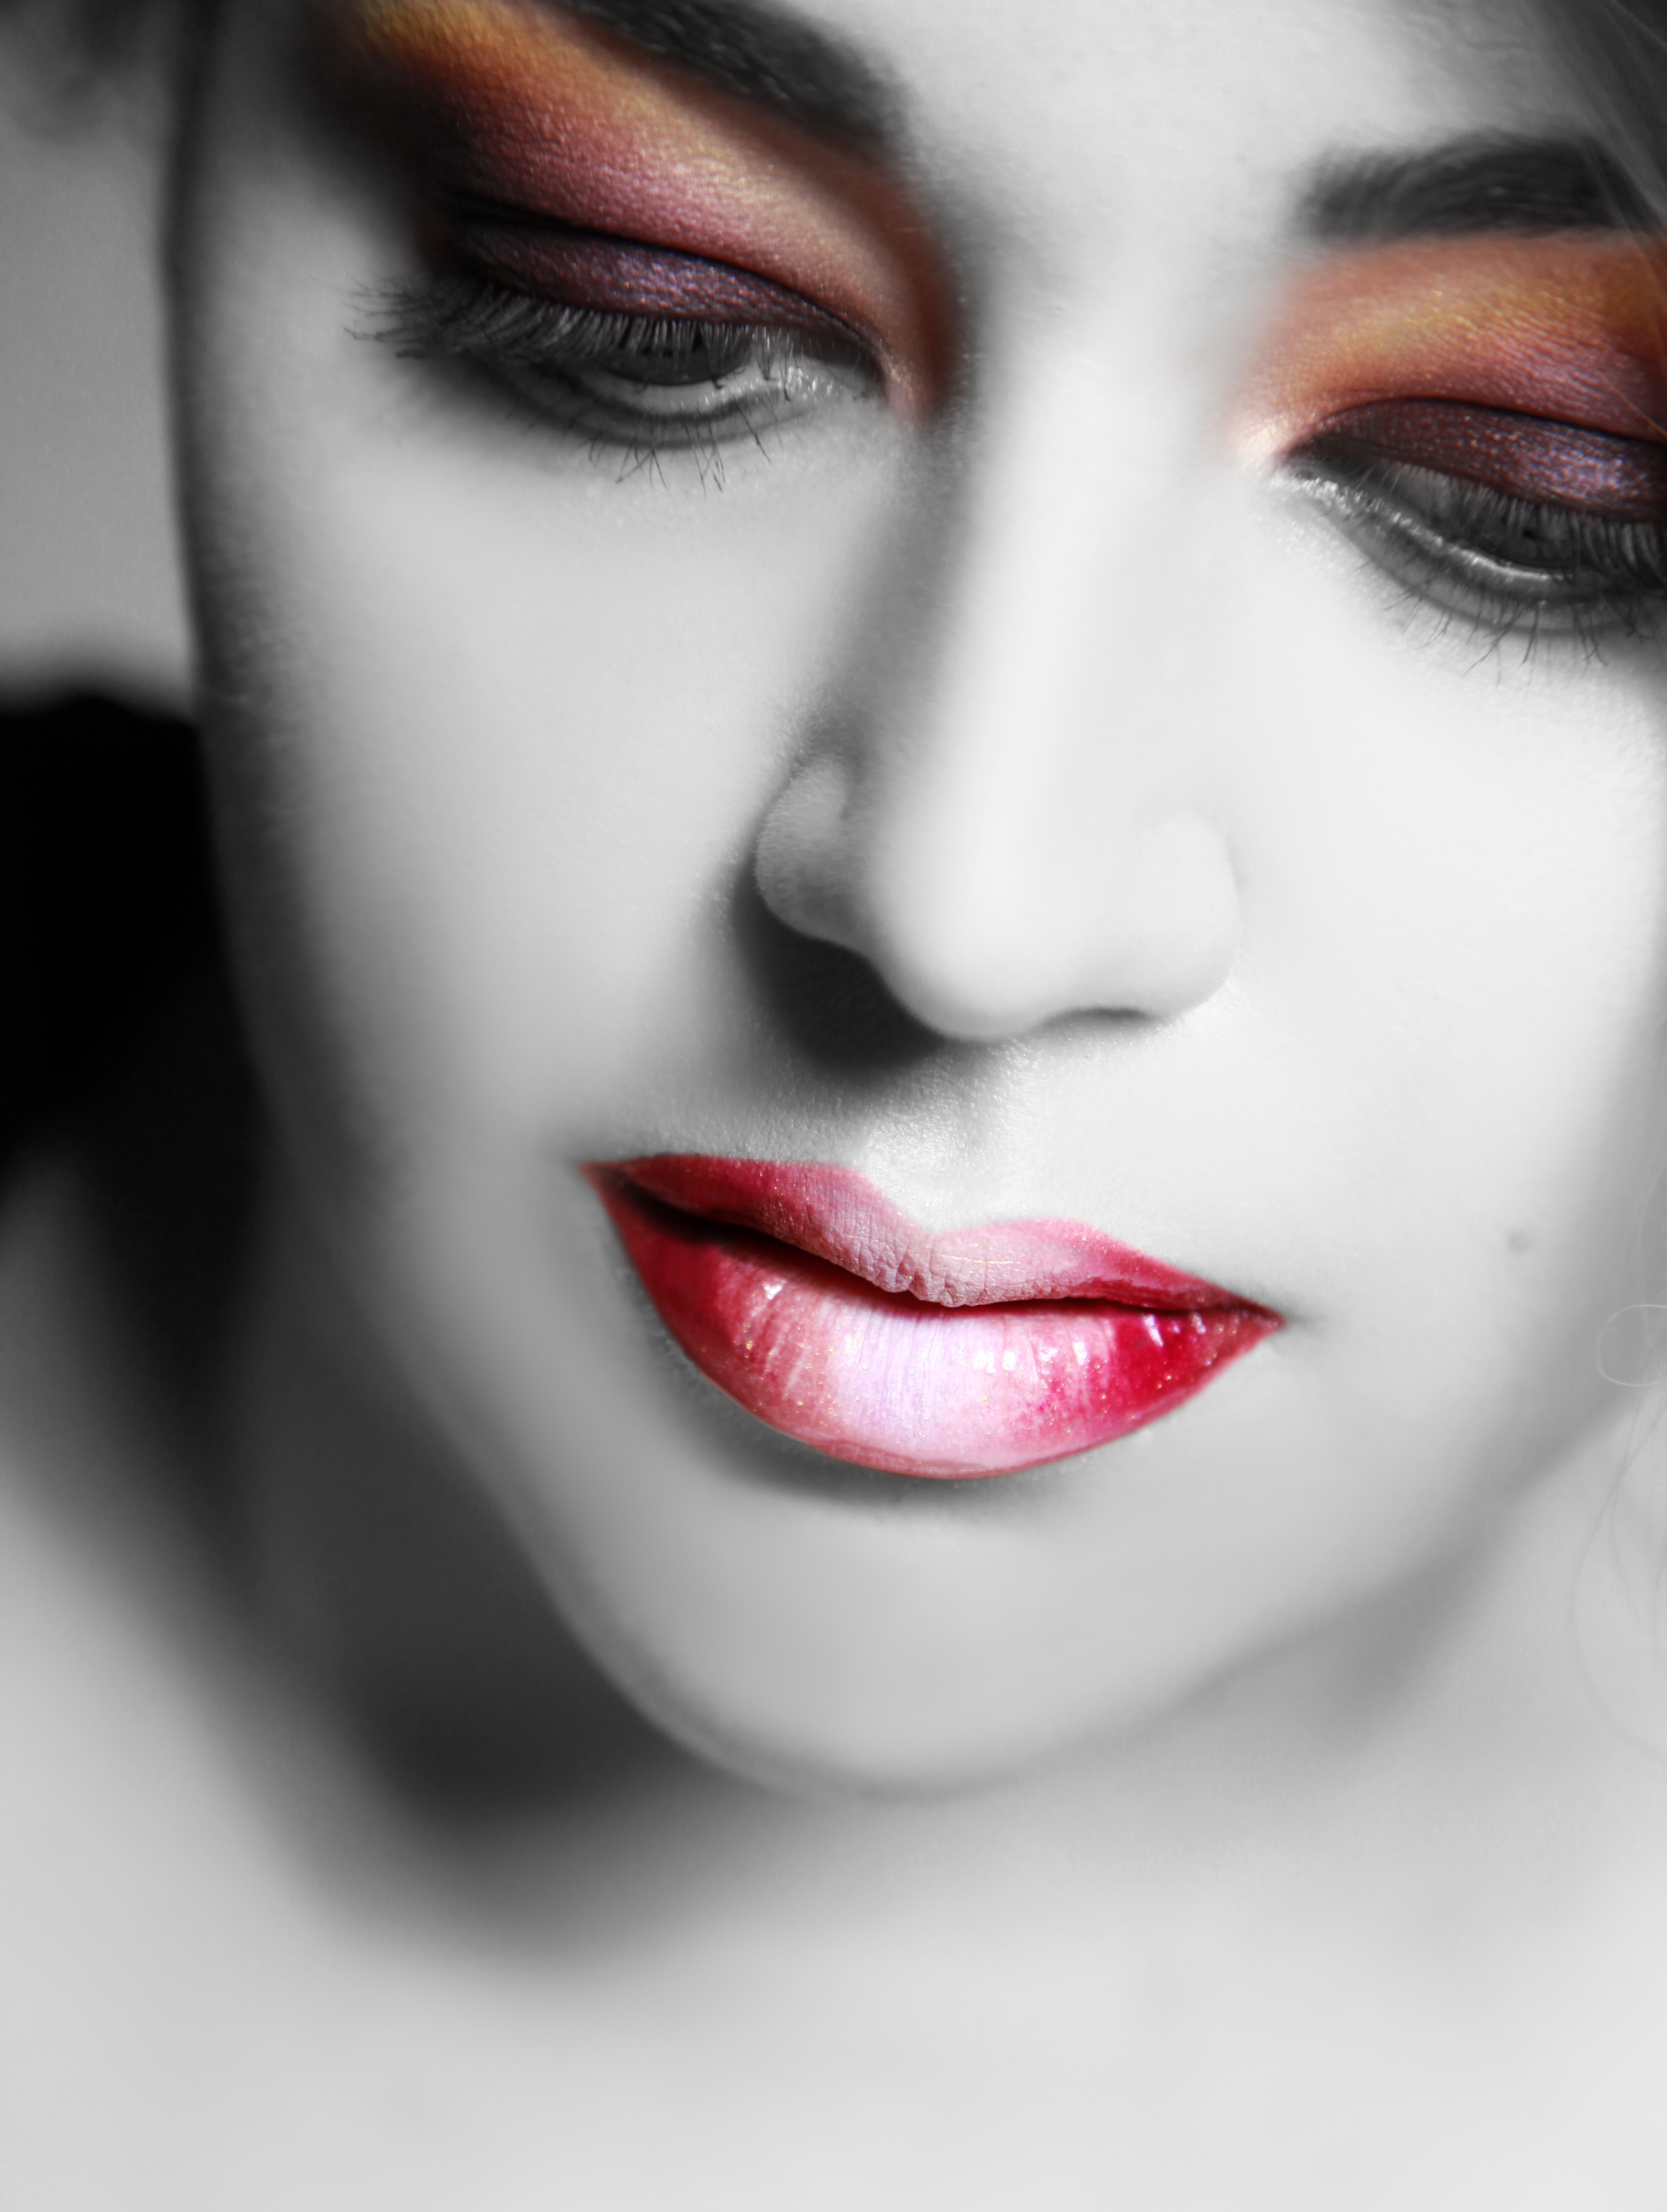
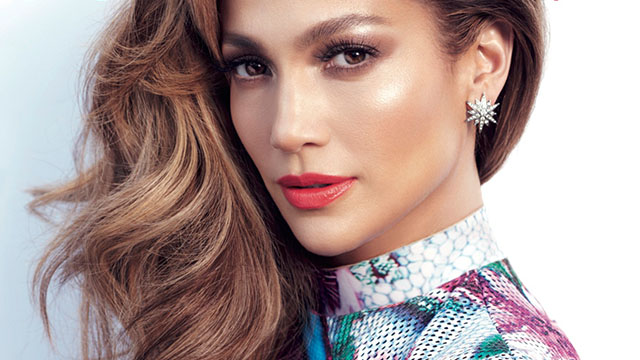
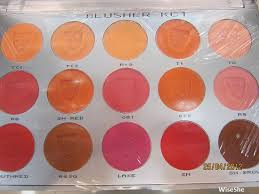
Its amazing to see just how make up with the right technique can change a persons attitude and makes everyone feel part of a culture.

At The Lipstick make Up Institute we are always creating and having fun with our students on courses. Check out our Facebook page and see the diverse range of make up looks we do https://www.facebook.com/The-Lipstick-Make-Up-Institute-1660062514212667/

Our sister company : YH StudiosDXB                http://yhstudiosdxb.com

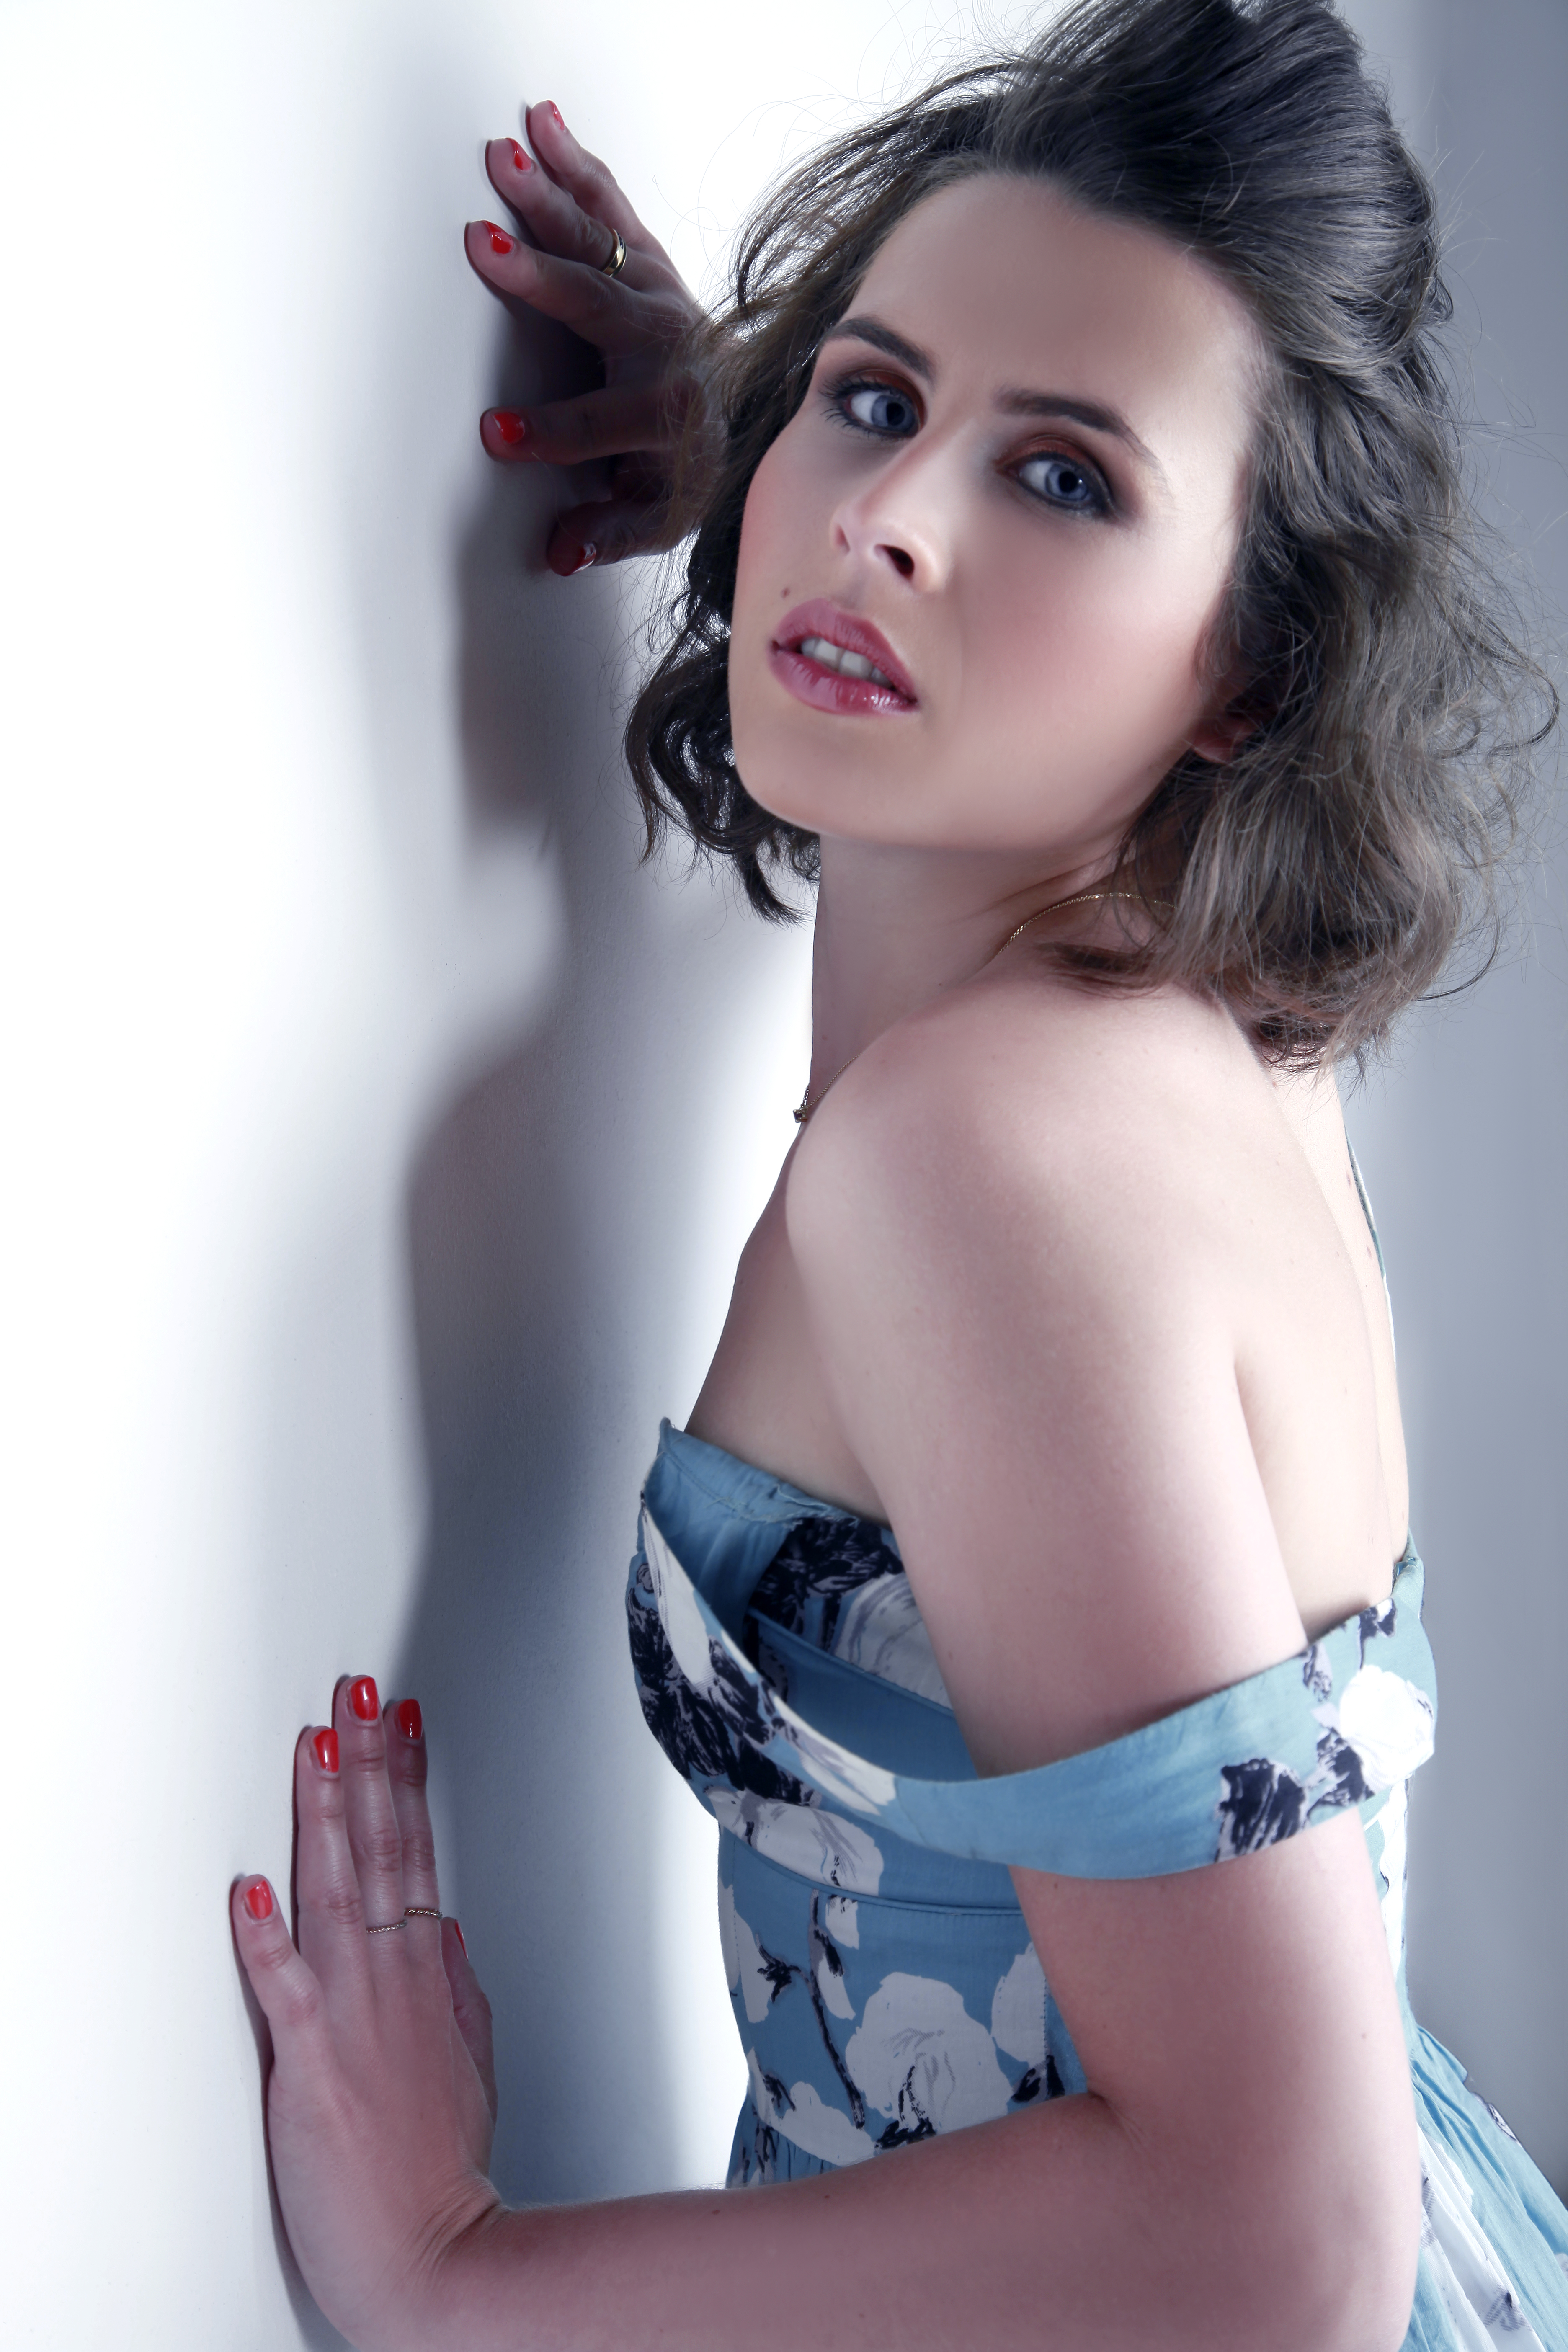
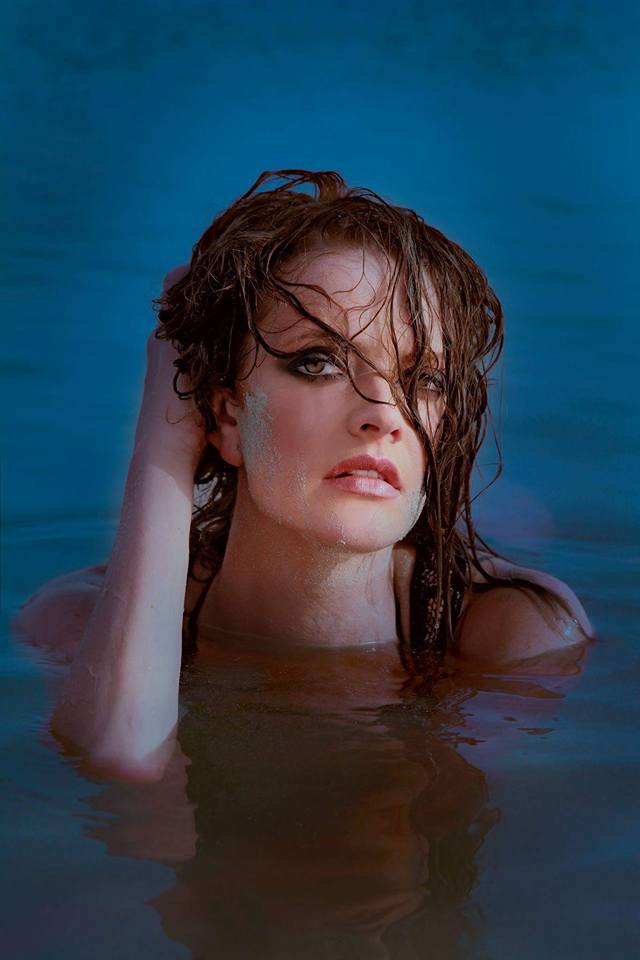
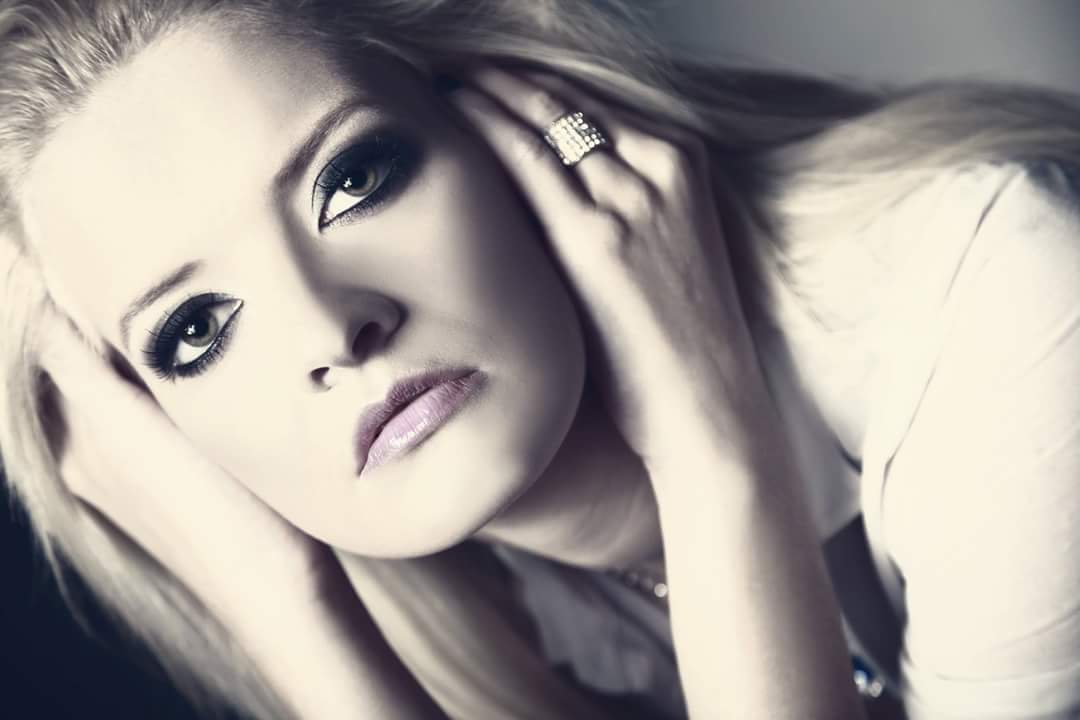
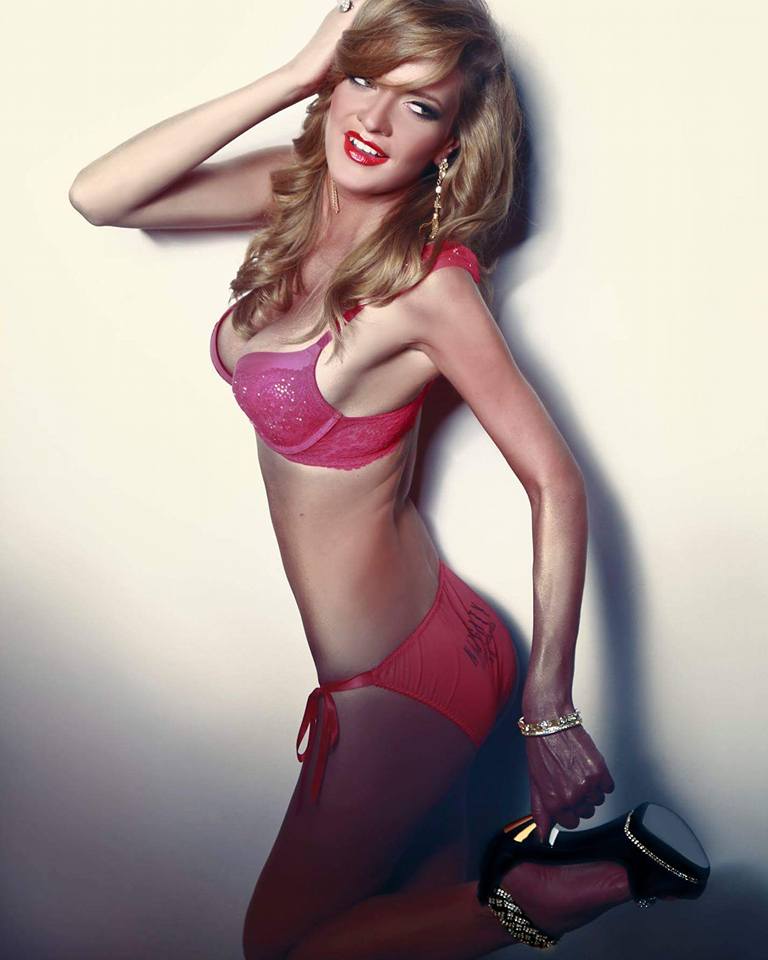
Is part of the whole set up and this is why our students get the best of everything, make up, teaching, creativity, location shoots, studio shoots etc.

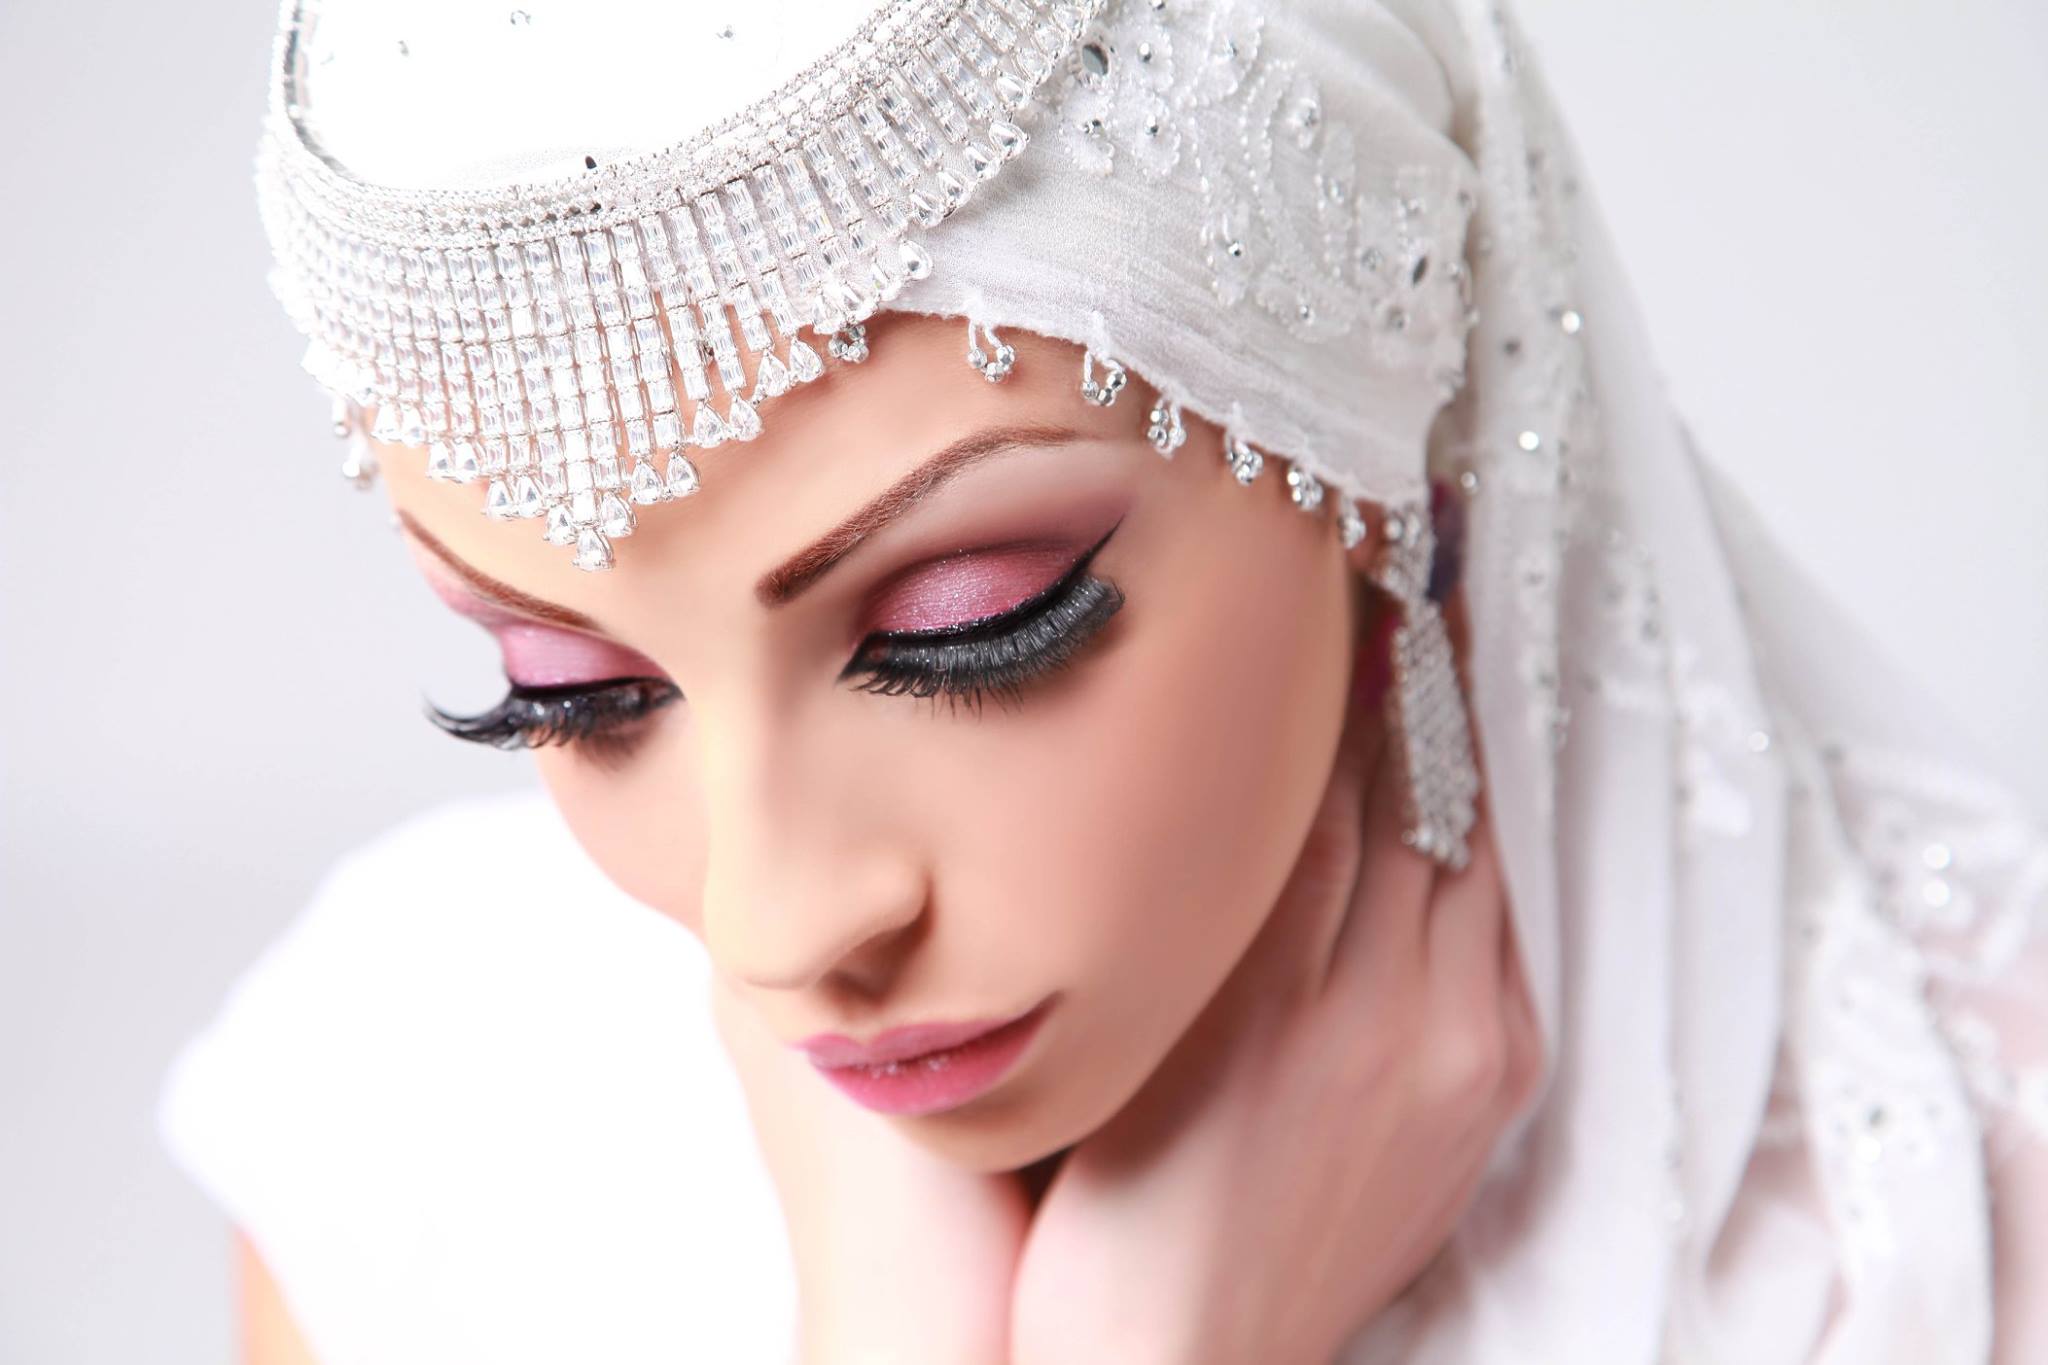
Check out our images, you will love them.

Our main photographer, Yasmin is from the UK and has been a photographer for over 26 years and works closely with the students so that they understand the relationship between make up and photography.


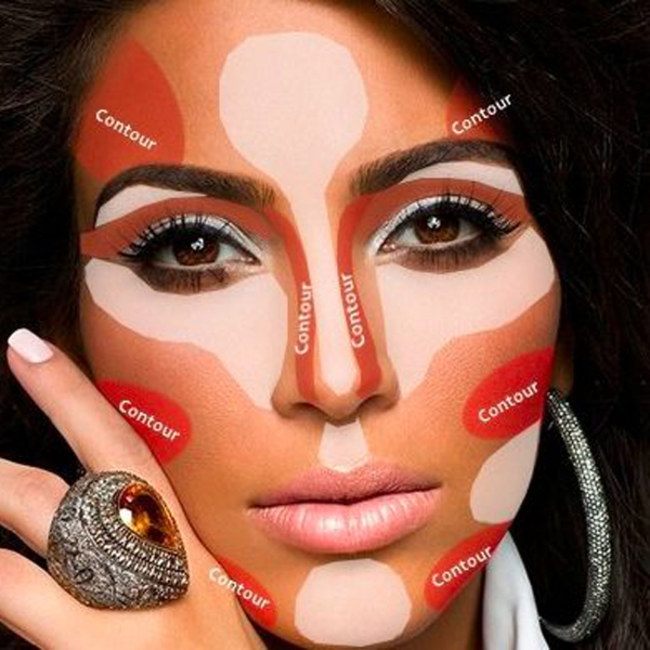
Please check out our courses. We have a range from 1 hour to 6 weeks. This is our passion too its not just a business, we do what we love and love what we do. Teaching is easy as our students really want to learn even if its just to learn how to apply their make up on themselves. Learn about contouring, Highlighting, how to apply the lipstick correctly. Its  very thin line between applying make up correctly and un correctly. Get it wrong and the whole look does not work! You look like a painted doll. Call us on +971 52 83 49964 for advice on our courses.

Makeup for blue eyes

We would say its easy when it comes to the light eye colour.

If you have blue eyes be sure to use the right colours to bring out the eyes more  and make you look fresh and glowing.

In case you are  using the wrong  colours,  your eyes can look tired and the purpose of using makeup  is to enhance our beauty so its time to talk about the  colours to enhance your eyes.

Blue eyes and neutrals as on the green eyes always looks good.

The darker the colour the eyes will look more dramatic when it comes to the eye colour.

Strong dark grey or black contours can make you look the drama queen of the night in a gorgeous edition.

Don’t go over the top, make sure that your are using your blending brush enough and not leaving harsh lines in your eye makeup.

10171614_10153163720030027_5019177814438280041_n


You like it more natural?

You can’t go wrong with some cream and brown colours with a dash of dark brown or black in the outer corner of he eye.

10623302_10153046727555027_1657178163259097445_o


Dark blue or dark grey can look awesome on the blue eyes

10953281_10153129523785027_7322214368265362253_o

Don’t forget the colour wheel  and our complimentary colours if you want to enhance your blue eyes even more.

Oranges, copper and peach… work perfectly on blue eyes will make the colour really vibrant.

_MG_6031

Lets put all these infos together and check the colours we can apply for the  blue eyes:

-champagne

-peach

-rose

-orange

-copper

-grey

-dark blue

-dark brown

-navy

-black


Now we have all the colours together so we can start experimenting.

Good luck ladies


Don’t forget  to visit us tomorrow as we will talk about the most universal eye colour… the brown eyes


Makeup for Green Eyes

223f69218047ffbaee826e08a958e02d


Hi everyone! We will talk about today are all green, Yes!

When you see this you can’t help but be mesmerised with it.

Lets see these pictures and the colours you can use on the green eyes.

If you love drama on your green eyes…. go with dark and strong colours. Green eyes are going great with dark brown, dark purple, dark grey and black.

These dark colours will bring out the eye colour and they will look more shiny.

11952046_10153610714804233_1720017868965789183_n

With neutrals you can’t go wrong. Just for a review neutrals are cream, beige, browns, white, grey and black.

In the case you don’t know what you are going to wear or just want to go soft on the eyes go with neutrals.

12491808_10153897305099233_7660532480398561167_o


Smokey eyes – it will be always our favourite and most wanted look. You can apply a bit of black on your lids and smudge it with a brown eye shadow to make your green eyes pop.

11114181_10153523295544233_2098878582232816287_o


Black eyeliner is one of our favourites and with a bit of gold or bronze shimmer can make your eyes more green. 12705357_10153934218144233_5858685785543443982_n

After talking about the different colour combinations lets summarize the colours suitable for green eyes:

  • beige
  • bronze
  • gold
  • brown
  • taupe
  • grey
  • pink
  • purple
  • dark green
  • black
  • silver
  • peach

Now there is nothing to left than to try out these colours on your wonderful green eyes. Be playful and don’t be afraid to experiment.

Stay tuned tomorrow as we talk about what best makeup colours for Blue Eyes 

Congratulations to Our Student who just completed The Silver Make Up Course.

We are so proud of our Leila who progressed so much in her 5 days with us. She achieved An International Certificate and 3 amazing images for her Portfolio which is all included as part of the Makeup  Course. We have our sister company , YH Studios DXB who are always very involved with the students explaining just how the lights react with make up. Media Make Up is  completely diffrent makeup just for events, parting or just going out.

This is the great advantage that having a professional photography studio as part of the package. The students on the courses gain such a great advantage as they understand and can apply all the tips and techniques to their working life once they leave the comfort of our Institute.

We are like a family here with knowledge and experience to share!

Just look at the images that Leila left The Lipstick Makeup Institute with. I am very proud of her achievements.

There are so many makeup Artists who do not have any professional images. Com e and join us and get the best of everything!


_MG_4643s_MG_7260e_MG_7887s

All about the Eye Makeup


Most of us would agree that in the beauty world, eye makeup is the Holy Grail. While the problem often lies in finding the perfect eye shadow look, mascara wand and/or brow shaping method, once all these components are in place, you reach a state of beauty nirvana that can only be described as FABULOUS. However, reaching this place of perfection can be tricky because no two pairs of eyes (or brows!) are the same, so what works for one does not always work for another.

 We are always on the hunt for the latest eye shadow looks, brow tips and and tricks and eye makeup products that can be passed on to our readers and further support the cause for a better beauty world. To show our dedication and devotion to eye makeup, we compiled a list of our best tutorials that cover everything from eyeliner and cat eye tricks to brow-shaping how tos and neutral eye shadow looks. Get ready to play up those peepers!

8d88bc6e47050e03f581d73093fbb056

IMG_0230b#

Stay tuned tomorrow as we begin discussing all about Eye Make Up

See Yah!

How to contour and highlight like the Hollywood Celebrities do

Want to look like a Hollywood Celebrity?

With these tips you can easily look like a million dollar woman.

Lets start:

Contoured cheeks and glowing skin add that extra something to a typical, everyday makeup look. A little highlighter can give you that celebrity glow and a little extra bronzer will give you that chiseled, model face that most of the celebrities  loves to rock.

Add a little sparkle to your makeup routine with highlighter. A light dusting of highlighter on the top of the apples of your cheeks will make your skin look more radiant and will make you look more awake!

Take a bit of the lightest color on a fan brush, and gently sweep this highlighter right above where you would apply blush.

Don’t put highlighter too close to your under eye area as this can help highlight, or pinpoint, any under eye darkness! Also, be careful not to use too much highlighter. You want to avoid looking like a disco ball! Brush a translucent powder on top if you need to soften.

For contouring the face, you should go for a matte bronzer. Use an angled brush and start by deepening your temples. After that, find your cheekbones with a finger and apply bronzer directly under your cheekbones in a slant. Lastly, bronze up under the chin — and you will have a structured, contoured face.

 Tip of the day: Build up your makeup, apply step by step and little by little in this case you can control the amount of the products you are applying to your face.
640_jennifer_lopez_ocean_drive_nov15
kendall-jenner5
Dos and don’t in contouring and highlighting is our tomorrows topic…dont miss it!

Dry Contouring

If you’re a contouring newbie, powder is the way to go. Powder is also easier to blend. If you’re hoping to achieve a matte look, powder contouring will help you define your features. You can most definitely be a contouring pro and go this route–it’s really more about ease and desired look. Powder on dry skin can enhance creases and make you look more chalky and less fab, so best to use this method if you have oily skin.

These are simply guidelines. You can mix and match product textures if you have different needs or combination skin.

The dry contouring gives you a soft and natural look. It works perfectly for daytime and high fashion looks.

Tip of the day: use greyish brown eyeshadows for contours it will give you a natural look.


tips-for-gorgeous-skin-600x400


Stay with us tomorrow as we will give you tips how to contour and highlight like the Hollywood Celebrities do.

What is full contouring and when are we using it


For the full contouring and highlighting we can use liquid foundations or cream products.

The queen of all contouring  and highlighting is Kim Kardashian and she is sharing her tips and trick with us:

  1. Don’t be afraid to contour more of your nose than you think is necessary. Not only is Kim’s nose shaded from the browbone all the way down, but most of the skin on her nostrils is shaded as well. This will create a serious slimming effect.
  2. Always highlight down the center of your nose. A perfect contour is nothing without a highlight! You should create a stripe of light color down your nose, starting from between your brows down to the tip. Keep the line steady and symmetrical, but feel free to play with the width (depending on how narrow you want your nose to appear).
  3. Add subtle shade to the tip of your nose. You have to look very closely to see this, but the end of Kim’s nose has a bit of contour on it. This will prevent your nose from looking too long. However, you should skip this step if you have a short button nose.
  4. Use matching contouring colors in the hollows of your cheekbones and around your forehead. Everything should look natural and seamless — using the same products and shades will prevent any weird mismatching issues while balancing your overall look.
  5. Finish your contouring look with a bit of shading along your eye sockets. This will complete the illusion of goddess-level bone structure.
  6. Don’t forget to blend! While you do want to maintain the integrity of the lines you’ve created as you buff them out, they should not look like actual lines drawn on your face.

header-211719_w650


Tip of the Day: Use your beauty blender or sponge to blend the contours and highlights

Tips from the Lipstick Makeup Institute on Mascara and False Lashes

 Sample 1
 12605495_1751012468451004_8182255944933402758_o
 1
 Size the lashes. Before gluing the lashes on, you will need to make sure they are not too wide for your eye. Hold the lash strips up against your eyelid, and trim them down on the sides if necessary.
  • If the lashes are too long for your personal taste, consider trimming the individual lashes down to achieve a more natural look. Lashes should be longer toward the outer corner of the eye
  • Apply the lash glue to the outer seam of the eyelash strip with an applicator or small brush. Allow the glue to dry for a moment before applying it to your lashes.
  • Alternatively, you can squeeze a thin line of lash glue onto the back of your non-dominant hand. Then, gently run the outer seam of the eyelash strip along it.
3
Place the strip on your eyelid, positioning it as close as possible to your natural lashes. Bring the strip down from above, not from the front. This is to ensure that you get as close as possible to your lashline.[1]
4
Allow the glue to dry naturally. Once the strip is in place, you do not need to press or hold it. [2]
5
Apply mascara to your lashes. This will help blend your natural lashes with the false ones, achieving a more natural look. You can use black, brown, or dark gray mascara.
6
Apply liquid eyeliner along your upper lids. Be sure to fill in any gaps between the false lashes and your own to make them look more natural. Use black, brown, or dark gray liner.
7
Use makeup remover to remove false lashes. Dip a q-tip in eye makeup remover and gently rub it along your lash line. Allow the remover to sit for a minute, and gently pull off the strip.
KR01353G
CHOOSING MASCARA
1

Decide what you want out of your mascara. There is a mascara for just about any kind of lash enhancement–curling, volumizing, lengthening, defining, faster growth, waterproof–plus many products that combine these effects. Take a look at your lashes and decide what sort of enhancement they need.

  • For sparse lashes, look for a thickening or volumizing mascara with a large, round brush with lots of bristles. You can also find a combination primer and mascara formula, which is perfect for bulking up lashes and keeping them healthy.[1]
  • If you have short lashes, look for a lengthening mascara with a smaller brush with thick bristles. A small wand will allow you to get very close to your eye and make sure you coat each lash.[2]
  • If your lashes are full but you want length and definition, choose a lengthening mascara, but one with a long brush with evenly-spaced bristles to separate your lashes.[3]
  • To curl your lashes, try a mascara with a curved brush.[4]
  • For a natural, everyday look, find a mascara with a rubber brush and evenly spaced bristles. Lots of drug store brands have these types of brushes. Waterproof mascara will likely last all day.[5]
  • If your lashes are uneven in length or damaged, check the ingredients on the mascara. Phyto-keratin and panthenol can help your lashes grow. Use a fatter brush on your lashes.[6]
  • You should only use mascara for three months before replacing it, so go ahead and experiment with different brands and formulas until you find your perfect mascara.
     

    Pick your shade. For the most part, black is the way to go. It gives the illusion of thickness and length and can really make your eyes pop. If your lashes are red or blonde, however, make brown your go-to shade, wearing light brown for everyday and a dark brown to amp up the drama.[7]

    • Experiment with colored mascaras. Green can bring out violet in blue eyes, purple can enhance green eyes, and blue and purple can brighten your complexion.[8]

 Invest in an eyelash curler, while you’re at it. If you’re serious about getting knock-out lashes, an eyelash curler is key. This will lift your lashes and allow more light to hit your eyes so they look bigger and brighter.[9] It may not seem like it, but an eyelash curler can make a huge difference.

  • Look for a curler with a rounded rubber pad, which will help curl your lash instead of bend it at a sharp angle.[10]

Applying Mascara to Upper Lashes

Curl your lashes first. Apply the curler to the base of your lashes and gently squeeze for about 10 seconds. Then slide the curler to the middle of of your lashes and squeeze for 10 seconds. Finally, curl the tips of your lashes with another 10-second squeeze. This will ensure you have a natural curve instead of lashes that are bent at a harsh angle.[11]

  • If you don’t have a curler or you’re too afraid to use one, use your fingertips to push up and curl wet lashes.[12]

Remove the wand from the mascara tube by twisting back and forth instead of pumping it up and down. Twisting will allow the brush to pick up the mascara, which is what most people think they are doing when they pump the brush in the tube. What they are actually doing is forcing air into the tube, which dries out the mascara.[13]

Wipe off excess mascara on a tissue or on the lip of the tube. Too much product can lead to clumping. Giving the wand a little wipe will leave you with just the right amount.[14]

Look up to lift your lashes. You should still be able to see yourself in the mirror out of your peripheral vision.

  • If you are afraid you are going to blink when you approach your lashes with the wand, open your mouth. It’s harder to blink when your mouth is wide open.[15]

Place the wand against the base of your lashes and wiggle it back and forth a little. You want the most product to be applied to the roots, which will make your lashes look longer and keep them from getting weighed down on the tips.[16]

  • The wiggle will also help lift and curl your lashes.[17]

Pull the want out toward the tips of your lashes with a zig-zag motion, or another little wiggle. The zig-zag adds length and volume, and can reduce clumping.[18]

Go over your lashes with a second coat. Try to leave it at that–do a third coat at the most. The more you layer on the mascara, the more likely it is the mascara will dry on your lashes and cause the new coat to clump.[19]

  • Mix mascaras if you want–do one layer lengthening, then a layer of thickening on top.[20]

Don’t neglect the lashes on the inner and outer part of your eyelid. A lot of times, people apply mascara only to the very center of their eyelid, which can actually make your eyes look narrower.[21] Make sure you apply to the inner, middle, and outer lashes.

  • If you are having trouble reaching your inner lashes with your brush, you can very carefully bend the brush to a 90 degree or right angle (don’t worry, you can bend it back). This will make it easy to brush those inner lashes without getting mascara all over your face.[22]
Addressing Common Problems 
Remove any mistakes with a cotton swab. If you get mascara on your face or eyelid, allow it to dry so you don’t smear it and make things worse. Once dry, press the tip of a cotton swab to the spot and spin. This should remove the spot without messing up your eyeshadow.[26]

De-clump with a clean mascara wand. Either use a disposable wand or repurpose an old one (wash it thoroughly with soap and water first). Comb through the top and bottom of the lash, spinning the brush as you sweep forward. This should remove clumps and give your lashes definition.[27]

  • Try to comb through your lashes while the mascara is still wet.
  • If you don’t have an extra wand on hand, try using a clean toothbrush to comb out any clumps.[28]

Thicken your lashes even further with baby powder. If you don’t feel like you’re getting the thick, voluminous lashes you want, try this trick. Apply one coat of eyeliner, then dust your lashes with translucent powder or baby powder (you can use a makeup brush or a cotton swab dipped in powder). Then add another coat of mascara.[29]

  • The powder gives the mascara more to cling to, which allows you to build more volume.[30]

Remove your mascara every night with an eye makeup remover. It might not seem like a big deal, but it can dry out your lashes at night and cause them to become brittle and fall out.[31]

 Tip of the Day: Always curl your lashes before applying mascara not after, it can break your lashes.
Stay tuned tomorrow as we will talk about

Choosing the Blush Colour


We have all seen those people that were far too much blusher and look a bit like a clown. This often causes many of us to stay away from blusher and not use it for fear of looking like a fool. The aim of this article is to explain the benefits of using blusher and how to apply it to get the right effect.

When Blusher is used correctly it will add a natural glow to the skin as well as adding contours to the face. It is a great tool and should appear in any woman’s makeup bag.

What Type of Blusher?

When looking for blucher you will find you can get it as a powder, cream of even a gel. They all have different qualities and it is a good idea to pick one that you feel comfortable using. The creams and gels will stay on the longest but the powders will come with more choice of colour. Powder must be applied over foundation whereas other types can be applied on bare skin.

What Colour should You Choose?

When choosing the colour of your blusher, you should first consider your skin tone and then, the look that you want to achieve. Now let’s consider the types of colours and how they work.

Cool colours – These are colours that tend to have a blue undertone and will add freshness and a healthy glow to your face. For light skin go for a pink and a plum or similar will work for darker skin. If you are wearing a brown or orangey lipstick don’t use a cool colour for your blusher.

Warm Colours – These will normally have orange undertones and they work best for contouring the cheeks and adding definition to the face. If you have a light complexion then you should think about using a light apricot whereas a burnt orange may be better for those with darker skin. Don’t use a warm blusher if you are going to wear a cool lipstick or a lip colour that has a blue undertone.

Universal Colours – These are those shades that generally come in between the cool and warm colours. The advantage of these is that they suit everyone and go with any share of lipstick. For light skin you are best to go with a peach, for medium skin rosewood works well and red is best for darker skin.

Natural Colours – These are the neutral beiges and browns. These have very little red in them and are best used as a bronzer rather than a blusher and can in fact be use alongside your usual blusher.

Unknown-3

How to Apply your Blusher?
Now you have chosen the colour and type of blusher you are going to use let’s consider how to apply it. Below are the steps for applying powder blusher:

Step 1 – Never use the brush that comes with your blusher these are usually too small and will not give the right application. Get yourself a quality blusher brush before you start.

Step 2 – Look into the mirror and give yourself a big grin. This will allow you to see where the apple of your cheek is.

Step 3 – Dip the brush into the powder and remember to always shake off the excess before you begin. Brush over the apple of your cheek towards the ear using short up and down movements.

Step 4 – Now blend in the blusher. You can do this by adding a horizontal stroke over the vertical ones and then blot with a tissue.

For creams and gels follow the below steps:

Step 1 – Look into the mirror and give yourself a big grin. This will allow you to see where the apple of your cheek is.

Step 2 – Dab a small amount on the apple of your cheek and rub with your fingers. Ensure that you take the time to ensure this is blended properly.

TIP for the day:If you were at all worried about blusher you should not be now. Experiment, try different colours, just remember that blusher should be subtle and look natural.

Stay with us tomorrow as we talk about Mascara and Fake Lashes