Tag Archives: YH Studios

Eyeliner for cocktail makeup


b8322895f68587c2589f50831a2e2487


81ef0ba598e6a70d5d96a06c515747bd

A strong mouth brings out the flush in your cheeks, so go light on blush, but do take a couple of minutes to define your eyes. Run a rich black or brown liner pencil which has a touch of iridescence as close as possible to your upper and lower lash lines, Then finish with two coats of black mascara.

ADDITIONAL:

If you have fair skin, try blue-based berry colors with a bit of translucence

If you have olive/medium skin, try creamy, succulent, red-tinged plums.

If you have dark skin try deep, saturated raisin hues.

Softly shimmering highlighter.


Thank You for tuning in today.

Tomorrow we will talk about what lipstick soothes for cocktail party.


Cocktail Makeup


taniawallerx3

It’s fun to get all glammed up every now and again, and what better way to do just that than with a makeover made JUST for cocktail parties. We teamed up with our fast beauty pals KRYOLAN.

Finding the dress is the easy part. Deciding what makeup to team with it? One big headache. Red lip, nude lip, eye liner, no eyeliner, the party prep dilemmas are endless!

Here’s how to create a celeb worthy cocktail look in 20 minutes flat. They don’t call it fast beauty for nothing!

How to get the cocktail look:

1. Cleanse the skin, then instantly moisturize and prime with ultimate makeup prep.

2. Use a brush to apply foundation and dab concealer under eyes or on any blemishes.

3. Cover the entire eye area up to the brow bone with shimmering cream eye shadow.

4. Create a fast, feline flick with liquid liner pen.

5. Apply mascara starting at the base of the lashes and jiggling up.

6. For definition, apply bronzing powder to apples of cheeks and sweep to the temples.

7. Finish look by filling in brows with a brow pencil and a slick of lip gloss on the lips


superthumb


kljkhjghfjg1

Thank you everyone for the time.

Tomorrow we will talk about the 20 mins cocktail makeup.

Daytime lips and lipstick

The Lipstick.

Woman’s lips are one of the most sensual part of the face so we need to take a good care of them.

Moisturise it and enhance it with our favourite lipstick.

Lipstick are every woman’s first love and mostly one of the first cosmetic items she starts using in her life. A dash of colour on the pout adds to the charm of a woman and makes her look really beautiful. Usually the choice of any lip colour is largely based on the occasion when you wish to flaunt the lip colour. Usually very vibrant bold shades are kept to be worn at special events like wedding or engagements and some other intense shades for a date night. Well, the choice of lipstick also depends on the day and night time as one likes to keep the stunning dramatic shades for the night time look and wear soft lip color during the day time.

In general, it holds quite true as a very bold and bright shade of lip colour may not go with your look during the day but the same lip colour will make you look drop dead gorgeous if worn during the night!

This lipstick colour is in natural brown color which falls into the category of nude shades. Since this is not a very deep brown, the shade will look good on medium to fair skin tones as well

Pink is a beautiful cool toned everyday wear pink shade. It is a little lighter than a proper fuchsia shade. It doesn’t dry the lips and doesn’t transfer much. It is surely a great pink for everyday wear!

It is a brick red shade with brown hues. The shade is a wearable brown. It does not transfer much and stays for a good time. The lipstick is not highly pigmented and a second swipe is needed to get the colour.

This one belongs to the nude shade category and is light brown hue with very slight undertones of mauve shade. It looks more of a creamy light nude brown shade. It looks very nice during the day time.

Pink-Lips


tips-for-seductive-lips

Stay tuned tomorrow as we talked about eyeliner for day time look.

Daytime eye makeup


The daytime eye makeup will be light, soft and refreshing.

hqdefault-3

Most of the time we are using neutral colours like beige, cream, champagne, grey and brown.

Use just a touch of makeup on your eyes.

You don’t want to be over the top. Its just a simple daytime look.

Use matte colours they look more settled than the shiny ones.

Keep it soft and simple

Don’t forget the less is always more!

If you want to go with just a bit of makeup you can:

-apply a base colour on your eyelid – cream or beige and apply one layer of mascara

-for a bit of a different appearance apply a base colour on your eye lid and a dark brown colour close to your lash line it will look like you have an eye liner but at the same time it will look very soft

– in case you lie to experiment with different application techniques do the following :

apply a base colour on your eye lid – beige colour

take a middle brown eyeshadow and define your crease line

take a darker brown and apply a thin line close to your lash line

apply two layers of mascara

img-thing

These are simple tips to make your eyes look fresh and pretty.


Good luck with experimenting and keep practicing

See you all tomorrow as we talk about the importance of blusher.


How to behave on a makeup appointment

Maryland-makeup-artist-dc-kelley-unthank-weddings

I think this topic is a big question all the time!

First of all we make up artists are human beings like you clients.

We have feelings like anyone else and also like respect and appreciation.

We are not plastic surgeons and robots!

Why I’m telling this?

Because most of the clients are not clear with the realistic expectations.

What makeup can do and what not?

Lets clear up why are we using makeup?

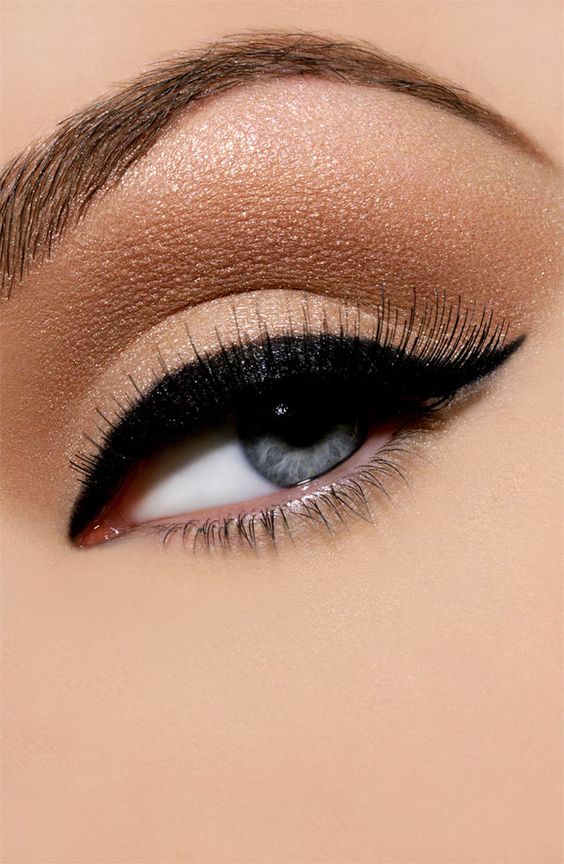
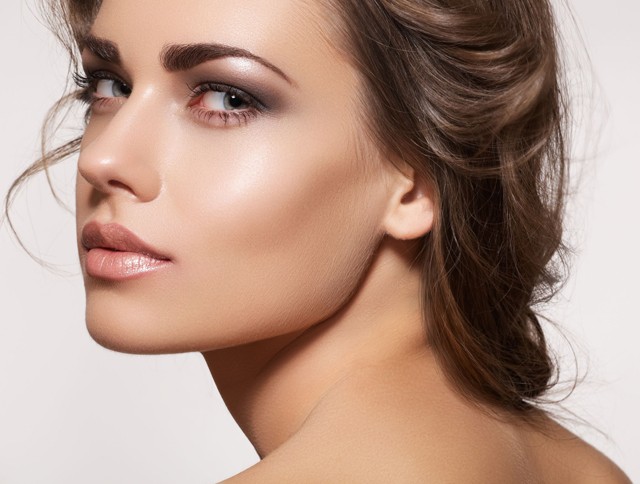
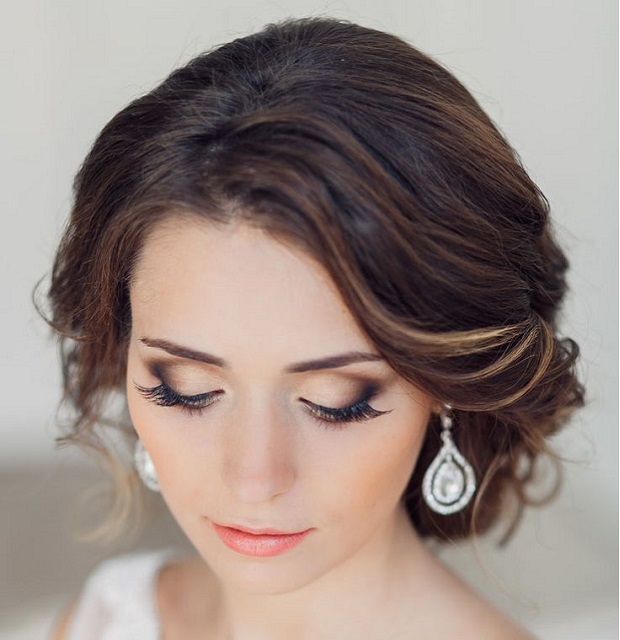
We are talking about classical glamorous looks.

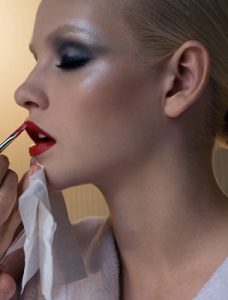
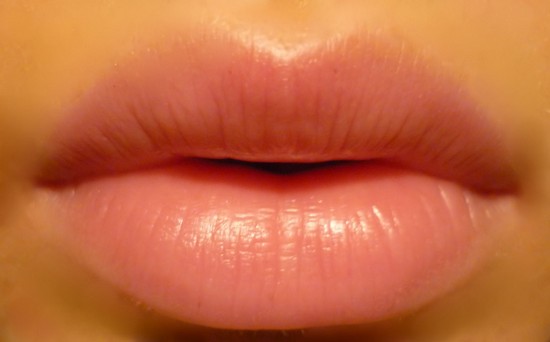
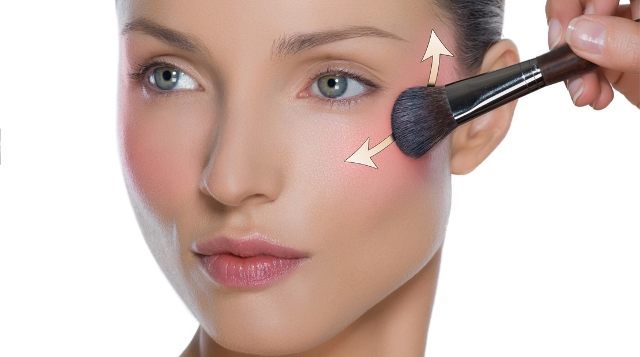
We are applying makeup to enhance the natural beauty of the face and correct the imperfections!

Thats it easy and simple.

The makeup will not make you look like Kim Kardashian or Jennifer Lopez or who ever….

You don’t want to hide behind a mask created of foundation.

And of course much more!!

Unfortunately nowadays we are facing these unrealistic expectations. And what will happen at the end you will get a “bad makeup artist” reputation because you can’t make a Kim from everyone.

Well  ladies just to inform you this is not working like that.

First of all you need to be clear with yourself what is possible to bring out from your face and what not.

You don’t know it?

Thats why we are here … the professional makeup artists!

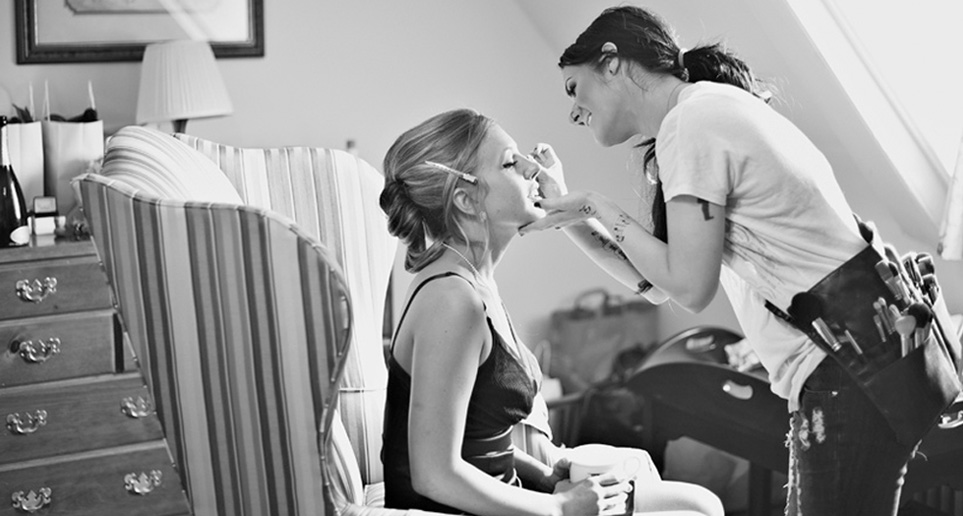
Lets start with some tips how to behave on a makeup appointment:

  1. You know that you are going for a makeup appointment so PLEASE DONT WEAR MAKEUP! And now you’re asking why? All of us want happy clients happy client equals happy makeup artist! The makeup will be perfect on a clean face and thats why there is no point of applying makeup for the makeup appointment. Anyway the makeup artist will clean up your  face and of course the mascara is a nightmare to clean up and after reapplying again. So make our lives easier and come with clean and moisturised face for your appointment.

2. Research your artists work before you book an appointment!As i said before we are all human beings with feelings. Bad comments and judging before even starting the makeup on your face is really painful for us! As for anyone else. If you know the artists work and you book an appointment with her or him you can be sure that you are in good hands and you dont have to judge or question every single move what she or he is doing!

3. Don’t be late!

If you are booked in at 2pm please be there at 2pm. Not 1.45 or 2.30 or other time. We are working on time…and time is a very precious thing. Being late is not a condition its a choice. All of us we know the conditions of the traffic, time, etc… so be prepared and be on time please!

4. Give time for the makeup

You are late and now you are rushing your artist to do a magic on your face for 15 minutes. Im really sorry ladies but this doesn’t work like this. A good work needs time. If you know that you will require a glamorous and complicated makeup don’t expect to be ready in 15 minutes!

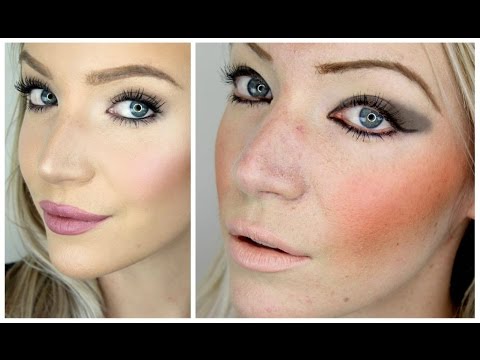
5. Don’t judge the makeup from a foundation! The makeup in process can’t be judge. All of us, artists we have a different style of application. What you do at home in your bathroom, or watching you tube videos is one thing. The other is when you go to a professional and she or he will do your makeup. It will look different and its absolutely normal!

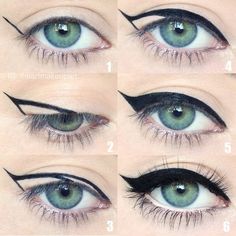
6. When we say close your eyes that means close it and don’t open till we say open. Opening your eyes can destroy the texture of the eyeshadows especially if we are working with Aqua (watercolours). So please follow the instructions of the artist. We know exactly what we are doing!

7. Trust  your artist

In my opinion this is one of the most important factors in this relationship. Without trust you will destroy the artists life and experience, as well as yours also. No one wants to leave the makeup appointment with bad feeling, terrible experience and even tears in eyes.

To avoid this discuss with your artist the desired look, the occasion, dress, style everything so there won’t be any misunderstanding and disappointment.

8. Relax and enjoy

The makeup application should be a nice and relaxing experience.

All you need to do is to sit, relax and enjoy. The rest is on us!

Makeup-Blog-Makeup-Hygiene-No-nos-Career-As-a-Makeup-Artist-Applying-Lipstick-with-Makeup-Brush

9. You asked for the price. And you got it.

The following question: No discount? or What is your last price?

Dear ladies that makeup artist paid for her studies, paid so much money for her makeup set and brushes. Energy, time and experience.

All this and most of the time we are talking about discounts and last price.

Please respect our work and effort! We are working hard to make you look the best as you can. Asking for discounts all the time and saving money on the makeup makes our work less important and not respected.

10. We often hear this: “Ahh its just makeup i will do mine ”

or

“Why is it so expensive i just want a simple makeup?”

To answer the first question:

Whatever you do, wherever you go the first thing you will check on the others is THE FACE!

Not the dress, shoes, accessories, hair etc… but THE Face!

When you talk to the people they will look at your face as they are talking to you… not to your dress or hair!

On your wedding you are the center of attention so you want to make sure that you look absolutely perfect! So start from your face with a perfect MAKE Up!

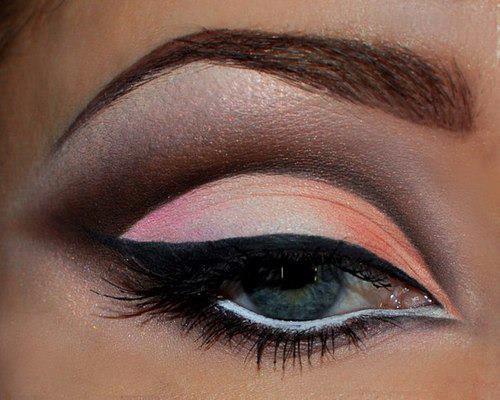
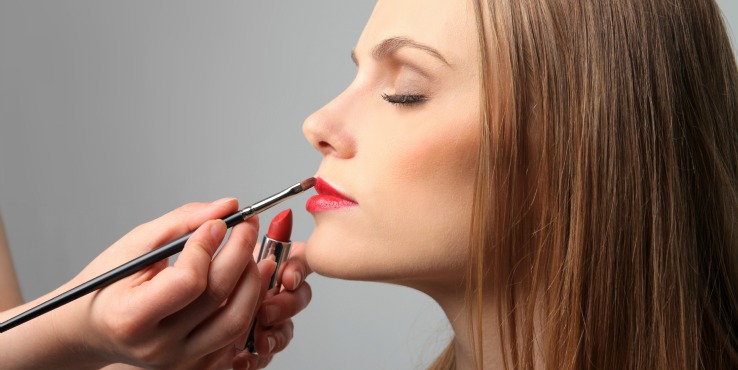
The answer to the second question is doesn’t matter how simple makeup you want it still takes all the steps…foundation, corrector, concealer, powder, eyebrows, eye shadows, mascara, blusher and lipstick. The difference is between the application technique and intensity in colours, but we are still using the same products and doing the same steps. So thats why you are paying the much money even its a simple look.

11. Using mobile phones while you are getting your makeup done

Absolutely no! Everyone can live without a phone for maximum 1 hour. Using phones, taking selfies while doing the makeup is not only annoying for the artist but makes our job really difficult.

Let us do our job and after the makeup you can take really good selfies with your beautiful makeup  on!

No OFFENCE to anyone… this is just the 17 years experience and the every day happening in this makeup artist life.

These are just simple tips how make our lives easier and to make sure both sides are happy and satisfied.

Backstage-Beauty-10-Best-Makeup-Tips-Weve-Heard

Tricks and tips on how to do Ombre Lips


Hi there! Today we will talk about how to create and define ombre lipstick!

Ombre means having two different colours that are monochromatic.

a96820ee46c5c8df1645ff32033a81a6

Ombre isn’t just for your hair! The sexy, ombré  lip look is one you’re going to want to wear always, and shout to the world about it. Be creative and bold with your makeup and try out this ombre lip look.

Ombre lips can look awesome, but if not done correctly they can make you look very tacky! The secret to doing ombre lips is to first try it out with your regular lip colors. Play around with different hues that merge well together and once you are satisfied with the results only then step out into the open.

25-OmbreLips

Step by Step Ombre Lips:

Apply concealer over your lips to hide the natural colour.

Use the dark lip liner to create a line around the edge of your lips as you would normally. Add more of this dark colour lip liner to the corner of your lips bringing this dark colour in towards the middle, but do not colour all of your lips with this shade. You can also extend this line and thicken it at the top and bottom of your lip if you wish.

Apply your pale colour to the middle of your lips that do not have the darker lip liner on them. Press your lips together once or twice but do not smear the colours together by rubbing your lips side to side or back and forth. Simply press your lips together and pull apart again in one smooth motion.

At this stage you can use your lip brush or cotton bud to blend the edges of your colours together to create a fading effect.

Thank you guys in tuning in.

Tomorrow we will talk about do’s and don’t about day time makeup!


About Matte lips

Glossy VS Matte

maxresdefault-3

Yesterday we were talking about the luscious, glossy lips.

Todays topic is The Velvety Matte Lips.

MATTE-LIPS

The matte lips can be tricky.

Why?

Because if your lips are dry and cracked the matte lipstick will look really bad and cheap.

The same rules are on when you are prepping the lips for the matte lipstick.

  1. use a scrub to remove the dead skin
  2. lip balm or vaseline is a must
  3. remove the lip balm and make sure your lips are product free
  4. apply a bit of concealer to make sure your lipstick will last all night long
  5. apply lipliner! Its essential, because it defines the lips, you can be more precise and making your lipstick long lasting.
  6. fill up the lips with your matte lipstick. Use a lip brush in this case you will be more precise with lines and the lipstick will look rich and full. Also the lipstick will last  more longer. Do long and clean strokes with your lip brush. The texture of the matte lipsticks are more dry then the creamy ones its obvious because of the matte finish. We can suggest you the new Kryolan Matte Lipsticks. They are giving you the perfect matte velvety finish but at the same time the texture is not so dry.

Now its time to get on practicing.

The more you practice the better you will be in application the right lipstick colour and your lips will be perfectly defined.

lipstick-make-up

Thank you guys in tuning in!

Tomorrow we will talk about ombre lips stay with us to know more tips and tricks!

Lipstick do’s and don’t


Lipstick is an essential part of almost every woman’s daily makeup routine. However, many women shy away from the red tones they find in the cosmetic aisle. Fortunately, you can pull off those brave shades with a little lipstick know-how. Here are ten dos and don’ts of wearing red lipstick:


images-1


1. WEAR DARKER FOUNDATION.

If you’re going to go bold with your lip color, you’ve got to have a complementary backdrop for your face. For those with lighter skin tones, it’s a good idea to choose foundations that will provide darker, olive bases. Red lips can be too much of a contrast against pale skin. The darker your lips are, the darker your foundation should be.

2.DON’T BE AFRAID TO BLEND COLOURS.

Do you like the look of red lipstick, but think it might be too loud for you? There’s an easy solution: customize your shade. Simply take a lighter hue like coral or mauve and blend it with that rose or burgundy you’ve been eyeing. The result will be a more muted tone that nearly anyone will be comfortable wearing.

3. USE IT FOR THE RIGHT OCCASION.

While everyone loves red, luscious lips, the look isn’t appropriate for every social situation. Some of the deeper shades can be a little jarring to people you run into at the gym or the kids’ soccer game. Likewise, you want everyone to be listening to your business proposal at that morning office meeting, not staring at your lips. Only paint your kisser red when you know you’re dealing with a fun, playful atmosphere, such as a night out with the girls. Then, you’ll be one step ahead in painting the town red!

4. DON’T OVER DO IT.

If you want to avoid all the lipstick smudges and stains, you can start by only applying a light coating to your lips. This is especially important for red lipstick since it’s easier to spot on teeth and collars. Rolling once or twice around your lips should be sufficient to achieve the desired effect. For even more control of your coverage, spread the lipstick using a lip brush. Just remember that a little dab will do you.


_MG_4759


Thank you! for your time on reading the tips and tricks for today!

Tomorrow we will talk about the lipgloss when and where to wear it!


How to make your lipstick stay for long hours


Hi everyone today we will talk about on how to make your lipstick stay for long hours.

Rocking red lips is the fastest way to look glam and festive for the holidays. But with so many yummy treats to snack on and maybe a few smooches under the mistletoe, that red lipstick could end up everywhere but your lips if you’re not careful. To avoid clown mouth, follow these super-easy steps to keep your lipstick where it belongs—on your gorgeous pout!


IMG_4248c


1. Exfoliate. Scrub your lips with the rest of your face while you’re in the shower in the morning. A gentle exfoliator will smooth over the flakes that come with winter’s chapped lips.

2. Moisturize. With the temperatures dropping faster than you can say “pumpkin spice latté,” moisturizing everything, including your lips is key. Stock up on a long-lasting chapstick to keep your pucker from getting chapped and use it before applying lipstick to help it go on smoothly.

3. Prime & Line. Use an easy-to-apply lip primer to set the stage for the bold color. Once it’s absorbed, outline you lips in a liner that’s the same shade of your natural lip color.

4. Add Your Red. Apply your red lipstick of choice in two swipes. Blot a couple times on a tissue and repeat with another swipe of lipstick, followed by another blot. Do this until you score your desired color strength.

5. Set with Powder. You heard us, powder—on your lips. A light, transulescent powder will help keep the color in place even after you enjoy a huge mug of hot chocolate!

 Tips

  • Always make sure that your lip liner is freshly sharpened so that you’re not transferring any bacteria from it onto your lips.
  • If you want a special touch, just add lip gloss in the center of your lips to create a bright glossy effect.
  • Blotting excess moisturizer prevents lipstick from sliding off.
  • It is a good idea to use a nude lip liner since it goes with most lipsticks and doesn’t create a harsh line.
  • It might sound a tad radical but throwing your make-up pencil sharpener in the dishwasher or washing by hand can also be very efficacious in removing bacteria. If you have a twist-up pencil it never hurts to break off the tip and wipe with alcohol before using.


Tomorrow we will talk about the proper way to apply lipliner

Hope to see you again tomorrow!


Dos and don’ts in your makeup routine

How does your makeup routine look like?

I believe all of us we have some different habits about makeup application.

Basically there are no rules in makeup. All you need is a clean makeup, stylish and well blended!

Lets start with the Dos:

1.Make sure you take care of your skin. This is the first DO!

Use a scrub monthly once or twice, face cleaning gel or foam, toner every day and moisturising cream.

2. Start your makeup on a clean and moisturised skin.

3. Always try the foundation on your face near to the jawline area to check the colour.

4.Apply the foundation in thin layers

1_1384507824_640x640

10-Makeup-Dos-and-Donts-6

bridal-makeup

daf0b7845d6a7ae22c5984d7be4e2ecf


5.Try to use thin layers if you use cream contours and highlights

6.Use Translucent powder instead of pressed powder

7.Use 3 shades lighter shadow on your brows than your brow colour

8.Use matte eye shadows for daytime look

9.Apply peach-orange tones on your cheeks giving you immediate fresh look

10. Glossy lips look more healthy than matte ones, don’t forget to apply a lipgloss for the nice finishing

Now lets see the DON’TS

1. Don’t over draw your natural lips.

2.Don’t apply blush to your cheeks without blending

hqdefault

3.Don’t forget to wash your makeup off at night

4.Don’t go crazy with drawn-in-eyebrows

5.Don’t be afraid of a little sparkle and glitter.

dd1

dd2

6.Don’t be extreme with your concealer shade.

7.Don’t wear clumpy mascara

8.Don’t get stuck in a rut with your makeup routine

maxresdefault

9.Dont be afraid to experiment with different colours

10.Dont panic if you made mistakes you can always work with mistakes and fix them but if not you will take off the makeup and start again. Makeup is not a plastic surgery you can always start to apply it again and again!

After the tips what and how to do the conclusion is

-Less is always more

-Keep your makeup simple

-The right foundation colour is one of the most important things in makeup

– Blend, blend and blend

-Always keep your makeup clean. No mascara smudges and dark patches under the eyes because of the dark eyeshadows


Practice makes perfect so don’t give up after the first or second fail! The makeup can always be better!


Click on our blog tomorrow as we will give you some awesome tips how to look gorgeous just with 10 minutes makeup

See you