Tag Archives: dewy

How to contour and highlight like the Hollywood Celebrities do

Want to look like a Hollywood Celebrity?

With these tips you can easily look like a million dollar woman.

Lets start:

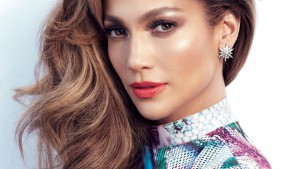
Contoured cheeks and glowing skin add that extra something to a typical, everyday makeup look. A little highlighter can give you that celebrity glow and a little extra bronzer will give you that chiseled, model face that most of the celebrities  loves to rock.

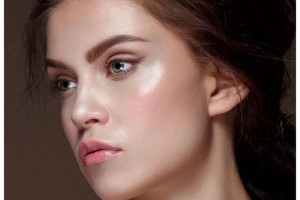
Add a little sparkle to your makeup routine with highlighter. A light dusting of highlighter on the top of the apples of your cheeks will make your skin look more radiant and will make you look more awake!

Take a bit of the lightest color on a fan brush, and gently sweep this highlighter right above where you would apply blush.

Don’t put highlighter too close to your under eye area as this can help highlight, or pinpoint, any under eye darkness! Also, be careful not to use too much highlighter. You want to avoid looking like a disco ball! Brush a translucent powder on top if you need to soften.

For contouring the face, you should go for a matte bronzer. Use an angled brush and start by deepening your temples. After that, find your cheekbones with a finger and apply bronzer directly under your cheekbones in a slant. Lastly, bronze up under the chin — and you will have a structured, contoured face.

 Tip of the day: Build up your makeup, apply step by step and little by little in this case you can control the amount of the products you are applying to your face.
640_jennifer_lopez_ocean_drive_nov15
kendall-jenner5
Dos and don’t in contouring and highlighting is our tomorrows topic…dont miss it!

Strobing

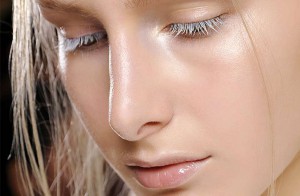
What is strobing, you ask? It’s a fun term for highlighting, basically. Forget everything you learned about contouring (it was hard to master, anyway). Extra highlighting will give you a dewy, shimmery, more youthful glow. But because “dewy” can turn into “sweaty” super-quick, here are a few tips to keep you on the right track.

  1. Prep your skin with a hydrating moisturizer. Strobing is all about getting the perfect glow, so you’ll need to replenish dull, dry skin with a good moisturizer first. If you have naturally oily skin, use one that’s oil-free.
  2. Use a highlighter shade that best matches your skin tone. To avoid the frosted ’90s look, make sure the highlighter you’re using complements your skin tone for a subtle sheen.
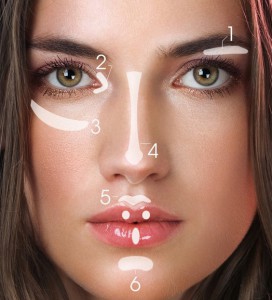
  3. Only use the highlighter in spots that catch light: on your cheekbones, along your temples, down the bridge of your nose, below your brow bone, in the corners of your eyes, and above your cupid’s bow. This will enhance your natural features. Don’t spread the product all over your face, or else your glow will turn into a greasy mess. If you have oily skin, skip areas like your forehead or chin, which have a little shine already.
  4. After you’ve applied the highlighter, blend it out with your fingers, a fan brush, or a damp makeup sponge. To avoid blobs of product and obvious makeup lines, make sure you blend any harsh edges of highlighter so it fades into the rest of your skin.

5. If you have oily skin, opt for matte bronzer, blush, or other facial     products, and only use a shimmery highlighter. To avoid looking like a disco ball, choose a matte formula for most of your makeup (primer, foundation, bronzer, powder). Avoid highlighting areas on your face that have breakouts — unless you want to spotlight your blemish.

Tip of the day:  make sure that your skin is prepared on a right way for strobing. Clean it properly and make sure that its moisturised.

Use face scrub monthly once or twice to refresh the skin and remove the dead skin. The strobing is all about illuminators and highlighters it will show every imperfection on the skin.


strobing-iluminador

strobing-1

strobing1_1129-780x520

Don’t forget to click on our blog tomorrow to learn more about the makeup steps!


Choosing the Blush Colour


We have all seen those people that were far too much blusher and look a bit like a clown. This often causes many of us to stay away from blusher and not use it for fear of looking like a fool. The aim of this article is to explain the benefits of using blusher and how to apply it to get the right effect.

When Blusher is used correctly it will add a natural glow to the skin as well as adding contours to the face. It is a great tool and should appear in any woman’s makeup bag.

What Type of Blusher?

When looking for blucher you will find you can get it as a powder, cream of even a gel. They all have different qualities and it is a good idea to pick one that you feel comfortable using. The creams and gels will stay on the longest but the powders will come with more choice of colour. Powder must be applied over foundation whereas other types can be applied on bare skin.

What Colour should You Choose?

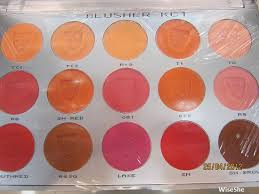
When choosing the colour of your blusher, you should first consider your skin tone and then, the look that you want to achieve. Now let’s consider the types of colours and how they work.

Cool colours – These are colours that tend to have a blue undertone and will add freshness and a healthy glow to your face. For light skin go for a pink and a plum or similar will work for darker skin. If you are wearing a brown or orangey lipstick don’t use a cool colour for your blusher.

Warm Colours – These will normally have orange undertones and they work best for contouring the cheeks and adding definition to the face. If you have a light complexion then you should think about using a light apricot whereas a burnt orange may be better for those with darker skin. Don’t use a warm blusher if you are going to wear a cool lipstick or a lip colour that has a blue undertone.

Universal Colours – These are those shades that generally come in between the cool and warm colours. The advantage of these is that they suit everyone and go with any share of lipstick. For light skin you are best to go with a peach, for medium skin rosewood works well and red is best for darker skin.

Natural Colours – These are the neutral beiges and browns. These have very little red in them and are best used as a bronzer rather than a blusher and can in fact be use alongside your usual blusher.
Unknown-3

How to Apply your Blusher?
Now you have chosen the colour and type of blusher you are going to use let’s consider how to apply it. Below are the steps for applying powder blusher:

Step 1 – Never use the brush that comes with your blusher these are usually too small and will not give the right application. Get yourself a quality blusher brush before you start.

Step 2 – Look into the mirror and give yourself a big grin. This will allow you to see where the apple of your cheek is.

Step 3 – Dip the brush into the powder and remember to always shake off the excess before you begin. Brush over the apple of your cheek towards the ear using short up and down movements.

Step 4 – Now blend in the blusher. You can do this by adding a horizontal stroke over the vertical ones and then blot with a tissue.

For creams and gels follow the below steps:

Step 1 – Look into the mirror and give yourself a big grin. This will allow you to see where the apple of your cheek is.

Step 2 – Dab a small amount on the apple of your cheek and rub with your fingers. Ensure that you take the time to ensure this is blended properly.

TIP for the day:If you were at all worried about blusher you should not be now. Experiment, try different colours, just remember that blusher should be subtle and look natural.

Stay with us tomorrow as we talk about Mascara and Fake Lashes

What products to use for contouring


This actually depends on your skin type and the blend-ability of the product you are using. It is pretty obvious that a concealer will be much more pigmented than a foundation which might make it a tad bit harder to blend.

For example, for someone with an oily skin type I would suggest that he/she uses a cream concealer 2 shades darker to contour and one that is 2 shades lighter to highlight. This needs to be set with a translucent powder to prevent it from slipping and sliding on your face.

You don’t need to stick with a single product. You could use a highlighting concealer and a contouring foundation. It’s all up to what products you have access to! Infact, the brushes you use might actually make or break your highlighting-contouring routine, so keep that in mind too.

It slims your face and creates definition and illumination to create a sleek, sculpted look.

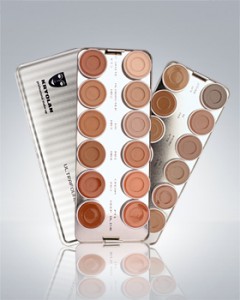
Kryolan_UltraFoundation_Cream_24_Colors_Palette_9008-m

Tip for the day:  Your are not only enhancing your facial features, but also get a little confidence boost!

Stay with us tomorrow as we talk about highlighting.

Powder, cream or liquid

Whoever said choice was a good thing probably wasn’t a woman trying to find the right foundation. Years ago we just grabbed a bottle of beige cream and called it good, but now we have so many options to choose from, including liquids, powders, sticks, pressed powders, and of course the new mineral powders. How are we ever to pick the right one?

We’ve collected a bit of information here to help narrow it down for you. As a basic rule: oily skin types should go for more powder and matte formulas, whereas normal to dry can use more oil-based options. If your skin is  dry and dehydrated liquids works the best. Here are the foundations, and when it’s best to use each one.

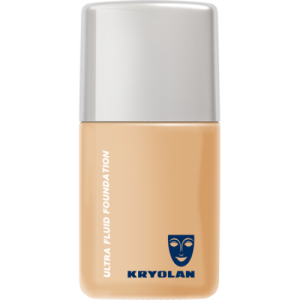
Liquid: The most popular option, liquids have been around for a long time and continue to be favorites because they’re so flexible and natural-looking. Oil-based formulas are best for dry to normal skin, and water-based formulas are better for those with oily skin. Liquids also work well in color combinations, if you’re into making your own shades by mixing two or more colors. Be careful of the long-wearing, smudgeproof versions. Though they may stay on longer, they typically have waxy and oily ingredients that can cause skin irritation or breakouts. (In humid conditions, though, they can be lifesavers.) Oil-free options or matte finish brands are best for those with oily or acne-prone skin. Ultra-mattes can also be good for oily types, but tend to leave the skin dry and taut.

Ultra Fluid Foundation 9130-500x500


Cream: Cream foundation is a good choice for those with dry or mature skin. It provides medium to heavy coverage, and helps skin look soft and smooth.

Kryolan_UltraFoundation_Cream_24_Colors_Palette_9008-m

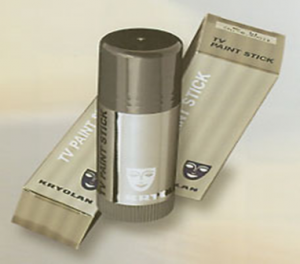
Sticks: These foundations come in solid form and have more of a drying effect, which may make them best for those with oily skin. They are also good for covering scars and flaws, and for creating more coverage. These are often used in photography sessions, but for everyday use, you may find them too heavy and thick-feeling.

KRYOLAN-TV-PAINT-STICK-REVIEW


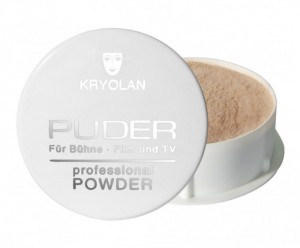
Powder: Similar to pressed powder, loose-powder foundations help control shine. However, they can be too drying. All but the most oily skin types may want to use these for touch-ups only. They also work well when you’re in a hurry, and can be great options for young girls just starting out on makeup as they’re light and easy to apply.

base_image_33_4


Tip of the day: use  translucent powder to set your foundation to get a beautiful and matte finish.


Don’t forget to visit our blog tomorrow to read about setting your foundation and face powders.


Foundation application techniques

Master the foundation application and be your own makeup artist.

Brush? Sponge? Fingers? what works the best for you?

When its about foundation we are always sceptical what is the best way to apply it.

Well it depends what is the type of your foundation and what works the best for you. You have one main goal to achieve a flawless skin.

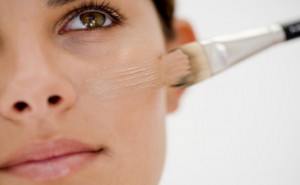
  1. Use your fingers if you are not happy with the brush strokes or the sponge.

3

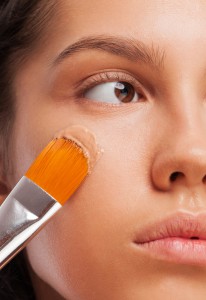
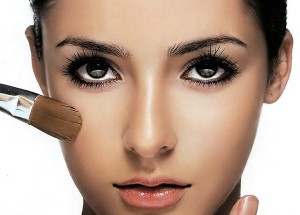
2.Apply your foundation with a foundation brush if you want a strong coverage.

Apply-Foundation-and-Primer

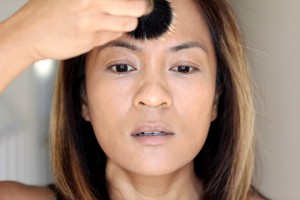
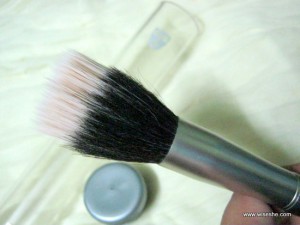
3. Use a buffing brush if you like to keep your foundation dewy 

how-to-apply-foundation-tutorial-7

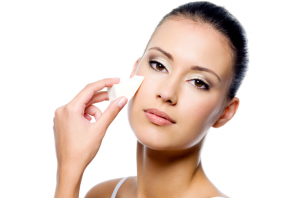
4.Use latex sponge and dab the foundation in your skin if you are using cream textures.

gallery_big_applying_foundation_with_sponge

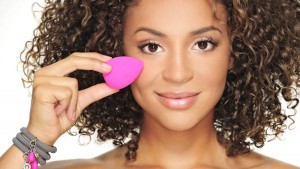
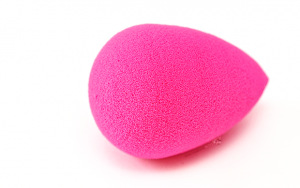
5. Apply the foundation  with a foundation brush and use your beauty blender for a fully blended look. Note the beauty blender is for blending the foundation not for application!

shutterstock_118242388QCdjB5HwFOTaWQ8X4xMDoxOjA4MTsiGN

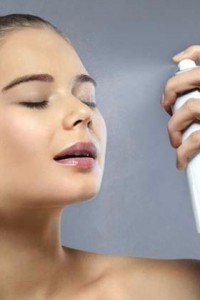
6.For a dewy skin apply water spray on your skin and while is wet start with a foundation.

0354485d-4901-4684-8563-22baf84bd514

7. The most important doesn’t matter what is your foundation texture (cream, liquid or stick) always apply it in thin layers.

tips-for-foundation-application

Tip of the day: for a perfect and flawless skin wet your latex sponge and apply your foundation on the face.  In this way your foundation will blend in more and will stick more to the skin.

Click on our blog tomorrow and get more infos about different foundation types and their best usage on your skin…see you all tomorrow

The correct foundation application

Brush? Sponge? Beauty blender or fingers?

What is the right way? Well it depends what is the texture of your foundation.

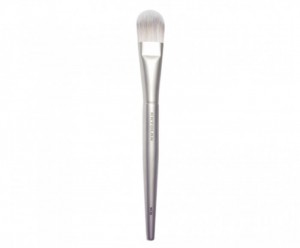
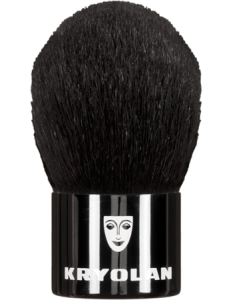
If its liquid the best is to apply with a foundation brush or buffing or kabuki brush. This way the foundation layer will be thin and invisible on your skin but the same time a nice coverage. The Beauty blender is for blending the foundation after the brush application.

base_image_7_26Kryolan-Professional-Premium-Smoothing-Brush-Review-handle+cosmetic-brush01732_00_prod_Kabuki Pinselbeautyblenderreview1

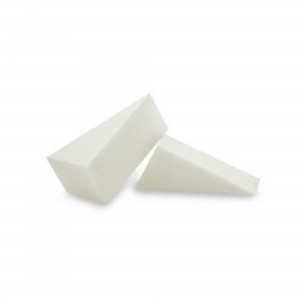
Cream foundations especially if we are using Kryolan Supracolor, Dermacolor or TV Stick the best to apply with wet latex sponge by dabbing in the skin not dragging around the foundation. 

Latex_Foam_Sponge_Applicator


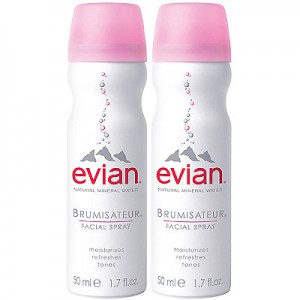
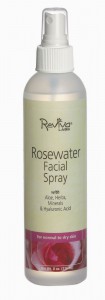
Tip of the day: If you have a dry skin and wondering how to achieve  dewy and healthy glowing skin here is our tip for you. Before applying  the liquid foundation spray your face with a water spray or rose water.

Do this between every single step. The rose water will give you a moisturised and dewy look.

2227823XL576-R-rosewater-facial-spray